Thank you for choosing a NIVELCO instrument!
1. APPLICATION
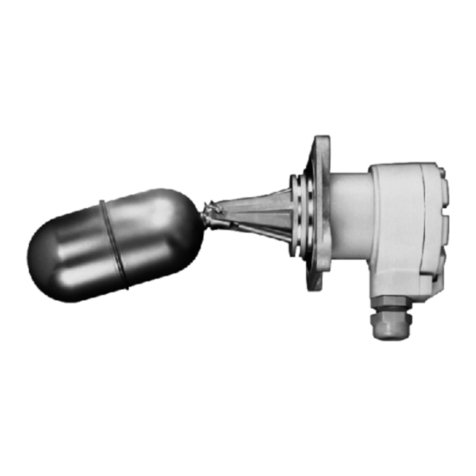
NIVOFLIP MAK–200 type magnetic level switches are used for NIVOFLIP magnetic-lamella bypass level
indicator as an optional level switch.
OPERATING PRINCIPLE:
Mounted on suitable connection flanges on the side of the tank, the liquid level in the bypass tube and the
tank is equal. A magnetic float tracks the liquid's level in the stainless-steel bypass tube. A permanent magnet
is incorporated in the float, which operates the MAK–200 adjustable bistable reed switch through the stainless-
steel side of the tube and provides a non-contact signal to the microswitch.
The position of the switch can be changed to adjust the switching level. The distance between the two MAK–
200 units must be at least 60 mm (2.4″).
The cable is led through a cable gland. The maximum cross-section of the wire is 0.75 mm2(AWG18). The
level switch is attached with a hose clamp.
2. TECHNICAL DATA
MAK–2
Process temperature up to +130 °C (+266 °F)
Ambient temperature –25…+90 °C (−13…+194 °F)
Housing material Stainless steel (DIN 1.4571, AISI SS316Ti)
Bracket material Aluminum
Switch 1 bistable reed switch, with NO, NC contacts (1)
Switching hysteresis max. Δ20 mm (0.79″)
Switching data 120 W / VA; 250 V AC/DC; max. 3 A
Electrical connection M12 cable gland: cable diameter: Ø4…6 mm (Ø0.16…0.24"),
max 0.75 mm2(AWG18) wire cross section
Ingress protection IP65
Electrical protection Class II reinforced insulation
Overvoltage Protection Class II (degree of pollution: 2)
Weight ~0.15 kg (~0.33 lb)
(1) The contact type must be specified in the order code.
2.1 ACCESSORIES
User’s manual
Warranty card
EU Declaration of Conformity
Support bracket and hose clamps for 63 mm (2.48″) bypass
2.2 ORDER CODE
NIVOFLIP MAK –2 –
Output Code Electrical connection Code Type Code
1× bi-stable reed-switch NO 0 M12x1 connector 0 Normal 0
1× bi-stable reed-switch NC 1 Integrated cable 1
2.3 DIMENSIONS
3.MOUNTING 3.1 RECOMMENDED MOUNTING
Default start-up
Ensure that the switches are set to the correct position for the float position before starting up. If necessary, move
the float vertically up and down once by the switches before installing the float. It will set the switching positions to
the float's default (bottom).
