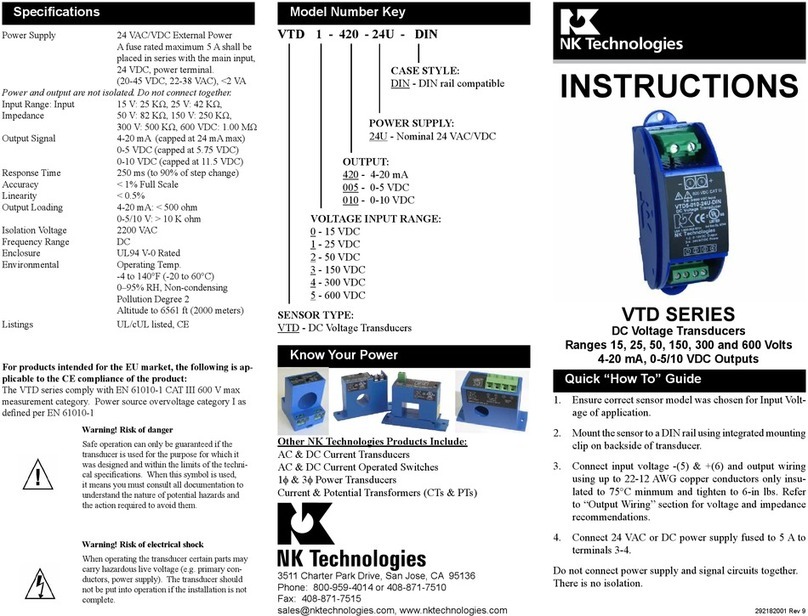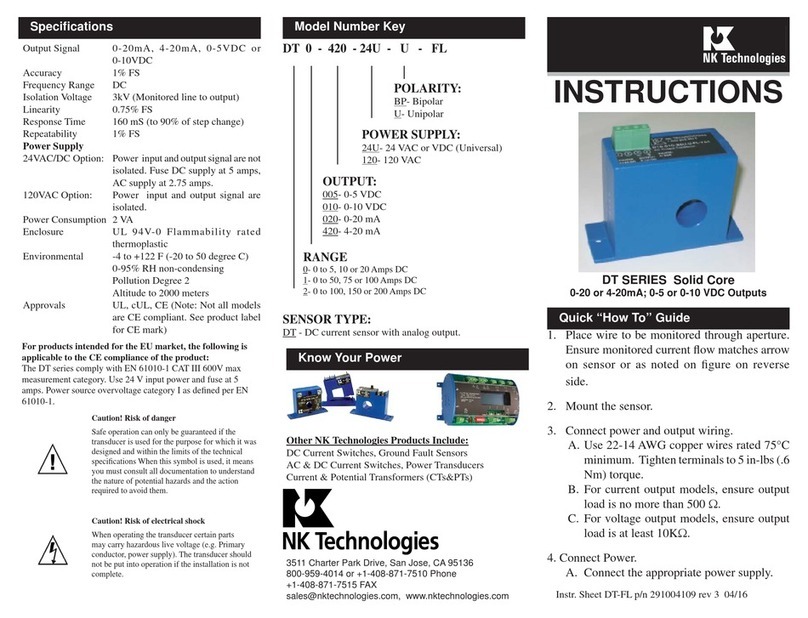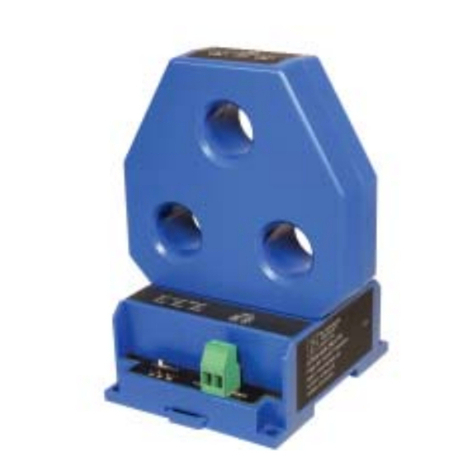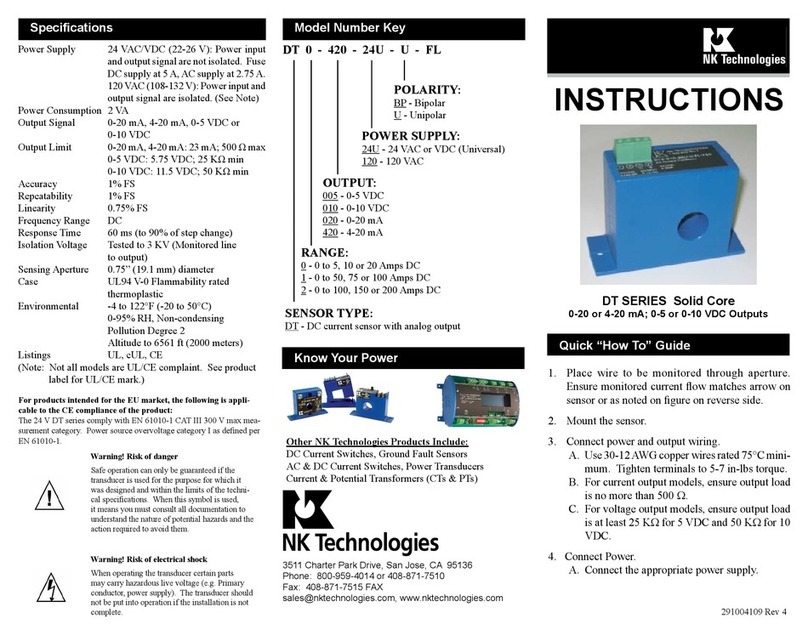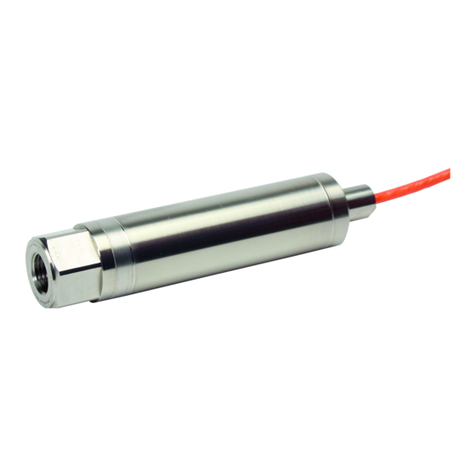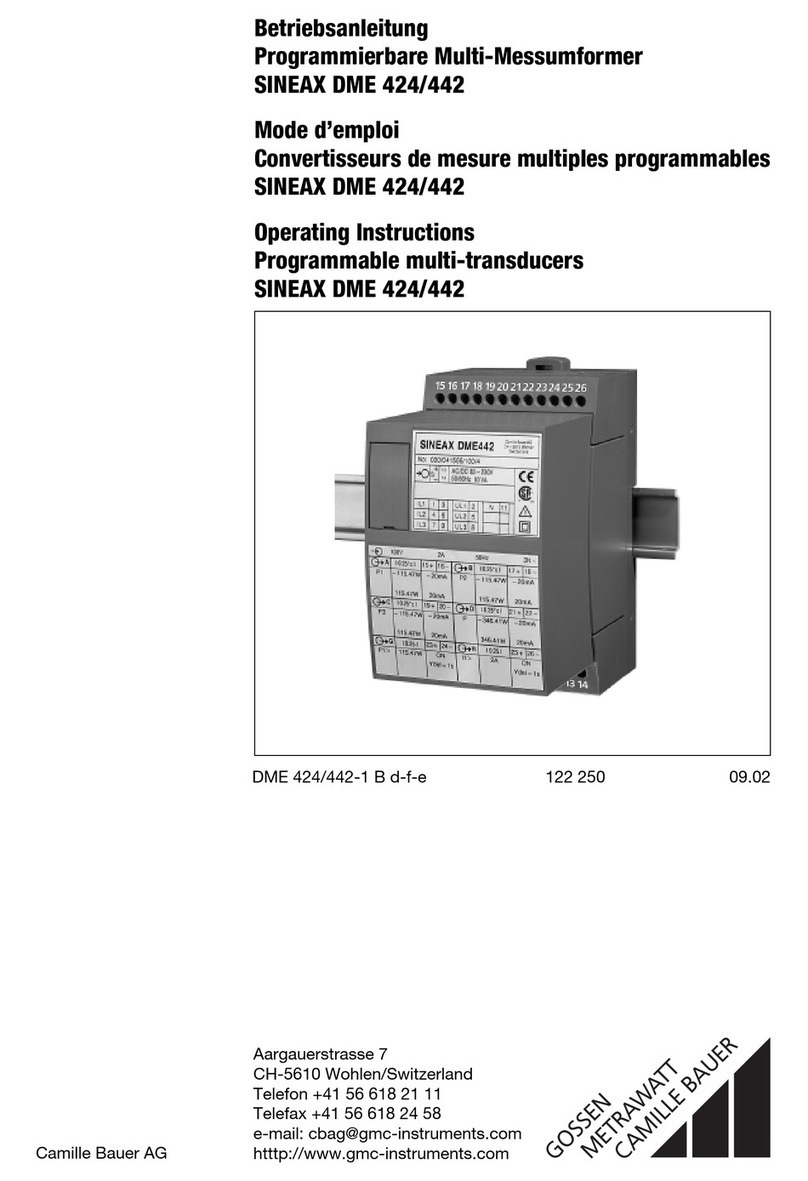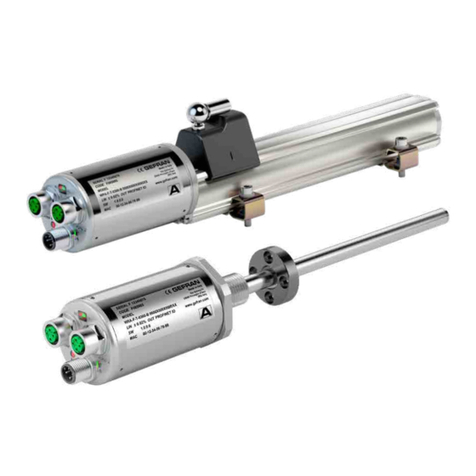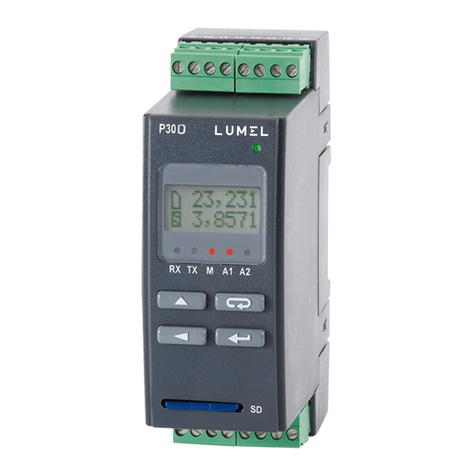
Run wire to be monitored through the sensing aperture.
AT and ATR Series transducers work in the same environ-
ment as motors, contactors, heaters, pull-boxes, and other
electrical enclosures. They can be mounted in any posi-
tion or hung directly on wires with a wire tie. Just leave at
least one inch distance between sensor and other magnetic
devices.
Description
Installation
Output Wiring
Range Select
AT and ATR Series transducers feature field selectable
ranges. The ranges are factory calibrated, eliminating
time consuming and inaccurate field setting of zero or
span.
Trouble Shooting
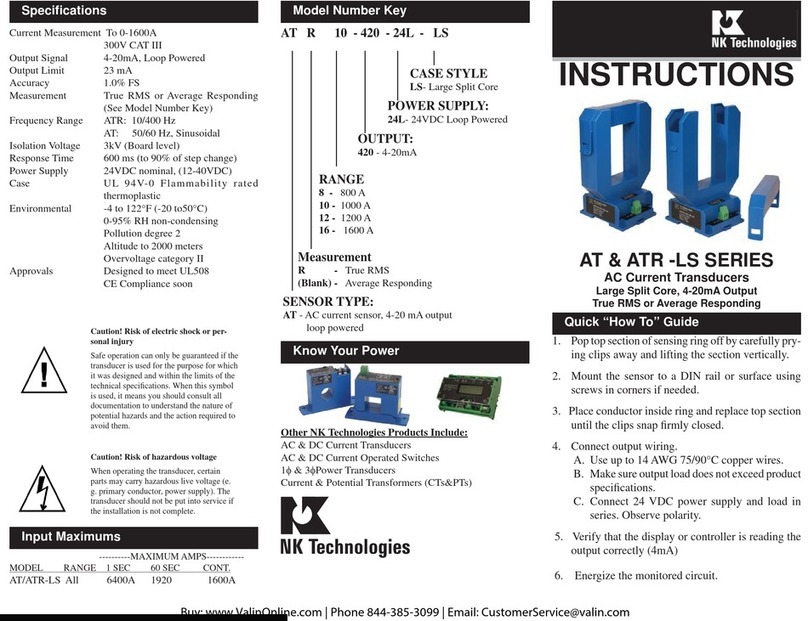
AT and ATR Series transducers combine a current trans-
former and a signal conditioner into a single package.
This provides higher accuracy, lower wiring costs, easier
installation and save valuable panel space. AT Series are
available in solid core with 4-20mA outputs.
ATR Series feature a True RMS output. They are de-
signed for application on distorted current waveforms
such as VFD outputs.
1. Determine the normal operating amperage of your
monitored circuit
2. Select the range that is equal to or slightly higher than
the normal operating amperage.
3. Move the three position range selector switch to the
appropriate position.
1. Sensor has no output
A. Power supply is not properly sized Check power
supply voltage and current rating.
B. Polarity is reversed. Check and correct wiring polar-
ity.
2. Output Signal Too Low
A. The jumper may be set in a range that is too high for
current being monitored. Move jumper to the correct
range.
B. The load current is not sinusoidal. Select an ATR
transducer for use with distorted waveforms.
C. Monitored current is below minimum required. Loop
the monitored wire several times through the aperture
until the “sensed” current rises above minimum.
Sensed Amps = (Actual Amps) x (Number of Loops).
Count loops on the inside of the aperture.
3. Sensor is always at 4mA
A. Monitored load is not AC or is not on. Check that
the monitored load is AC and that it is actually on.
4. Output Signal is always at 20mA
A. The jumper may be set in a range that is too low for
current being monitored. Move jumper to the correct
range.
Input
Range
Output
+
–
750A
500A
375A
Input
Range
Output
+
–
750A
500A
375A
Load
(controller,
meter
etc.)
AT/ATR Transducer
(loop powered)
AT/ATR Transducer
(loop powered)
Load
(controller,
meter
etc.)
+
+
–
–
H
N
G
To
AC
Power
+
–
To Other Transducers
Power Supply
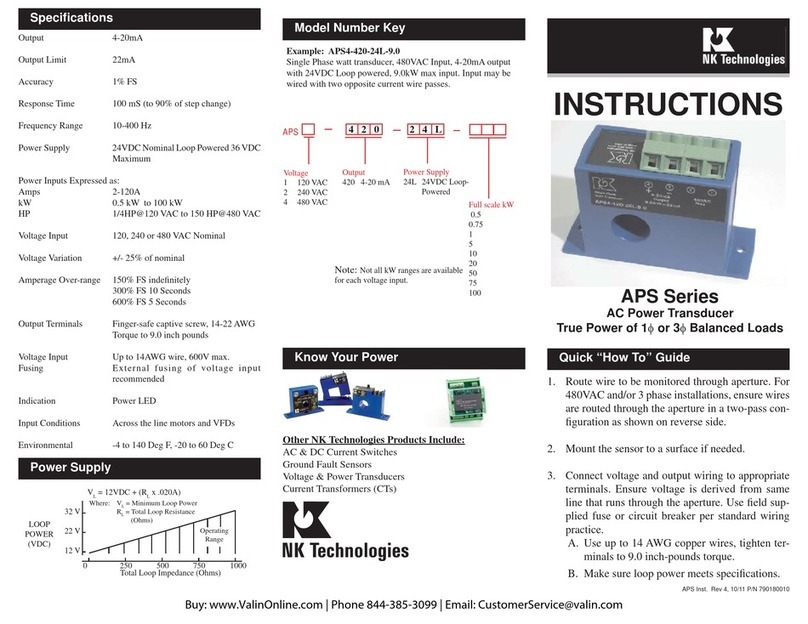
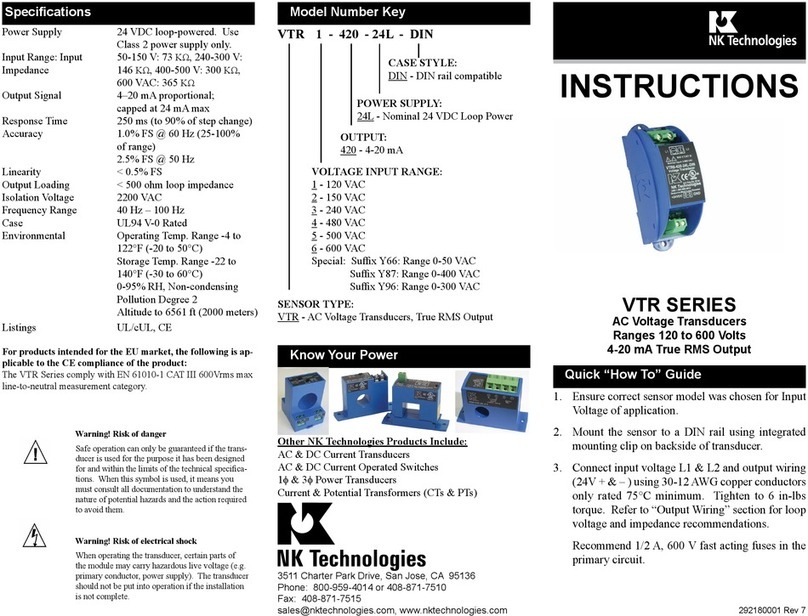
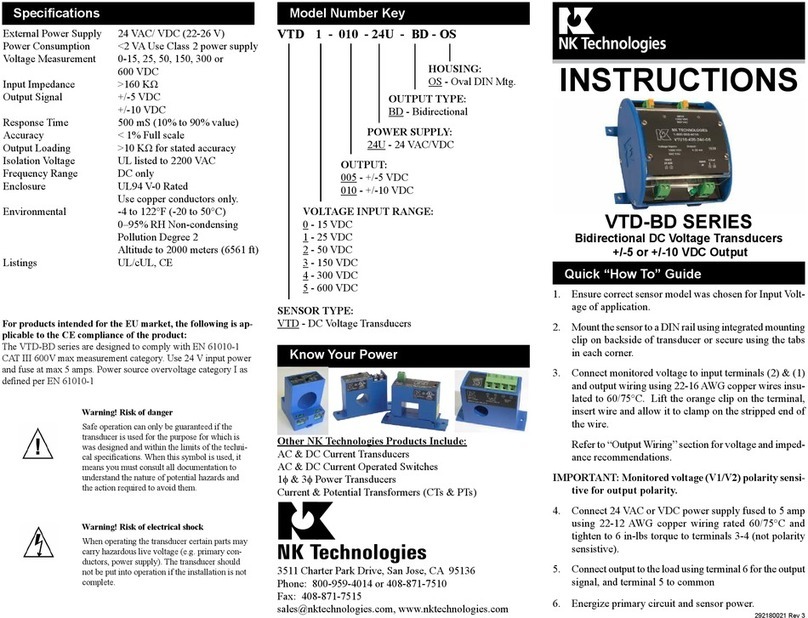
Connect control or monitoring wires to the sensor. Use
up to 14 AWG 75/90˚C copper wire and tighten terminals
to 4.4 inch-pounds torque. Be sure the output load does
not exceed 800 ohms.
Connection Notes:
• Captive screw terminals.
•14-22 AWG 75/90˚C solid or stranded.
•Observe Polarity
•See label for ranges & jumper positions
2(+)1(–)
Output
Range Switch
MidLow High
(+)(–)
24 VDC Power
(+)
(–)
Load
(Controller,
Meter, etc.)
Input Maximums
----------MAXIMUM AMPS------------
MODEL RANGE 1 SEC 6 SEC. CONTINUOUS
AT2 All 2,500A 1,000A 500A
ATR2 All 2,500A 1,000A 500A
AT3 All 3,750A 1,500A 750A
ATR3 All 3,750A 1,500A 750A
AT4 All 10,000A 4,000A 2,000A
ATR4 All 10,000A 4,000A 2,000A
