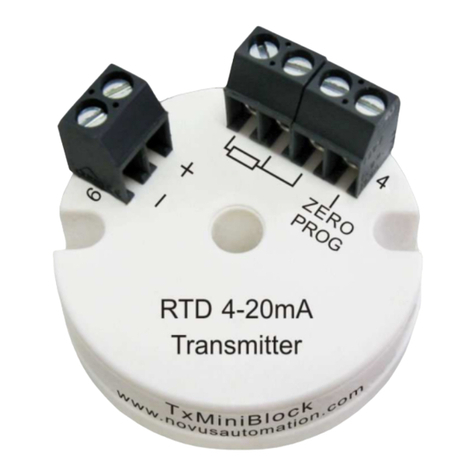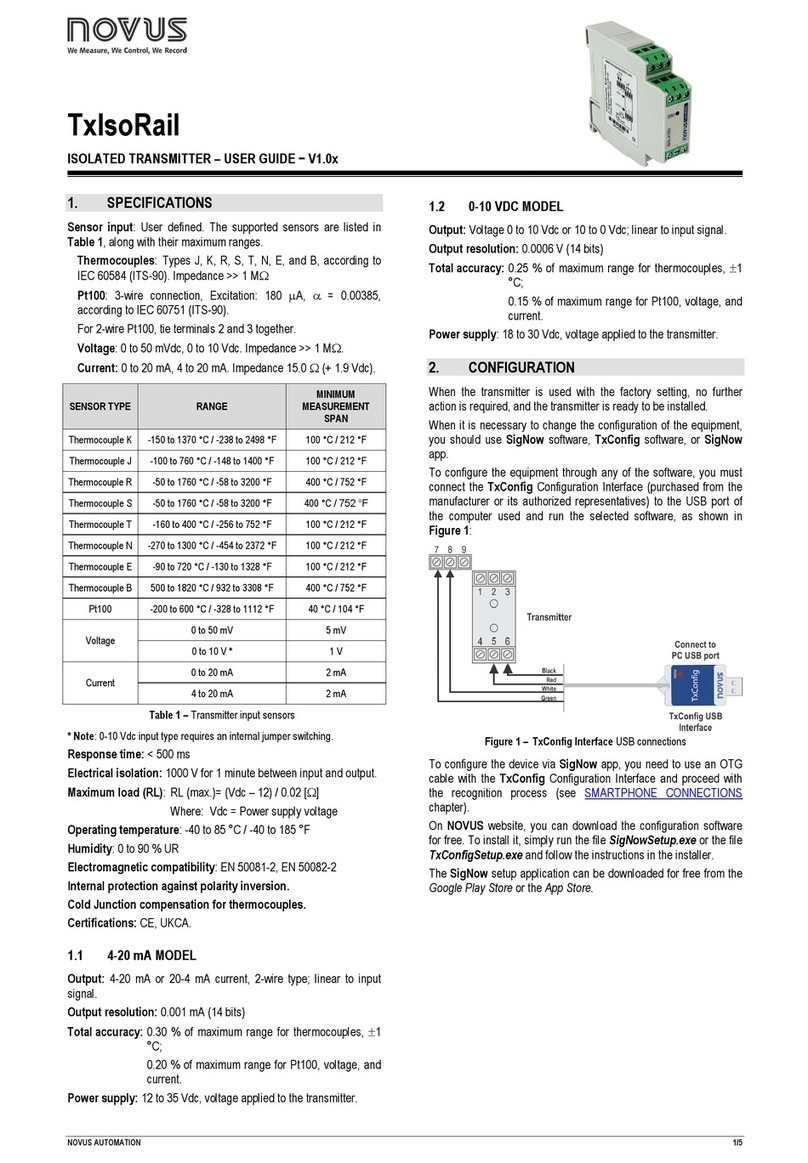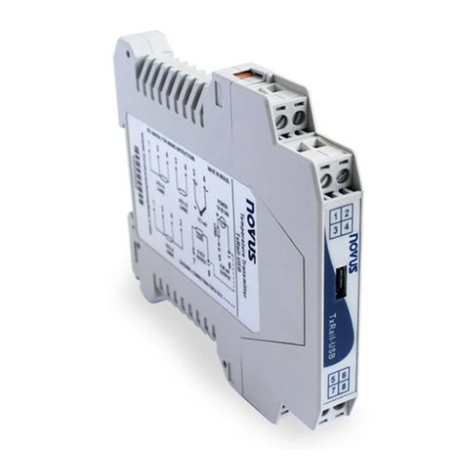
TxRail-USB
NOVUS AUTOMATION 2/6
3. CONFIGURATION
When you need to change the configuration, you should use SigNow
software, TxConfig II software, or the SigNow application.
On the NOVUS website, you can download any of the configuration
software for free. For installation, simply run the SigNowSetup.exe
or TxConfigIISetup.exe file and follow the installer instructions.
To configure the device through the software, you must use the
transmitter configuration interface (USB cable), which can be
purchased from the manufacturer or its authorized representatives:
Figure 1 –USB cable connection
During the setup, the transmitter is powered by the USB, not
requiring an external power supply.
The transmitter setup can also be made by connecting it to the loop,
using the loop power supply. There is no electrical isolation between
the transmitter and the communication port (interface). It is not
recommended to configure it with the sensor connected to the
process. See Figure 2.
Figure 2 –USB cable connections – Loop powered
After connecting the device and the PC, simply run SigNow or
TxConfig II.
SigNow application can be downloaded for free from Google Play
Store or App Store.
To configure the device via the application, you must use an On The
Go (OTG) adapter. The procedure for using this adapter will be
explained in the SMARTPHONE CONNECTIONS section.
There you will also find more information on how to connect the
TxRail-USB to the smartphone itself and set up the device.
The USB communication port (interface) of the
TxRail-USB is not electrically isolated from the
transmitter input.
3.1 SOFTWARE AND APPLICATION
3.1.1 SIGNOW SOFTWARE
When running the SigNow software and connecting to the device,
the following screen will appear:
Figure 3 –SigNow configuration screen
The bottom part of the screen displays information about the model,
serial number, and firmware version.
The configuration screen is divided into 5 sections: General, Settings,
Custom Calibration, Diagnostics, and Firmware Update.
In the General (see above) and Settings screens, you can configure
the device by setting values and information for the following
parameters:
1. Sensor Type: Allows you to select the sensor to be used. See
Table 1.
2. Lower Limit: Allows you to select the desired temperature for
minimum retransmission value.
3. Upper Limit: Allows you to select the desired temperature for
maximum retransmission value.
4. Output Status (Sensor Failure): Allows you to establish the
output behavior when the transmitter indicates a failure:
Minimum: Output current goes to < 3.8 mA or output voltage is
0 V (down-scale). Typically used for refrigeration.
Maximum: Output current goes to > 20.5 mA or output voltage is
10 V (up-scale). Typically used for heating.
5. Output Type: Allows you to select the output type to be used.
6. Offset (Zero Adjustment): Allows you to correct small
deviations presented in the transmitter output, such as when a
sensor is replaced.
In the SigNow manual, available on NOVUS website, you can get
more specific information about the buttons and the process of
diagnostics and firmware update.
