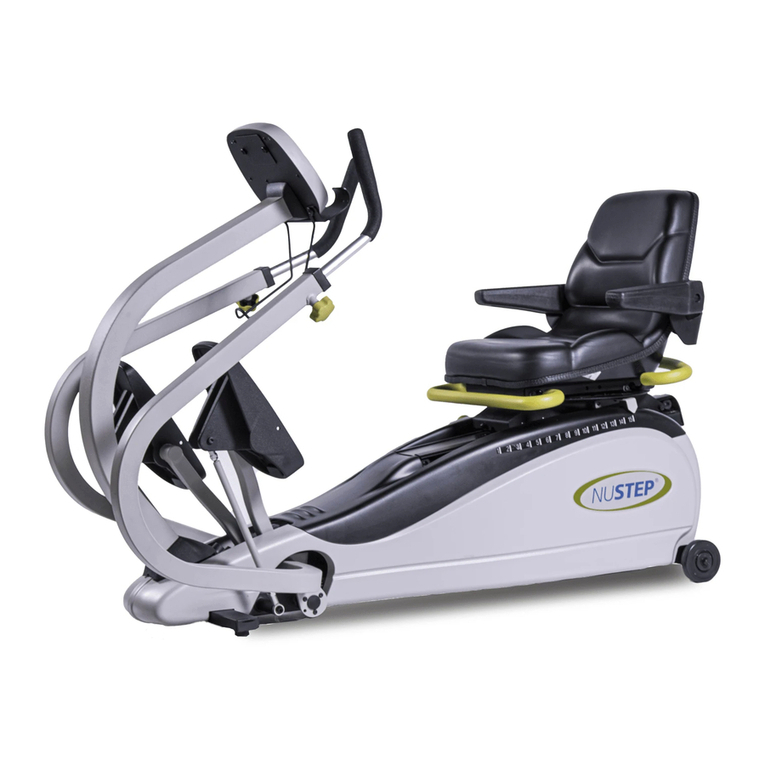
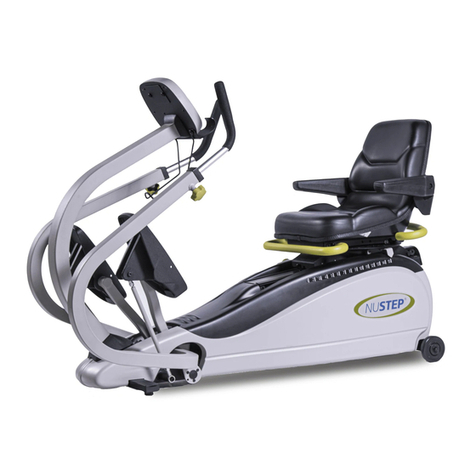
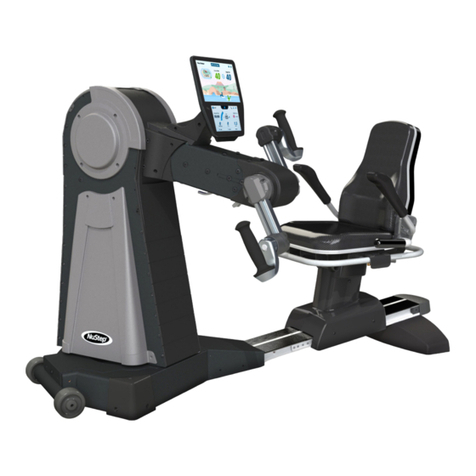
Nustep T6 User manual

NuStep®T6
Recumbent Cross Trainer


Introduction............................................................................................................. 4
Safety Instructions............................................................................................ 5–6
Installation and Placement.................................................................................. 7
AC Adapter Use..................................................................................................... 8
T6 Feature Overview ........................................................................................... 9
T6 StrideLock®.......................................................................................................10
Making Adjustments...................................................................................... 11–13
Correct Riding Position.......................................................................................13
Display Screens............................................................................................. 14–16
Pause Function .....................................................................................................17
System Settings ............................................................................................. 18–19
User Settings........................................................................................................20
Exporting User Profile Data...............................................................................21
Exporting Workout Summary ...........................................................................22
Preventive Maintenance....................................................................................23
Serial Number Information................................................................................24
T6 Regulatory Information ................................................................................24
Obtaining Customer Service and Parts.........................................................25
T6 Warranty Information....................................................................................25
Technical Data......................................................................................................26
Safety Notifications..................................................................................... 27–28
EMC Tables .................................................................................................... 29–31
US FCC Compliance & IEC/EN 55011 Compliance.....................................32
Contents

4
Thank you for purchasing the NuStep T6 Recumbent Cross Trainer.
As the originator of the recumbent cross trainer, NuStep is the leader in developing
seated total-body exercise systems that are inclusive, eective and easy-to-use. Our
products are used in healthcare settings, wellness centers, and senior living communities
worldwide.
The T6 marks a milestone in NuStep’s continuous pursuit of advancement, customer
satisfaction and best-in-class quality. As a customer-focused company, NuStep turned to
our customers, including healthcare professionals, and fitness experts for insight on what
features to include in the product. The T6 is the end-result of this valuable feedback.
Thank you for your business and welcome to our ever-expanding network of NuStep
users.
Introduction

5
Safety Instructions
CAUTION WARNING
This is the safety alert
symbol. It is used to call
attention to instructions
concerning personal
safety. Read and obey
all safety messages
that follow this symbol
to avoid possible injury
or death resulting from
misuse.
CAUTION indicates a
potentially hazardous
situation—which if not
avoided— may result in
minor or moderate injury.
It may also be used to
alert against unsafe
practices.
WARNING indicates a
potentially hazardous
situation, which, if not
avoided, could result in
death or serious injury.
WARNING
Do not modify this equipment without authorization of the
manufacturer.
Use this equipment only for its intended use as described in this
manual.
Do not use attachments not recommended by the manufacturer.
Never operate this equipment if it has a damaged cord or plug.
Keep cord away from heated surfaces.
Keep product away from heat, sparks, open flames, and hot
surfaces.
Never drop or insert any object into any opening.
Do not use outdoors.
Injuries to health may result from incorrect or excessive training.
Heart rate monitoring systems may be inaccurate.
Over exercising may result in serious injury or death. If you feel
faint stop exercising immediately.
Use of this equipment adjacent to or stacked with other
equipment should be avoided because it could result in improper
operation.
Portable RF communications equipment (including peripherals
such as antenna cables and external antennas) should be used no
closer than 30 cm (12 inches) to any part of this product, including
cables. Otherwise, degradation of the performance of this
equipment could result.

6
CAUTION
See your physician before beginning
any exercise program.
Supervision is required if you have a
disability or medical condition.
Stop exercising if you feel faint or
dizzy while using this product, and
seek medical help or advice.
Use this product only as directed
by your physician if you have heart
disease, hypertension, diabetes,
respiratory disease, any other medical
problem, or if you are pregnant.
People with reduced physical, sensory
or cognitive capabilities—or lack
of experience and knowledge of
this product—may use this product,
provided they are supervised by a
person responsible for their safety.
Read this manual before using
this product and save it for future
reference.
Always wear shoes and proper
clothing when exercising.
Do not touch or hold product with
non-intact skin.
Do not operate this product if it
appears damaged or inoperable.
Examine product regularly for
damage and wear. Ensure defective
components are replaced by qualified
service technicians immediately.
Do not perform maintenance or
repairs on this product while it is
in use. Maintenance activities shall
performed by qualified service
personnel.
CAUTION
Make sure the seat position and
upper arm position are correctly set
up for you.
Do not over-extend your arm reach
while using this product.
Do not let children use this product.
Do not use this product in the
presence of children and/or pets.
Keep children under the age of 13
away from this machine.
The heart rate, watts, METs and
calories displays are not suitable for
use in applications where the health
and safety of the patient is dependent
on the accuracy of those parameters.
The maximum user weight capacity:
T6PRO model = 500 lbs (227 kg)
T6MAX model = 600 lbs (272 kg)
Do not lift this product by yourself.
The T6 is very heavy; it weighs 298
lbs (135 kg).
To avoid injury, or damage to the
product, always get assistance to
move this product. Use proper lifting
techniques.
To avoid injury, do not insert hands in
any cover openings.
For safe operation of this product,
place on a flat, stable surface. Adjust
leveler feet as required.
This product is intended to be
connected to AC mains power
through the furnished AC adapter
only.
SAVE THESE INSTRUCTIONS.
Safety Instructions

7
Unpacking and Installation
Unpacking and installation procedures for T6
shipments are documented in the applicable
T6 delivery installation guideline documents.
The installation guideline documents are
shipped with the products. Additional copies
of these documents are available upon
request from Customer Service.
Placement of Equipment
To ensure safe and eective operation of your
NuStep, place on a flat, stable surface. Adjust
rear leveler feet as required.
The minimum amount of required free space
around the equipment is 24 inches (61 cm) for
the sides, and 12 inches (30 cm) for the front
and rear. Additional free space is necessary
to accommodate wheelchair access.
For added stability and floor protection, place
the recumbent cross trainer on an exercise
equipment floor mat similar to the floor mat
sold by NuStep, LLC.
Installation and Placement
75.8 in
97.0 in
12.0 in12.0 in
24.0 in
30 cm
246 cm
30 cm
193 cm
61 cm
The T6 is very heavy; it weighs
298 lbs (135 kg).
To avoid injury, or damage to
the product, always obtain
assistance to move this
product.
Use proper lifting technique.
CAUTION

8
The T6 is powered by an AC adapter which is included with the equipment. The AC adapter may
be plugged into either the front or the rear jack.* Plug the adapter into an appropriate power
outlet.
Route the AC adapter power cable in a manner that prevents tripping hazards and prevents
damage to the adapter. Avoid placing any pressure or strain on adapter cables, jacks or plugs.
For adapter specifications, please refer to the Technical Data section of this manual.
*Do not connect the T6 to two AC adapters simultaneously.
AC Adapter Use
rear adapter
jack
front adapter
jack
front jack rear jack

9
T6 Feature Overview
StrideLock®
grab ring*
*The grab ring is an
optional add-on.
seat adjustment
release lever
seat swivel
release lever
leveler feet
arm adjustment
release lever
display console
seat recline
release lever
media shelf
dual-screen
display console

10
Lever is down when handles
and pedals are unlocked.
StrideLock lever
T6 StrideLock®
The StrideLock feature allows users to
lock the arm handles and foot pedals on
the T6. When StrideLock is engaged, the
handles and pedals do not move. This
stabilizes the product and makes it easier
for the user to:
• Get on and o the T6
• Adjust seat and handle positions
• Fasten footstraps or attach adaptive
accessories
To engage StrideLock:
1. Use the arm handles to push or pull
the arms and pedals to the desired
position.
2. Push down on the yellow StrideLock
lever and release. The lever is UP
when locked.
3. Confirm StrideLock is engaged
by pushing or pulling on the arm
handles—they should not move.
To disengage StrideLock:
1. Push down on the StrideLock lever
again. The lever is DOWN when
unlocked.
Lever is up when handles and
pedals are locked.

11
Making Adjustments
Adjust Seat Recline
1. Place feet on pedals.
2. Lift the black lever on left side to
unlock.
3. Push on seat back to increase recline
(up to 12˚ recline possible).
4. Release lever to lock seat in place.
Adjust Seat Distance
1. Lift the front yellow lever to unlock.
2. Using feet, slide seat forward or backward to adjust distance.
3. Check that knee has a slight bend when leg is nearly fully extended.
4. Release lever to lock seat in place.
Lift black lever on left side. Push on seat back to adjust recline angle.
Knee has slight bend when leg is nearly
fully extended.
Lift front lever to adjust seat distance.

12
Making Adjustments
Adjust Handle Length
1. Pull up on the yellow arm adjustment release lever to unlock arm handles.
2. Slide handle in or out to adjust length.
3. Adjust handles until elbow is slightly bent when arm is almost fully extended (for many
people this is the same number as their seat position).
4. Press release lever down to lock.
Adjust Arm Rotation
1. Pull up on the yellow arm adjustment release lever to unlock.
2. Rotate the hand grip right or left.
3. Once set, press the release lever down to lock.
Pull up on lever to unlock. Push down on lever to lock.

13
Swivel Seat Operation
1. Lift the rear release lever to unlock seat.
2. Swivel the seat in either direction (seat swivels 360˚ and locks every 45˚).
3. Release the lever to lock seat in position.
NOTE: The seat can be rotated with or without a user on the machine. For safety, the
seat distance cannot be adjusted unless it is facing forward.
Making Adjustments
After adjusting the arm handles and seat
position on the T6, there should be a slight
bend in your knees and elbows at nearly
full extension when exercising on your T6.
Injuries to health may result
from incorrect or excessive
use.
Ensure the seat and arms
are set up in biomechanically
correct positions.
Do not over-extend your leg or
arm reach distance.
CAUTION
Correct Riding Position
Lift rear lever to unlock seat.
Seat swivels 360˚ in either direction and
locks in place every 45˚.
Elbow has slight bend when
arm is nearly fully extended.
Knee has slight bend when
leg is nearly fully extended.

14
Display Screens
The T6 has a Home screen and Metric
screen with touchscreen navigation:
Home screen: Displays icons for Quick
Start, Pace Partner, NuStep Charts, and
Trail Runner. Tap icon to launch.
Metric screen: Displays all workout metrics
including Elapsed Time, Level (resistance),
Heart Rate, Calories, SPM (steps per
minute), METs, Total Steps, Miles, and
Watts.
App Screens
Quick Start
Lets users to get on and go without setting
pace goals or selecting metric values.
Tracks elapsed time and total laps.
Users can switch to other apps from the
Quick Start screen. To switch:
1. Tap to open Performance
Charts.
2. Tap to open Pace Partner.

15
Pace Partner
Users set a target pace and select a workout
metric (SPM, Watts or METs) with the goal to
keep pace with the targeted pace. To set:
1. Tap to open Your Target Pace
screen.
2. Tap on desired metric.
3. Use slider to select pace.
4. Tap Confirm to set.
Display Screens
slider
metric
confirm
performance metrics
NuStep Charts
Displays workout performance metrics:
Pace (SPM), Watts, Load, or METs over
time.
To toggle between charts, tap on desired
metric tab. The active metric tab is
highlighted in blue.

16
Display Screens
Metric screen
Trail Runner
Plays videos of scenic running trails to
engage users as they work out. To start:
1. Tap to select desired video.
2. Begin stepping to start video.
To return to the Trail Runner menu:
1. Tap screen, the title bar drops down.
2. Tap on the Back button.
All video, audio and other content included in Trail Runner and other NuStep apps is protected under United States and international copyright laws. No right is
granted to use the video, audio or other content in any manner other than as presented for viewing in NuStep Products.
Tap to reset workout
or to apply changes
in default settings.
Load level:
tap (-) or (+)
to adjust.
Tap to open
User Settings.
seat position
Tap to open
System Settings.
workout metrics
Tap to return to
Home screen.

17
The T6 has a 3-minute console shutdown function. If a user stops stepping and does not
resume stepping within three minutes, the console resets.
Before the console shuts down, the user can extend the pause (e.g., for interval training)
for an additional 15 minutes. At this point, the user can also view a summary of their
workout performance or end their workout session.
After reviewing the summary, users can return to their workout, end their workout, or
export their workout summary to a USB drive (see page 22 for instructions).
Pause Function
Tap to extend pause.
Tap to end workout.
Tap to view summary.
Tap to continue workout.
Tap to export
summary.

18
System Settings
Admin
Use to change default settings (age, weight, gender). Changes made to the default
settings are global. Once the Admin screen opens, a password* is required to change
default settings. To enter password:
1. Tap screen to open numeric keyboard.
2. Enter password, tap Submit.
3. Tap icon to close keyboard.
System Settings
Use to adjust volume and screen brightness, change default settings, view diagnostics,
change metric configuration, view regulatory and software information.
Tap to submit
password.
In the Admin screen:
1. Tap into default fields and enter new default settings.
2. Tap Submit to apply changes.
*The password is the unit’s serial
number entered in reverse order.
Tap to close
keyboard.
Slide to adjust Slide to adjust
Tap to change
default.
Tap to change
default.
Tap to apply
changes.

19
3. Go to the Metric screen.
4. Tap to open the Reset Workout
screen.
5. Tap Reset to apply changes.
System Settings
Diagnostics
The diagnostics screens display live and historical data for service technicians or those
responsible for equipment maintenance. The Historical and Versioning screen requires a
password to access (see previous page).
Metrics Configuration
Users may change which metric units are displayed on the metric screen. The top row
displays the current metric configuration. To change:
1. Tap on a current metric unit to highlight.
2. Tap on a metric unit for the highlighted slot.
3. Tap Confirm to apply change.
current metric
configuration
Tap to choose
new metric unit.
Tap to apply
changes.

20
User Configuration
Users can create and save a profile with their own settings. To change:
1. Tap screen to open numeric keyboard.
2. Enter age, weight and select sex.
User Settings
Other manuals for T6
1
Table of contents
Other Nustep Fitness Equipment manuals

Nustep
Nustep T4 Operating instructions

Nustep
Nustep T5 User manual

Nustep
Nustep Leg Stabilizer Instruction sheet

Nustep
Nustep T5 User manual

Nustep
Nustep T4 User manual

Nustep
Nustep T4 User manual

Nustep
Nustep T4 User manual

Nustep
Nustep T5 Instruction sheet

Nustep
Nustep TRS 4000 User manual

Nustep
Nustep T4R Operating instructions
Popular Fitness Equipment manuals by other brands

Sunny Health & Fitness
Sunny Health & Fitness SF-RW522074 user manual

BRONZE GYM
BRONZE GYM H-005A user manual

Matrix
Matrix MAGNUM SERIES manual

BH FITNESS
BH FITNESS M370 Instructions for assembly and use

HUDSON STEEL
HUDSON STEEL Leg Press/Hack Squat Station owner's manual

BaByliss
BaByliss Body Tech manual