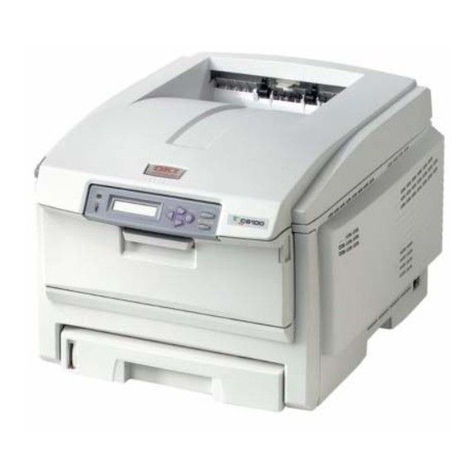
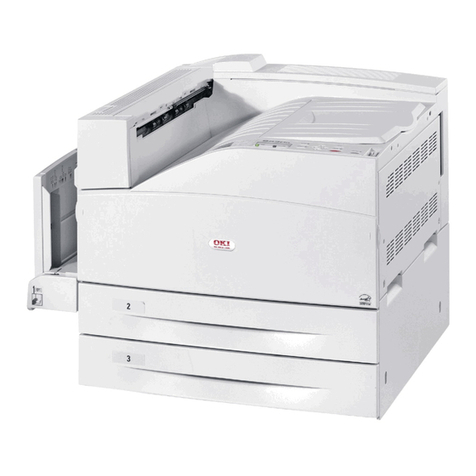
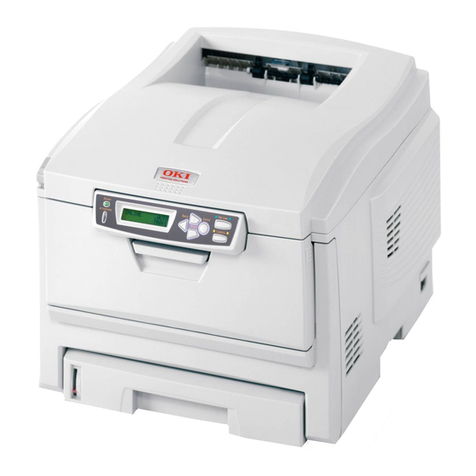
Oki 43347501 User manual

Oki Data Americas, Inc., 2000 Bishops Gate Blvd., Mt. Laurel, NJ 08054-4620
Tel: (856) 235-2600 FAX: (856) 222-5320 http://www.okiprintingsolutions.com http://my.okidata.com
Oki Data Americas, Inc., 2735 Matheson Blvd. East, Unit 1, Mississauga (Ontario), Canada L4W 4M8
Tél. : 1 800 654-3282 Téléc. : (905) 238-4427 www.okiprintingsolutions.com
Oki Data de Mexico, S.A. de C.V., Mariano Escobedo No. 748 – 8 Piso, Col Anzures, e. p. 11590, México, DF
Tel: +52-555-263-8780 FAX: +52-555-250-3501 www.okiprintingsolutions.com
Oki Data do Brasil Informática, Ltda., Rua Alexandre Dumas, 2220 – 8º andar,
Chácara Santo Antonio, São Paulo-SP 04717-004, Brasil
Tel: 55-11-3444-6747 (Grande São Paulo), 0800-11-5577 (Demais localidades) FAX: 5511-3444-3501
OKI ® Oki Electric Industry Company, Ltd.
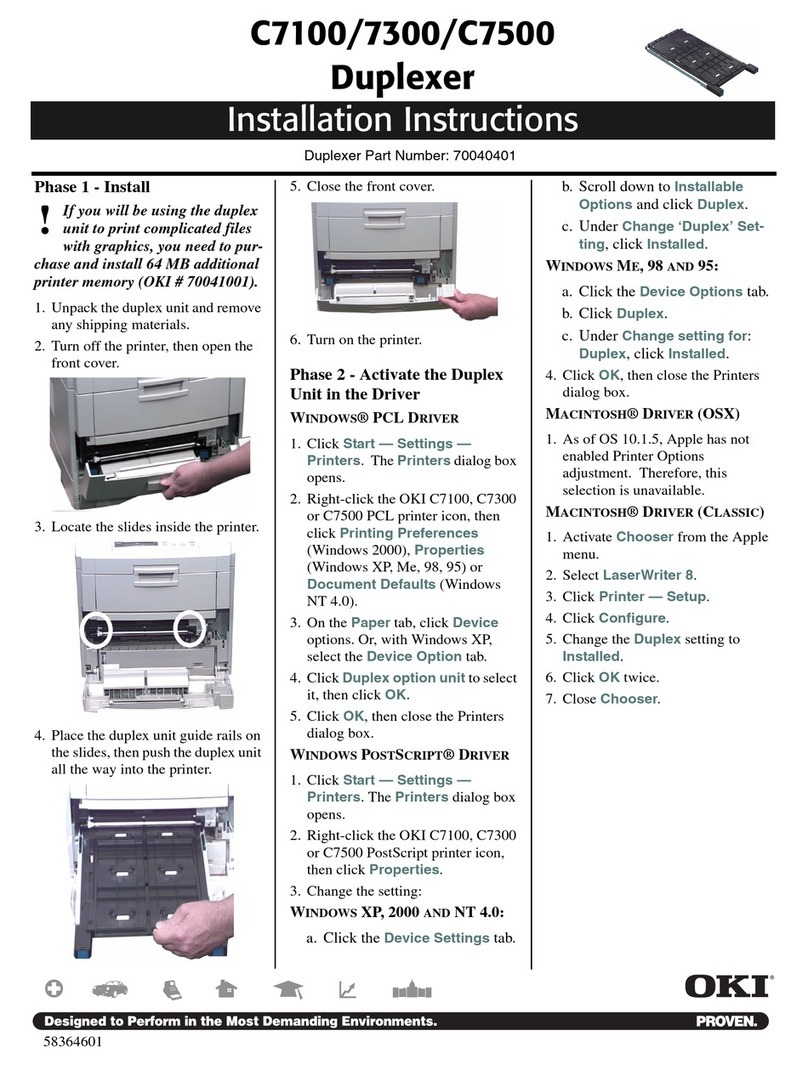
Installation
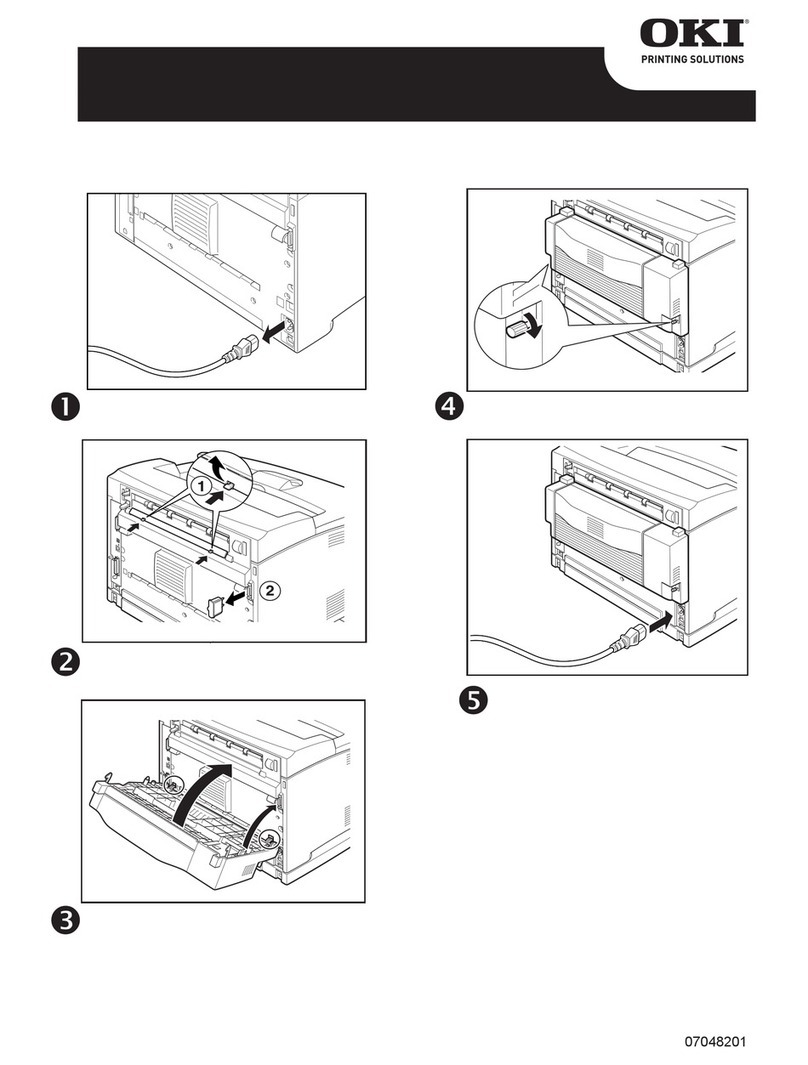
1. Unpack the duplexer. Remove
the shipping materials.
2. Turn off the printer.
3. Insert the duplexer through the
hinged door in the back of the
printer.
4. Push firmly on the duplexer to be
sure it is firmly seated in the
printer.
5. Turn on the printer.
Verify the Installation
Print the Menu Map
1. Press + one or more times until
INFORMATION MENU appears on
the display.
2. Press ENTER twice.
The MenuMap prints.
3. Look at the top of the first page.
“DUPLEX installed” should
appear.
If it doesn’t
Repeat the “Installation” steps
until it does.
To Set Duplexing as
the Printing Default
in the Printer Menu
1. Press
+
until you see PRINT
MENU on the display.
2. Press ENTER.
3. Press
+
until you see DUPLEX
on the display.
4. Press ENTER.
5. Press
+
to change the setting
from OFF to ON.
6. Press ENTER to engage the
setting.
7. Press ON-LINE to save the
setting and exit the menu.
(continued on the next page)
Duplex Unit,
Oki
®
P/N 43347501
for C5500n and C6100n printers
English . . . . . . . . . . . . . . . . . . . . . . . . . . . . . . . . . . . . . . . . . 1
Français . . . . . . . . . . . . . . . . . . . . . . . . . . . . . . . . . . . . . . . . 3
Español . . . . . . . . . . . . . . . . . . . . . . . . . . . . . . . . . . . . . . . . 5
Português . . . . . . . . . . . . . . . . . . . . . . . . . . . . . . . . . . . . . . 7
Installation Instructions

2 English
Activate in the Driver:
Windows
®
Windows PCL Driver
C6100n
1. Click
Start →Settings →Printers
[Printers and Faxes for XP].
The Printers (Printers and Faxes)
dialog box opens.
2. Right click the PCL printer icon.
Click Properties
3. Click the Device Option(s) tab.
4. Click Duplex Option Unit.
5. Click OK.
6. Close the Printers (Printers and
Faxes) dialog box.
Windows Postscript
Emulation Driver
C6100n
1. Click Start
→
Settings
→
Printers [Printers and Faxes for
XP].
The Printers (Printers and Faxes)
dialog box opens.
2. Right click the Postscript
emulation printer icon. Click
Properties.
3. Next:
Windows XP, 2000 and NT 4.0
:
click the Device Settings tab.
Windows Me and 98
: click the
Device Options tab.
4. Under Installable Options, click
Duplex. Select Installed.
5. Click OK.
6. Close the Printers (Printers and
Faxes) dialog box.
Windows Hiper-C Driver
C5500n
1. Click Start
→
Settings
→
Printers [Printers and Faxes for
XP].
The Printers (Printers and Faxes)
dialog box opens.
2. Right click the printer icon. Click
Properties.
3. Next:
Windows XP, 2000 and NT 4.0
:
click the Device Option(s) tab.
Windows Me and 98
: click the
Printer Properties tab. Click the
Device Option tab.
4. Select Duplex Option Unit.
5. Click OK.
6. Close the Printers (Printers and
Faxes) dialog box.
Activate in the Driver:
Macintosh
®
Macintosh
OS 8.x and 9.x
C6100n
1. Activate Chooser from the Apple
menu.
2. Select LaserWriter 8.
3. Click Printer
→
Setup.
4. Click Configure.
5. Change the Duplex Unit setting
to Installed.
6. Click OK twice.
7. Close Chooser.
Macintosh OS X to X.1
C6100n
No activation is required.
Macintosh OS X.2
C6100n
1. Activate Print Center from Local
Hard Drive
→
Applications
→
Utilities
→
Print Center.
2. Highlight the printer name.
Select from the menu
Printers
→
Show Info
3. Check the box next to Duplex
4. Click Apply Changes.
5. Exit to the desktop.
Setting Duplexing as
the Printing Default
on the Macintosh
OS Classic
1. Access the printer driver via an
application (File →Print).
2. Select Layout in the drop down
menu at the left.
3. Click the box to enable Print on
Both Sides.
4. Select the desired binding
position. Make any other
desired adjustments.
5. Click Save Settings.
OS X
1. Access the printer driver via an
application (File →Print).
2. Select Duplex in the drop down
menu at the left.
3. Click the box to enable Print on
Both Sides.
4. Select the desired binding
position. Make any other
desired adjustments.
5. Save your printer profile preset
with a descriptive name.
Example: Duplex Enabled.
6. Use this preset every time you
duplex.

3Français
Installation
1. Déballez l'unité duplex et retirez
les matériaux d'emballage.
2. Éteignez l'imprimante.
3. Insérez l'unité duplex en passant
par le panneau à charnières à
l'arrière de l'imprimante.
4. Poussez fermement sur l'unité
duplex pour s'assurer qu'elle est
bien insérée dans l'imprimante.
5. Allumez l'imprimante.
Vérification de
l’installation
Imprimez la liste de menus
(Menu Map)
1. Appuyez sur
+
une ou plusieurs
fois jusqu'à ce que
INFORMATION MENU s'affiche.
2. Appuyez deux fois sur ENTER.
La liste des menus (Menu Map)
s'imprime.
3. Consultez la partie supérieure de
la première page.
Le message « DUPLEX installed »
(DUPLEX installée) devrait être
indiqué.
Si le message n’est pas indiqué
Répétez les étapes de la section
« Installation » jusqu’à ce qu’il
soit indiqué.
Sélection par défau
dans le menu de
l’imprimante
1. Appuyez sur
+
jusqu'à ce que
PRINT MENU s'affiche.
2. Appuyez sur ENTER.
3. Appuyez sur
+
jusqu'à ce que
DUPLEX s'affiche.
4. Appuyez sur ENTER.
5. Appuyez sur
+
pour modifier le
réglage OFF à ON.
6. Appuyez sur ENTER pour valider
le réglage.
7. Appuyez sur ON-LINE pour
mémoriser le réglage et quitter
le menu.
(suite sur la page suivante)
Unité duplex (recto verso), N/P 43347501 Oki
®
pour les imprimantes C5500n et C6100n
Directive d'installation

4Français
Activation dans le
pilote : Windows
®
Windows Pilote PCL
C6100n
1.
Cliquez sur Start (Démarrer)
→
Settings (Paramètres)
→
Printers
(Imprimantes) [Printers and Faxes
(Imprimantes et télécopieurs)
so
us XP].
La boîte de dialogue
Imprimantes [Imprimantes et
télécopieurs] s'affiche.
2. Cliquez avec le bouton droit de la
souris sur l'icône de l'imprimante
PCL. Sélectionnez Propriétés.
3. Cliquez sur l'onglet Device
Option(s) [Options du
périphérique].
4. Cliquez sur Duplex Option Unit
(Module recto verso optionnel).
5. Cliquez sur OK.
6. Fermez la boîte de dialogue
Printers (Imprimantes) [Printers
and Faxes (Imprimantes et
télécopieurs)].
Windows Pilote d'émulation
Postscript
C6100n
1.
Cliquez sur Start (Démarrer) →
Settings (Paramètres) →Printers
(Imprimantes) [Printers and
Faxes (Imprimantes et
télécopieurs) sous
XP].
La boîte de dialogue
Imprimantes [Imprimantes et
télécopieurs] s'affiche.
2. Cliquez avec le bouton droit de la
souris sur l'icône de l'imprimante
d'émulation PostScript.
Sélectionnez Propriétés.
3. Suivant :
Windows XP, 2000 et NT 4.0 :
Cliquez sur l'onglet Device
Settings (Paramètres du
périphérique).
Windows Me et 98
: Cliquez sur
l'onglet Device Options
(Options du périphérique).
4. Sous Installable Options
(Options installables), cliquez
sur Duplex et sélectionnez
Installed (Installé).
5. Cliquez sur OK.
6. Fermez la boîte de dialogue
Printers (Imprimantes) [Printers
and Faxes (Imprimantes et
télécopieurs)].
Windows Pilote Hiper-C
C5500n
1. Cliquez sur Start (Démarrer) →
Settings (Paramètres) →Printers
(Imprimantes) [Printers and
Faxes (Imprimantes et
télécopieurs) sous XP].
La boîte de dialogue
Imprimantes [Imprimantes et
télécopieurs] s'affiche.
2. Cliquez avec le bouton droit de
la souris sur l'icône de
l'imprimante. Sélectionnez
Propriétés.
3. Suivant :
Windows XP, 2000 et NT 4.0 :
Cliquez sur l'onglet Device
Option(s) (Options du
périphérique).
Windows Me et 98
: Cliquez sur
l'onglet Printer Properties
(Propriétés de Imprimante),
puis cliquez sur l'onglet Device
Option (Options du
périphérique).
4. Cliquez sur Duplex Option Unit
(Module recto verso optionnel).
5. Cliquez sur OK.
6. Fermez la boîte de dialogue
Printers (Imprimantes)
[Printers and Faxes
(Imprimantes et
télécopieurs)].
Activation dans le
pilote : Macintosh
®
Macintosh OS 8.x et 9.x
C6100n
1.
Accédez au Chooser (Sélecteur)
dans le menu Apple (Pomme)
.
2. Sélectionnez LaserWriter 8.
3. Cliquez sur Printer
(Imprimante) →Setup
(Réglages).
4. Cliquez sur Configure
(Configurer).
5. Changez le paramètre Duplex
Unit (Duplex) à Installed
(Installé).
6. Cliquez deux fois sur OK.
7.
Fermez le Chooser (Sélecteur).
Macintosh OS X à X.1
C6100n
Aucune activation requise.
Macintosh OS X.2
C6100n
1. Activez le Print Center (Centre
d'impression) en accédant à
Local Hard Drive (Disque dur
local) →Applications →Utilities
(Utilitaires) →Print Center
(Centre d'impression).
2. Mettez en surbrillance le nom
de l'imprimante. Sélectionnez
dans le menu Printers
(Imprimantes) →Show Info
(Afficher info).
3. Cliquez sur la case à côté de
Duplex.
4. Cliquez sur Apply Changes
(Appliquer les changements).
5.
Quittez pour accéder au
bureau.
Sélection par défaut
sur Macintosh
OS Classic
1. Accédez au pilote d'imprimante
via une application (File
(Fichier) →Print (Imprimer)).
2. Sélectionnez Layout
(Disposition) dans le menu
déroulant à gauche.
3. Cliquez sur la case Print on
Both Sides (Imprimer sur les
deux côtés) pour l'activer.
4. Sélectionnez la position de
reliure désirée. Effectuez toute
autre modification requise.
5. Cliquez sur Save Settings
(Enregistrer les réglages).
OS X
1. Accédez au pilote d'imprimante
via une application (File
(Fichier) →Print (Imprimer)).
2. Sélectionnez Duplex dans le
menu déroulant à gauche.
3. Cliquez sur la case Print on
Both Sides (Imprimer sur les
deux côtés) pour l'activer.
4. Sélectionnez la position de
reliure désirée. Effectuez toute
autre modification requise.
5. Sauvegardez ce profil
d'imprimante en utilisant un
nom descriptif. Exemple :
Duplex. activé.
6. Utilisez ce profil chaque fois
que l'impression recto verso
est requise.

5Español
Instalación
1. Desempaque la unidad duplex.
Retire todo material protector.
2. Apague la impresora.
3. Inserte la unidad duplex a través
de la puerta sujeta a la parte
posterior de la impresora.
4. Empuje con firmeza la unidad
duplex para asegurarse de que
está correctamente asentada
dentro de la impresora.
5. Encienda la impresora.
Verifique la
instalación
Imprima el MenuMap
1. Presione el botón
+
una o varias
veces hasta que aparezca el
mensaje INFORMATION MENU.
2. Presione ENTER dos veces.
Se imprime el MenuMap.
3. Vea la parte superior de la
primera página.
Deberá ver el mensaje "DUPLEX
installed" (DUPLEX instalada).
Si no aparece
Repita las instrucciones de
Instalación hasta que el
mensaje aparezca.
Cómo seleccionar la
Unidad Duplex como
el valor por defecto
de impresión en el
menú Impresora
1. Presione el botón
+
hasta que
vea el mensaje PRINT MENU.
2. Presione ENTER.
3. Presione el botón
+
hasta que
vea el mensaje DUPLEX.
4. Presione ENTER.
5. Presione el botón
+
para
cambiar el parámetro OFF
(Desactivado) a ON (Activado).
6. Presione ENTER para seleccionar
el parámetro.
7. Presione ON-LINE para guardarlo
y salir del menú.
(continuado en la siguiente página)
Unidad Duplex Oki
®
P/N 43347501
para impresoras C5500n y C6100n
Instrucciones de Instalación
Other manuals for 43347501
2
This manual suits for next models
2
Table of contents
Languages:
Other Oki Printer Accessories manuals
Popular Printer Accessories manuals by other brands

Star Micronics
Star Micronics TSP800 Series install guide

Citizen
Citizen CBM-202PC Series user manual

Canon
Canon Color imageCLASS MF8170c installation instructions

Codonics
Codonics Virtua 1VCX-LR833 Technical brief

Roland
Roland DU2-64 Supplementary manual

TonerRefillKits
TonerRefillKits ReChargX RX126 instructions