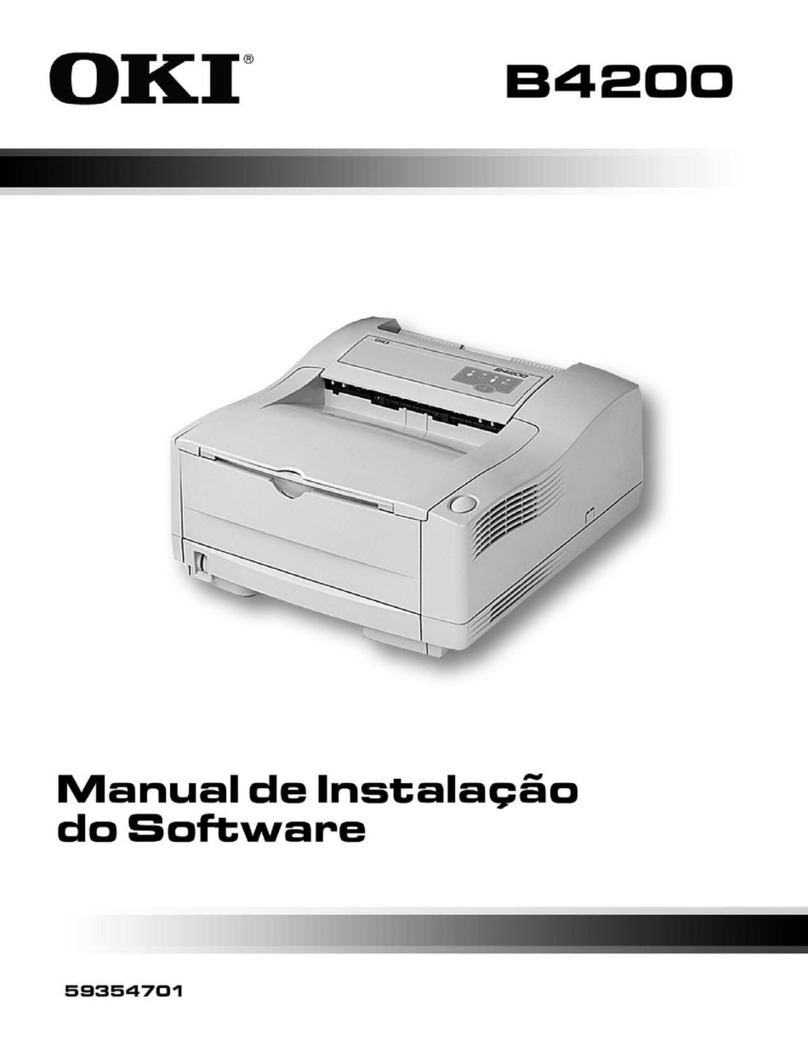
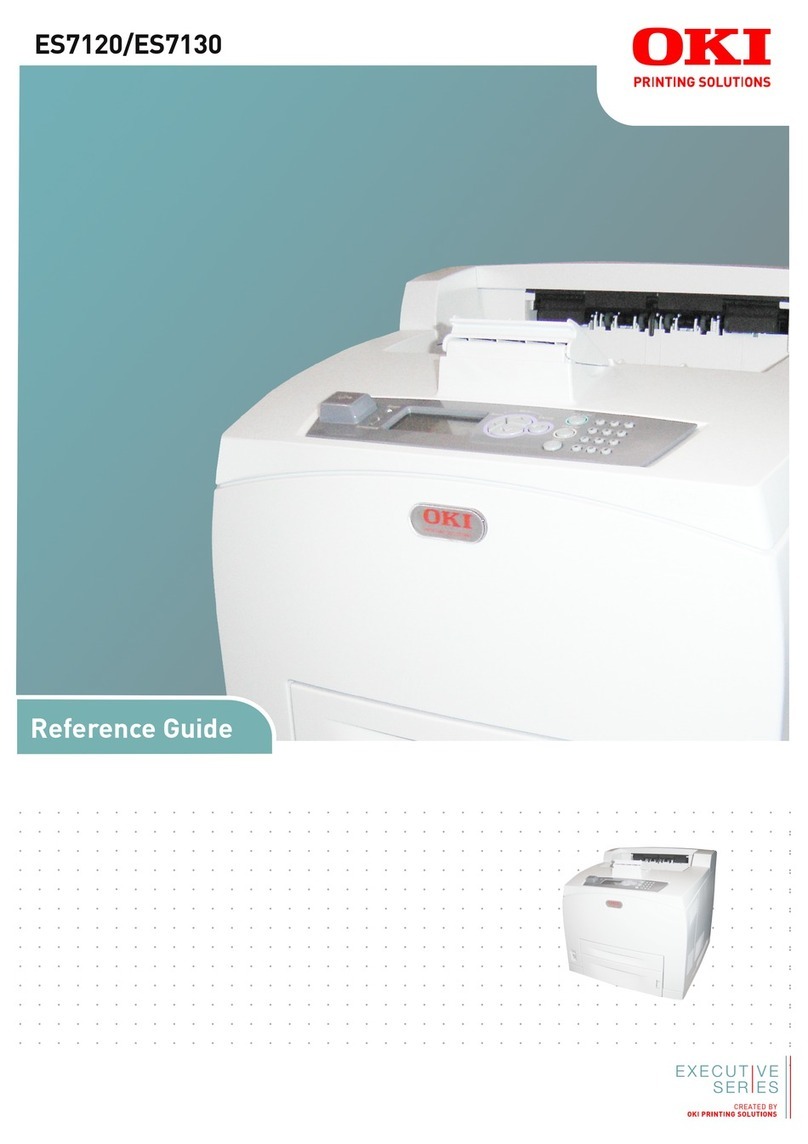
Oki C9600dn User manual


1
Replacement Supplies . . . . . . . . . 2
Purchasing Information . . . . . . . . . . 2
Oki Services. . . . . . . . . . . . . . . . . . . 4
Menu . . . . . . . . . . . . . . . . . . . . . . . 5
Changing Settings . . . . . . . . . . . . . . 5
Structure . . . . . . . . . . . . . . . . . . . . . 6
Paper (Media) Settings. . . . . . . . . 7
Changing . . . . . . . . . . . . . . . . . . . . . 7
Weight . . . . . . . . . . . . . . . . . . . . . . . 9
by Paper Tray . . . . . . . . . . . . . . . . 11
by Media Type. . . . . . . . . . . . . . . . 14
Recommended Media . . . . . . . . . . 17
Media Types . . . . . . . . . . . . . . . . 18
Paper . . . . . . . . . . . . . . . . . . . . . . . 18
Labels . . . . . . . . . . . . . . . . . . . . . . 19
Transparencies. . . . . . . . . . . . . . . . 20
Envelopes . . . . . . . . . . . . . . . . . . . 21
Thick Paper . . . . . . . . . . . . . . . . . . 22
Oki Print Media . . . . . . . . . . . . . . . 23
Loading Print Media. . . . . . . . . . 24
Trays 1-5 . . . . . . . . . . . . . . . . . . . . 24
MP Tray. . . . . . . . . . . . . . . . . . . . . 25
Changing the MP Tray Default . . . 27
Exit Paths. . . . . . . . . . . . . . . . . . . 28
Face Down (Top). . . . . . . . . . . . . . 28
Face Up (Side). . . . . . . . . . . . . . . . 29
Secure Print & Store to Hard Disk
Drive. . . . . . . . . . . . . . . . . . . . . . 30
Control Panel . . . . . . . . . . . . . . . 31
Keys. . . . . . . . . . . . . . . . . . . . . . . . 31
Lights. . . . . . . . . . . . . . . . . . . . . . . 33
Power Save . . . . . . . . . . . . . . . . . 34
Cleaning the LED Heads . . . . . . 35
Reports . . . . . . . . . . . . . . . . . . . . 36
Error Messages: Help Button . . 37
Paper (Media) Jams . . . . . . . . . . 38
Service and Support . . . . . . . . . . 39
Contents
59369802
2
Purchasing Information
Where to Purchase
• Consult the dealer where you
purchased your printer
• Consult an Oki Data Authorized Sales
or Service Dealer. For the nearest
dealer, call 1-800-654-3282.
•U.S., Puerto Rico, Guam, U.S. Virgin
Islands only: Order on the Internet
www.okidata.com.
•U.S. only: Order toll-free at
1-800-654-3282, using VISA®,
MasterCard®or AMEX®.
• Check office supply catalogs.
Part Numbers
Important!
Consumables designated “C9000
Series” do not work with these
printers. Use only Type C7 Toner
Cartridges and Image Drums.
Toner Cartridges, Type C7
Color OKI Part #
Black ..................................... 42918904
Cyan ...................................... 42918903
Magenta................................. 42918902
Yellow ................................... 42918901
C96_Toner.jpg
Replacement Supplies
Purchasing Information

3
Image Drums, Type C7
Color OKI #
Black ..................................... 42918104
Cyan ...................................... 42918103
Magenta................................. 42918102
Yellow ................................... 42918101
Other Consumables
Consumable Oki #
Fuser ()................... 42931701, 120V
................... 42931702, 230V
Transfer Belt ().................. 42931601
Toner Waste Bottle ................ 42869401
C96_Drum.jpg
C96_Fuser.jpg
C96_belt.jpg
1f.tif, 2f.tif
Replacement Supplies
Purchasing Information

4
Take Advantage of
Oki’s Supply Manager!
• Calculates your usage based on
information you provide.
• Sends you an E-mail when it’s time to
reorder.
To register, go to www.okidata.com.
Check Out
Oki Managed Services
A document output analysis of your
business which could save you up to
30% on your printing costs.
Call 1-888-654-6264 today to schedule
an appointment with an Oki Managed
Services project manager.
Or, for more information, go to
www.okidata.com.
Replacement Supplies
Oki Services

5
1. Press ENTER.
2. Use the ∇key to scroll down to the
Function you wish to change.
3. Press ENTER.
4. Continue to use the ∇and ENTER
keys to drill down to the item you
wish to change.
5. Use the ∇key to move down to the
setting you wish to engage.
6. Press ENTER.
An asterisk appears next to the
setting.
7. Press ON LINE to exit the Menu
mode.
C96_ReadyToPrint.jpg
C96_Functio
ns_Menu_a.
jpg
Menu
Changing Settings

6
For more information, see the on-line
User's Guide on the Documentation CD
provided with your printer or at
http://my.okidata.com.
– Configuration
• Page Count, Supplies Life.
• Network and System Settings.
• Size of paper automatically detected
in feed tray.
–PrintInformation
• Printer & Network Configurations.
• Print Demo Page.
• Lists: HDD (hard disk drive) files,
Fonts, etc.
–PrintSecureJob
(Password Protected)
Appears only if the optional Hard
Disk Drive is installed.
• Print out confidential documents
downloaded to the HDD.
–Menus
• Set the size, weight and type of media
for the various feed trays.
• Adjust system settings.
–AdminSetup
(Password Protected)
• Various Network Setups.
• Print Setup.
• PS and PCL Setups.
• IBM and Epson Setups.
• Color Setup.
• Memory and Flash Memory Setups.
• HDD and System Setups.
• Reset/Save/Restore Settings.
–Calibration
• Density adjustments.
• Registration.
• Color tuning.
– Print Statistics
(Password Protected)
Menu
Menu
Structure

7
Why Change?
Wrong media settings can cause:
• poor quality printing
•flaking
• damage the printer
Media Weight
The default media weight setting for all
trays is AUTO.
Individual Print Jobs
If you are using special media for only
one print job, you can adjust the media
settings in the driver. Load the media in
the appropriate tray (usually the MP
tray). In your application, click
File →Print and adjust the media
settings as necessary.
All Print Jobs (Defaults)
1. Press ENTER.
2. ∇key →Menus. Press ENTER.
3. With Tray Configuration highlighted,
press ENTER.
4. ∇key →tray to be configured.
Press ENTER.
5. Use the ∇and ENTER to scroll
through the submenus and to make
your setting changes.
6. Press ON LINE to exit the Menu
mode.
Control Panel
Right Side.jpg
Paper (Media) Settings
Changing

8
Reset to Factory Defaults
1. Press ENTER.
2. Use the ∇key to scroll down to
Admin Setup. Press ENTER.
Enter Password appears.
3. Use the ∆and ∇keys to set the first
digit in the password. Press ENTER.
Note: The default Password is 0000.
4. Repeat the previous step until all four
digits of the password are entered.
5. Press ENTER.
6. ∇key →Settings. Press ENTER.
7. Highlight Reset Settings. Press ENTER.
8. Press ENTER.
The printer resets and goes back to
the Ready to Print state.
Control Panel
Right Side.jpg
Paper (Media) Settings
Changing

9
US Bond
Select the appropriate settings in either the printer menu or in the printer driver.
Printer driver settings override printer menu settings.
Setting US Bond (metric)
Auto (default)17 to 57 lb. (64 to 216 g/m2)
Light 17 lb. (64 g/m2)
Medium Light 18 to 19 lb. (68 to 71 g/m2)
Medium 20 to 24 lb. (75 to 90 g/m2)
Medium Heavy 25 to 28 lb. (94 to 105 g/m2)
Heavy 29 to 34 lb. (109 to 128 g/m2)
Ultra heavy 1 35 to 50 lb. (132 to 188 g/m2)
Ultra heavy 2 51 to 58 lb. (192 to 218 g/m2)
Ultra heavy 3 [MP Tray only]59 to 80 lb. (222 to 301g/m2)
Paper (Media) Settings
Weight

10
Index
Note: To determine if a paper weight is US Bond or Index, check the metric
equivalent.
Example: 35 lb. US Bond = 132 g/m2; 35 lb. Index = 64 g/m2.
For more information, go to www.paper-paper.com/weight.html.
Setting Index (metric)
Auto (default)35 to 118.6 lb. (64 to 216 g/m2)
Light 35 lb. (64 g/m2)
Medium Light 37 to 40 lb. (68 to 71 g/m2)
Medium 42 to 50 lb. (75 to 90 g/m2)
Medium Heavy 52 to 56 lb. (94 to 105 g/m2)
Heavy 60 to 71 lb. (109 to 128 g/m2)
Ultra heavy 1 73 to 104 lb. (132 to 188 g/m2)
Ultra heavy 2 106 to 141 lb. (192 to 218 g/m2)
Ultra heavy 3 [MP Tray only]123 to 166 lb. (222 to 301 g/m2)
Paper (Media) Settings
Weight

11
Tray 1
*Important!
Duplex printing is restricted to paper only, 20 to 32 lb. US Bond.
If you experience curling with 20 or 24 lb. paper, switch to 28 lb.
Media Weight 17 to 57 lb. US Bond (64 to 216 g/m2)
Duplexing: 20 to 32 lb. US Bond (75 to 120 g/m2)*
Media Size Paper:
• min. 4.1" x 5.8" (105 x 148 mm)
• max. 12" x 18" (305 x 457 mm)
•Custom sizes must be defined in driver before printing.
Transparencies: letter or A4
Takes 550 Sheets 20 lb. (75 g/m2) paper
200 transparencies
Paper (Media) Settings
by Paper Tray

12
Optional Trays
• Optional trays 2 and 3
• Optional 3-Tray High Capacity Feeder.
Media Weight 17 to 57 lb. US Bond (64 to 216 g/m2)
Duplexing: 20 to 32 lb. US Bond (75 to 120 g/m2)
Media Size Paper:
• min. 5.8" x 8.3" (148 x 210 mm)
• max. 12" x 18" (305 x 457 mm)
•Custom sizes must be defined in driver before printing.
Each Tray Takes 550 Sheets 20 lb. (75 g/m2) paper
No transparencies
Paper (Media Settings)
by Paper Tray

13
MP (Multi-Purpose) Tray
This is also known as the manual feed tray.
Media Weight Paper: 17 to 80 lb. US Bond (64 to 301 g/m2), up to 166 lb. Index
Duplexing: 20 to 32 lb. US Bond (75 to 120 g/m2)
Banners: 20 to 34 lb. US Bond (75 to 128 g/m2)
Media Size Paper:
• min. 3" x 5" (76 x 127 mm)
• max. 12" x 18" (305 x 457 mm)
•Custom sizes must be defined in driver before printing.
Banners:up to 12" W x 47¼" L (305 mm x 1.2 m)
Transparencies: letter or A4
Takes 250 sheets 20 lb. US Bond (75 g/m2) paper
100 transparencies
25 envelopes
stack of label sheets approx. 1" (2.5 cm) high
Paper (Media Settings)
by Paper Tray

14
Paper
Sizea
a. Media type = Plain, Media weight = 17 to 57 lb. US Bond
Feed Tray, Exit Trayb
b. Face-Down = top exit tray (see page 28);
Face-Up = straight-through, side exit tray (see page 29)
Letter, Legal-13/13.5/14, Executive, Tabloid, Tabloid
Extra, A3, A3 Wide, A3 Nobi, A4, A5, B4, B5
All Trays,
Face-Down (up to 47 lb.) or
Face-Up (up to 57 lb.)
A6 Tray 1 or MP Tray,
Face-Up only
Customc: min. 4.1" x 5.8", max. 12" x 18"
c. Define in the printer driver before using.
Tray 1, Face-Up only
Customc: min. 5.8" x 8.3", max. 12" x 18" Trays 2 to 5, Face-Up only
Customc: min. 3" x 5", max. 12" x 18"
Banners to 47¼", max. 34 lb. US Bond
MP Tray, Face-Up only
Paper (Media) Settings
by Media Type

15
Labels, Transparencies, Envelopes
Media Media Size Media Typea
a. Media Weight = not applicable.
Feed Tray
Exit Trayb
b. Face-Down = top exit tray (see page 28);
Face-Up = straight-through, side exit tray (see page 29)
Labels Letter or A4 N.A.c
c. N.A. = not applicable.
MP Tray only
Face-Up only
Transparencies Letter or A4 Transparency Tray 1 or MP Tray
Face-Up only
Envelopes COM-10 Envelope N.A. MP Tray only
Face-Up only
Paper (Media) Settings
by Media Type

16
Thick Paper (Cards, Index, etc.)
Sizea
a. Media type = Plain.
Media Weight, Index Feed Trayb
b. Thick paper: use the face-up exit (see page 29).
Letter, Legal-13, Legal-13.5,
Legal-14, Executive, Tabloid,
Tabloid Extra
up to 119 lb. Any Tray
A3, A3 Wide, A3 Nobi, A4, A5, B4,
B5
up to 166 lb. MP Tray only
Customc: min. 4.1" x 5.8"
c. Maximum 12" x 18". must be defined in driver before printing.
up to 119 lb. Tray 1
Customc: min. 5.8" x 8.3" up to 119 lb. Trays 2 to 5
Customc: min. 3" x 5" up to 166 lb. MP Tray
Banners up to 12" x 47¼" up to 71 lb. MP Tray
Paper (Media) Settings
by Media Type

17
Media Type Recommended
Paper Letter:
• OKI®Bright White, 32-lb. US Bond (see page 23)
• OKI Banner Paper, 70 lb., (see page 23)
• HammerMill®Laser Print Radiant, White, 24-lb. US Bond
•Xerox
®4024, 20-lb. US Bond
Tabloid/Tabloid Extra:
• OKI Bright White, 32-lb. US Bond (see page 23)
• HammerMill Laser Print Radiant, White, 24-lb. US Bond
Labels Letter: Avery®5161; A4: Avery 7162, 7664, 7666
Transparencies Letter:
• OKI 52205701 (see page 23)
•3M
®CG3720
Envelopes COM-10: OKI 52206301, 52206302 (see page 23)
Thick Letter:
• OKI 52205601 series Card Stock (see page 23)
• Wausau Exact Index: 49108 (90-lb.) or 49508 (110-lb.)
Paper (Media) Types
Recommended Media

19
For more information, see page 15.
Caution!
Use labels designated for laser printers.
Labels must cover the entire carrier
sheet. The adhesive must not be
exposed.
Individual Print Jobs
Select the following settings in the
driver:
•Source = MP Tray
•Size = Letter long, Letter short, A4
Long edge, A4 Short edge
•Type = Labels
•Media Size = Off: Windows®Adobe®
PostScript®only:
Windows XP / 2000
Printing Preferences →Advanced
→Document Options →Printer
Features
Windows Me/98/95
Properties →Setup tab →Paper
Feed Options
All Print Jobs (Make
Labels the Default)
Set the printer menu:
Press ENTER to switch to the Menu
mode.
Menus →Tray Configuration →MP Tray
Config →
•Paper Size →Choose Letter Long Edge,
Letter Short Edge, A4 Long Edge, or A4
Short Edge
•Media Type →Labels
•Media Weight →Choose Heavy, Ultra
Heavy1, Ultra Heavy2, or Ultra Heavy3 (see
page 9).
Media Types
Labels
Other manuals for C9600dn
2
This manual suits for next models
5
Table of contents
Other Oki Printer manuals