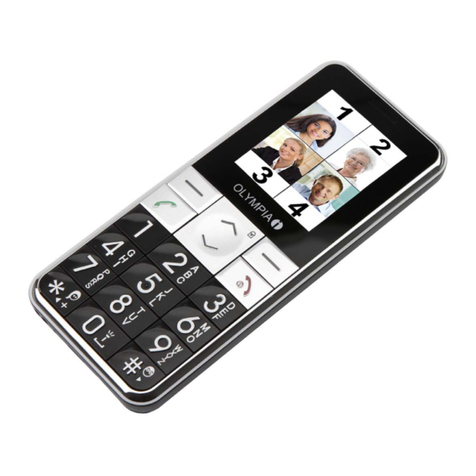
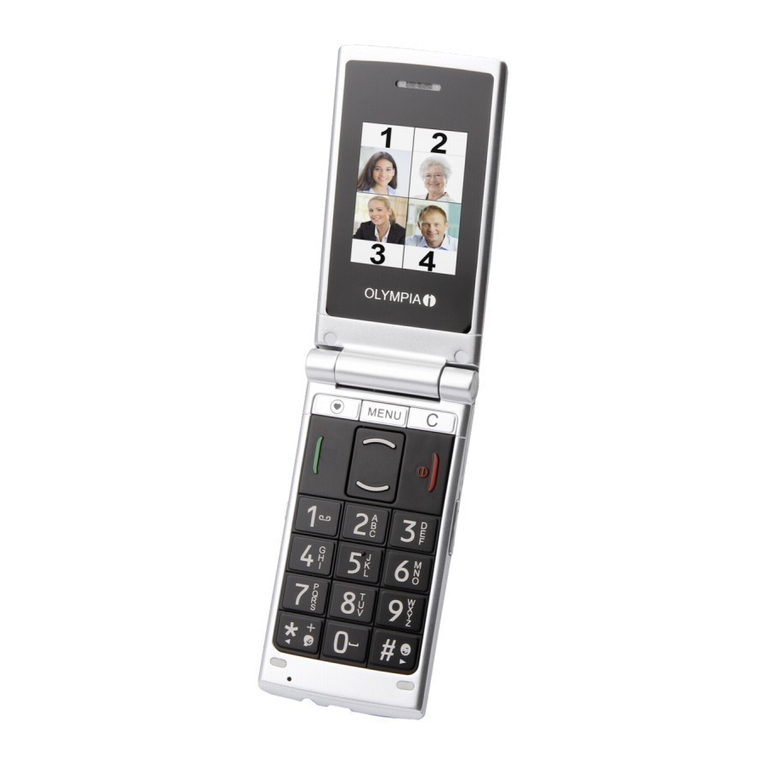
Olympia TOUCH II User manual

TOUCH II
BEDIENUNGSANLEITUNG
USER MANUAL
Artikelnummer 2150 / Version 11/2015


Contents
TOUCH II
3
Contents
For Your Safety 5..........................................
General Safety Information 5...................................
Intended Use 7...............................................
Unintended Use (Foreseeable Misuse) 7........................
General Overview 8........................................
Presentation and Symbols 8...................................
Scope of Delivery 8...........................................
Keys and Operating Elements 9................................
Display Icons 11...............................................
Start Screen 12...............................................
Putting the Mobile Phone into Operation 15...................
Inserting the SIM Card 16......................................
Inserting a MicroSD Memory Card 17............................
Inserting the Battery 18.........................................
Charging the Battery 19........................................
Switching On the Mobile Phone 21...............................
Switching Off the Mobile Phone 21...............................
Using the Mobile Phone 22..................................
Call Key 23...................................................
On-hook Key 24...............................................
Home Key 25.................................................
Making, Taking and Ending Calls 26.............................
Menu Options Available During a Call 32.........................
Entering Text 34...............................................
Mobile Phone Menu 36......................................
Picture Dialling 37.............................................
Phone Book 40................................................
Speed Dialling 43..............................................
Text Messages 44.............................................
Call Lists 55..................................................
Settings 58...................................................
Emergency Call Function (SOS Key) 60..........................
TOUCH II
4
Low Battery Power Alert 62.....................................
Network Settings 63...........................................
Security Settings 63............................................
Restore Factory Settings 64....................................
Dual SIM Settings 65...........................................
Call Settings 66...............................................
Bluetooth 69..................................................
User Profiles 71...............................................
Camera 74...................................................
Radio 77.....................................................
Calendar 80..................................................
Organiser 82..................................................
Alarm Clock 83................................................
Calculator 84..................................................
File Manager 85...............................................
Other Functions 86............................................
Other Important Information 87..............................
Troubleshooting 87............................................
Technical Data 88.............................................
Declaration of Conformity 89....................................
SAR Information 90............................................
Information on Disposal 91.....................................
Maintenance 91...............................................
Guarantee 91.................................................

For Your Safety
GENERAL SAFETY INFORMATION
TOUCH II
5
For Your Safety
Observe the following safety information in order to protect yourself from
the possibility of personal injury and the product from damage.
General Safety Information
WARNING!
Pay attention to the information to prevent any personal injuries!
•Risk of electric shock! Never attempt to open and repair the device
or accessories yourself. Never touch bare contacts with metallic ob
jects. Never plug-in or unplug the charging adapter when your hands
are wet.
•Risk of suffocation! Keep out of reach of children! Keep packaging
materials and protective foils out of reach of children. Keep the device
and any accessories out of reach of children. Small children can swal
low small parts.
•Prevent life-threatening interference to heart pacemakers! Main
tain a safety distance of at least 15 cm! Never carry the mobile phone
in a breast pocket when switched on. Always hold the mobile phone to
the ear furthest away from the pacemaker during calls. Switch the mo
bile phone off immediately if you notice or suspect any adverse effects.
CAUTION!
•Risk of explosion through improper replacement or removal of
the lithium battery! Only replace the lithium battery by a type ap
proved by the manufacturer.
•Risk of hearing damage! The ringing tone is issued via the loud
speaker. Take an incoming call first and then hold the mobile phone to
your ear. This prevents any possible hearing damage.
•Do not use the phone in prohibited areas! Prohibited areas could
include hospitals, petrol stations, aeroplanes, etc. Please observe local
regulations!
•Reduce exposure to radio waves! Use an appropriate headset in the
case of longer calls. Do not keep the mobile phone near your head.
•With regard to emergencies, do not rely on the mobile phone
alone! For technical reasons, it is not possible to guarantee a reliable
connection in every situation.

GENERAL SAFETY INFORMATION
For Your Safety
TOUCH II
6
ATTENTION!
Avoid the risk of property damage to your device and observe the informa
tion!
•Protect the device from moisture, dust, liquids, chemicals, vapours,
heat and direct sunlight. The phone is not waterproof; therefore, keep it
dry.
•Only use original accessories. Only connect accessories approved
by the manufacturer.
•Repairs to this device may only be completed by properly qualified
service personnel.
• When using mobile communication equipment, interference can
cause disturbances.
•Telephoning while driving is only permitted when the applicable legal
regulations are observed.

For Your Safety
INTENDED USE
TOUCH II
7
Tips concerning the battery
Only use batteries and power adapters which have been approved by the
manufacturer, otherwise the battery could be damaged.
Do not short circuit the battery. Always leave the battery in the mobile
phone to avoid accidentally short circuiting the battery contacts.
Keep the battery contacts clean and free of dirt.
The battery can be charged/discharged hundreds of times but its service
life is limited. Replace the battery when the battery power has decreased
noticeably.
To prevent unnecessary power consumption via the power adapter plug,
disconnect the power adapter plug from the power socket when the battery
is not being charged.
Intended Use
This mobile phone is designed for telephoning when connected to a mo
bile phone network. Any other use is considered unintended use. Unautho
rised modification or reconstruction is not permitted. Under no circum
stances open the device or complete any repair work yourself.
Unintended Use (Foreseeable Misuse)
Any use of the device other than for that described in Section "Intended
Use" is considered unintended use. Unauthorised modification or recon
struction is not permitted.

PRESENTATION AND SYMBOLS
General Overview
TOUCH II
8
General Overview
This chapter provides information on the presentation and symbols used in
this operating manual and on the individual elements of the mobile phone.
Presentation and Symbols
The following presentations and symbols appear in this operating manual.
Represents the keys
Names Represents text in the display
Indicates icons in the display
1. This indicates the first step in a set of instructions.
2. This indicates the next step in a set of instructions.
This indicates helpful information intended to simplify using the mobile
phone.
Scope of Delivery
The following components are contained in the mobile phone package:
1 mobile phone 1 USB connection cable
1 lithium ion battery 1 charging cradle
1 headphone 1 charging adapter
1 quick reference manual
Please check the contents of the package carefully. If anything is missing
or has been damaged during transport, do not attempt to put the mobile
phone into operation!

General Overview
KEYS AND OPERATING ELEMENTS
TOUCH II
9
Keys and Operating Elements
3
1
2
5
4
1 Earpiece
2 Display
3Call key
4 Home Key
5On-hook key

KEYS AND OPERATING ELEMENTS
General Overview
TOUCH II
10
6
78910
14 13
11
12
6 Volume key, increase / decrease
7MicroUSB connection port
8 Headphone socket
9 Camera
10 SOS key (emergency call function)
11 Loudspeaker
12 Battery compartment cover
13 Camera key
14 Charge contacts

General Overview
DISPLAY ICONS
TOUCH II
11
Display Icons
The table below indicates a series of display icons which frequently appear
and indicate a specific status of the mobile phone.
Symbol Significance
Battery charge
Network availability
Bluetooth is switched on
Headphone is connected
Silent mode
You will find display texts (e.g. SOSVolume) illustrated in many sections of
this operating manual. These display texts correspond to the texts which
appear in the screen of your mobile phone.

START SCREEN
General Overview
TOUCH II
12
Start Screen
The start screen is the standard display which appears when the mobile
phone is switched on. The start screen contains various useful indicators.
In addition to the time, network operator and first menu options, icons indi
cating the battery charge and network availability and first two picture di
alling contacts are also displayed.
Display of the network availability
The current network availability is displayed graphically at the top left of
the mobile phone screen.
Very good
reception
Poor
reception
The more bars in the display icon, the better the reception quality.
Some mobile phone networks offer better coverage than others in different
areas.

General Overview
START SCREEN
TOUCH II
13
Display of the network operator
The name of the network operator appears at the top right of the mobile
phone screen underneath the battery charge icon.
Example of the network operator
OLYMPIA Mobile - DE
Display of the battery charge
The current battery charge status is indicated at the top right of the mobile
phone display.
Full Half empty Low Empty
In cases where the battery charge is extremely low, it is possible that the
back-lighting for the screen no longer works and certain functions are no
longer available. The corresponding warning message appears in the dis
play.
Charge the battery in the mobile phone for at least two hours. When the
battery charge drops below a minimum status, the mobile phone switches
off automatically.

START SCREEN
General Overview
TOUCH II
14
Display of the time
The time is displayed at the top left of the mobile phone screen. When the
standard setting is set, the time is displayed in the format HH:MM (hour,
minute).
Set the time before using the phone for the first time.
If you reset the mobile phone settings to their factory settings, the current
time must be set again.

Putting the Mobile Phone into Operation
TOUCH II
15
Putting the Mobile Phone into Operation
This chapter provides information on preparing the mobile phone for use.
Before you start, please read the safety information and observe the ad
vice contained.

INSERTING THE SIM CARD
Putting the Mobile Phone into Operation
TOUCH II
16
Inserting the SIM Card
Before you can start to use the mobile phone, you must insert your SIM
card (not included in the equipment supplied) in the phone.
At certain points of this operating manual, reference is made to "SIM1".
Since this device supports the use of 2 SIM cards (dual SIM), the settings
are also applicable for SIM2 at the respective points.
The emergency call (SOS) function of the phone is completed by a SIM
card. Therefore, the emergency call (SOS) function can only be used
when a SIM card is inserted.
1. Remove the battery compartment cover. Use the notch on the under
side of the mobile phone.
2. Insert the SIM card in the slot labelled SIM 1. Ensure the SIM card is
aligned correctly.
The battery compartment contains a useful diagram which indicates how
to position and align the SIM card correctly in the compartment.

Putting the Mobile Phone into Operation
INSERTING AMICROSD MEMORY CARD
TOUCH II
17
Inserting a MicroSD Memory Card
A microSD memory card (not included in the equipment supplied) can be
inserted, as an option, in the mobile phone. This increases the quantity of
data which can be stored on the mobile phone.
1. Slide the metal bar to the left using a little force.
2. Pivot the metal bar up.
3. Lay the microSD memory card with the contacts facing down in the
open compartment. Ensure the microSD memory card is aligned cor
rectly.
4. Pivot the metal bar down and slide it to the right using a little force. The
metal bar latches audibly in place.

INSERTING THE BATTERY
Putting the Mobile Phone into Operation
TOUCH II
18
Inserting the Battery
Before you can use the mobile phone, you must insert the battery in the
mobile phone.
1. Insert the battery as illustrated. Pay attention the battery is aligned cor
rectly.
2. Replace the battery compartment cover. The battery compartment cov
er latches audibly into place.

Putting the Mobile Phone into Operation
CHARGING THE BATTERY
TOUCH II
19
Charging the Battery
When charging the battery for the first time, it should be charged for at
least 4 hours. Some batteries only reach their full capacity after several
complete charge/discharge cycles. If the battery is fully discharged, it may
take some time for the charging process to be indicated.
Before starting to charge the battery, check that it has been installed prop
erly. Do not remove the battery while the mobile phone is being charged.
This could damage the phone.
Charging the battery with the charging adapter
1. Connect the power plug to a properly installed power socket.
2. Connect the microUSB plug to the microUSB connection port on the
mobile phone.
Ensure that the microUSB plug is correctly aligned to the microUSB con
nection port on the mobile phone when connecting it.
The charging process is indicated in the display by means of a charging
battery icon.

CHARGING THE BATTERY WITH THE CHARGING
ADAPTER
Putting the Mobile Phone into Operation
TOUCH II
20
Charging the battery with the charging cradle
1. Connect the power plug to a properly installed power socket.
2. Connect the microUSB plug to the microUSB connection port on the
charging cradle.
3. Place the mobile phone in the charging cradle as illustrated.
The charging process is indicated in the display by means of a charging
battery icon.
Table of contents
Other Olympia Cell Phone manuals

Olympia
Olympia Chic II User manual

Olympia
Olympia BECCO Plus Service manual

Olympia
Olympia BRAVO User manual

Olympia
Olympia PRIMUS Service manual

Olympia
Olympia Joy Plus User manual

Olympia
Olympia BELLA Service manual

Olympia
Olympia Vitus 2GVitus 4G User manual

Olympia
Olympia ACTIVE User manual

Olympia
Olympia ROCK User manual

Olympia
Olympia NEO MINI User manual

Olympia
Olympia STYLE User manual

Olympia
Olympia BRAVO User manual

Olympia
Olympia HAPPY User manual

Olympia
Olympia VIVA PLUS User manual

Olympia
Olympia BELLA User manual

Olympia
Olympia STYLE User manual

Olympia
Olympia HAPPY II User manual

Olympia
Olympia Becco User manual

Olympia
Olympia Viva User manual

Olympia
Olympia style plus Service manual