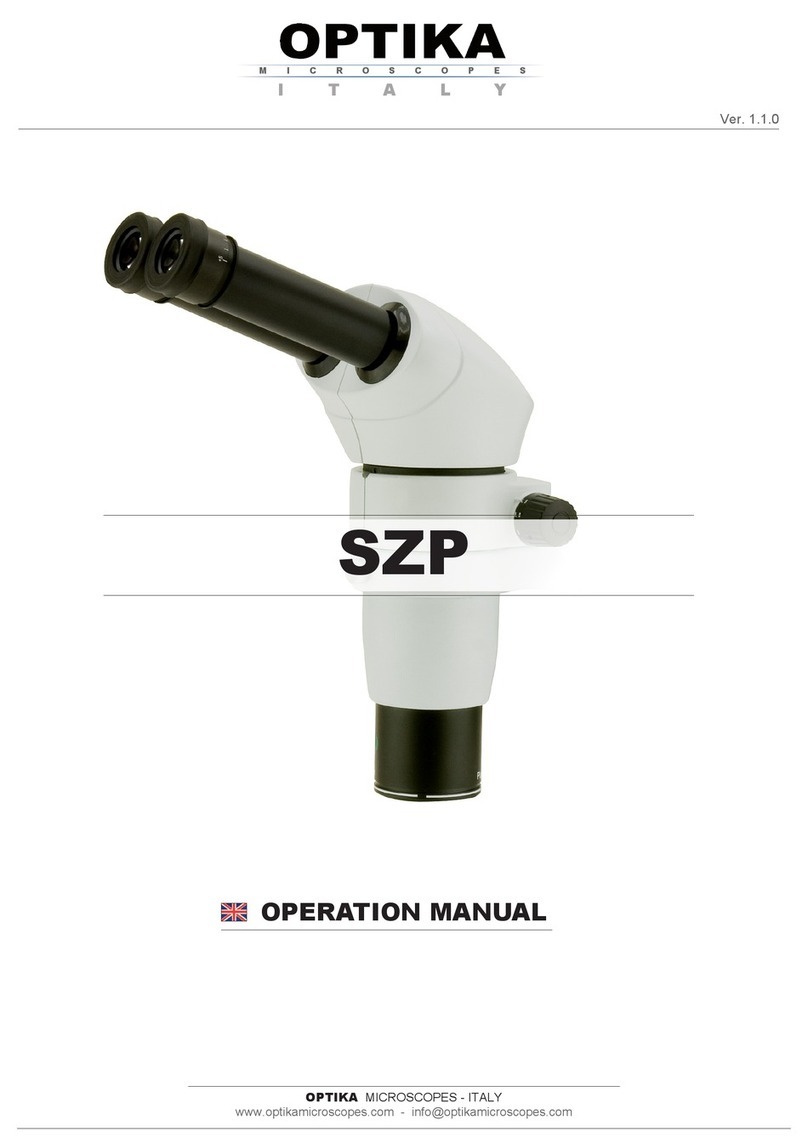
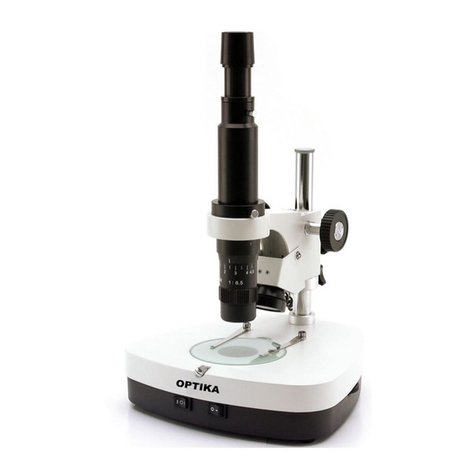
OPTIKA MICROSCOPES XZ-2 User manual

OPTIKA MICROSCOPES - ITALY
Ver. 3.0.0
XZ-2
OPERATION MANUAL
GUIDA UTENTE
MANUAL DE INSTRUCCIONES

Page 2
INDEX
1.0 DESCRIPTION page 4
2.0 INTRODUCTION page 5
3.0 UNPACKING AND ASSEMBLY page 5
4.0 USING THE MICROSCOPE page 15
5.0 MAINTENANCE page 19
6.0 ELECTRICAL SPECIFICATIONS page 19
7.0 RECOVERY AND RECYCLING page 20

Page 3
This microscope is a scientic precision instrument designed to last for many years with a minimum of main-
tenance. It is built to high optical and mechanical standards and to withstand daily use.
Optika reminds you that this manual contains important information on safety and maintenance, and that it
must therefore be made accessible to the instrument users.
Optika declines any responsibility deriving from instrument uses that do not comply with this ma-nual.
Safety guidelines
This manual contains important information and warnings regarding safety about installation, use and mainte-
nance of the microscope. Please read this manual carefully before using the equipment. To ensure safe use,
the user must read and follow all instructions in this manual. OPTIKA products are designed for safe use in
normal operating conditions. The equipment and accessories described in the manual are manufactured and
tested according to industry standards for safety instrumentation laboratory. Misuse can cause personal injury
or damage to the instrument. Keep this manual at hand close to the instrument, for an easy consultation.
Electrical safety
Before connecting the power cord to wall outlet, ensure that your mains voltage for your region corresponds
to the voltage supply of the instrument, and that the illuminator’s switch is in position OFF. The user must
observe the safety regulations in force in his region. The instrument is equipped with CE safety marking, in
any case the user has full responsibility concerning the safe use of that instrument.
Warning/Caution symbols used in this manual
The user should be aware of safety aspects when using the instrument. Warning or hazard symbols are
shown below. These symbols are used in this manual.
The instructions on this symbol to avoid possible severe personal injuries.
Warning of use; the incorrect operation on the instrument can cause damages
to the person or instrument.
Possibility of electric shock.
Attention: high temperature surfaces. Avoid direct contact.
Technical notes or usage tips.
SAFETY GUIDELINES

Page 4
1.0 DESCRIPTION
EYEPIECES
DIGITAL CAMERA
LCD
ZOOM ADJUSTMENT
RING
LED BRIGHTNESS
CONTROL
DIOPTRIC
COMPENSATION
FOCUS / TENSION
KNOB
LED RING
ILLUMINATOR

Page 5
This microscope is a scientic precision instrument designed to last for many years with a minimum
of maintenance. It is built to high optical and mechanical standards and to withstand daily laboratory
use.
Optika reminds you that this manual contains important information on safety and maintenance, and
that it must therefore be made accessible to the instrument users.
Optika declines any responsibility deriving from instrument uses that do not comply with this ma-
nual.
3.0 UNPACKING AND ASSEMBLY
2.0 INTRODUCTION
Components of the microscope
Unpack the components of the microscope from the box and put them on a stable surface. In the
packaging you nd:
1 - PILLAR BASE
Connect the mains plug into the socket at the base
Make sure, before you turn the illumination on, that the voltage selector is set to the mains voltage for your
region.
The power cord should be used only on network sockets equipped with adequate grounding.
Contact a technician to check the state of your electrical system. If there is no need to install additional acces-
sories, the instrument is now ready for use. Once positioned and installed with the necessary components,
the microscope is ready to be used. Your microscope is a laboratory instrument designed to last. Handle it
always carefully and avoid abrupt vibrations or shocks. Always disconnect the power cable from the micro-
scope when not in use for long time, while you clean it or when you perform any maintenance.
AVOID DISASSEMBLING THE INSTRUMENT
Do not disassemble the instrument. This entails the cancellation of the warranty and may cause
malfunction.

Page 6
2 - HEAD HOLDER WITH FOCUSING MECHANISM
3 - SUPPORT ROD FOR LCD
3.0 UNPACKING AND ASSEMBLY

Page 7
3.0 UNPACKING AND ASSEMBLY
4 - OPTICAL HEAD WITH BUILT-IN DIGITAL CAMERA
5 - 8’’ TFT LCD SCREEN

Page 8
3.0 UNPACKING AND ASSEMBLY
6 - EYEPIECES WF10X/18MM
7 - LED RING ILLUMINATOR WITH BRIGHTNESS CONTROL

Page 9
3.0 UNPACKING AND ASSEMBLY
9 - DIGITAL CAMERA POWER SUPPLY (OUT: 5,5VDC 200mA)
10 - LCD SCREEN POWER SUPPLY (OUT: 12VDC 2,6A)
8 - LED RING POWER SUPPLY (OUT: 12VDC 0.5A)

Page 10
3.0 UNPACKING AND ASSEMBLY
Assembling the microscope
1. Put the optical head in the head holder and then slide it on the pillar. Tighten the screw on
the back at about half height of the pillar (you can move it later when you focus your sam-
ple).
2. Put the LCD screen on a table with its rear up-facing, then insert the slider of the support
rod all the way up and tighten the two screws.
TIGHTEN THIS SCREW

Page 11
3.0 UNPACKING AND ASSEMBLY
SCREWS

Page 12
3.0 UNPACKING AND ASSEMBLY
2. Put the support rod with the screen on the pillar base, locking the screw.
4. Put the LED ring illuminator at the bottom of the optical head.
USE THIS SCREW TO ADJUST
LCD INCLINATION
LOCK THIS SCREW
LOCK THIS SCREW

Page 13
5. Take the cable connected to the digital camera, and plug it to the power supply (5,5V).
6. Plug the other jack of the digital camera cable into the AV input on the rear of the LCD screen.
DIGITAL CAMERA CABLE
JACK FROM 5,5V POWER SUPPLY
3.0 UNPACKING AND ASSEMBLY

Page 14
7. Plug the jack from LED ring power supply (12Vdc 0,5A) into the brightness control.
8. Plug the jack from the LCD screen power supply (12Vdc 2,6A) into the DC12V input on
the rear of the LCD screen.
Now the XZ-2 is ready to be used.
JACK FROM 12V-0.5A POWER SUPPLY
3.0 UNPACKING AND ASSEMBLY

Page 15
4.1 Switch on the power supplies and press the POWER button on the LCD screen.
4.2 Use the brightness control to adjust the LED light:
- position 0: LED OFF
- position I: LED ON with adjustable brightness
- position II: LED ON at maximum brightness
4.3 Put your sample on the base under the objective and rotate the focusing knob to bring the
object into focus on the LCD screen.
4.4 Rotate the zoom adjustment ring at the desired magnication (zoom range: 0,7x – 4,5x). The
ring has click-stop positions at specic zoom values for precise magnications.
4.5 Focus tension adjustment: The tension of the focusing knob can be adjusted by rotating
the right focusing knob keeping still the left focusing knob.
4.6 Interpupillary distance of the optical head: move the two eyepiece tubes until only one
circular eld can be seen through the two eyepieces. If two circles appear, the interpupil-
lary distance is too big, and if 2 overlapped circles appear, the interpupillary distance is too
small.
4.7 Dioptric compensation of the optical head: this compensation makes it possible for peo-
ple with glasses to adjust the microscope to their eyes and use the microscope without glas-
ses. Turn the zoom down to the lowest magnication. Adjust the diopter compensation ring
of the right eyepiece tube until the image of the right eyepiece is clear and sharp. Repeat
the procedure for the left eyepiece. Then, check the focus of the image for the whole zoom
range. It should now be perfectly parfocal (focus is always maintained during the change of
magnication).
4.0 USING THE MICROSCOPE
JACK FROM 12V-0.5A POWER SUPPLY

Page 16
4.8 Orientation of the digital camera: in order to have the image on the LCD aligned with the
object under observation, you can rotate the digital camera on the top of the optical head.
Note that the image in the eyepieces is reversed compared to the LCD image.
4.9 Setting the LCD screen. On the front panel of LCD you see the buttons for LCD manage-
ment:
- POWER (button at right): press this button to switch ON / OFF the screen.
- Brightness adjustment:
Press buttons:
MENU ->
►
->
►
or
◄
To exit press:
MENU
- Contrast adjustment:
Press buttons:
MENU ->
►
-> ▼ ->
►
or
◄
To exit press:
MENU
4.0 USING THE MICROSCOPE

Page 17
4.0 USING THE MICROSCOPE
- Saturation adjustment:
Press buttons:
MENU ->
►
-> ▼ -> ▼ ->
►
or
◄
To exit press:
MENU
- Language selection:
Press buttons:
MENU -> ▼
->
►
->
►
->
▲
or ▼
To save press:
►
To exit press:
MENU
- Cross display:
Press buttons:
MENU -> ▼
-> ▼ ->
►
->
▲
->
►
->
▲
or ▼
To save press:
►
To exit press: MENU
- Analog camera input settings:
Press button:
to select “AV” for the XZ-2 camera.

Page 18
- Reset the image settings (all values set to 50):
Press buttons:
MENU ->
▲
->
▲
->
►
->
►
->
▲
or ▼
To save press:
►
To exit press:
MENU
4.10 Analog input. Connect an AV coaxial cable to TV connector on the rear, in order to see an
external source.
4.0 USING THE MICROSCOPE

Page 19
5.0 MAINTENANCE
5.1 Always think about
- The following environment is required: Indoor temperature: 0-40°C, Maximum relative humidi-
ty: 85 % (non condensing).
- Keep the microscope away from dust and shocks while in use.
- Turn off the light immediately after use.
- Use a soft lens tissue to clean the optics after use.
- Only if needed, use a cloth moistened with water and a mild detergent, rinsing with water and
drying immediately with a lint-free cloth.
- After use, cover the microscope with the included dust-cover, and keep it in a dry and clean
place.
5.2 Do not!
- Wipe the surface of any optical items with your hands. Fingerprints can damage the optics.
- Use solvents, neither on the microscope, nor on the optics.
- Disassemble objective or eyepieces to attempt to clean them.
- Mishandle or impose unnecessary force on the microscope.
- Clean the unit with volatile solvents or abrasive cleaners.
- Attempt to service the microscope yourself.
5.3 If you need to send the microscope to OPTIKA for maintenance, please use the original packa-
ging.
Power Supply:
INPUT: 100-230 Vac, 50/60 Hz
OUTPUTS: LED ring: 12Vdc 0.5A
Digital camera: 5,5Vdc 200mA
LCD screen: 12Vdc 2,6A
6.0 ELECTRICAL SPECIFICATIONS

Page 20
7.0 RECYCLING AND RECOVERY
Art.13 Dlsg 25 july 2005 N°151. “According to directives 2002/95/EC, 2002/96/EC and 2003/108/EC
relating to the reduction in the use of hazardous substances in electrical and electronic equipment
and waste disposal.”
The basket symbol on equipment or on its box indicates that the product at the end of its useful life
should be collected separately from other waste.
The separate collection of this equipment at the end of its lifetime is organized and managed by
the producer. The user will have to contact the manufacturer and follow the rules that he adopted
for end-of-life equipment collection. The collection of the equipment for recycling, treatment and en-
vironmentally compatible disposal, helps to prevent possible adverse effects on the environment
and health and promotes reuse and/or recycling of materials of the equipment. Improper disposal
of the product involves the application of administrative penalties as provided by the laws in force.
Table of contents
Other OPTIKA MICROSCOPES Microscope manuals

OPTIKA MICROSCOPES
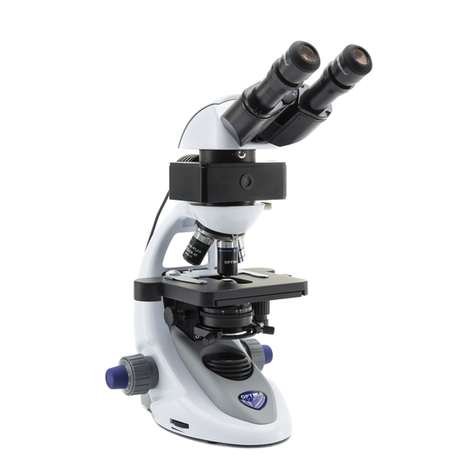
OPTIKA MICROSCOPES B-290 Series User manual

OPTIKA MICROSCOPES
OPTIKA MICROSCOPES XDS-3 MET User manual

OPTIKA MICROSCOPES
OPTIKA MICROSCOPES SZP User manual

OPTIKA MICROSCOPES
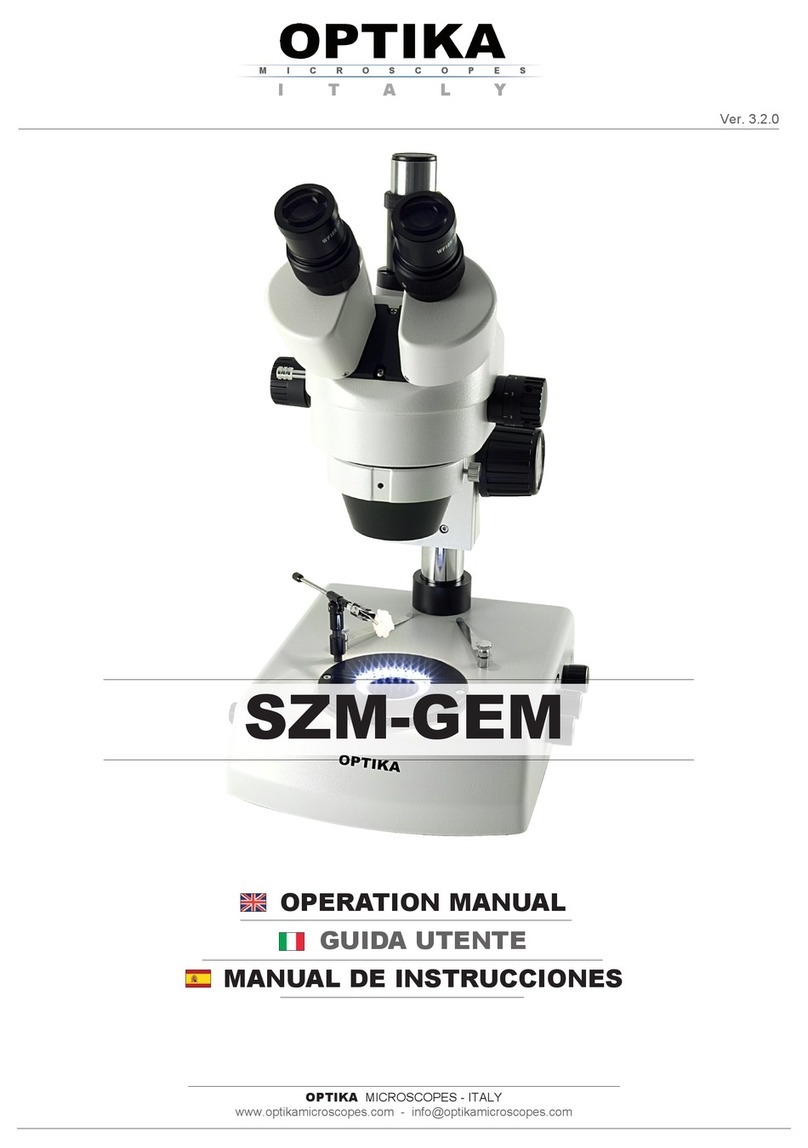
OPTIKA MICROSCOPES SZM-GEM Series User manual

OPTIKA MICROSCOPES
OPTIKA MICROSCOPES MS-1 User manual

OPTIKA MICROSCOPES
OPTIKA MICROSCOPES XZ-1 User manual

OPTIKA MICROSCOPES
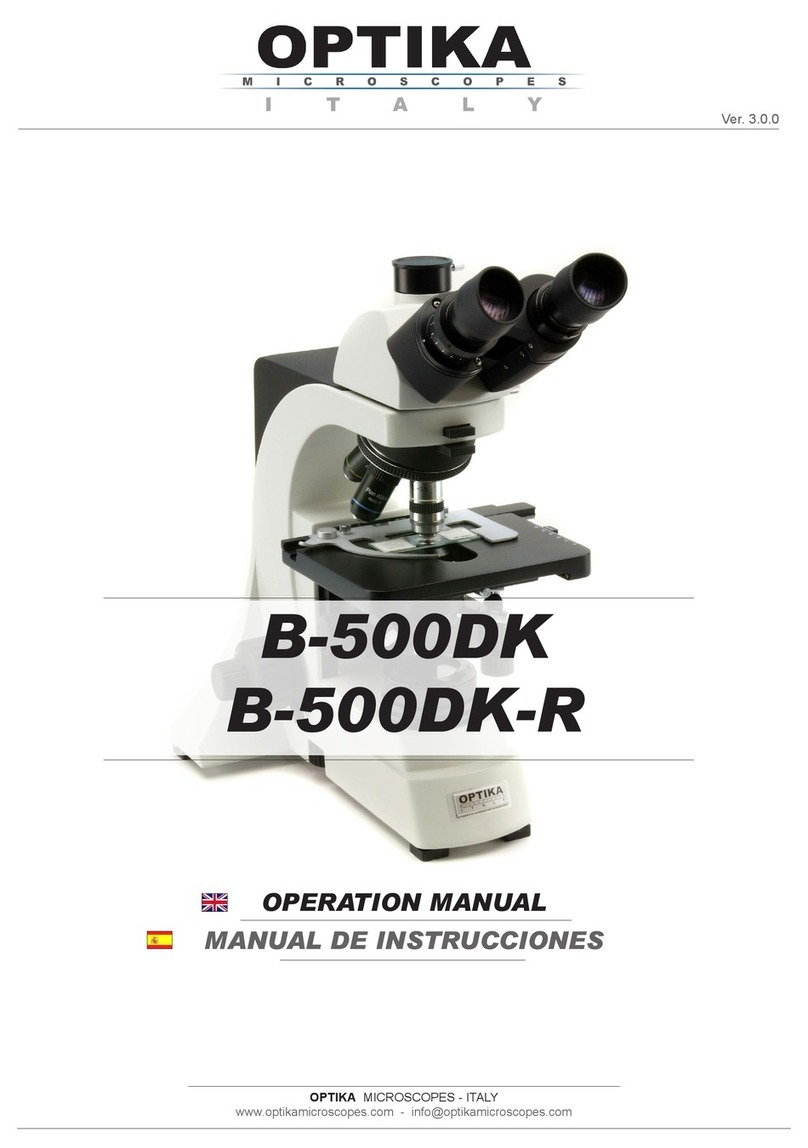
OPTIKA MICROSCOPES B-500DK User manual

OPTIKA MICROSCOPES
OPTIKA MICROSCOPES B-150D User manual

OPTIKA MICROSCOPES
OPTIKA MICROSCOPES SZM Series User manual

OPTIKA MICROSCOPES
OPTIKA MICROSCOPES B-190 Series User manual