Part Number 10400040-102 07/2007 ©2007 Overland Storage, Inc. WPage 4 of 4
CAUTION: When attaching the motor, the track
plate MUST be all the way down and to the right with
the track plate tab in the gear rack slot (Figure 4).
The motor tab then fits against the other side of the
gear rack.
Figure 8. Alignment Tabs and Gear Rack (Top View)
3. Holding the motor, insert one new M3x12mm screw
and washer into the front hole of the motor bracket.
4. Push the motor assembly down over the hole sleeves
on track plate and loosely attach the installed screw.
The motor gear engages the gear rack as this is done.
5. Install the other new M3x12mm screw and washer in
the motor bracket and tighten both screws.
6. Visually inspect the assembly and cable to confirm
there are no apparent problems or kinks.
Vertical Motor Gear Alignment
NOTE:
The vertical motor gear set screw is hollow making it
easy to see the red alignment mark on the flat part of the shaft.
1. Place the set screw onto the end of the hex tool.
2. Install the set screw as follows:
a. Grasping the flange where the cable bracket and
motor bracket meet, slowly raise the track plate
until the hole in the gear is at the top.
The red mark should be visible through the hole.
b. Insert the set screw in the gear hole and loosely
tighten it.
c. Moving the track plate slightly up and down while
tightening, turn the set screw until it is firmly
seated.
This ensures the set screw is centered on the flat
section of the shaft.
NOTE:
When the set screw is tighten, the track plate will
remain in the current position.
3. Verify that there is less than a 0.010 inch range of
movement left-right in the track plate.
4. Using the retained screws, reattach the top cover.
Reinstall Unit in Rack
1. Return the library into the rack.
2. Tighten the retaining screws on the front.
3. Reinsert the media magazines and close the doors.
4. At the rear of the unit, reconnect any management
and network cables.
5. Plug in the power cord and power on the unit.
6. Verify that POST passes to confirm the functionality
of the new motor.
7. Train the library for the new position offsets.
a. Verify that all magazines have only the middle row
of slots filled with media.
The top and bottom rows MUST be empty.
b. Log back into RMU at the Service security level.
Contact Overland Support if you have forgotten your
password.
c. Click Functions > Start Training.
NOTE:
This process takes up to 30 minutes.
d. Once the training is complete, log out of RMU.
8. Reload the normal media and reboot the library.
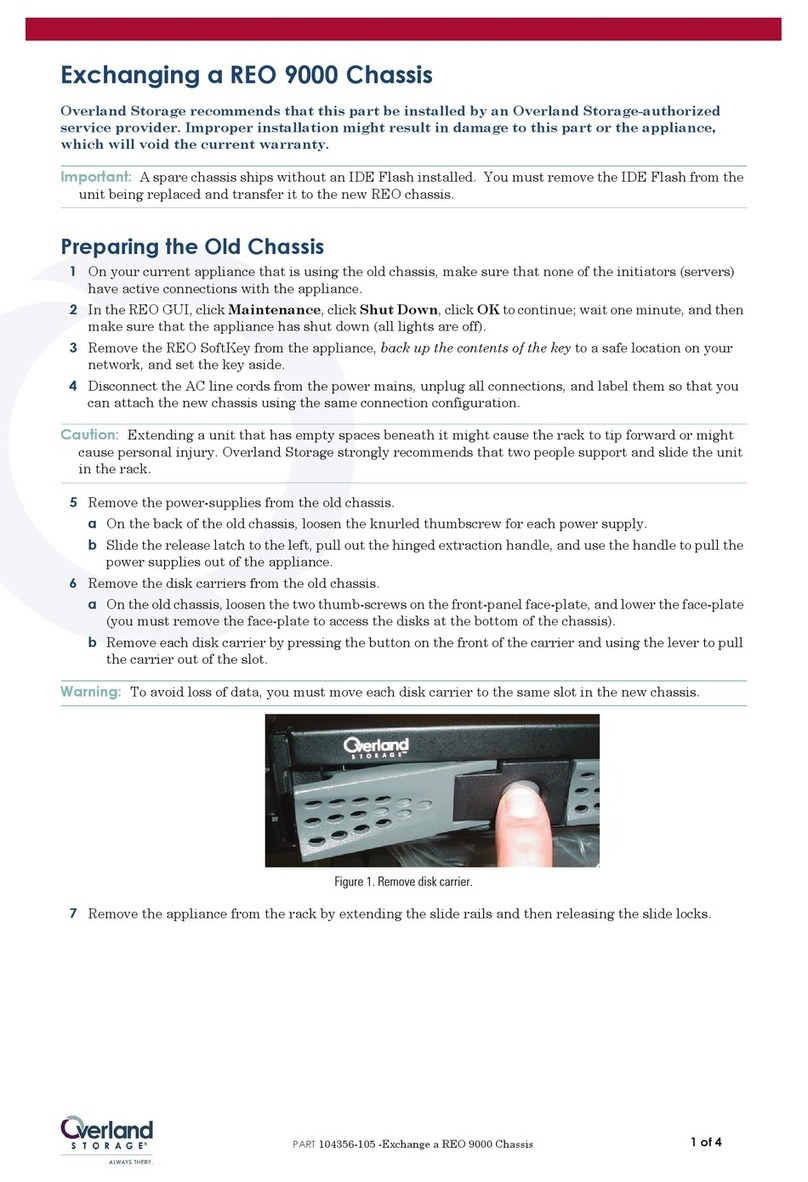
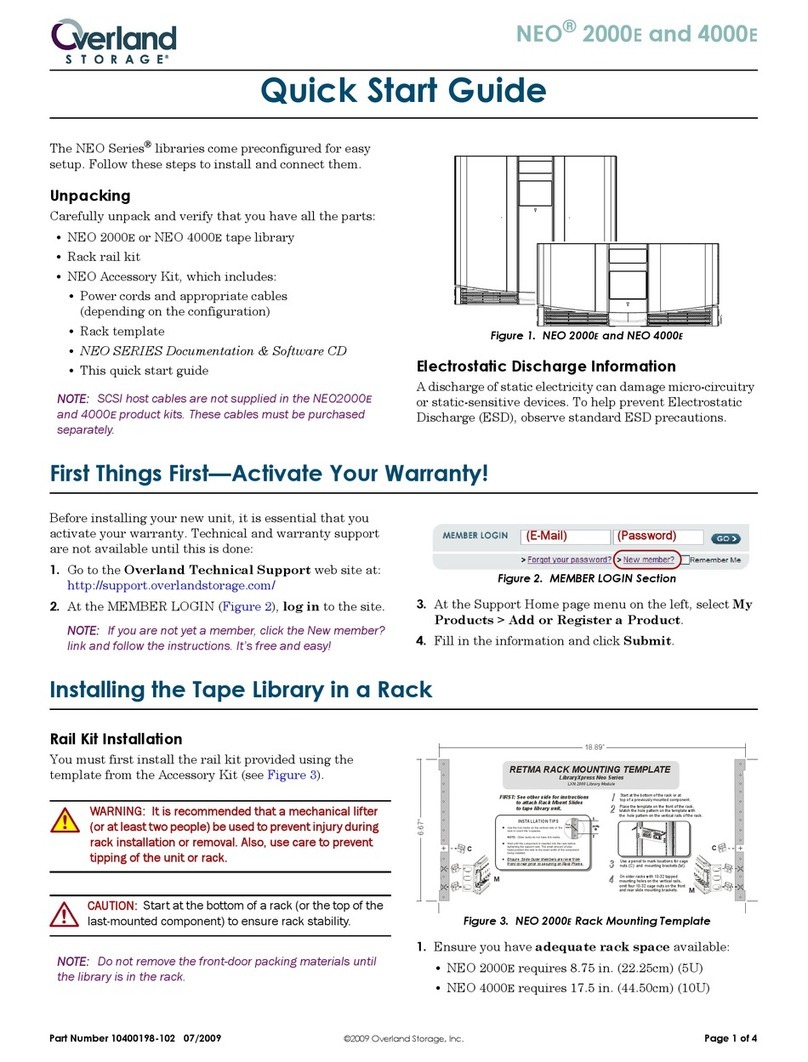
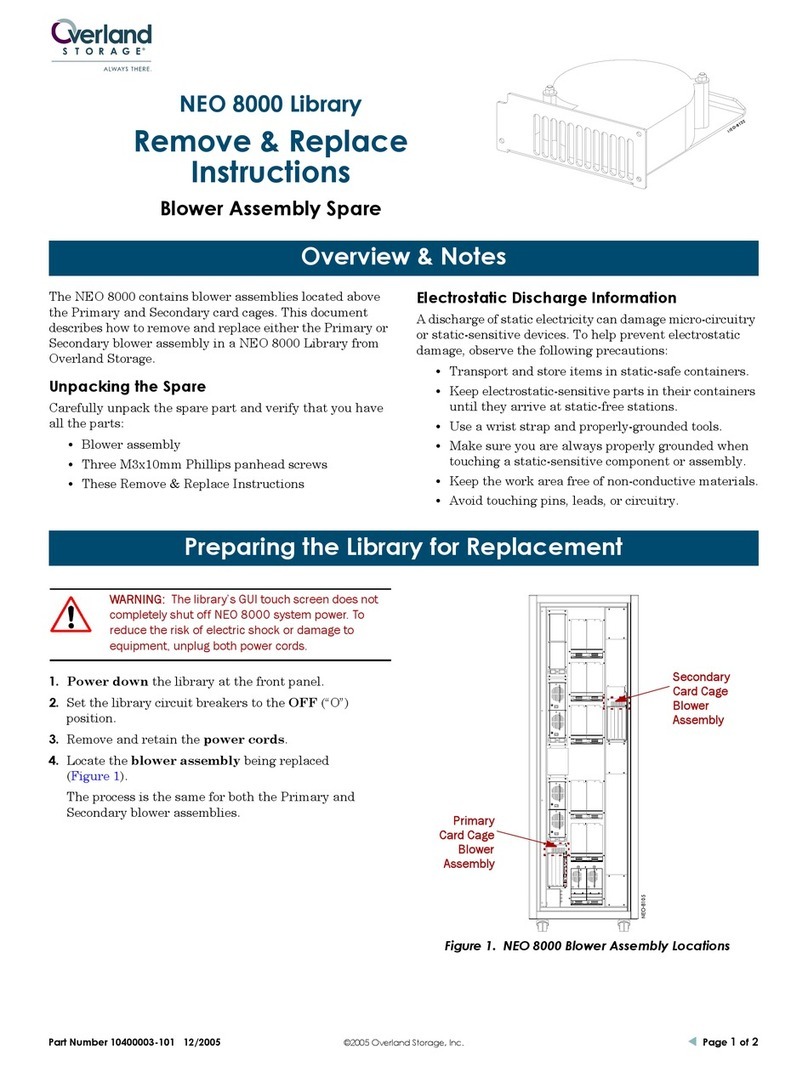
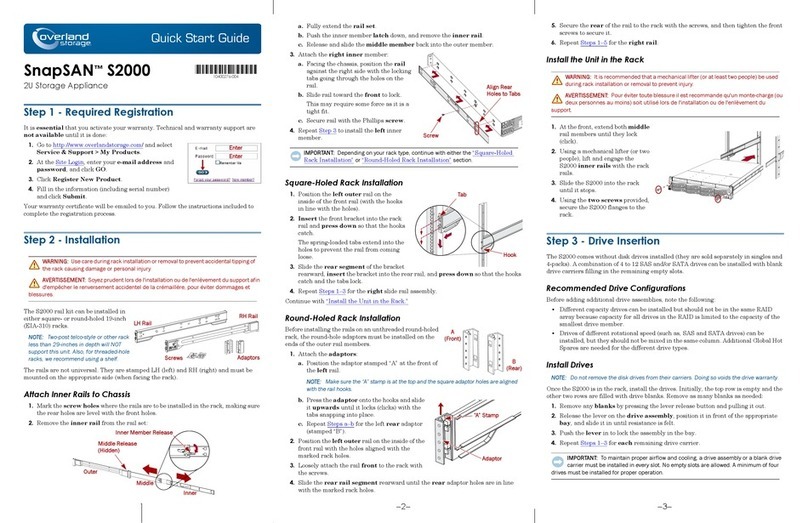
9. Return the old track plate in the same box.
All information contained in or disclosed by this document is considered proprietary by Overland Storage. By accepting this material, the recipient agrees that this material and the information contained therein are held in confidence and in trust and will not be
used, reproduced in whole or in part, nor its contents revealed to others, except to meet the purpose for which it was delivered. It is understood that no right is conveyed to reproduce or have reproduced any item herein disclosed without express permission from
Overland Storage. Overland Storage provides this document as is, without warranty of any kind, either expressed or implied, including, but not limited to, the implied warranties of merchantability and fitness for a particular purpose. Overland Storage may make
improvements or changes in the product(s) or program(s) described in this document at any time. These changes will be incorporated in new editions of this publication.
Overland Storage assumes no responsibility for the accuracy, completeness, sufficiency, or usefulness of this document, nor for any problem that might arise from the use of the information in this document.
Gear Rack
Track Plate Tab Motor Tab
Front Motor
Bracket Hole
Prepare Library for Use
Additional Help
You can get additional technical support on the Internet at http://support.overlandstorage.com, or call
1-877-654-3429 (toll-free U.S. & Canada), +44 (0) 118-9898050 (Europe), or +1 (858) 571-5555 Option 5 (International).
