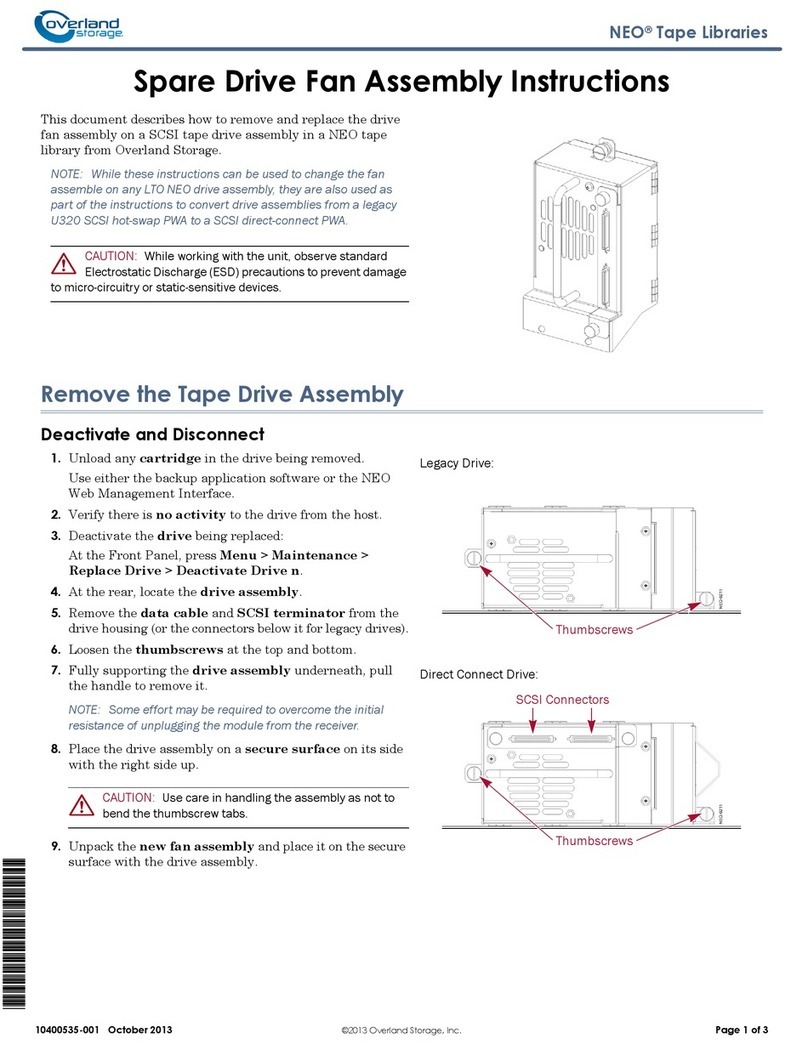
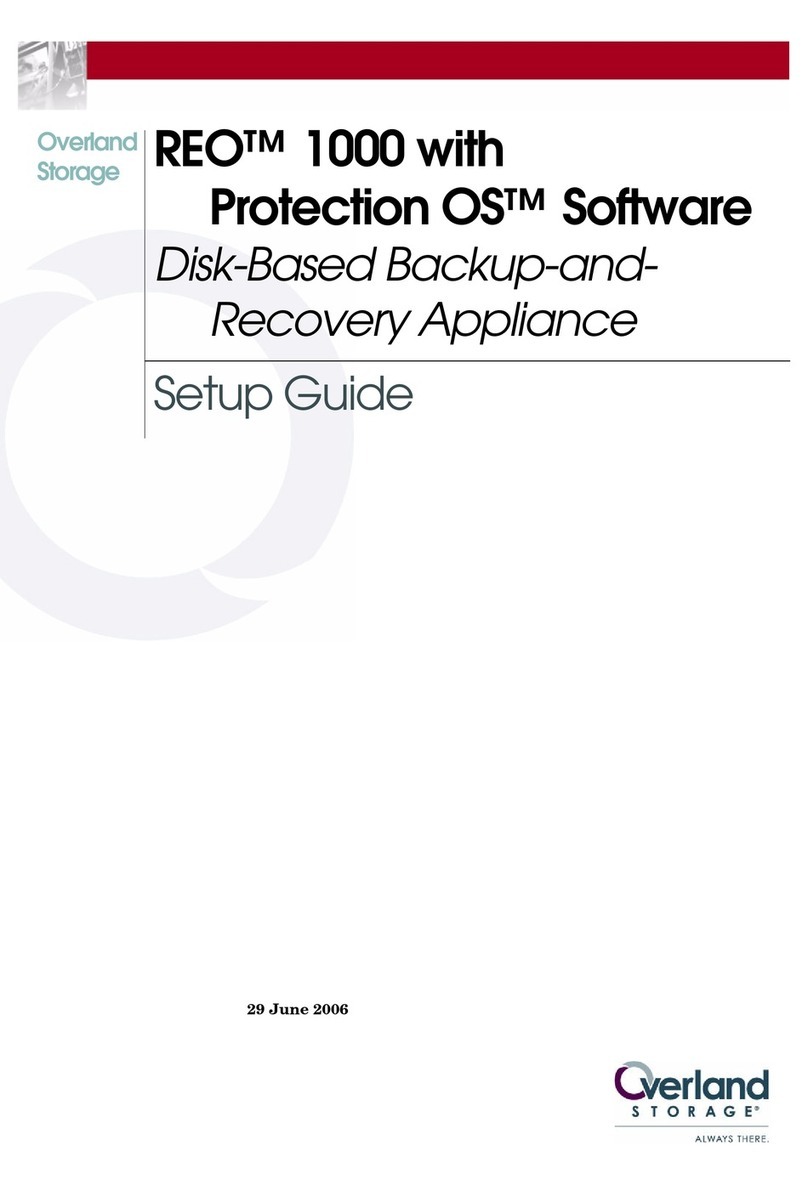
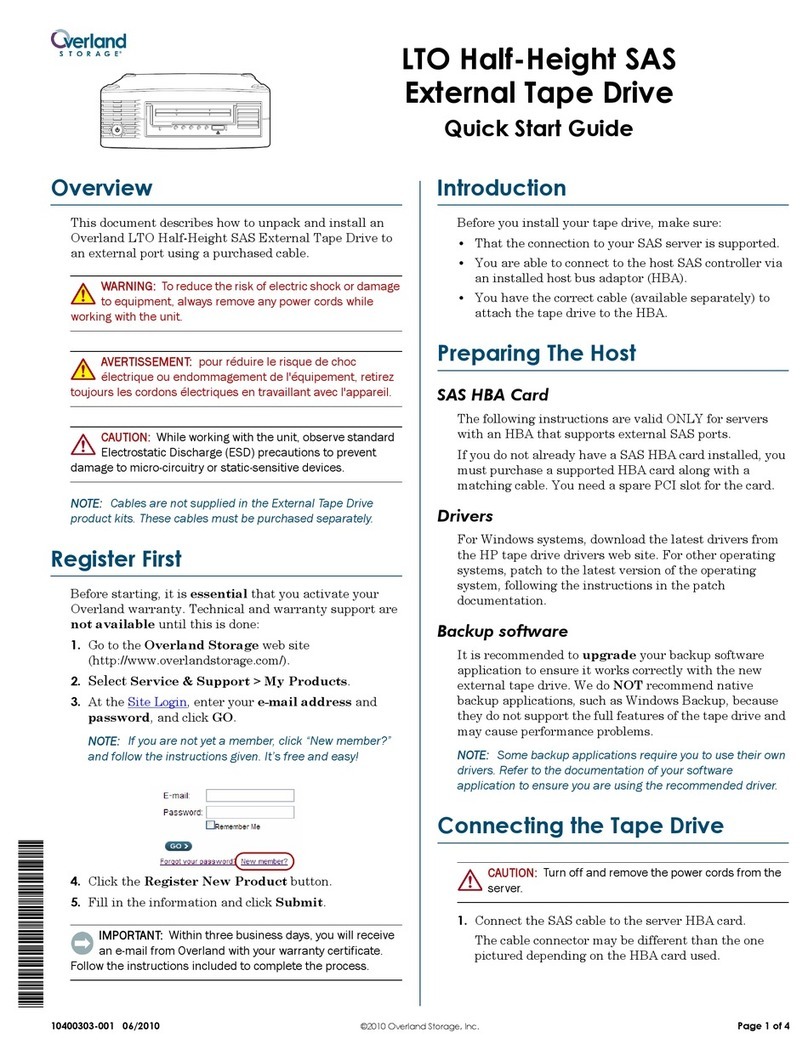
manuals.online logo
Brands
  1. Home
  2. •
  3. Brands
  4. •
  5. Overland Storage
  6. •
  7. Storage
  8. •
  9. Overland Storage NEO 2000e User manual

Overland Storage NEO 2000e User manual

Part Number 10400198-102 07/2009 ©2009 Overland Storage, Inc. Page 1 of 4
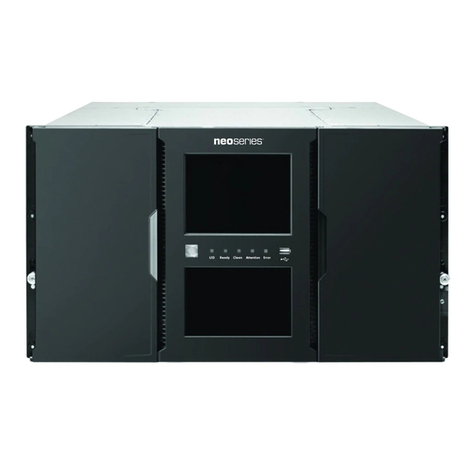
NEO®2000Eand 4000E
Quick Start Guide
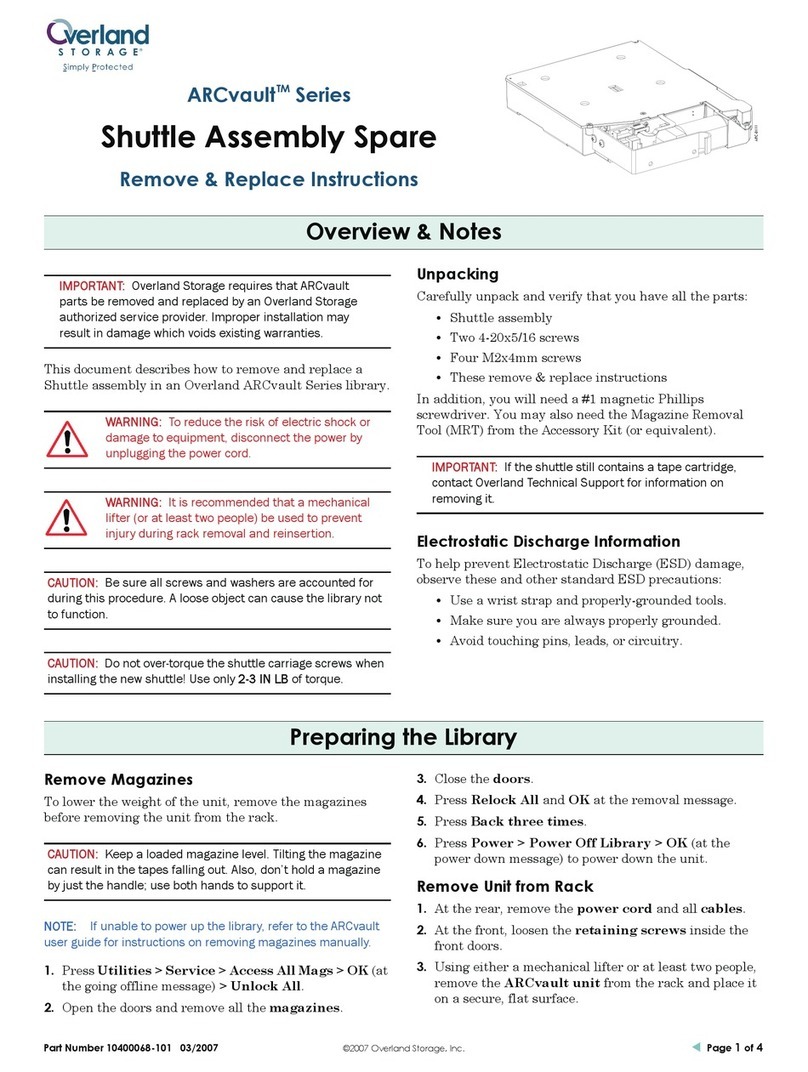
The NEO Series®libraries come preconfigured for easy
setup. Follow these steps to install and connect them.
Unpacking
Carefully unpack and verify that you have all the parts:
•NEO 2000Eor NEO 4000Etape library
•Rack rail kit
•NEO Accessory Kit, which includes:
•Power cords and appropriate cables
(depending on the configuration)
•Rack template
•NEO SERIES Documentation & Software CD
•This quick start guide
NOTE: SCSI host cables are not supplied in the NEO2000E
and 4000Eproduct kits. These cables must be purchased
separately.
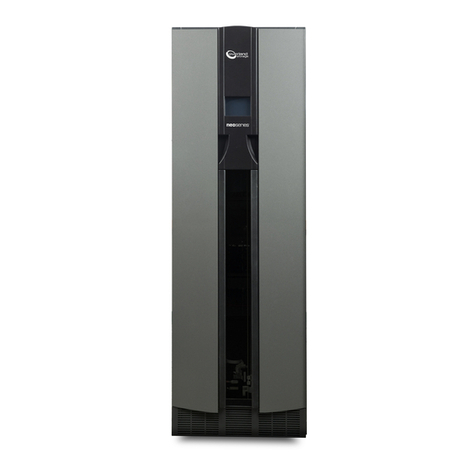
Figure 1. NEO 2000Eand NEO 4000E
Electrostatic Discharge Information
A discharge of static electricity can damage micro-circuitry
or static-sensitive devices. To help prevent Electrostatic
Discharge (ESD), observe standard ESD precautions.
First Things First—Activate Your Warranty!
Before installing your new unit, it is essential that you
activate your warranty. Technical and warranty support
are not available until this is done:
1. Go to the Overland Technical Support web site at:
http://support.overlandstorage.com/
2. At the MEMBER LOGIN (Figure 2), log in to the site.
NOTE: If you are not yet a member, click the New member?
link and follow the instructions. It’s free and easy!
Figure 2. MEMBER LOGIN Section
3. At the Support Home page menu on the left, select My
Products > Add or Register a Product.
4. Fill in the information and click Submit.
Installing the Tape Library in a Rack
Rail Kit Installation
You must first install the rail kit provided using the
template from the Accessory Kit (see Figure 3).
WARNING: It is recommended that a mechanical lifter
(or at least two people) be used to prevent injury during
rack installation or removal. Also, use care to prevent
tipping of the unit or rack.
CAUTION: Start at the bottom of a rack (or the top of the
last-mounted component) to ensure rack stability.
NOTE: Do not remove the front-door packing materials until
the library is in the rack.
Figure 3. NEO 2000ERack Mounting Template
1. Ensure you have adequate rack space available:
•NEO 2000Erequires 8.75 in. (22.25cm) (5U)
•NEO 4000Erequires 17.5 in. (44.50cm) (10U)
NEO-0153
NEO-0196
(E-Mail) (Password)
FIRST: See other side for instructions
to attach Rack Mount Slides
to tape library unit.
LibraryXpress Neo Series
LXN 2000 Library Module
RETMA RACK MOUNTING TEMPLATE
Start at the bottom of the rack or at
to p of a prev io usly m o unted co mp onen t.
Use a pencil to mark locations for cage
nuts (C) and m ounting brackets (M).
Place the template on the front of the rack.
Match the hole pattern on the template with
th e hole patter n on the vertic al ra ils of the rac k.
On older racks with 10-32 tapped
mounting holes on the vertical rails,
omit four 10-32 cage nuts on the front
and rear slide mounting brackets.
18.89”
6.67"
C
INSTALLATION TIPS
Use the tickmarks on the vertical rails of the
rack to countt he U-spaces.
Older ra cks do not h ave tic k marks.
Wait until the component is inserted into the rack before
tightening the support rails. The small amount of play
helpsposition the rails to the exact width of the component
being installed.
NOTE:
Ensure Sli d e Out e r Me mber s are l evel fro m
front to rear prior to securing on Rack Frame.
Tick
mar k
C
M
M
Part Number 10400198-102 07/2009 ©2009 Overland Storage, Inc. Page 2 of 4
2. Using the template (see Figure 4), mark the location of
the mounting hardware on the RETMA rack rails:
Figure 4. Using the NEO Templates
a. Match up the hole pattern indicated on the sides of
the template with the hole pattern in the rack.
b. Use the template to mark the six mounting holes.
c. Remove the template.
3. Repeat Step 2 at the rear using the four bottom holes.
CAUTION: Be sure rear holes are horizontally in line
with the front holes so the unit remains level.
4. Using four screws, loosely attach each pre-assembled
rail set (see Figure 5):
• Threaded-Hole Rack—Position each rail with the
brackets outside the vertical rack member and secure
with the four screws to secure them.
• Non-threaded-Hole Rack—Install the four cage
nuts on the insides of both vertical rack members,
position each rail with the brackets outside the
member, and install the four screws to secure them.
Figure 5. Installing Slide Member Fasteners
5. Tighten the screws on both rear brackets.
6. Slide out the middle slide members until they lock at
the front of the rail assembly.
Library Installation
Use the following instructions to insert your library into a
RETMA rack:
1. Install the two clip nuts on each front rail at the
marked spot (see Figure 6).
Figure 6. Installing The Library Module
2. To reduce weight, we recommend removing the drive
assemblies:
a. Loosen the captive thumbscrews at the top and
bottom of the drive assembly.
b. Fully supporting the assembly, pull the handle to
remove the drive assembly.
c. Place each drive assembly on an ESD surface on its
side as not to bend the tabs.
3. Using a mechanical lift, raise the unit and align the
inner slides on the unit with the rack middle slides.
4. With the middle slide ball bearings at the front detent
position, fully insert the inner slides.
5. Slide the library completely into the rack until the
front panel touches the rack.
6. Remove and discard the tape and packing materials
from the doors, leaving them open.
NEO-9129b
NEO 2000e
NEO 4000e
Mark
Template
Template
Holes
These
NEO-0124
Clip
Nuts
Brackets Outside
NEO-0197
Clip Nut
Middle
Inner
Slide
Slide
Part Number 10400198-102 07/2009 ©2009 Overland Storage, Inc. Page 3 of 4
7. Using the two captive retaining screws, attach the
unit to the rack (Figure 7).
8. If removed, re-insert the power supplies and drives
into the rear of the chassis.
9. Tighten all the front rail screws.
Figure 7. Library Retaining Screws
Cabling Examples
The following shows some common cabling configurations.
IMPORTANT: For more cabling options, refer to the NEO
2000E/4000EUser Guide found on the enclosed
Documentation & Software CD or contact Overland Support.
Management Port Cable Requirement
To meet Class A EMC requirements, a shielded Ethernet
cable must always be used for the management port
connection.
SCSI: Two Drives, Two Hosts
Figure 8 shows a typical SCSI cable configuration for a
library with two tape drives connected to two different bus
adapters or hosts.
Figure 8. Two Tape Drives, Dual Hosts (2000E)
NOTE: To maximize drive performance, it is recommended
that LTO-3, LTO-4, or newer drive types be on separate SCSI
buses.
Fibre Connector: Two Drives on an FC Network
When using Fibre Channel drives on an FC network,
slightly different cabling is required. In this example
(Figure 9), the FC drives connect directly to an FC switch
or Host Bus Adapter (HBA).
Figure 9. FC Drive Library on an FC Network (2000E)
NEO-0200
NEO-0199
Retaining
NEO 2000e
Screws
Retaining
Screws
NEO 4000e
NEO-0193
Terminators
To Host
HBA or Fibre
Switch To Host
Part Number 10400198-102 07/2009 ©2009 Overland Storage, Inc. Page 4 of 4
SAS: Two Drives, One Host
SAS connections can be part of a multi-wire cable
(Figure 10 and Figure 11) or each on a separate cable to
the host.
Figure 10. Typical SAS Configuration (2000E)Figure 11. NEO 4000Ewith Four SAS Drives
Power Up the Library
1. Connect the supplied power cords to AC receptacles
located on the back of the library module (Figure 12).
2. Toggle the power switches to the ON position (“|”).
3. Touch the GUI touch screen to activate the display
and turn the library module ON.
Figure 12. Powering Up a NEO 4000E
Changing the SCSI ID Number
NEO Series libraries work with the majority of backup
applications without having to make changes to the
default configuration. The tape drives include
preconfigured SCSI IDs, where “Drive n= SCSI ID n.”
Depending on your network configuration, it may be
necessary to change the unit’s SCSI IDs:
1. Press Menu, then under Edit Options, press SCSI/FC.
2. Press the Position n, Drive 1 Bus ID data field.
3. Using the keyboard display, press the new SCSI ID
number (it can be any number from 0 to 15).
The selected number is displayed in the New field.
4. Press Save, and then press OK to confirm.
5. Repeat Steps 1–4 for the other drives.
6. When done, press Back twice to return to the default
screen.
Warranty Information
To view the warranty that comes with this product, visit:
http://www.overlandstorage.com/support/warranty.pdf.
To Host
NEO-0208
NEO-0201
GUI Touch Screen
Power Cords
Power Supply
Switches
Additional Help
You can get additional technical support on the Internet at http://support.overlandstorage.com, or call
1-877-654-3429 (toll-free U.S. & Canada), +44 (0) 118-9898050 (Europe), or +1 (858) 571-5555 Option 5 (International).

Other manuals for NEO 2000e

8

This manual suits for next models

1

Other Overland Storage Storage manuals

Overland Storage NEO XL Series Manual

Overland Storage

Overland Storage NEO XL Series Manual

Overland Storage NEOxl 40 User manual

Overland Storage

Overland Storage NEOxl 40 User manual

Overland Storage SnapSAN S3000 User manual

Overland Storage

Overland Storage SnapSAN S3000 User manual

Overland Storage NEO 2000e Parts list manual

Overland Storage

Overland Storage NEO 2000e Parts list manual

Overland Storage NEOs T24 User manual

Overland Storage

Overland Storage NEOs T24 User manual

Overland Storage NEO 8000 User manual

Overland Storage

Overland Storage NEO 8000 User manual

Overland Storage ARCvault 12 User manual

Overland Storage

Overland Storage ARCvault 12 User manual

Overland Storage NEO Series User manual

Overland Storage

Overland Storage NEO Series User manual

Overland Storage Ultamus Raid 1200 User manual

Overland Storage

Overland Storage Ultamus Raid 1200 User manual

Overland Storage NEO XL Series User manual

Overland Storage

Overland Storage NEO XL Series User manual

Overland Storage NEO 2000e User manual

Overland Storage

Overland Storage NEO 2000e User manual

Overland Storage NEO XL Series User manual

Overland Storage

Overland Storage NEO XL Series User manual

Overland Storage SnapServer DX2 User manual

Overland Storage

Overland Storage SnapServer DX2 User manual

Overland Storage SnapServer XSD 40 User manual

Overland Storage

Overland Storage SnapServer XSD 40 User manual

Overland Storage REO Series User manual

Overland Storage

Overland Storage REO Series User manual

Overland Storage REO 9000 User manual

Overland Storage

Overland Storage REO 9000 User manual

Overland Storage ARCvault 12 User manual

Overland Storage

Overland Storage ARCvault 12 User manual

Overland Storage REO 4600 User manual

Overland Storage

Overland Storage REO 4600 User manual

Overland Storage NEO Series User manual

Overland Storage

Overland Storage NEO Series User manual

Overland Storage LTO-5 User manual

Overland Storage

Overland Storage LTO-5 User manual

Overland Storage SnapServer XSD 40 User manual

Overland Storage

Overland Storage SnapServer XSD 40 User manual

Overland Storage NEO S-Series User manual

Overland Storage

Overland Storage NEO S-Series User manual

Overland Storage NEO 200S User manual

Overland Storage

Overland Storage NEO 200S User manual

Overland Storage PowerLoaders AIT-2 Guide

Overland Storage

Overland Storage PowerLoaders AIT-2 Guide

Popular Storage manuals by other brands

HP StorageWorks P4000 Series quick start guide

HP

HP StorageWorks P4000 Series quick start guide

Western Digital WDG2TP10000N - My Book Pro Edition II Hard Drive... Quick install guide

Western Digital

Western Digital WDG2TP10000N - My Book Pro Edition II Hard Drive... Quick install guide

Seagate FreeAgent Pro datasheet

Seagate

Seagate FreeAgent Pro datasheet

Western Digital WDXB1200JBR - Dual-option External Hard Drive 120... user manual

Western Digital

Western Digital WDXB1200JBR - Dual-option External Hard Drive 120... user manual

Premio DSS224J-S3 quick guide

Premio

Premio DSS224J-S3 quick guide

Sun Microsystems Storedge A7000 manual

Sun Microsystems

Sun Microsystems Storedge A7000 manual

AEG AS-BSL1-4000 Series installation manual

AEG

AEG AS-BSL1-4000 Series installation manual

Iomega eGo 3 quick start guide

Iomega

Iomega eGo 3 quick start guide

HP Designjet 220 Setting up

HP

HP Designjet 220 Setting up

Raidon SafeTANK GR3660 Series user manual

Raidon

Raidon SafeTANK GR3660 Series user manual

Sonnet FUS-F2-1000M5 user guide

Sonnet

Sonnet FUS-F2-1000M5 user guide

Toshiba STOR.E ART 4 Specifications

Toshiba

Toshiba STOR.E ART 4 Specifications

OWC EXPRESS Assembly manual & user guide

OWC

OWC EXPRESS Assembly manual & user guide

Ximeta NetDisk NDU10-80 installation guide

Ximeta

Ximeta NetDisk NDU10-80 installation guide

IronKey Workspace W700-SC user guide

IronKey

IronKey Workspace W700-SC user guide

Pioneer DVR-S201 user manual

Pioneer

Pioneer DVR-S201 user manual

Storex D-522 Quick installation guide

Storex

Storex D-522 Quick installation guide

Nexto CF Ultra ND2525 manual

Nexto

Nexto CF Ultra ND2525 manual

manuals.online logo
manuals.online logoBrands
  • About & Mission
  • Contact us
  • Privacy Policy
  • Terms and Conditions

Copyright 2025 Manuals.Online. All Rights Reserved.