manuals.online logo
Brands
  1. Home
  2. •
  3. Brands
  4. •
  5. Overland Storage
  6. •
  7. Storage
  8. •
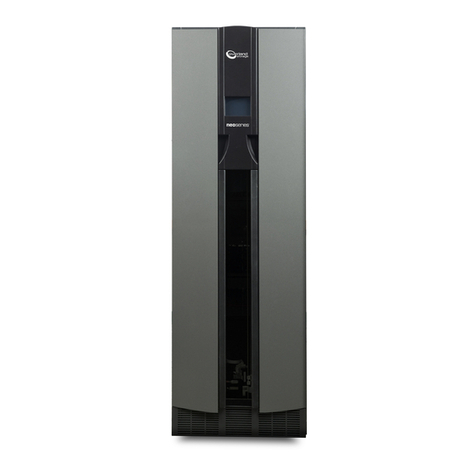
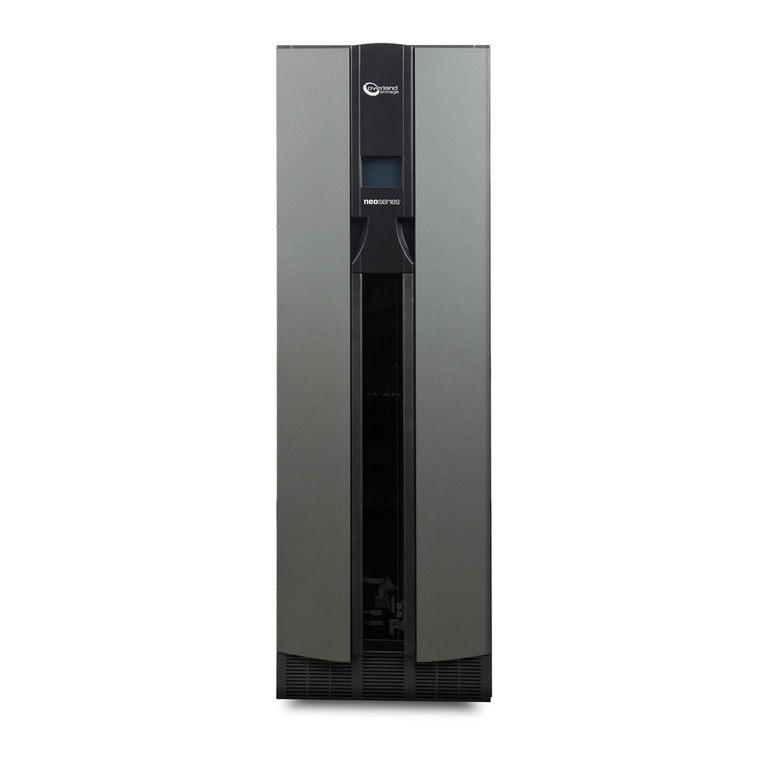
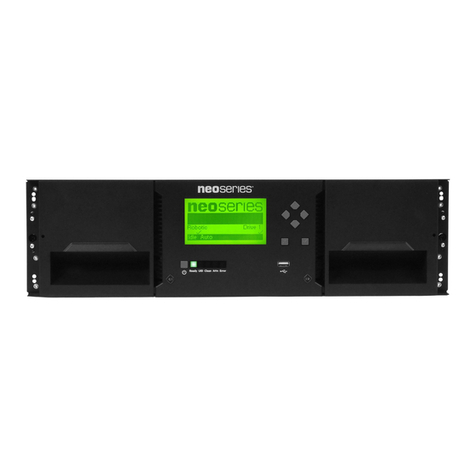
  9. Overland Storage NEO 8000 User manual

Overland Storage NEO 8000 User manual

10400291-001 05/2010 ©2010 Overland Storage, Inc. Page 1 of 4
NEO®8000 Series
Replacing a Shuttle Assembly
This document describes how to remove and replace the
shuttle assembly in a NEO 8000 Series library.
It is required that the work be done by an Authorized
Service Provider. Improper installation may result in
damage which voids existing warranties.
WARNING: To reduce the risk of electric shock or damage to
equipment, always remove any power cords while working with
the unit.
AVERTISSEMENT: pour réduire le risque de choc électrique ou
endommagement de l'équipement, retirez toujours les
cordons électriques en travaillant avec l'appareil.
CAUTION: While working with the unit, observe standard
Electrostatic Discharge (ESD) precautions to prevent damage
to micro-circuitry or static-sensitive devices.
Prepare the Appliance
Power Down the Library
1. At the front GUI panel, press Power to turn the
library OFF.
Figure 1. Front GUI Panel
The shuttle/track assembly moves to the library floor
as the unit shuts down.
NOTE: If the library is non-functional, wait until the
shuttle/track assembly drifts automatically to the bottom.
2. At the rear (Figure 2), in the bottom left corner, turn
OFF the circuit breakers.
3. Remove and retain all power cords.
Figure 2. Location of Circuit Breakers in Rear
Provide Shuttle Assembly Access
WARNING: To prevent injury due to the weight of a loaded
drawer, DO NOT fully remove the media drawers. Leave them
in the open position.
AVERTISSEMENT: Pour éviter toute blessure due au poids
d'un tiroir chargé, NE PAS retirer complètement les tiroirs des
médias. Laissez-les en position ouverte.
IMPORTANT: If access through the left panel is not available,
this procedure can still be used by accessing the component
from the front and rear. Go to the Overland Knowledge Base
(http://support.overlandstorage.com/kb) and search for the
NEO 8000 Limited Access Procedure.
1. Remove and retain the screws securing the left side
panel, and remove the panel.
2. Open the left door of the library.
3. From the left side, at the back of the bottom-left
media drawer, press the door’s latch release
(Figure 3) and push the media drawer forward.
Figure 3. Media Drawer Latch Release, Rear View
4. From the front, pull out the bottom-left media
drawer until it latches in the open position.
5. Repeat Steps 3–4 for the middle-left media drawer.
NEO-8123
Circuit Breakers
NEO-8148
Override Latch
10400291-001 05/2010 ©2010 Overland Storage, Inc. Page 2 of 4
Replace the Shuttle Assembly
Disconnect Shuttle Cables
1. On the shuttle, locate the Shuttle PWA (Figure 4)
and release the shuttle cables:
a. If a cable clamp is installed, release the clamp.
b. Disconnect the Power cable from the J2
connector.
c. Disconnect the Signal Controller cable from the
J4 connector.
Figure 4. Shuttle PWA and Cables (Front View)
2. Use the Phillips screwdriver, unscrew and detach the
spooler head with the cable assembly still attached
(Figure 5).
Figure 5. Removing the Cable from the Spooler Head
3. Remove and retain the two Spooler bottom pieces.
Swap Out Shuttle Assembly
1. Using the track gear, turn the rear section of the
track 90° to the side (Figure 6).
Figure 6. Shuttle and Track Assembly
2. Carefully slide the old Shuttle assembly rearward
and off the track.
3. Position the new Shuttle assembly the same
direction as the old part and slide it onto the track.
Reattach Spooler Head
1. Reattach the two Spooler bottom pieces onto the
shuttle spindle.
2. Slide the spooler head onto the bottom pieces,
aligning the flat side slot with the metal tab
(Figure 5).
CAUTION: Be sure there are no other twists in the cable
between the metal guide and the spooler (Figure 7). If
necessary, slide the shuttle to the front of the track plate to
extend the flex cable.
Figure 7. Final Position of Cable Assembly
3. Use the new supplied panhead Phillips screw to
reattach the spooler head to the shuttle spindle.
CAUTION: To prevent damage to the plastic spooler head,
do not overtighten the panhead screw.
NOTE: The newer Shuttles have the Flex Cable Retainer
positioned with its flat edge at a slight angle to the side of
the Shuttle. This is different from some earlier models
where the retainer flat edge was flush with the side of the
Shuttle (Figure 8 on page 3).
NEO-8157
Power
Connector (J2)
Cable Clamp
Signal Controller
Connector (J4)
Spooler Head
Spooler
Bottom
(2 Pieces)
Metal Tab
Phillips Screw
Cable
Assembly
NEO-8064
Turn 90°
Gear
Verify Flat & No Twists
10400291-001 05/2010 ©2010 Overland Storage, Inc. Page 3 of 4
Figure 8. Wrapping the Shuttle Cable Around the Flex Cable
Retainer
Connect the Shuttle PWA Cables
Attach the cables from the spooler to the shuttle PWA:
1. With the plastic-coated clamp arm pointing out,
attach it to the shuttle just above the bar code reader
next to the Shuttle PWA (Figure 9).
If an older wire clip is there, remove it first.
Figure 9. Attach the Clamp
2. Loop and connect the signal controller cable to J4
(Figure 10).
Figure 10. Connect the Signal Controller Cable
3. Connect the shuttle power cable to J2:
a. With the Power cable flat against the Signal
cable, insert the Power cable through the Signal
cable loop (Figure 11).
Figure 11. Insert Power Cable Through Signal Cable Loop
b. Loop the Power cable upwards.
c. Carefully, without bending the cable, insert the
Power connector into J2 (Figure 12).
Figure 12. Connect the Power Cable
d. Verify the following:
•The first bend on the Power cable is near the
top of the Signal plug.
•The Power cable is tilted at a 45° angle inside
the Signal cable loop with the high side next to
the Signal plug,
•There is no bend in the cable where the plug
enters the Power connector.
4. Bend the clamp around both cables (Figure 13 on
page 4):
a. Gather both cables together next to the clamp so
that they are aligned.
b. Prebend the clamp 60° about 1/3 down the shaft.
c. Fold the clamp over the cables and finish bending
the top third around the cables.
NEO-8126
NEO-8152
Attach Here
Move arm
to 90°
Bar Code Reader
10400291-001 05/2010 ©2010 Overland Storage, Inc. Page 4 of 4
d. Position the clamp above the PWA and press it
against the shuttle front.
Figure 13. Connecting the Cable to the Shuttle PWA
5. Pull gently on the cables between the clamp and the
spooler until the cable loops are flush with the bar
code reader (Figure 14).
Figure 14. Flex Cable Must NOT Extend Beyond Reader
Examine Cable Assembly
CAUTION: Due to the high-speed movement of this assembly,
it is critical that none of the cables stick out in a way that may
cause them to come into contact with stationary items.
1. Visually examine and manually move the shuttle
assembly to verify that the cables do not catch on
anything and that the assembly moves freely.
The cables at the shuttle should not extend past the
edge of the bar code reader (Figure 14).
2. Make sure the cable assembly metal flex guide and
bracket shape was not altered during installation.
CAUTION: The metal flex guide should be parallel to the
side of the library. Verify that the shuttle doesn’t hit it.
Figure 15. Metal Flex Guide Location (Cable Hidden)
Reassembly the Library
1. Slide the media drawers back into the library.
2. Shut the front left door.
3. Plug the power cords back in.
4. Turn on the circuit breakers.
The library boots and runs POST.
NOTE: If the bar code reader is not detected, remove the
power cords, recheck the cable connections, and reapply
power to the unit.
5. Carefully observe the POST process to verify the
installation:
•Watch the shuttle and track assembly
movement.
•Make sure that nothing interferes with the cable
assembly through its full range of motion.
NOTE: If problems occur, contact Overland Technical
Support.
6. Using the retained screws, reattach the left panel to
the library.
IMPORTANT: If following the NEO 8000 Limited Access
Procedure, reinstall the library panels and components
previously removed at this point.
Return Removed Parts to Overland
1. Place the removed part in the anti-static bag and put
it in the replacement part’s box.
2. Return the old part to Overland Storage.
NOTE: For return shipping details, go to:
http://support.overlandstorage.com/support/support-
return-instructions.html
NEO-8129
You can get additional technical support on the Internet at http://support.overlandstorage.com, or by contacting
Overland Storage using the information found on the Contact Us page on our web site.

Other manuals for NEO 8000

12

Other Overland Storage Storage manuals
Overland Storage SnapScale X2 Node User manual

Overland Storage

Overland Storage SnapScale X2 Node User manual

Overland Storage REO Series User manual

Overland Storage

Overland Storage REO Series User manual

Overland Storage ULTAMUS RAID 4800 User manual

Overland Storage

Overland Storage ULTAMUS RAID 4800 User manual

Overland Storage SnapScale X2 User manual

Overland Storage

Overland Storage SnapScale X2 User manual

Overland Storage NEO Series User manual

Overland Storage

Overland Storage NEO Series User manual

Overland Storage REO 9000 User manual

Overland Storage

Overland Storage REO 9000 User manual

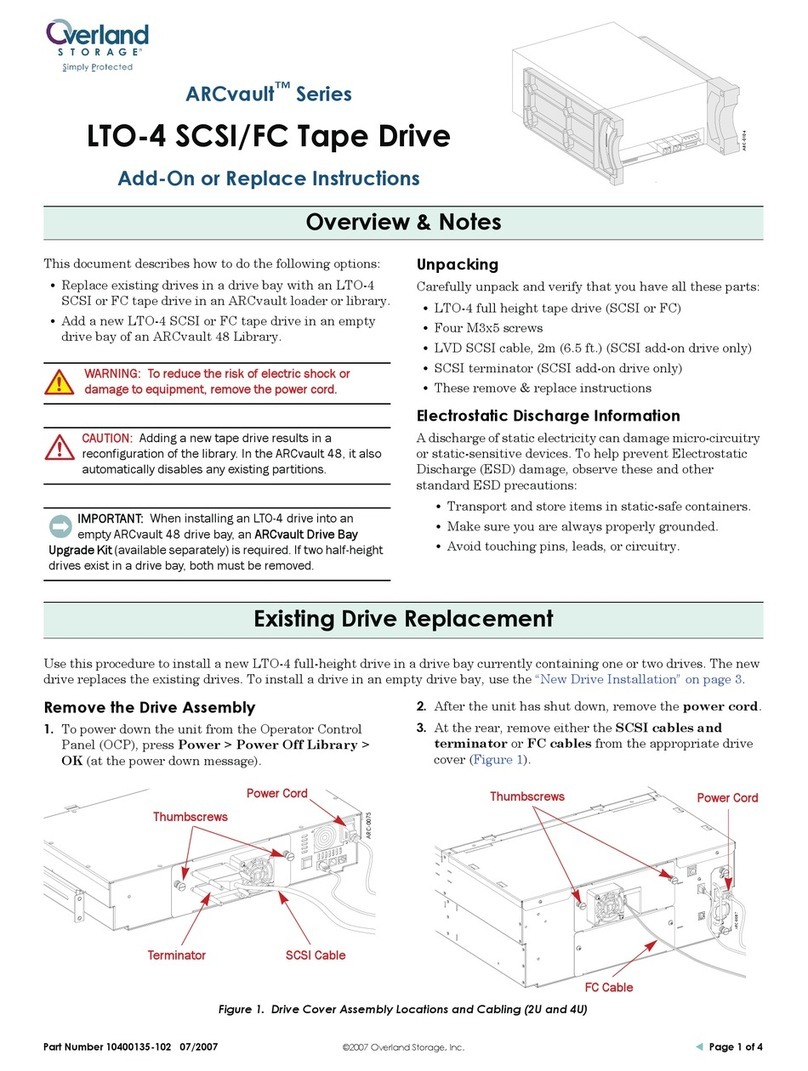
Overland Storage NEO 8000 User manual

Overland Storage

Overland Storage NEO 8000 User manual
Overland Storage ARCvault 12 User manual

Overland Storage

Overland Storage ARCvault 12 User manual

Overland Storage SnapSAN S2000 User manual
Overland Storage

Overland Storage SnapSAN S2000 User manual

Overland Storage NEO Series User manual

Overland Storage

Overland Storage NEO Series User manual

Overland Storage REO 4600 User manual

Overland Storage

Overland Storage REO 4600 User manual

Overland Storage NEO 200S User manual

Overland Storage

Overland Storage NEO 200S User manual

Overland Storage Neo Series 2000 User manual

Overland Storage

Overland Storage Neo Series 2000 User manual

Overland Storage SnapServer Service manual

Overland Storage

Overland Storage SnapServer Service manual

Overland Storage Neo Series Library User manual
Overland Storage

Overland Storage Neo Series Library User manual

Overland Storage NEO 200S User manual

Overland Storage

Overland Storage NEO 200S User manual

Overland Storage NEO 200S User manual

Overland Storage

Overland Storage NEO 200S User manual

Overland Storage NEO 4000e User manual

Overland Storage

Overland Storage NEO 4000e User manual

Overland Storage NEO S-Series User manual

Overland Storage

Overland Storage NEO S-Series User manual

Overland Storage NEO XL Series Manual

Overland Storage

Overland Storage NEO XL Series Manual

Overland Storage NEO S-Series User manual

Overland Storage

Overland Storage NEO S-Series User manual

Overland Storage NEOxl 40 User manual

Overland Storage

Overland Storage NEOxl 40 User manual

Overland Storage SnapServer User manual
Overland Storage

Overland Storage SnapServer User manual

Overland Storage SnapServer XSD 40 User manual

Overland Storage

Overland Storage SnapServer XSD 40 User manual

Popular Storage manuals by other brands

Applied Digital Information ADI user manual

Applied Digital Information

Applied Digital Information ADI user manual

IBM Netfinity EXP300 Installation and user guide

IBM

IBM Netfinity EXP300 Installation and user guide

Sun Microsystems 2.1 Gbyte 7200 rpm installation manual

Sun Microsystems

Sun Microsystems 2.1 Gbyte 7200 rpm installation manual

IOGear Combo ION GHE125C user manual

IOGear

IOGear Combo ION GHE125C user manual

OCZ AGILITY 2 SATA II 2.5 datasheet

OCZ

OCZ AGILITY 2 SATA II 2.5 datasheet

Samsung MU-PA250B user manual

Samsung

Samsung MU-PA250B user manual

BIG RED JACKS T88007 owner's manual

BIG RED JACKS

BIG RED JACKS T88007 owner's manual

Seagate Duet quick start guide

Seagate

Seagate Duet quick start guide

Seagate ST32430N product manual

Seagate

Seagate ST32430N product manual

HP StorageWorks 1/16 Tape SuperLoader manual

HP

HP StorageWorks 1/16 Tape SuperLoader manual

Panasonic RP-SDP16GU1K operating instructions

Panasonic

Panasonic RP-SDP16GU1K operating instructions

SmartDisk FireLite user manual

SmartDisk

SmartDisk FireLite user manual

Seagate Barracuda ES Serial ATA product manual

Seagate

Seagate Barracuda ES Serial ATA product manual

Amacom Technologies flip2disk quick start guide

Amacom Technologies

Amacom Technologies flip2disk quick start guide

Synology RackStation RS2423RP+ product manual

Synology

Synology RackStation RS2423RP+ product manual

SmartDisk FireFly USBFF05P user guide

SmartDisk

SmartDisk FireFly USBFF05P user guide

HP PD5000Z user guide

HP

HP PD5000Z user guide

GDC SX-3000 quick start guide

GDC

GDC SX-3000 quick start guide

manuals.online logo
manuals.online logoBrands
  • About & Mission
  • Contact us
  • Privacy Policy
  • Terms and Conditions

Copyright 2025 Manuals.Online. All Rights Reserved.