manuals.online logo
Brands
  1. Home
  2. •
  3. Brands
  4. •
  5. Paradox
  6. •
  7. Security Sensor
  8. •
  9. Paradox NV780 User manual

Paradox NV780 User manual

NV780-EI06 Printed in Canada 06/2015
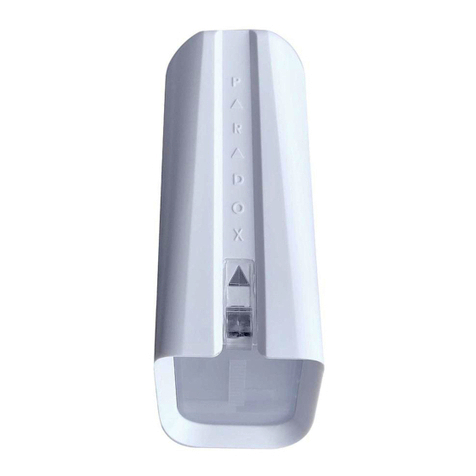
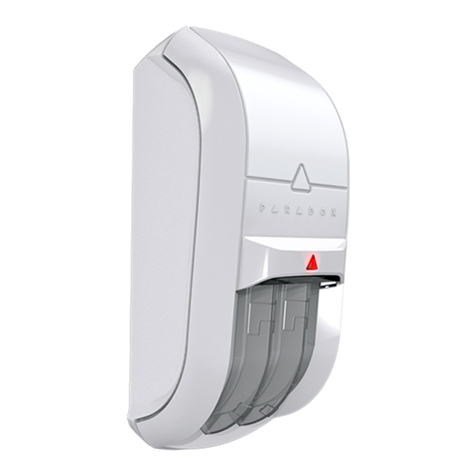
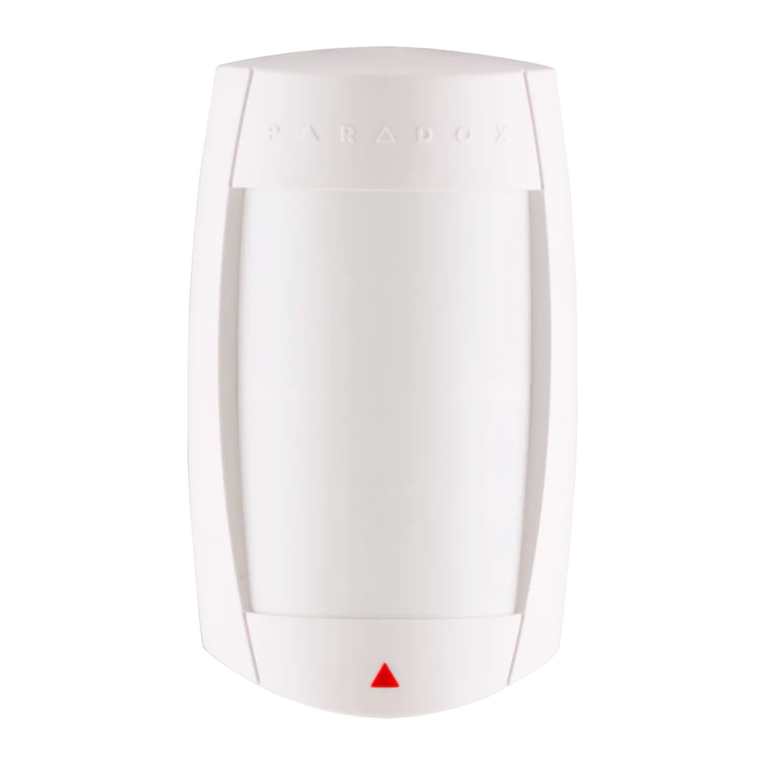
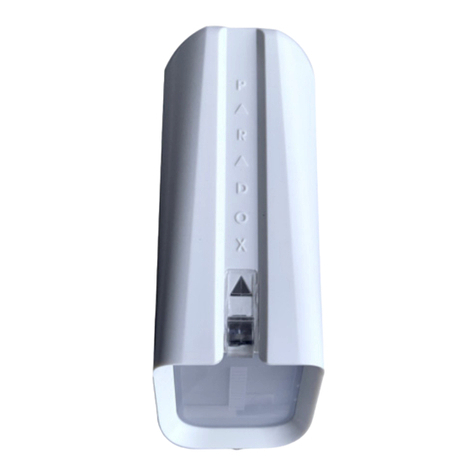
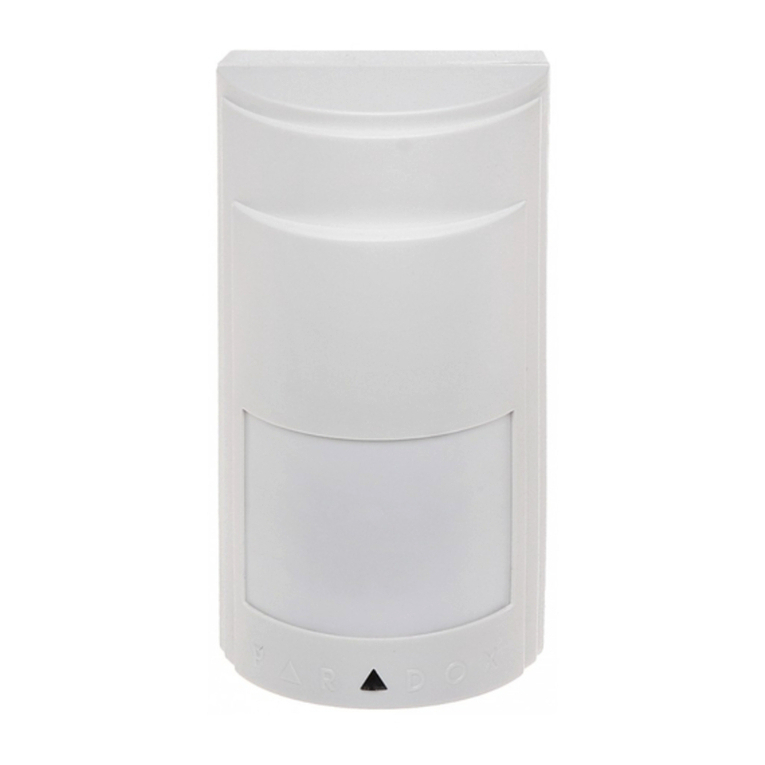
NV780 Digital Outdoor Dual Side-View Detector with 4x Dual Sensors
Installation Manual V2.60
Detector Settings
IMPORTANT: When changing DIP switch settings, the unit must be powered. To save changes, trigger the box tamper or close the cover.
DIP Switch# Functionality Min. and Max. Detection Coverage
DIP Switch 1 LED
Enable (ON) or disable (OFF) the LED, (default = ON)
The following is the minimum and maximum detection coverage
when the vertical beam adjustment is set at 0°.
DIP Switch 2 Buzzer
Enable (ON) or disable (OFF) the buzzer, (default = OFF)
Minimum
Coverage
Maximum
Coverage
DIP Switch 3 Sensitivity (see table at right)
ON= 100% (High), OFF= 75% (Normal), (default =ON)
75% Sensitivity
Level
0.4m (1.3 ft.) 11m (36 ft.)
DIP Switch 4 Zone Mode: Single/Dual
ON= Single Mode, OFF= Dual Mode, (default =ON)
100% Sensitivity
Level
0.1m (0.3 ft.) 23m (75.4 ft.)
Introduction
The NV780 is a Passive Infrared (PIR) motion detector that incorporates two independent, side-by -side passive infrared detectors into a single housing. Covering
approximately 24 meters (12m for each side), and configurable to report as a single unit (2 sides of the unit report to a single zone output) or dual units (each side
reports to a separate zone output), the NV780 provides flexible and accurate boundary protection.
Installation
To install the NV780:
1) Select the detector’s location.
2) Remove the front cover screws holding the cover into place; open the cover.
3) Drill or punch out the cable entry knockout. Run the wires through the cable entry.
4) Mount the back plate to the wall by securing the included 1.5” screws (4x) in each of the dedicated mounting holes. Secure the 2” screw in the dedicated wall
tamper hole. Do not overtighten the tamper screw, it may lead to water infiltration of the unit.
IMPORTANT: The NV780 must be installed at least 40 cm (15.7 in) away from the desired protected area (door, window, etc.) when its sensitivity is set at 75%,
and 10 cm (3.9 in) when set at 100%. See Detector Settings below to set the sensitivity.
5) Connect the wires according to the desired configuration (see Wiring below). IMPORTANT: Insert the protective foam piece in the cable entry.
6) Do not partially or completely obscure the detector’s field of view.
Wiring
The NV780 can be either hard-wired with or without a bus connection. In addition, the NV780 can be used to detect as one single zone for both left and right sides
(Single Mode), or as two independent zones; one for each side (Dual Mode). See Detector Settings below to set the Zone Mode.
TAMPER
N.C.
ALARM
OUTPUT GRN
BUS CONNECTION
YEL
N.C.
L
COM N.C.
R
RED BLK GRN YEL
+
ALARM
OUTPUT
N.C.N.O.
TAMPER
N.C.
OR
LEFT
ALARM
RIGHT
ALARM GRN
BUS CONNECTION
YEL
N.C.
L
COM N.C.
R
RED BLK GRN YEL
+
DUAL
MODE
SINGLE
MODE
Figure 1: Wiring Methods
Firmware Upgrade via Built-in Serial Port
For upgrade instructions, refer to the Firmware Upgrade Instructions document which is available at paradox.com > Software > InField.
Power-up Sequence
If the module is set in Single Mode:
• Both left and right LEDs blink simultaneously 4 times
• Buzzer activates (on/off beep: one tone)
If the module is set in Dual Mode:
• Both left and right LEDs blink alternately 4 times
• Buzzer activates (two tones, continuous)
Alarm
If the module is set in Single Mode:
•LED: red LED indication only on the relevant side(s) for 3 sec.
•Buzzer: activates (same tone for each side)
If the module is set in Dual Mode:
•LED: red LED indication only on the relevant side(s) for 3 sec.
•Buzzer: activates, each side has its own tone. If there is an alarm on both
sides, there is a separate, third tone.
Operational Modes: Relay/Combus
In relay mode, the NV780 functions as would any standard motion detector by communicating its alarm and tamper signals via relays.The GRN and YEL terminals are
not used in relay mode. In combus mode, the NV780 communicates alarm and tamper signals via the combus. The detector’s relay output always remains active
even when set to combus mode and can be used to activate other devices.
• Relay mode is the default state.
• Combus mode is initiated when the NV780 detects bus communication with the panel (connections made on green and yellow terminals).
• Upon a loss of communication in combus mode, the left LED will start flashing rapidly until communication is restored.
• In order to return to Relay operational mode, disconnect the power, and power-up the module with no bus communication connections (i.e., no green and
yellow terminal connections).
NV780-EI06 Printed in Canada 06/2015
Technical Specifications
Sensor 4x dual rectangular element, low noise, high sensitivity, EMI immunity
Lens 2nd gen., flat, 2x dual beam, 1.7” focal point, narrow beam long-range Fresnel lens
Processing High resolution digital signal processing / digital APSP / true digital temperature compensation / ultra low current-saving algorithm
Startup time 25 sec.
Detection speed 0.2m/sec – 4m/sec (0.6’ – 13.1’ft/sec)
Power input 10Vdc to 15Vdc
Current consumption 9.9mA @ Standby (Dual), 14.4mA @ Standby (Single) 39.8 mA @ Alarm (Dual, One Led + Buzzer), 58.0mA @ Alarm (Dual, Two Leds + Buzzer), 41.5mA
@ Alarm (Single, One Led + Buzzer)
Coverage Bi-directional, independent, 2 x 3m to 12m (9.8ft to 39ft), increased coverage possible depending on detector settings, temperature, etc.
PET Immunity Up to 40kg (90lb) - requires min.1.5m (4.9ft) installation height
Installation height 1.5m and above
Alarm indicator 2x red LED for 2 sec., 1 for each detection side + buzzer (can be disabled)
Alarm output 2x Solid State, N.C, 150mA. In Dual mode the relays are 2 independent Form B type and in Single mode the relays are a single Form C type operation
Anti-tamper switch N.C. 28Vdc, 0.15A
Operating temperature -35°C to +50°C (-31°F to +122°F)
Humidity 95% max.
Dimensions 9 x 5.5 x 4 cm (3.5 x 2.2 x 1.6 in.)
RF immunity Complies with EN 50130-4: 10V/m 80MHz to 2GHz
Standards EN 50131-2-2, Security Grade 2, Environmental Class IV, Certification body: Intertek
Patents: One or more of the following US patents may apply: 7046142, 6215399, 6111256, 6104319, 5920259, 5886632, 5721542, 5287111, and RE39406 and other pending patents may apply. Canadian and international patents may also
apply. Trademarks: Paradox is a trademark of Paradox Security Systems Ltd. or its affiliates in Canada, the United States and/or other countries. Certification: For the latest information on products approvals, please visit www.paradox.com.
Warranty: For complete warranty information on this product please refer to the Limited Warranty Statement found on the website www.paradox.com/terms. © 2012 Paradox Ltd. All rights reserved. Specifications may change without prior
notice.
Adjustable Beam Pattern
The NV780 features an adjustable beam pattern, both vertically and horizontally. The vertical adjustment is made to extend or shorten the range
of detection; each lower beam can be independently adjusted between five positions (0° = 12m, 5° = 10.5m, 10° = 7.5m, 15° = 5.25m, 20° = 3m).
The horizontal adjustment is made to avoid detection of unwanted objects directly next to the detector (0° or 3° away from wall).
2m/6.6 ft~
1m/3.3 ft~
1.5m/4.9 ft
12m
39.4 ft
10m
32.8 ft
12m
39.4 ft
10m
32.8 ft
6m
19.7 ft
6m
19.7 ft
3m
9.8 ft
3m
9.8 ft
0
2m/6.6 ft~
1m/3.3 ft~
1.5m/4.9 ft
0 degrees
0 degrees
Wall (Top View)
0 degrees position
3 degrees position
3 degrees
3 degrees
Wall (Top View)
0°
0° = 12m
20° = 3m
0°
5°
10°
15°
20°
(Horizontal)
B
(Vertical)
A
3°
(Horizontal)
C
0°
5°
10°
15°
20°
A: Vertical Beam Adjustment
(lower beam only)
Adjust the vertical beam by sliding the lens tab vertically (see A in Figure 2), and locking the lens tab in the
desired position, where: 0° = 12m, 5° = 10.5m, 10° = 7.5m, 15° = 5.25m, 20° = 3m.
B and C: Horizontal Beam
Adjustment
Adjust the horizontal beam by sliding the lens casing horizontally, and aligning its top edge with either the
upper railing, (see B in Figure 2), or aligning its top edge with the lower railing (see C in Figure 2).
Lens casing aligned with upper railing = 0°
Lens casing aligned with lower railing = 3°
Figure 2: Adjustable Beam Pattern
Vertical Beam Adjustment
Horizontal Beam Adjustment

Other Paradox Security Sensor manuals

Paradox PMD2P User manual

Paradox

Paradox PMD2P User manual

Paradox DG457 User manual

Paradox

Paradox DG457 User manual

Paradox ENVY NVX80 User manual

Paradox

Paradox ENVY NVX80 User manual

Paradox NV35MR User manual

Paradox

Paradox NV35MR User manual

Paradox NV35MX User manual

Paradox

Paradox NV35MX User manual

Paradox Magellan MG-PMD1P User manual

Paradox

Paradox Magellan MG-PMD1P User manual

Paradox SR230 User manual

Paradox

Paradox SR230 User manual

Paradox NV35MR User manual

Paradox

Paradox NV35MR User manual

Paradox DG457 User manual

Paradox

Paradox DG457 User manual

Paradox NV35MX User manual

Paradox

Paradox NV35MX User manual

Paradox MAGELLAN MG-PMD75 User manual

Paradox

Paradox MAGELLAN MG-PMD75 User manual

Paradox PMD2P User manual

Paradox

Paradox PMD2P User manual

Paradox TM50 Touch User manual

Paradox

Paradox TM50 Touch User manual

Paradox SR230 User manual

Paradox

Paradox SR230 User manual

Paradox Magellan PMD1P User manual

Paradox

Paradox Magellan PMD1P User manual

Paradox NV35MR User manual

Paradox

Paradox NV35MR User manual

Paradox ENVY NVX80 User manual

Paradox

Paradox ENVY NVX80 User manual

Paradox WD1 User manual

Paradox

Paradox WD1 User manual

Paradox DCT6 User manual

Paradox

Paradox DCT6 User manual

Paradox Omnia OMN-PMD1 User manual

Paradox

Paradox Omnia OMN-PMD1 User manual

Paradox NV35MR User manual

Paradox

Paradox NV35MR User manual

Paradox Digiplex Evo DGP-R910 User manual

Paradox

Paradox Digiplex Evo DGP-R910 User manual

Paradox NV37MX User manual

Paradox

Paradox NV37MX User manual

Paradox Paradome DG467 User manual

Paradox

Paradox Paradome DG467 User manual

Popular Security Sensor manuals by other brands

Pyronix KX12DQ-WE quick start guide

Pyronix

Pyronix KX12DQ-WE quick start guide

NAPCO PIR1680 Installation insructions

NAPCO

NAPCO PIR1680 Installation insructions

Aling Conel 72203 installation manual

Aling Conel

Aling Conel 72203 installation manual

schmersal EX-CSS 180 operating instructions

schmersal

schmersal EX-CSS 180 operating instructions

Halma Ampac TITANUS MICRO-SENS Technical manual

Halma

Halma Ampac TITANUS MICRO-SENS Technical manual

D-tect Systems rad-D user manual

D-tect Systems

D-tect Systems rad-D user manual

DeWalt DE0732 instructions

DeWalt

DeWalt DE0732 instructions

APG LPU-2428 user manual

APG

APG LPU-2428 user manual

Honeywell FS24X user manual

Honeywell

Honeywell FS24X user manual

Skil DT0551 Original instructions

Skil

Skil DT0551 Original instructions

Petzl VIZEN manual

Petzl

Petzl VIZEN manual

LinMot DM01-23-FS installation guide

LinMot

LinMot DM01-23-FS installation guide

AVS OUTSPIDER PA manual

AVS

AVS OUTSPIDER PA manual

SILENTRON 5514 SILENT Dual Tech manual

SILENTRON

SILENTRON 5514 SILENT Dual Tech manual

Teletek electronics SensoMAG R20 Installation instruction

Teletek electronics

Teletek electronics SensoMAG R20 Installation instruction

EMX NIR operating instructions

EMX

EMX NIR operating instructions

Kistler 9329A instruction manual

Kistler

Kistler 9329A instruction manual

Pella Insynctive Product guide

Pella

Pella Insynctive Product guide

manuals.online logo
manuals.online logoBrands
  • About & Mission
  • Contact us
  • Privacy Policy
  • Terms and Conditions

Copyright 2025 Manuals.Online. All Rights Reserved.