10
The display stays on for approximately 30 seconds after a button press. After 30 seconds with no
button press,the blue backlight shuts off first, and if no button press with another five minutes, the
Note: The battery indicator will flash
Indicates Transmitter is ready to pair
seconds to dispaly and begin pairing.
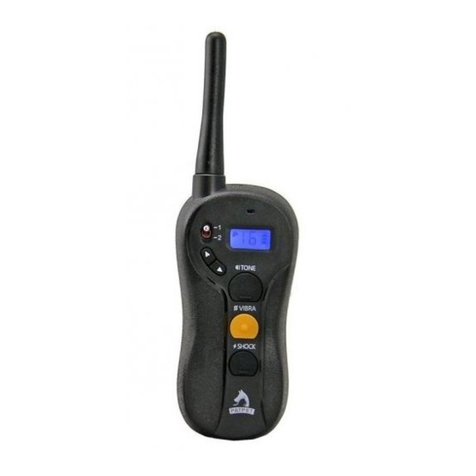
Transmitter LED Indicator Light – Function and Response
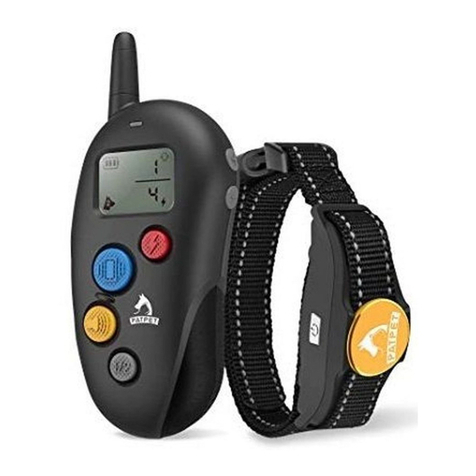
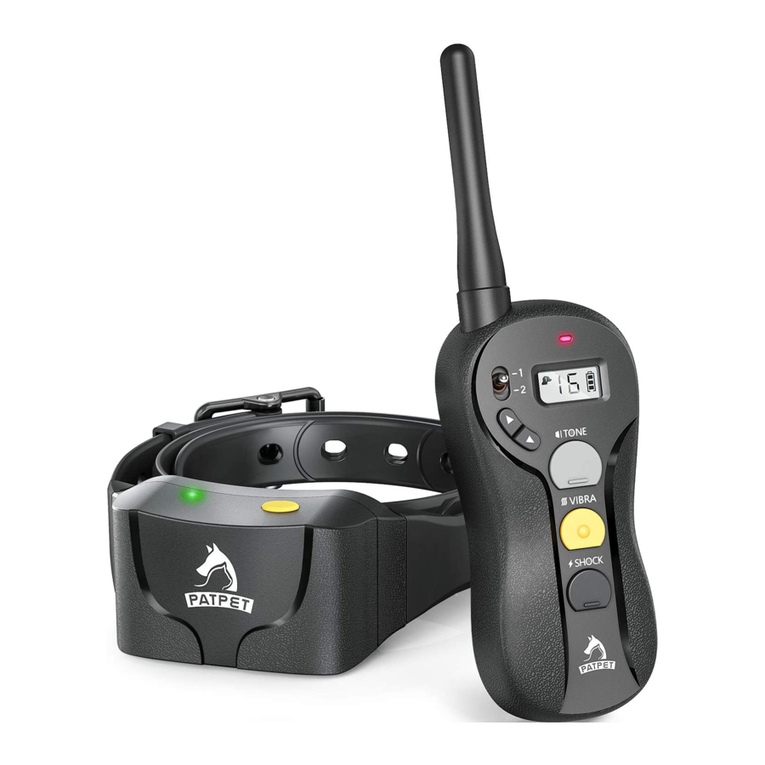
Button Button Function Transmitter Indicator Light Response
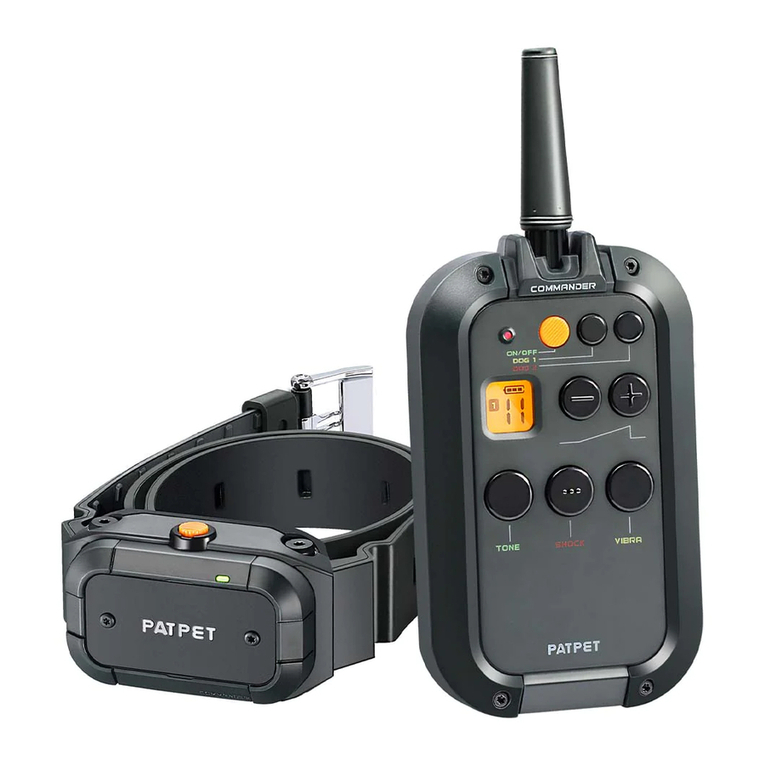
Tone (yellow) Delivers audible tone to collar Red LED on for length of button press
Stimulation
(red)
Delivers stimulation to collar based on
current level shown on Digital Display
(stimulation will time-out if pressed
continuously for 10 seconds or longer
and will reset after release)
Red LED on for length of button press
Delivers vibration to collar based on
current level shown on Digital Display
(vibration will also time-out after
button is held for 10 continuous seconds)
Red LED on for length of button press
+ and -
Buttons held
simultaneously
Transmits Pairing command to
Receiver Collar when P is visible on
Digital Display or Sending signal to
Red LED on for length of button press
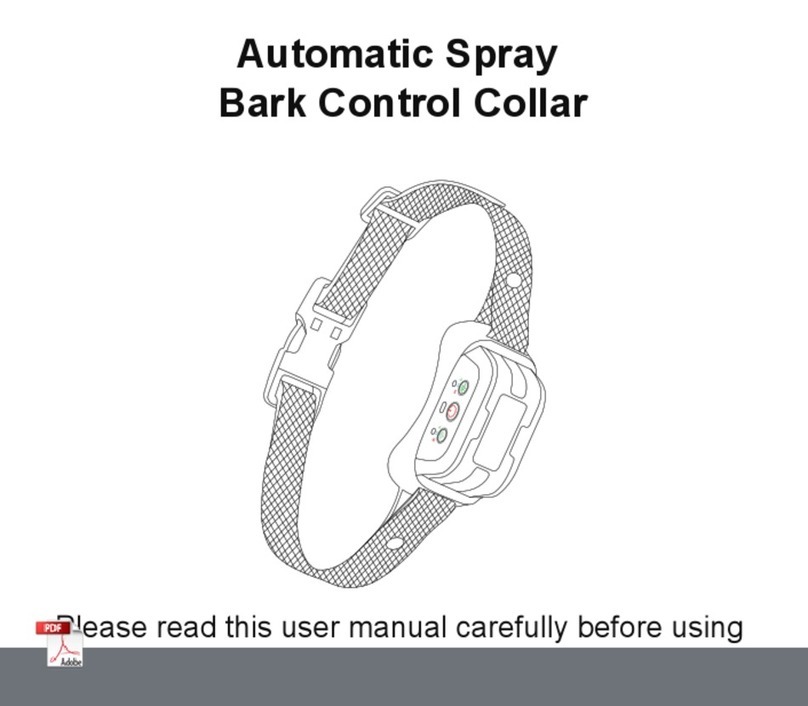
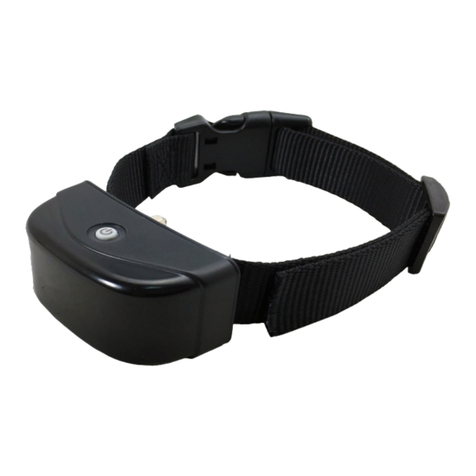
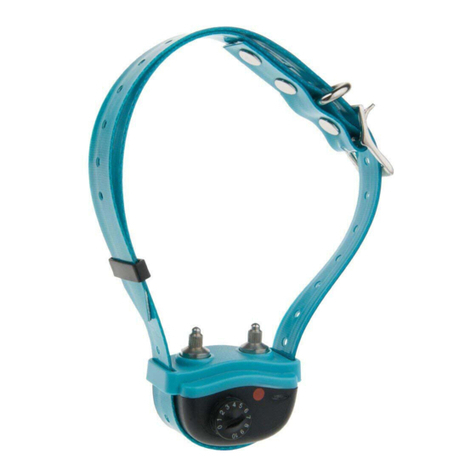
Prepare the Receiver Collar
To Insert and Remove the Batteries
2. Place the Collar in the right place and
3. Use the Test Light and install
Replacement batteries ( ) can be found at many retailers. Or please contact us for 1.5-volt, LR03 AAA
Risk of explosion if battery is replaced by an incorrect type. Do not short circuit, mix
old and new batteries, dispose of in fire, or expose to water. When batteries are stored
or disposed, they must be protected from shorting. Dispose of used batteries properly.
1. Press and hold the On/Off Button until the Green LED light comes on.
(This takes approximately one second.)
2. Release the On/Off Button.
In normal mode, the Green LED will flash once every 5 seconds, indicating the Receiver
2. Release the On/Off Button. Note: To extend the life of the batteries, turn the Receiver Collar
off when it is not in use.
Important: If the Receiver Collar is left on continuously, the maximum battery life will be
two weeks.
Step
2
display shuts off and the Transmitter goes into battery conservation mode. Pressing any button
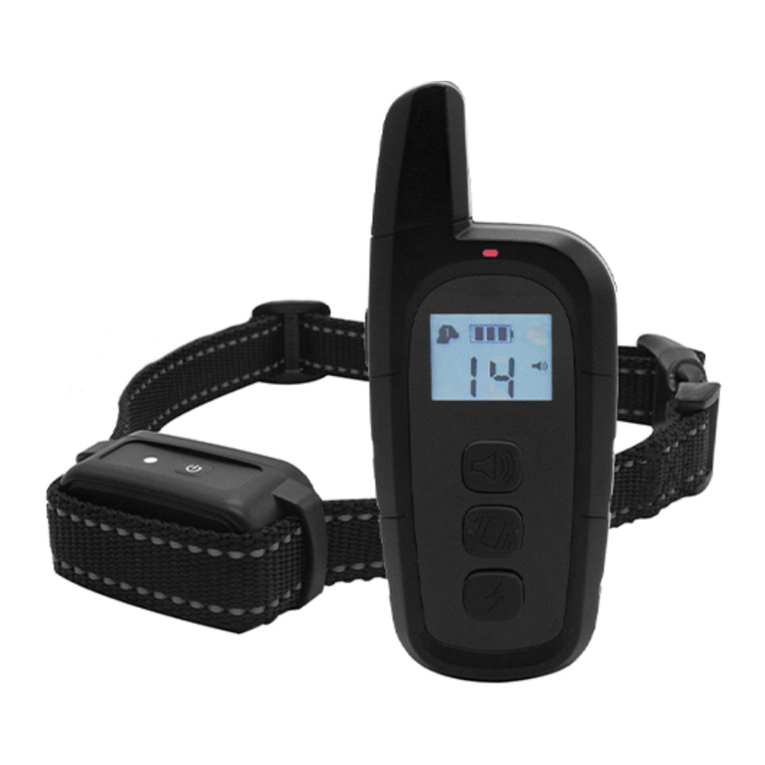
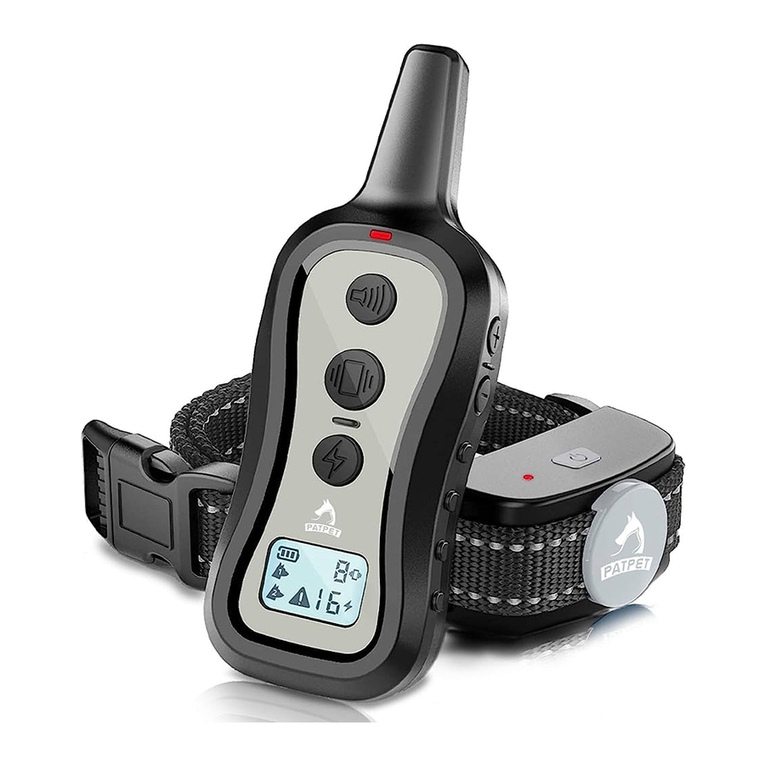
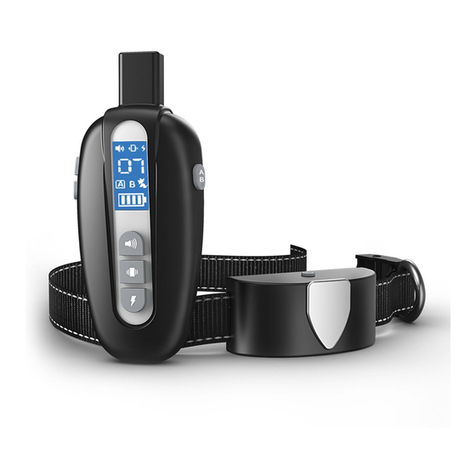
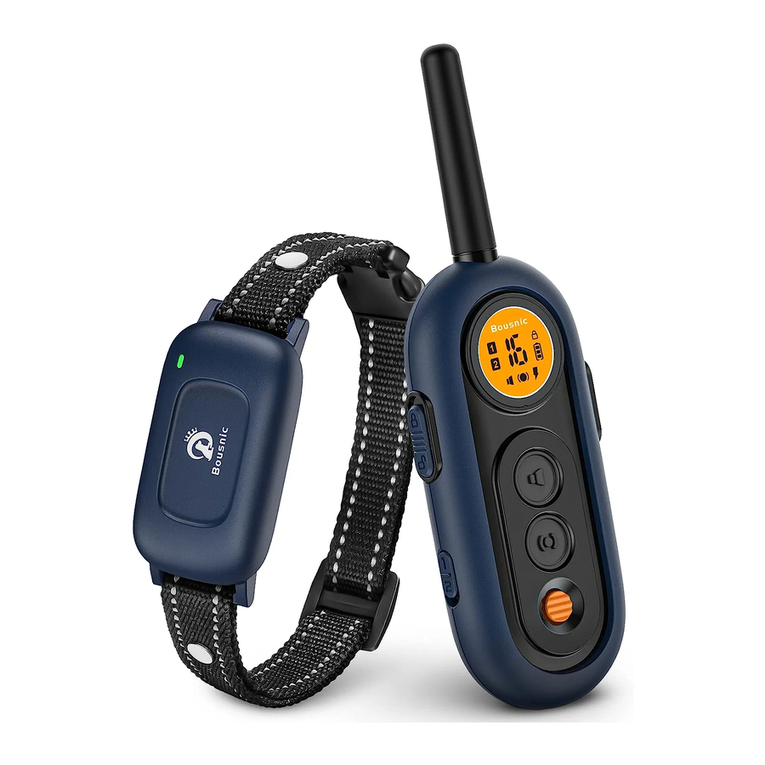
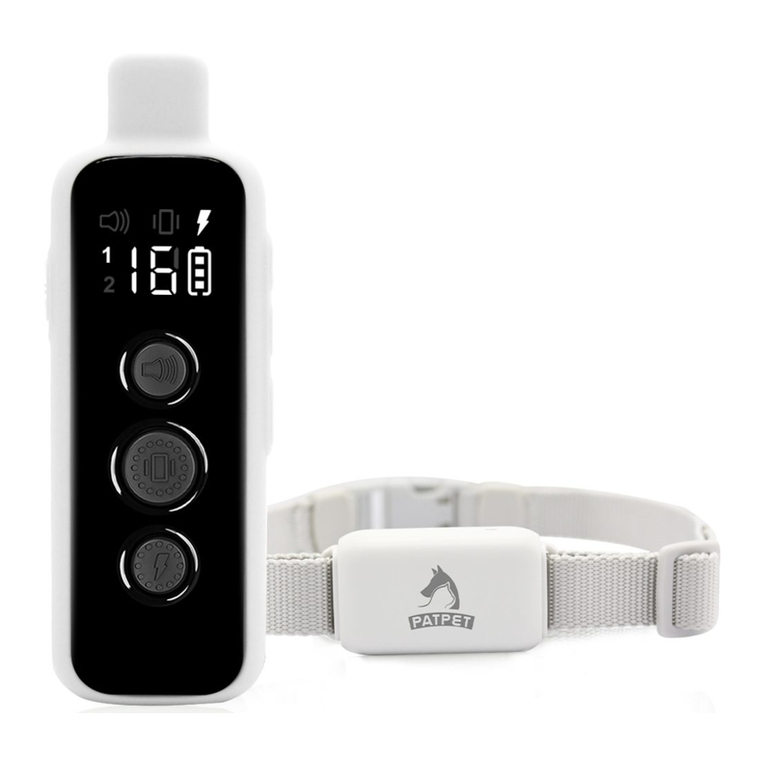
Transmitter Digital Display
will turn the display back on. The symbols on the display are explained below.
Indicate s stimulation/vibration levels
lower middle part.
Indicates the active dog receiver and
next to the battery corners indicator.
Vibration
(blue)
1. Remove the Battery Cover and install
two (2), 1.5-volt (LR03 AAA) batteries with
correct positive (+) negative (-) sides.
And replace the Battery Cover
to the Receiver Collar. (2A)
ranging from 1-16, and appears in the
Receiver Collar. Press button for 3
appears in the upper left and right
Indicates battery’s power level.
every second to indicate low battery.
Stimulation mode symbol indicate
Stimulation button press on
Vibration mode symbol indicate
Vibration button press on
transmitter.
transmitter.
Tone mode symbol indicate Tone
button press on transmitter.
with Indicates sending signal to
Receiver Collar when and
buttons are held simultaneously.
cover the Securing Pads.( )2B
the Contact Points ( ).2C
direct purchase.
DO NOT OVER-TIGHTEN THE CONTACT
POINTS WHEN USING THE TEST LIGHT.
To turn Receiver Collar On
To turn Receiver Collar Off
1. Press and hold the On/Off Button until the Red LED light shuts off.
(This takes approximately three seconds.)
Collar is on and ready to receive a signal from the Handheld Transmitter.
11
2A
2B
2C
Receiver Collar where Green LED light
flashes every second as response.


