manuals.online logo
Brands
  1. Home
  2. •
  3. Brands
  4. •
  5. PEERLESS
  6. •
  7. Projector Accessories
  8. •
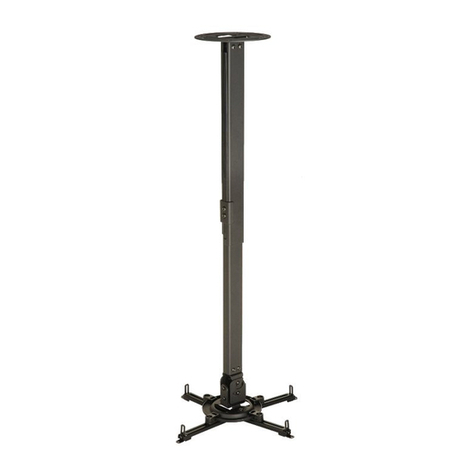
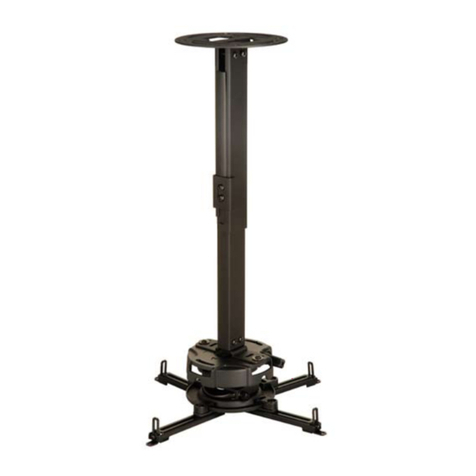
  9. PEERLESS Paramount PC930 Series Guide

PEERLESS Paramount PC930 Series Guide

This manual suits for next models

19

Other PEERLESS Projector Accessories manuals

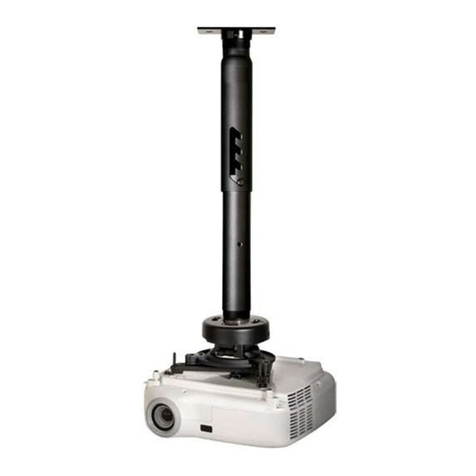
PEERLESS PRS-EXA User manual

PEERLESS

PEERLESS PRS-EXA User manual

PEERLESS Encore PJRL411 Guide

PEERLESS

PEERLESS Encore PJRL411 Guide

PEERLESS PE 1120 Guide

PEERLESS

PEERLESS PE 1120 Guide

PEERLESS PRS 274 Instruction Manual

PEERLESS

PEERLESS PRS 274 Instruction Manual

PEERLESS PRG-1S Guide

PEERLESS

PEERLESS PRG-1S Guide

PEERLESS PRS-UNV Guide

PEERLESS

PEERLESS PRS-UNV Guide

PEERLESS PRS SERIES PRS-KIT0811 User manual

PEERLESS

PEERLESS PRS SERIES PRS-KIT0811 User manual

PEERLESS PSM-UNV Guide

PEERLESS

PEERLESS PSM-UNV Guide

PEERLESS PSMU-PRS Guide

PEERLESS

PEERLESS PSMU-PRS Guide

PEERLESS PARAMOUNT ACC-EXC Guide

PEERLESS

PEERLESS PARAMOUNT ACC-EXC Guide

PEERLESS PJF2-UNV User manual

PEERLESS

PEERLESS PJF2-UNV User manual

PEERLESS PAP 40 Guide

PEERLESS

PEERLESS PAP 40 Guide

PEERLESS CMJ500R1 Guide

PEERLESS

PEERLESS CMJ500R1 Guide

PEERLESS ELPMBPJF Guide

PEERLESS

PEERLESS ELPMBPJF Guide

PEERLESS PARAMOUNT I-PPF Guide

PEERLESS

PEERLESS PARAMOUNT I-PPF Guide

PEERLESS PRS-EXA Guide

PEERLESS

PEERLESS PRS-EXA Guide

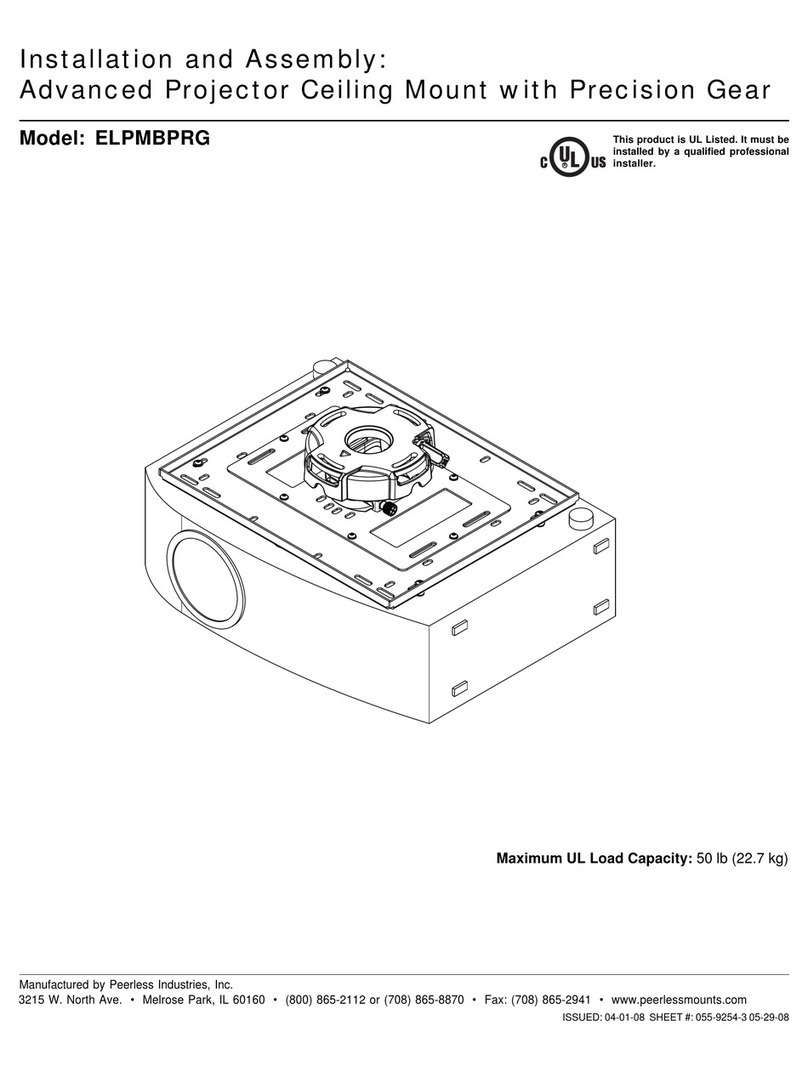
PEERLESS ELPMBPRG Guide

PEERLESS

PEERLESS ELPMBPRG Guide

PEERLESS PAP 35 Guide

PEERLESS

PEERLESS PAP 35 Guide

PEERLESS PRG-EXA User manual

PEERLESS

PEERLESS PRG-EXA User manual

PEERLESS PRG-UNV-S Guide

PEERLESS

PEERLESS PRG-UNV-S Guide

PEERLESS PRS-1 Guide

PEERLESS

PEERLESS PRS-1 Guide

PEERLESS ELPMBPRG - Advanced Projector Ceiling Mount Guide

PEERLESS

PEERLESS ELPMBPRG - Advanced Projector Ceiling Mount Guide

PEERLESS PRS Series Guide

PEERLESS

PEERLESS PRS Series Guide

PEERLESS PRS-EXC Instruction Manual

PEERLESS

PEERLESS PRS-EXC Instruction Manual

Popular Projector Accessories manuals by other brands

Optoma BX-AL133B datasheet

Optoma

Optoma BX-AL133B datasheet

Osram SIRIUS HRI Series Directions for use

Osram

Osram SIRIUS HRI Series Directions for use

Presentation Switchers PS111 quick start

Presentation Switchers

Presentation Switchers PS111 quick start

Kramer VIA GO user manual

Kramer

Kramer VIA GO user manual

Yamaha PJL-112 Replacement guide

Yamaha

Yamaha PJL-112 Replacement guide

Mitsubishi Electric 236CB Features

Mitsubishi Electric

Mitsubishi Electric 236CB Features

Epson BrightLink 475Wi user guide

Epson

Epson BrightLink 475Wi user guide

Acer WP100 quick guide

Acer

Acer WP100 quick guide

Biamp Modena Hub Network administrator's guide

Biamp

Biamp Modena Hub Network administrator's guide

Panamorph DCR-S3 installation guide

Panamorph

Panamorph DCR-S3 installation guide

Exact solutions FRAME-EVO-P10 manual

Exact solutions

Exact solutions FRAME-EVO-P10 manual

i3 i3board user manual

i3

i3 i3board user manual

CHIEF VCM103S installation instructions

CHIEF

CHIEF VCM103S installation instructions

InFocus LP70+ Replacement instructions

InFocus

InFocus LP70+ Replacement instructions

Sharp AN-PH20EZ Operation manual

Sharp

Sharp AN-PH20EZ Operation manual

PDR UPM51 product manual

PDR

PDR UPM51 product manual

CHIEF HB-43E installation instructions

CHIEF

CHIEF HB-43E installation instructions

Sony LMP-F250 operating instructions

Sony

Sony LMP-F250 operating instructions

manuals.online logo
manuals.online logoBrands
  • About & Mission
  • Contact us
  • Privacy Policy
  • Terms and Conditions

Copyright 2025 Manuals.Online. All Rights Reserved.

1 of 33 ISSUED: 11-29-07 SHEET #: 202-9263-1
Visit the Peerless Web Site at www.peerlessmounts.com For customer care call 1-800-865-2112 or 708-865-8870.
R
This product is intended for use with UL
Listed products and must be installed by a
qualified professional installer.
Installation and Assembly:
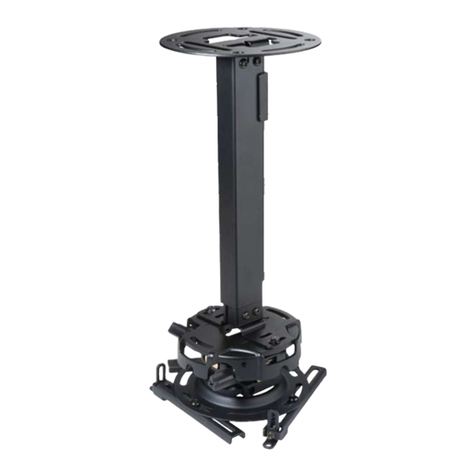
Paramount™ Ceiling Mount for LCD Screens
PC932 Series
3215 W. North Ave. • Melrose Park, IL 60160 • (800) 865-2112 or (708) 865-8870 • Fax: (708) 865-2941 • www.peerlessmounts.com
Models Screen Size Range Max UL Load Capacity
PC930A, PC930A-S, PC930A-W, PC930B, PC930B-S, PC930B-W,
PC930C, PC930C-S, PC930C-W
15" to 24" 50 lb (22.7 kg)
PC932A, PC932A-S, PC932A-W, PC932B, PC932B-S, PC932B-W,
PC932C, PC932C-S, PC932C-W
15" to 37" 80 lb (36.3 kg)
PC930 Series
Features:
• VESA® 75 / 100 / 200x100 / 200x200 compatible (based on model)
• Three adjustable extension lengths:
PC930A/PC932A models - 9.8" - 13.9"
PC930B/ PC932B models - 13.78" - 21.89"
PC930C/ PC932C models - 20.24" - 34.02"
• Adjustable tilt of +20/-5°
• 360° of mountable adjustment
• Internal cable management
• Safety catch designed into extension channels to ensure user and equipment safety
2 of 33 ISSUED: 11-29-07 SHEET #: 202-9263-1
Visit the Peerless Web Site at www.peerlessmounts.com For customer care call 1-800-865-2112 or 708-865-8870.
Note: Read entire instruction sheet before you start installation and assembly.
Table of Contents
Parts List .......................................................................................................................................................................... 3, 4
Install Outer Channel to Ceiling Plate.................................................................................................................................... 4
Installation to Wood Joist ..................................................................................................................................................... 5
Installation to Concrete Ceilings............................................................................................................................................ 6
InstallingInner Channeland RoutingCables ......................................................................................................................... 7
Attaching Mounting Plate to Screen with VESA 75 or 100 Mounting Pattern........................................................................ 8
Attaching Adapter Plate to Screen with VESA 200 x 100 or 200 x 200 Mounting Pattern..................................................... 9
Installing Flat Panel Screen ................................................................................................................................................ 10
Adjusting Mount Extension ................................................................................................................................................. 10
Adjusting Screen ................................................................................................................................................................ 11
InstallCableCovers ............................................................................................................................................................ 11
Tools Needed for Assembly
•stud finder ("edge to edge" stud finder is recommended)
•drill
•level
• Do not begin to install your Peerless product until you have read and understood the instructions and warnings
contained in this Installation Sheet. If you have any questions regarding any of the instructions or warnings, please
call Peerless customer care at 1-800-865-2112.
• This product should only be installed by someone of good mechanical aptitude, has experience with basic building
construction, and fully understands these instructions.
• Make sure that the supporting surface will safely support the combined load of the equipment and all attached hard-
ware and components.
• Never exceed the Maximum UL Load Capacity. See page 1.
• If mounting to wood ceiling studs, make sure that mounting screws are anchored into the center of the studs. Use of
an "edge to edge" stud finder is highly recommended.
• Always use an assistant or mechanical lifting equipment to safely lift and position equipment.
• Tighten screws firmly, but do not overtighten. Overtightening can damage the items, greatly reducing their holding
power.
• This product is intended for indoor use only. Use of this product outdoors could lead to product failure and personal injury.
• This product was designed and intended to be mounted to the following supporting surfaces checked below with the
hardware included in this product as specified in the installation sheet. To mount this product to an alternative support-
ing surface, contact Peerless customer care at 1 800 865-2112.
• This product was designed to be installed on the following ceiling construction only;
CEILING CONSTRUCTION ADDITIONAL HARDWARE REQUIRED
xWood Stud, Joist None
xWood Beam None
xSolid Concrete None
Cinder Block Contact Customer Service
Metal Stud Do not attach except with Peerless accessory kit for metal studs;
Contact Customer Service for Peerless accessory kit for metal studs.
Brick Contact Customer Service
Other or unsure? Contact Customer Service
WARNING
•1/4" bit for concrete
•5/32" bit for wood joist
•phillips screwdriver
3 of 33 ISSUED: 11-29-07 SHEET #: 202-9263-1
Visit the Peerless Web Site at www.peerlessmounts.com For customer care call 1-800-865-2112 or 708-865-8870.
Description Qty.
PC930A,
PC930B,
PC930C
Part #
PC930A-S,
PC930B-S,
PC930C-S
Part #
PC930A-W,
PC930B-W,
PC930C-W
Part #
PC932A,
PC932B,
PC932C
Part #
PC932A-S,
PC932B-S,
PC932C-S
Part #
PC932A-W,
PC932B-W,
PC932C-W
Part #
Aceiling plate 1 055-1773 055-4773 055-2773 055-1773 055-4773 055-2773
Bouter channel 1 See Chart See Chart See Chart See Chart See Chart See Chart
Cinner channel 1 See Chart See Chart See Chart See Chart See Chart See Chart
Dclamp plate 1 055-1771 055-4771 055-2771 055-1771 055-4771 055-2771
Eswivel/pivot bracket 1 055-1811 055-4811 055-2811 055-1811 055-4811 055-2811
Ftilt bracket 1 095-1484 095-4484 095-2484 095-1484 095-4484 095-2484
Gcable cover 2 See Chart See Chart See Chart See Chart See Chart See Chart
H#14 x 2.5 wood screw 2 5S1-015-C03 5S1-015-C04 5S1-015-C04 5S1-015-C03 5S1-015-C04 5S1-015-C04
IAlligator® concrete anchor 2 590-0097 590-0097 590-0097 590-0097 590-0097 590-0097
JM5 x 10 mm socket pin screw 8 520-1063 520-2063 520-2063 520-1063 520-2063 520-2063
KM6 x 10 mm socket pin screw 4 520-1066 520-2066 520-2066 520-1066 520-2066 520-2066
LM6 x 12 mm socket pin screw 2 520-1050 520-2050 520-2050 520-1050 520-2050 520-2050
MM4 x 10 mm socket pin screw 4 520-1060 520-2060 520-2060 520-1060 520-2060 520-2060
N
M4 x 12 mm socket pin
serrated washer head screw
4 510-1079 510-2079 510-2079 510-1079 510-2079 510-2079
OM4 x 20 mm socket pin screw 4 520-1061 520-2163 520-2163 520-1061 520-2163 520-2163
Pretaining spacer 4 590-5005 590-5005 590-5005 590-5005 590-5005 590-5005
Q4 mm security allen wrench 1 560-9646 560-9646 560-9646 560-9646 560-9646 560-9646
Radapter plate 1 N/A N/A N/A 095-1322 095-4322 095-2322
SM5 x 6 mm socket pin screw 4 N/A N/A N/A 520-1114 520-2062 520-2062
T#10 flat washer 4 N/A N/A N/A 540-9400 540-9442 540-9442
UM6 x 12 mm socket pin screw 4 N/A N/A N/A 520-1050 520-2050 520-2050
VM6 x 20 mm socket pin screw 4 N/A N/A N/A 520-9554 520-2554 520-2554
WM6 x 30 mm socket pin screw 4 N/A N/A N/A 520-1067 520-2067 520-2067
OUTER CHANNEL, INNER CHANNEL AND CABLE COVER
PART NUMBER CHART
extendable outer channel (B) inner channel (C) cable cover (G)
Model# length part # part # part #
PC930A, PC932A 9.8" - 13.9" 055-1779 055-1778 055-1809-2
PC930A-S, PC932A-S 9.8" - 13.9" 055-4779 055-4778 055-4809-2
PC930A-W, PC932A-W 9.8" - 13.9" 055-2779 055-2778 055-2809-2
PC930B, PC932B 13.78" - 21.89" 055-1776 055-1775 055-1809-1
PC930B-S, PC932B-S 13.78" - 21.89" 055-4776 055-4775 055-4809-1
PC930B-W, PC932B-W 13.78" - 21.89" 055-2776 055-2775 055-2809-1
PC930C, PC932C 20.24" - 34.02" 055-1770 055-1769 055-1809
PC930C-S, PC932C-S 20.24" - 34.02" 055-4770 055-4769 055-4809
PC930C-W, PC932C-W 20.24" - 34.02" 055-2770 055-2769 055-2809
Before you begin, make sure all parts shown are included with your product.
Parts may appear slightly different than illustrated.
Parts List