manuals.online logo
Brands
  1. Home
  2. •
  3. Brands
  4. •
  5. PEERLESS
  6. •
  7. Projector Accessories
  8. •
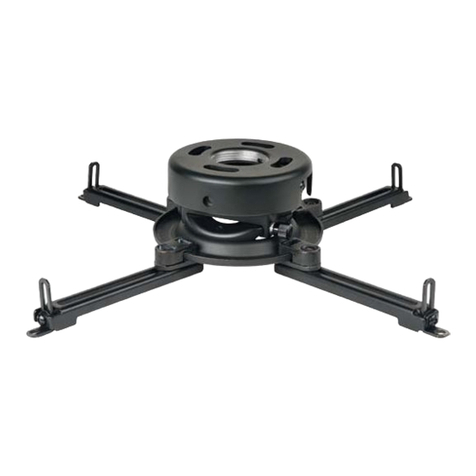
  9. PEERLESS PRS Series Guide

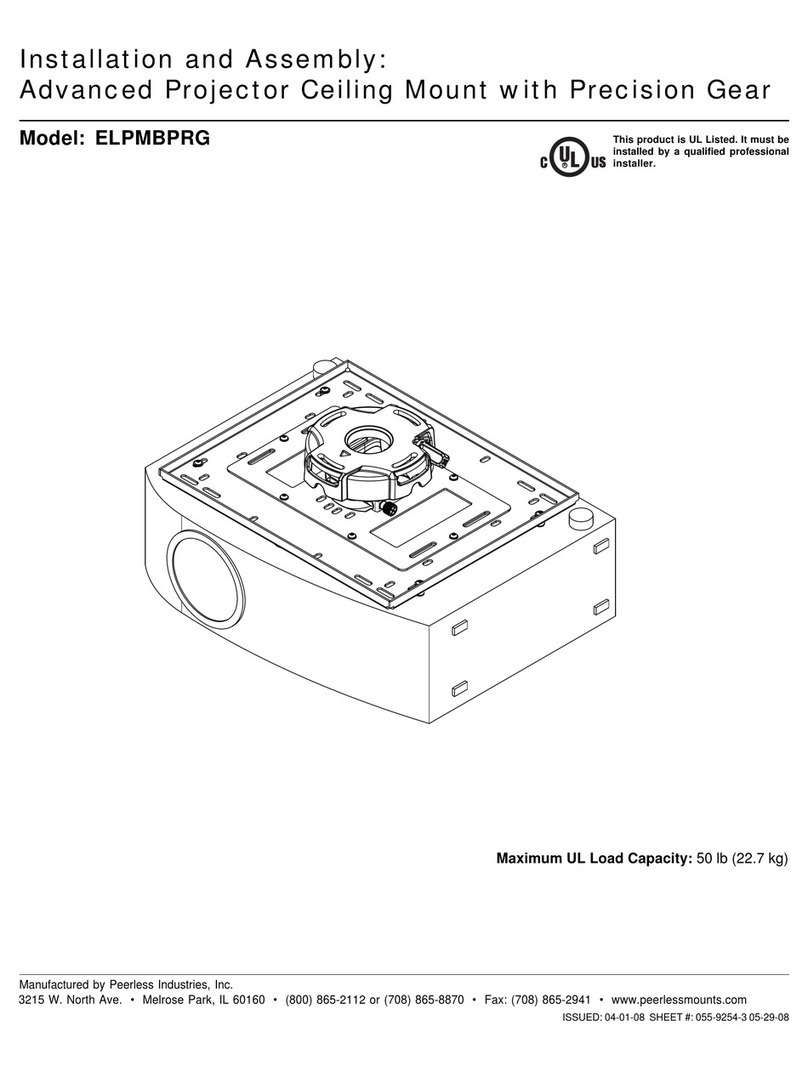
PEERLESS PRS Series Guide

ISSUED: 07-08-05 SHEET #: 055-9430-1
Visit the Peerless Web Site at www.peerlessindustries.com 1 of 9 For customer service call 1-800-729-0307 or 708-865-8870.
Read instruction sheet before you start installation and assembly.
Maximum Load Capacity: 25 lb (11 kg)
InstallationandAssembly-PRSSeriesProjectorMount
Installations:
To Wood Joist Finished Ceilings,
Exposed Wood Joists, or Wood Beam Ceilings............................................................................step 2, page 3
To Concrete Ceilings........................................................................................................................ step 3, page 4
Applications:
Threaded Rod ..................................................................................................................................step 4, page 5
ExtensionColumn............................................................................................................................step 5, page 5
Projector Alignment:
Adjusting Roll, Pitch, and Yaw ........................................................................................................ step 9, page 7
Turn to the appropriate page for your ceiling installation.
PRS SERIES
PROJECTOR
MOUNT
• Installer must verify that the ceiling will safely support
fourtimes the combined weightofallattached equip-
mentandhardware.
WARNING
Models: PRS 1P, PRS 1PS, PRS 1PW
ISSUED: 07-08-05 SHEET #: 055-9430-1
Visit the Peerless Web Site at www.peerlessindustries.com 2 of 9 For customer service call 1-800-729-0307 or 708-865-8870.
B
Parts List
C
Before you start check the parts list to insure all of the parts shown are included.
A
DG
F
Model PRS 1P Model PRS 1PS Model PRS 1PW
Description Qty. Part Number Part Number Part Number
Aprojectormountassembly 1 055-0590 055-0591 055-0592
B4 mm security allen wrench 1 560-9646 560-9646 560-9646
C#10-32 x 3/8" serrated washer head socket pin screw 2 520-1151 520-2151 520-2151
D#10-32 x 1/4" socket pin screw 1 520-1196 520-2196 520-2196
E1/4"flatwasher 2 540-9440 540-9440 540-9440
F#14 x 2.5 phillips hex head wood screw 2 5S1-015-C03 5S1-015-C04 5S1-015-C04
Gconcreteanchor 2 590-0097 590-0097 590-0097
Note: Actual parts may appear slightly different than illustrated.
E
Disengageconnectionblock from projector mountassembly(A)byunscrewingcaptivescrew and sliding out
connection block as shown.
CONNECTIONBLOCK
CAPTIVESCREW
A
ISSUED: 07-08-05 SHEET #: 055-9430-1
Visit the Peerless Web Site at www.peerlessindustries.com 3 of 9 For customer service call 1-800-729-0307 or 708-865-8870.
Drill two 5/32" (4 mm) dia. holes to a minimum depth of 2.5" (64 mm). Attach projector mount assembly (A) with two
#14 x 2.5" (6 mm x 65 mm) wood screws (F) and two flat washers (E) as shown in figure 1 or figure 2 depending
on joist orientation. Tighten wood screws (F) using 3/8" (10 mm) socket wrench until projector mount assembly (A)
is firmly attached.
Skip to step 6.
Installation To Wood Joist Finished Ceilings,
Exposed Wood Joists, or Wood Beam Ceilings
F
F
A
WOODJOIST
FRONTOF
MOUNT
E
E
FRONTOF
MOUNT
WOODJOIST
A
figure 1 figure 2
• Tighten wood screws so that ceiling plate is firmly
attached,butdonotovertighten.Overtightening can
damagethescrews, greatly reducing theirholding
power.
• Never tighten in excess of 80 in • lb (9 N.M.).
• Make sure that mounting screws are anchored into the
center of the studs. The use of an "edge to edge" stud
finderishighlyrecommended.
WARNING
ISSUED: 07-08-05 SHEET #: 055-9430-1
Visit the Peerless Web Site at www.peerlessindustries.com 4 of 9 For customer service call 1-800-729-0307 or 708-865-8870.
Drill two 1/4" (6 mm) dia. holes to a minimum depth of
2.5" (64 mm). Attach projector mount assembly (A)
usingtwo concrete anchors (G),twoflatwashers(E),
and two #14 x 2.5" wood screws (F) as shown in
Illustration A and1,2,and3 (below).Tightenwood
screws (F) using 3/8" (10 mm) socket wrench until
projector mount assembly (A) is firmly attached.
1
3
Drill hole and insert anchor
Place ceiling plate or mount over anchor and secure
with screw
After repeating step one tighten all fasteners
CUTAWAYVIEW
INCORRECT
concrete
metal
bracket
plaster/
drywall
CORRECT
concrete
metal
bracket
plaster/
drywall
concrete
ceiling
F
F
F
Illustration A
Installation to Concrete Ceilings
A
2A
CONCRETECEILING
E
G
G
G
Note: It is the responsibility of the installer to
verify that the ceiling will safely support the
combinedloadofallattachedhardwareand
components.
Skip to step 6.
G
FRONTOF
MOUNT
• Concrete anchorsare not intended for attachmentto
concreteceiling covered with alayer of plaster,
drywall,or other finishing material.If mounting to
concreteceilingcovered with plaster/drywall isun-
avoidable,plaster/drywall (up to5/8" thick) mustbe
counterboredasshown below.Ifplaster/drywallis
thicker than 5/8", custom fasteners must be supplied
by installer.
WARNING
• Tightenwood screws firmly, butdo not overtighten.
Overtighteningcandamagethe screws, greatly
reducingtheirholdingpower.
• Never tighten in excess of 80 in • lb (9 N.M.).
WARNING
ISSUED: 07-08-05 SHEET #: 055-9430-1
Visit the Peerless Web Site at www.peerlessindustries.com 5 of 9 For customer service call 1-800-729-0307 or 708-865-8870.
3/8-16THREADED ROD
(NOTINCLUDED)
Attach projector mount assembly (A) to two 3/8-16 threaded rods (not included) using two 3/8-16 hex thin nylon-
insert locknuts (not included) as shown in figure 1.1 or figure 1.2.
Skip to step 6.
A
Installation to Threaded Rod
(Not evaluated by UL - Professional installation only)
Installation to Extension Column
Screw projector mount assembly (A) onto extension column (sold separately) as shown in figure 2.1. Note: For
3/4" extension columns, reducer ACC 913 will be required as shown in figure 2.2. Tighten swivel stop screw
against extension column or reducer using security allen wrench (B). Note: Swivel stop screw is used to jam
againstthreadsofextensioncolumnorreducertopreventanyexcessmovementofprojectormountassembly
(A).Donotovertightenscrew;overtighteningscrewwilldamagethreads makingitdifficult toseparateproducts.
Skip to step 6.
11/2"EXTENSION
COLUMN
(SOLDSEPARATELY)
(ULLISTEDEXTORADJ
SERIES)
3/8-16 HEXTHIN
NYLON-INSERT
LOCKNUT
(NOTINCLUDED)
3/8-16THREADED ROD
(NOTINCLUDED)
A
FRONTOF
MOUNT FRONTOF
MOUNT
fig. 1.1 fig. 1.2
3/8-16 HEXTHIN
NYLON-INSERT
LOCKNUT
(NOTINCLUDED)
fig. 2.1
ACC 913
(NOTULLISTED)
fig. 2.2
A
SWIVELSTOPSCREW
BACKOF
MOUNT A
SWIVELSTOPSCREW
BACKOF
MOUNT
3/4"EXTENSIONCOLUMN
ISSUED: 07-08-05 SHEET #: 055-9430-1
Visit the Peerless Web Site at www.peerlessindustries.com 6 of 9 For customer service call 1-800-729-0307 or 708-865-8870.
Note:Theprojectoradapter plate and projectoryou are installingmay differ inappearance from the sampleillustrated
below.
Align shoulder on connection block opposite notch in adapter plate.Attach adapter plate to connection block from
projector mount assembly (A) using two #10-32 x 3/8" serrated washer head socket pin screws (C) as shown.
Slideconnection block withprojector into projectormount
assembly(A) as shown. Tightencaptive screwto secure
projectorto projector mount assembly(A).
IMPORTANT: For security installations, insert
one #10-32 x 1/4" socket pin screw (D) through
projectormount assembly (A)andinto connection
block as shown.
ACONNECTIONBLOCK
D
CONNECTIONBLOCK
A
CAPTIVESCREW
FRONTOFMOUNT
• Always use an assistant or mechanical lifting equipment to safely lift and position the projector.
WARNING
ADAPTERPLATE
(ULLISTEDPAPSERIES)
CONNECTION
NOTCHINDICATES
C
SHOULDER
Note: Attach adapter plate to projector (see PAP instructions) before proceeding to step 7.
ISSUED: 07-08-05 SHEET #: 055-9430-1
Visit the Peerless Web Site at www.peerlessindustries.com 7 of 9 For customer service call 1-800-729-0307 or 708-865-8870.
To adjust yaw (swivel) for wood stud, concrete ceiling, and threaded rod mounting applications:
Loosen wood screws (F), or locknuts for threaded rods, until projector mount can be rotated. Rotate mount to
desired position and retighten screws or locknuts.
To adjust yaw (swivel) for extension column applications: Loosen screw on projector mount assembly (A)
indicated below until projector mountcan be rotated. Rotate mountto desired position and retighten screw.
To adjust pitch (forward and backward tilt): Loosen two screws on projector mount assembly (A) indicated
below. Tilt mount to desired position and retighten screws.
To adjust roll (side to side tilt): Loosen two screws on projector mount assembly (A) indicated below. Tilt
mountto desired positionand retightenscrews.
Projector AlignmentProjector Alignment
Projector Alignment
SCREWFORSWIVELSTOP
ASCREWSFORROLL
ADJUSTMENT
SCREWSFORPITCH
ADJUSTMENT
BACKOFMOUNT
ISSUED: 07-08-05 SHEET #: 055-9430-1
Visit the Peerless Web Site at www.peerlessindustries.com 8 of 9 For customer service call 1-800-729-0307 or 708-865-8870.
PRSSeriesProjectorMountAccessories
Unistrut®Adapter
MODEL:ACC 550
MAX LOAD:250 lbs. (113.4 kg.)
COLOR:Black
• Designed for use with
1 5/8" x 1 5/8" 12 gauge Unistrut
Round Ceiling Plate
MODEL:ACC 570(S)(W)
MAX LOAD:150 lbs. (68 kg.)
COLOR:Black, Silver, White
• Designed for finished or structural
ceilings (wood or concrete)
• Features a cord management
access hole
• Now available in Silver or White
Accessory Pack for CMJ 455
MODEL:ACC 455*
This pack includes 4 hanger brackets and
4hanger clampsfor additionalstability. For
use with model CMJ 455.
TrussCeilingAdapter
MODEL:ACC 557*
MAX LOAD: 250 lbs. (113.4 kg.)
COLOR: Black
• Attaches to a square, round,
rectangular, or I-Beam truss up to 3" in
diameter
EscutcheonRing
MODEL:ACC 640
• Covers hole where extension
column passes through ceiling
• Hinged ring wraps around extension column
• Included with CMJ 500
LightweightCathedral
Ceiling Plate
MODEL:ACC 912*
MAX LOAD:60 lbs. (27.2 kg.)
COLOR:Black
• Designed specifically for projectors
• Allows a projector to be mounted
on an angled ceiling
New!
LightweightAdjustable
Suspended Ceiling Kit
MODEL:CMJ 500*
MAX LOAD:60 lbs. (27.2 kg.)
COLOR:White
• Mounts above 2’ x 4’ or 2’ x 2’ false ceiling tile
• Includes tie wire supports, flush mount tube,
and offers two knockout panels for outlet
boxes
• Offers unlimited adjustment for
projector placement
New!
New Color
Options!
Lightweight Suspended Ceiling Kit
MODEL:CMJ 455
MAX LOAD:50 lbs. (22.7 kg.)
COLOR:White
• Five different projector
mount attachment points
• Includes tie wire supports,
flush mount tube, and
offers two knockout panels
for outlet boxes
• May either replace a 2’ x 2’ false
ceiling tile or mount above an existing
2’ x 2’ or 2’ x 4’ ceiling tile
Anti-Vibration Ceiling Plates
MODELS:
ACC 840*, ACC 845*
MAX LOAD:60 lbs. (27.2 kg.)
COLOR:Black
• ACC 840 was designed for
a structural ceiling (wood only)
• ACC 845 was designed for
a Unistrut ceiling (1 5/8" x 1 5/8"
12 gauge Unistrut)
• Reduces unwanted vibrations
that may cause internal damage
to the equipment and/or cause the
screen image to vibrate
• Features two cord management
access holes
• Patentpending
UnistrutorStructural
CeilingPlates
MODELS:
CMJ 300*, CMJ 310*
MAX LOAD:
250 lbs. (113.4 kg.)
COLOR:Black
• CMJ 300 is a 4" x 4" ceiling plate
• CMJ 310 is a 8" x 8" ceiling plate
• Designed for a Unistrut ceiling
(1 5/8" x 1 5/8" 12 gauge Unistrut)
or a solid structural ceiling
(mounting hardware not included)
Unistrut
Ceiling plate
R
R
R
Ceiling Plates
I-BeamClamps
MODELS:
ACC 558, ACC 559
MAX LOAD:250 lbs. (113.4 kg.)
COLOR:Black
• ACC 558 clamps onto 4"-8" I-Beam
• ACC 559 clamps onto 7"-12" I-Beam
R
*= Not UL Listed
ISSUED: 07-08-05 SHEET #: 055-9430-1
Visit the Peerless Web Site at www.peerlessindustries.com 9 of 9 For customer service call 1-800-729-0307 or 708-865-8870.
Cord Wrap
MODELS:ACC 852(W)(S)*
COLOR:Black, White, or Silver
Side-To-Side Adjuster
MODEL:ACC 830*
COLOR:Black
• Provides 4" of radial adjustment side to side
` • Includes Flush Mount Tube, EXT 002
ExtensionColumnConnector
MODEL:ACC 109*
COLOR:Black
• Can be used to join two 1 1/2" extension columns
to create a maximum length of 20’
• Secures to columns with Armor LockTM
Security screws
Extension Column Stabilizer Kit
MODEL:ACC 050*
COLOR:Black
• Can be used to reduce unwanted swaying
that may occur with extension column installations
• Includes a hose clamp, two stabilizer column
supports, & hardware for mounting to wood
joists
• For use with extension columns over 21"
ALLIGATOR®ConcreteAnchors
MODELS:ACC 203, 204
• ACC 203 contains 3 anchors
• ACC 204 contains 4 anchors
• Used for attachment to concrete, concrete block, or brick
• Used in conjunction with wood screws
(supplied with projector mount and/or ceiling plate)
• Expands in length and binds to the contours of the hole and the screw
• Includes four 2' sections
• Designed to externally route cords along the outside of an 1/2" extension column
• Sections can be stacked to create longer lengths or cut to desired length
Armor LockTM Plus Security Cables
MODEL:ACC 021*
• With 1/4" security cable and fasteners
• Includes adhesive for non-fastener applica
tions
New
Low Price!
MODEL:ACC 020*
• With security lock
• For use with projectors that have a built-in security slot
Extension
column
Side to side
adjuster
Extension Columns
Security Accessories
Additional Projector
Mount Accessories
PRSSeries ProjectorMountAccessories
Cord Management
3/4" Pipe Reducer
MODEL:ACC 913*
New!
New!
• For use with FLP model extension columns
• Order an additional reducer to attach ceiling
plates with 1 1/2" hole
Fixed Length 3/4"
ExtensionColumns*
LOAD CAPACITY:60 lbs. (27.2 kg.)
MODEL Drop Length
FLP006 8"
FLP101 14"
FLP102 26"
FLP103 38"
Fixed Length 1 1/2"
ExtensionColumns
COLOR:Black
MODEL Drop Length Ship Weight
EXT 006 8" (20 cm) 2.5 lbs (1.13 kg)
EXT 018 20" (51 cm) 5 lbs (2.27 kg)
EXT 101 14" (36 cm) 3.5 lbs (1.59 kg)
EXT 102 26" (66 cm) 6 lbs (2.72 kg)
EXT 103 38" (97 cm) 9.25 lbs (4.2 kg)
EXT 104 50" (127cm) 12 lbs (5.44 kg)
EXT 105 62" (158 cm) 14.75 lbs (6.69 kg)
EXT 106 74" (188 cm) 18 lbs (8.16 kg)
EXT 107 86" (219 cm) 20.75 lbs (9.41 kg)
EXT 108 98" (249 cm) 23.25 lbs (10.55 kg)
EXT 109 110" (279 cm) 26.5 lbs (12.02 kg)
EXT 110 122" (310 cm) 29 lbs (13.15 kg)
R
COLOR:Black
Adjustable Length 1 1/2"
ExtensionColumns
MODEL Drop Length Ship Weight
ADJ 006009 8"-11" 4 lbs. (1.81 kg)
ADJ 012018 14"-20" 4.75 lbs. (2.15 kg)
ADJ 018024 20"-26" 6.25 lbs. (2.83 kg)
ADJ 0203 26"-38" 8 lbs. (3.63 kg)
ADJ 0305 38"-62" 13.5 lbs. (6.12 kg)
ADJ 0406 50"-74" 16.25 lbs. (7.37 kg)
ADJ 0507 62"-86" 18.5 lbs. (8.39 kg)
ADJ 0608 74"-98" 21.75 lbs. (9.87 kg)
ADJ 0709 86"-110" 24.5 lbs. (11.11 kg)
ADJ 0810 98"-122" 27 lbs. (12.25 kg)
ADJ 0911 110"-134" 29 lbs. (13.15 kg)
ADJ 1012 122"-146" 31 lbs. (14.06 kg)
R
©2005PeerlessIndustries,Inc.Allrightsreserved.
PeerlessisaregisteredtrademarkofPeerlessIndustries.
Allotherbrandandproductnamesaretrademarksorregisteredtrademarksoftheirrespectiveowners.
R
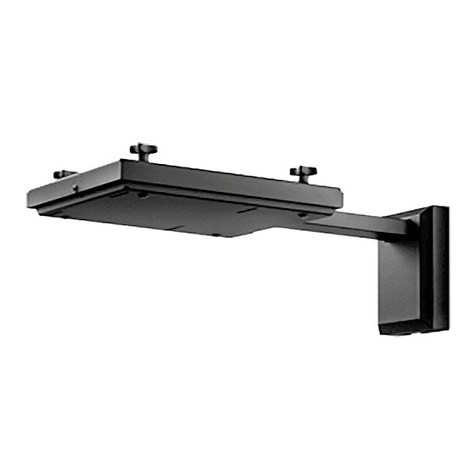
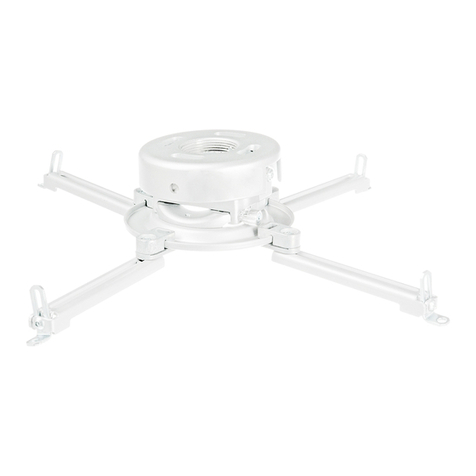
This manual suits for next models

3

Other PEERLESS Projector Accessories manuals

PEERLESS Encore PJRL411 Guide

PEERLESS

PEERLESS Encore PJRL411 Guide

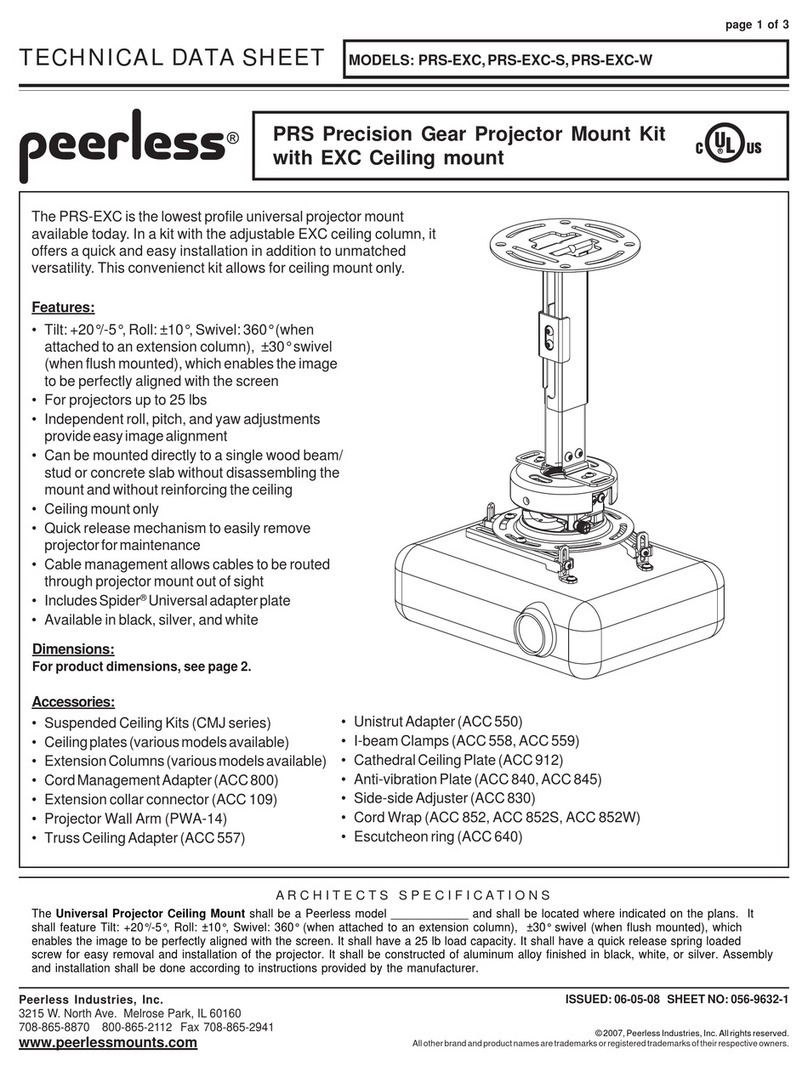
PEERLESS PRS-EXC Instruction Manual

PEERLESS

PEERLESS PRS-EXC Instruction Manual

PEERLESS ELPMBPRG Guide

PEERLESS

PEERLESS ELPMBPRG Guide

PEERLESS PRG-1S Guide

PEERLESS

PEERLESS PRG-1S Guide

PEERLESS PRG-EXA User manual

PEERLESS

PEERLESS PRG-EXA User manual

PEERLESS PARAMOUNT I-PPF Guide

PEERLESS

PEERLESS PARAMOUNT I-PPF Guide

PEERLESS EXA  and assembly Guide

PEERLESS

PEERLESS EXA and assembly Guide

PEERLESS PRS-EXA User manual

PEERLESS

PEERLESS PRS-EXA User manual

PEERLESS Paramount PPA Guide

PEERLESS

PEERLESS Paramount PPA Guide

PEERLESS PRS 274 Instruction Manual

PEERLESS

PEERLESS PRS 274 Instruction Manual

PEERLESS PRS SERIES PRS-KIT0811 User manual

PEERLESS

PEERLESS PRS SERIES PRS-KIT0811 User manual

PEERLESS PAP 35 Guide

PEERLESS

PEERLESS PAP 35 Guide

PEERLESS PRS-1 Guide

PEERLESS

PEERLESS PRS-1 Guide

PEERLESS PJF2-UNV User manual

PEERLESS

PEERLESS PJF2-UNV User manual

PEERLESS PRG-UNV-S Guide

PEERLESS

PEERLESS PRG-UNV-S Guide

PEERLESS ELPMBPRG - Advanced Projector Ceiling Mount Guide

PEERLESS

PEERLESS ELPMBPRG - Advanced Projector Ceiling Mount Guide

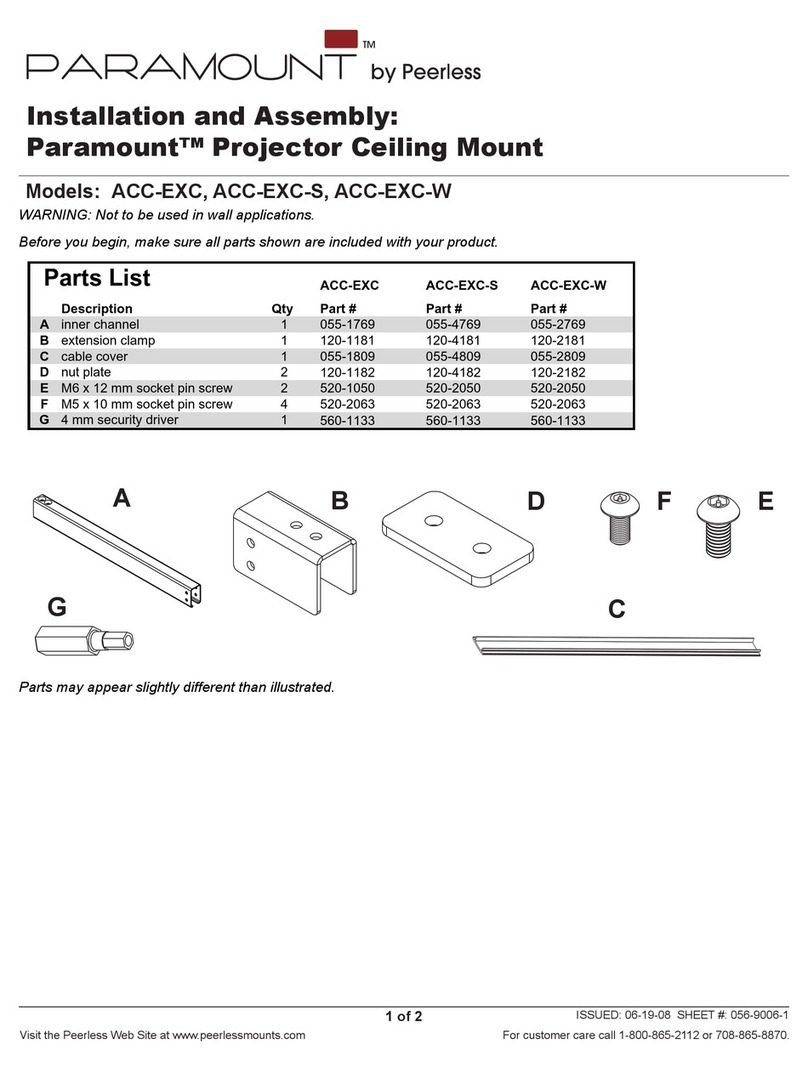
PEERLESS PARAMOUNT ACC-EXC Guide

PEERLESS

PEERLESS PARAMOUNT ACC-EXC Guide

PEERLESS ELPMBPJF Guide

PEERLESS

PEERLESS ELPMBPJF Guide

PEERLESS PRS-UNV Guide

PEERLESS

PEERLESS PRS-UNV Guide

PEERLESS PRS 35 Instruction Manual

PEERLESS

PEERLESS PRS 35 Instruction Manual

PEERLESS PPF User manual

PEERLESS

PEERLESS PPF User manual

PEERLESS A100WALLARM2 Guide

PEERLESS

PEERLESS A100WALLARM2 Guide

PEERLESS PSM-UNV Guide

PEERLESS

PEERLESS PSM-UNV Guide

PEERLESS Paramount PC930 Series Guide

PEERLESS

PEERLESS Paramount PC930 Series Guide

Popular Projector Accessories manuals by other brands

HuddleCamHD HuddleShare user manual

HuddleCamHD

HuddleCamHD HuddleShare user manual

Crimson JR instruction manual

Crimson

Crimson JR instruction manual

Panasonic ET-LAD510 operating instructions

Panasonic

Panasonic ET-LAD510 operating instructions

Grandview CB-UY60 installation guide

Grandview

Grandview CB-UY60 installation guide

Panasonic ET-SFR330 operating instructions

Panasonic

Panasonic ET-SFR330 operating instructions

Extron electronics Extron SS 200 Specification sheet

Extron electronics

Extron electronics Extron SS 200 Specification sheet

Premier Mounts CPD10WALLARM installation instructions

Premier Mounts

Premier Mounts CPD10WALLARM installation instructions

AllSportSystems DIY Bay installation guide

AllSportSystems

AllSportSystems DIY Bay installation guide

Barco R9841810 installation manual

Barco

Barco R9841810 installation manual

LG HECTO Series Install manual

LG

LG HECTO Series Install manual

Milestone Da-Lite Heavy Duty Fast-Fold Deluxe Frame Instruction book

Milestone

Milestone Da-Lite Heavy Duty Fast-Fold Deluxe Frame Instruction book

LUMENE MOVIE PALACE UHD 4K user manual

LUMENE

LUMENE MOVIE PALACE UHD 4K user manual

Christie Brio Team+ quick start guide

Christie

Christie Brio Team+ quick start guide

Sony VPDL-ZP50 installation manual

Sony

Sony VPDL-ZP50 installation manual

Grandview GPCM-B instruction manual

Grandview

Grandview GPCM-B instruction manual

Barco F50 User and installation manual

Barco

Barco F50 User and installation manual

Sapphire Audio SSM-BR instruction manual for Ceiling Installation Parts

Sapphire Audio

Sapphire Audio SSM-BR instruction manual for Ceiling Installation Parts

Vutec VU-PRO VT14X installation instructions

Vutec

Vutec VU-PRO VT14X installation instructions

manuals.online logo
manuals.online logoBrands
  • About & Mission
  • Contact us
  • Privacy Policy
  • Terms and Conditions

Copyright 2025 Manuals.Online. All Rights Reserved.