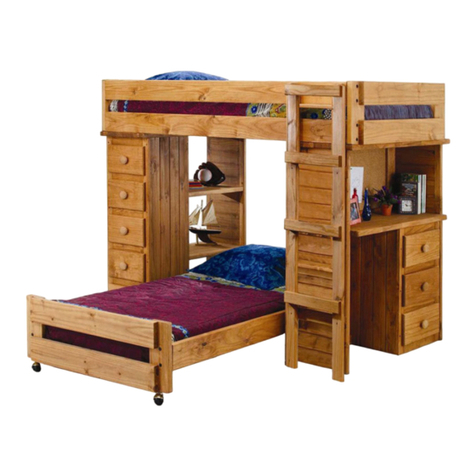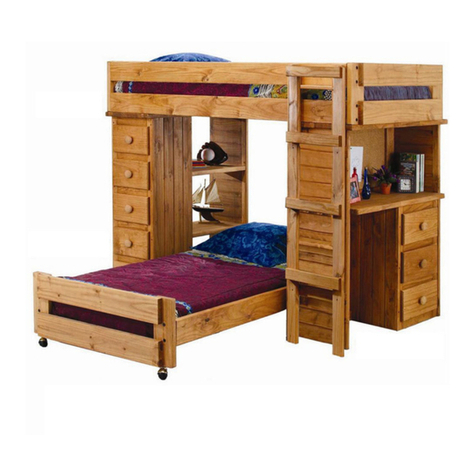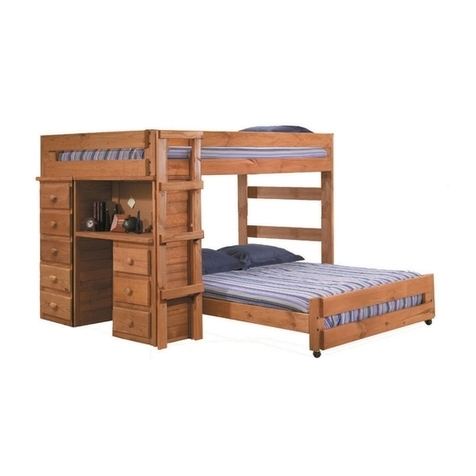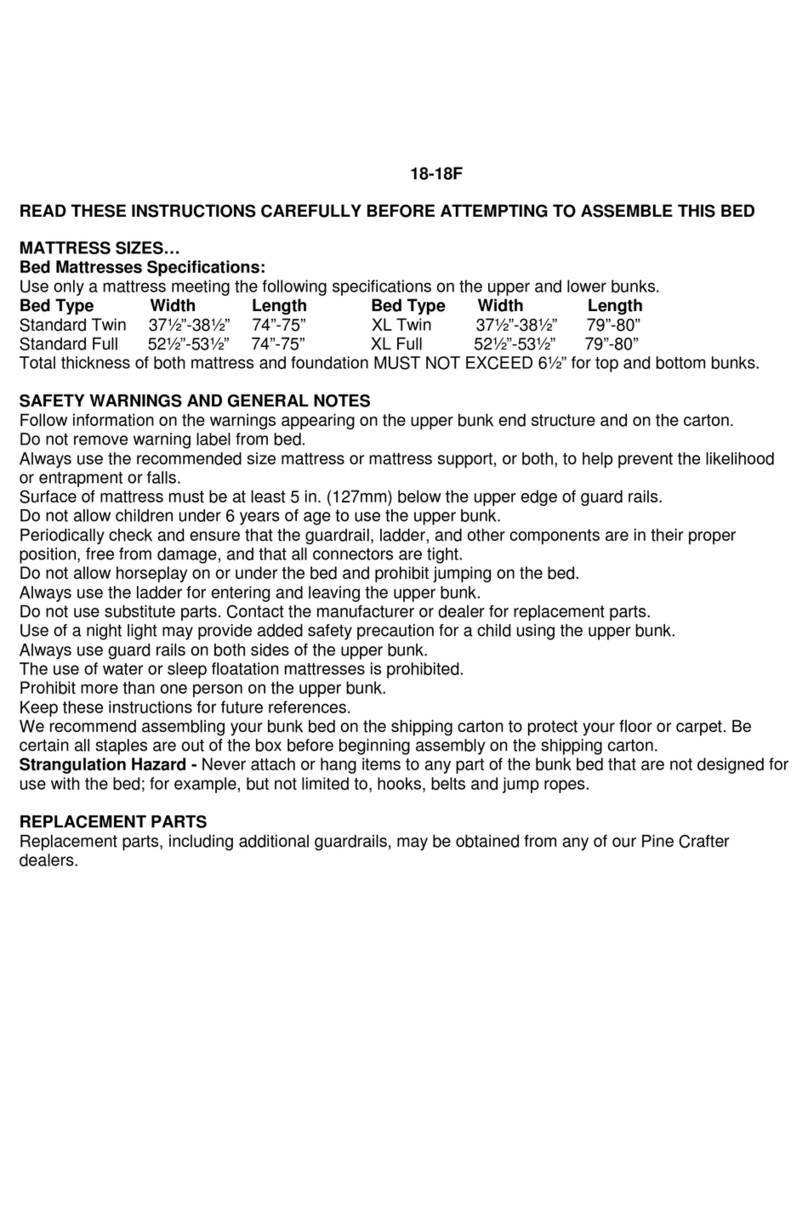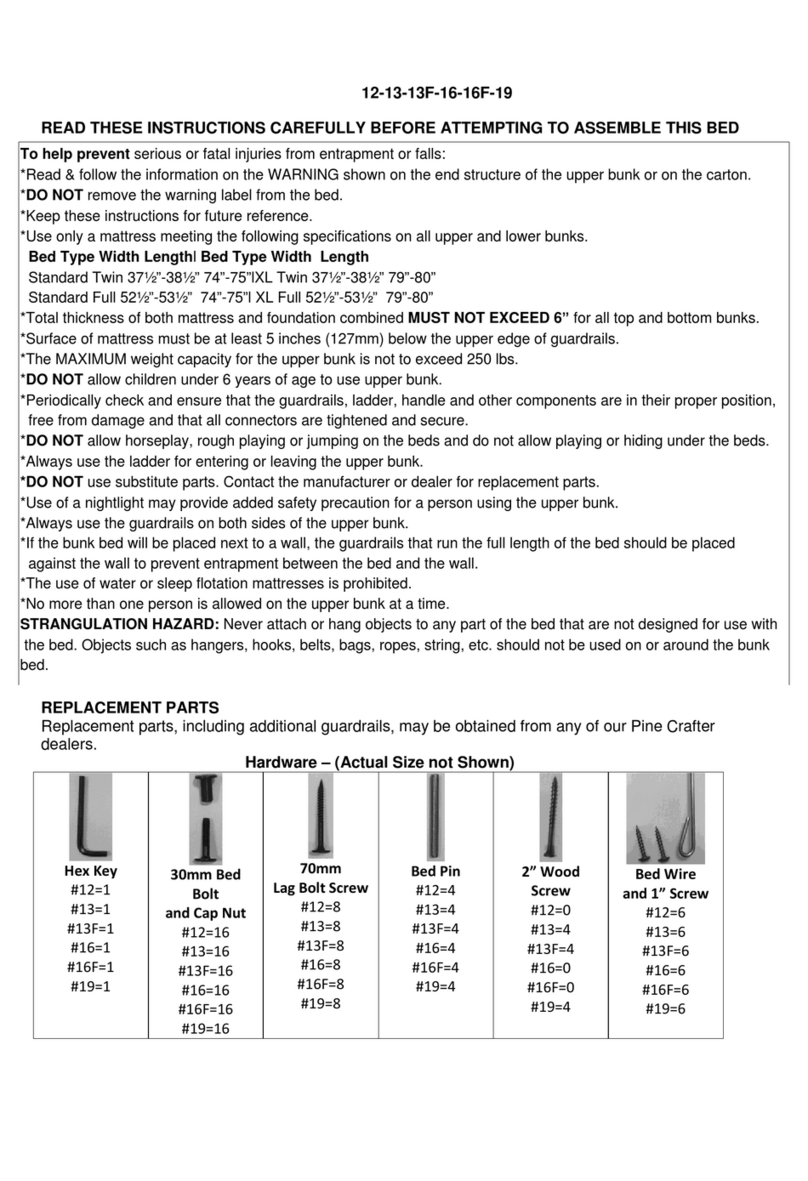
4003, 4003B, MC03B and MC03 INSTRUCTIONS
CARTON CONTAINERS
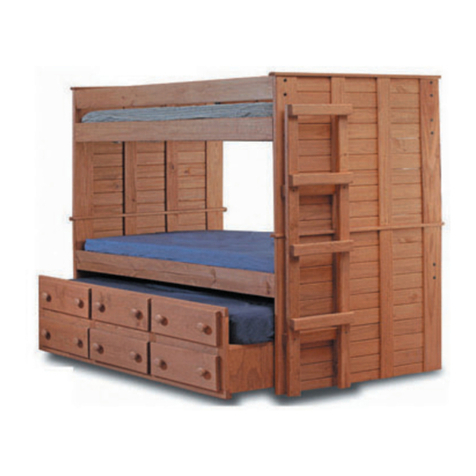
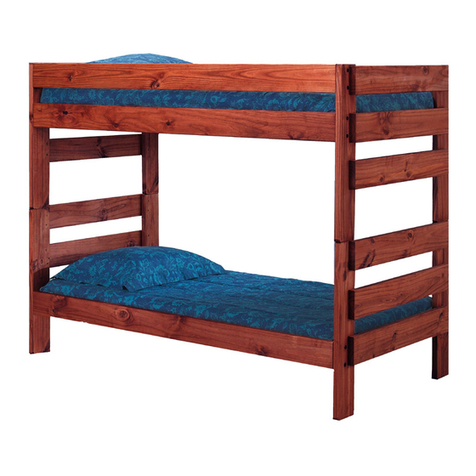
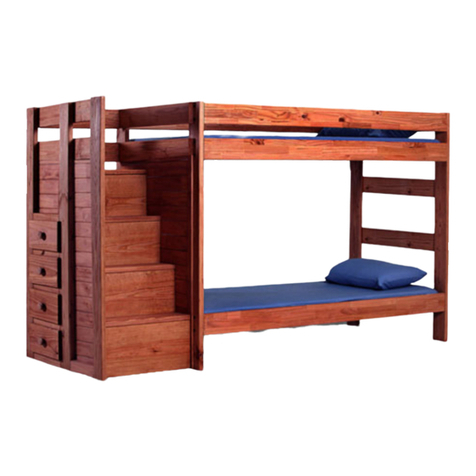
#4003B and MC03B BUNK BED (3 CARTONS TOTAL)
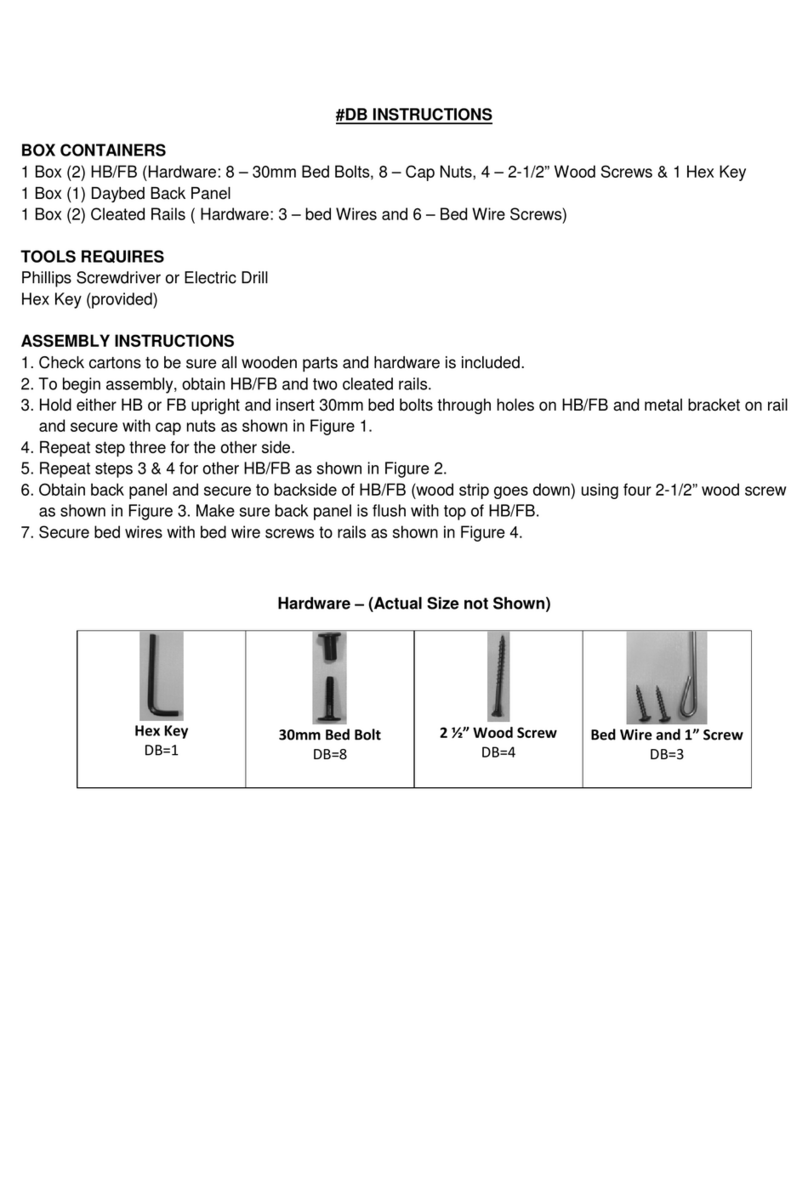
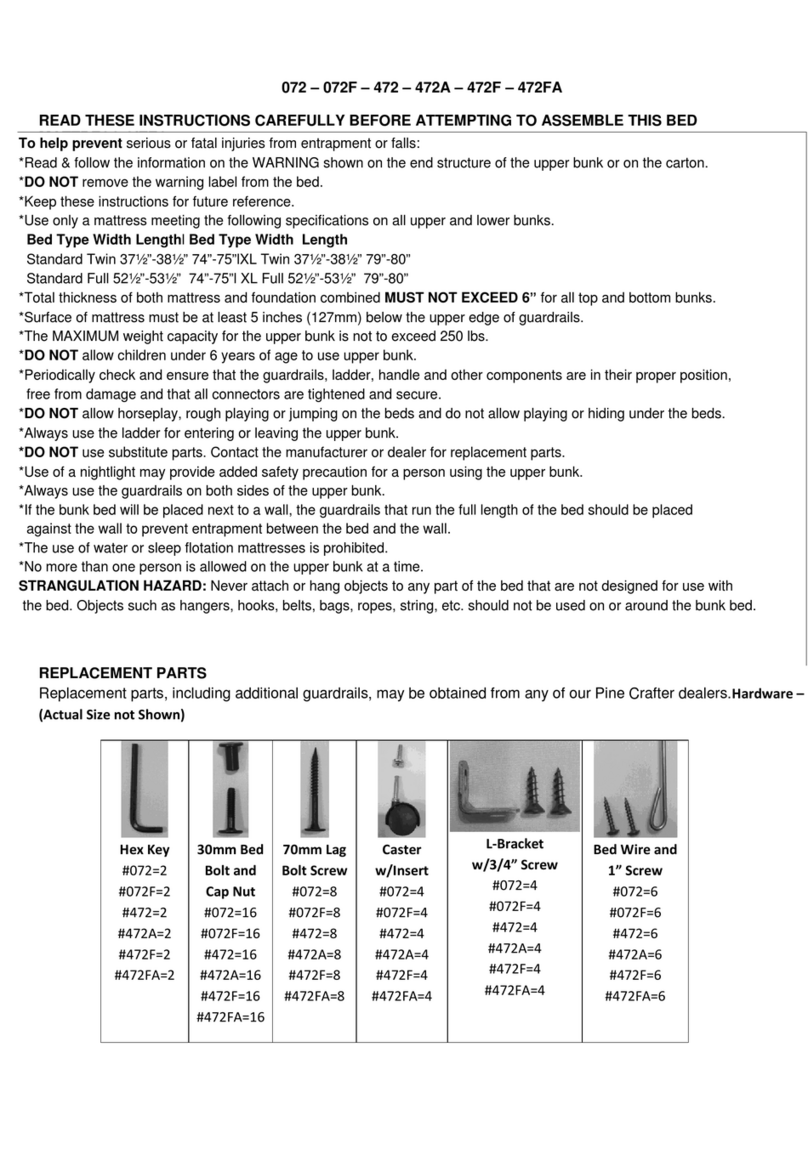
Carton #1: Twin Bottom HB/FB - Hardware: (8) 30mm Bed Bolts, (8) Silver Cap Nuts, (16) 70mm Lag
Bolt Screws & (1) Hex Key
Carton #2: (4) Twin Top Rails - Hardware: (3) Twin Bed Wires and (6) 1” Bed Wire Screws
Carton #3: (2) Twin Guard Rails
#4003 and MC03 TWIN STACKABLE TRIPLE BUNK BED (6 CARTONS TOTAL)
Carton #1: Twin Bottom HB/FB - Hardware: (8) 30mm Bed Bolts, (8) Silver Cap Nuts, (16) 70mm
Lag Bolt Screws & (1) Hex Key
Carton #2: (4) Twin Top Rails - Hardware: (3) Twin Bed Wires and (6) 1” Bed Wire Screws
Carton #3: (2) Twin Guard Rails
Carton #4: Twin Top HB/FB - Hardware: (4) Metal Pins, (8) 30mm Bed Bolts, (8) Silver Cap Nuts, (8)
70mm Lag Bolt Screws
Carton #5: (1) Bunk Ladder - Hardware: (4) 2” Wood Screws
Carton #6: (4) Twin Top Rails - Hardware: (3) Twin Bed Wires and (6) 1” Bed Wire Screws
TOOLS REQUIRED
Hex Key (Provided)
Phillips Screwdriver or Electric Drill
#4003B and MC03B ASSEMBLY INSTRUCTIONS
1. Check cartons to be sure all wooden parts and hardware is included.
2. Obtain carton #1 (twin bottom HB/FB) and carton #3 (2 guard rails).
3. Hold bottom HB upright and attach one guard rail to bottom holes of HB by securing 70mm Lag Bolt Screws
thru HB holes and into pre-drilled holes in end of guard rail as shown in Fig.1. Secure but do not fully tighten.
4. Repeat step 3 for other side of HB.
5. Attach the bottom FB to opposite side using same method as in steps 3 and 4. Note: Rails will set directly on
floor.
6. Obtain carton #2 (4 twin top rails). Insert 30mm bed bolts through middle set of holes on HB and metal
bracket on cleated rail as shown in Fig.2. Secure with silver cap nuts but do not fully tighten.
Attach the other end of cleated rail to the FB in same manner.
7. Repeat step 6 for other cleated rail on opposite side of footboard.
8. Attach one guard rail to top holes of HB by securing 70mm Lag Bolt Screws thru HB holes and into
pre-drilled holes in end of guard rail as shown in Fig.2. Secure but do not fully tighten.
9. Attach the other end of guard rail to the FB in same manner.
10. Repeat step 8 for other guard rail on opposite side.
11. Now, go back and fully tighten all cap nuts and bolts to secure bed.
12. Secure bed wires with bed wire screws to both sets of cleated rails as shown in Fig.4.
#4003 and MC03 ASSEMBLY INSTRUCTIONS
1. Use #4003B assembly instructions to assemble bottom bunk first.
2. Obtain carton #4 (twin top HB/FB) and carton #6 (4 twin top rails).
3. Hold HB upright and insert 30mm bed bolts through bottom set of holes on HB and metal bracket on cleated
rail as shown in Fig.3. Secure with silver cap nuts but do not fully tighten.
4. Repeat step 3 for other side of HB.
5. Attach the FB to opposite side using same method as in steps 3 and 4.
6. Attach one guard rail to top set of holes of HB by securing 70mm Lag Bolt Screws thru HB holes and into
pre-drilled holes in end of guard rail as shown in Fig.3. Secure but do not fully tighten. Attach the other end of
guardrail to the FB in same manner.
7. Repeat step 6 for other rail on opposite side.
8. Now, go back and fully tighten all cap nuts and bolts to secure bed.
9. Secure bed wires with bed wire screws to both sets of cleated rails as shown in Fig.4.
10. Insert 4 metal pins in holes on top of the bottom HB/FB as shown in Fig. 5.
11. Now stack top bunk on top of bottom bunk making sure the metal pins are secure in the middle.
12. Obtain carton #5 (ladder) and secure bunk ladder to side of rails with wooden screws as shown in Fig.6.
NOTE: Ladder must be flush to top of center guard rail. Gap between ladder and bottom headboard edge
must be less than 3”.
