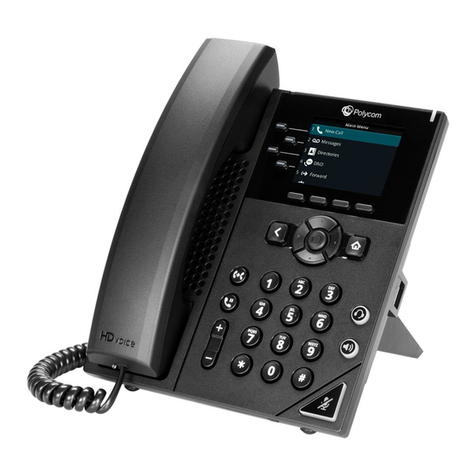
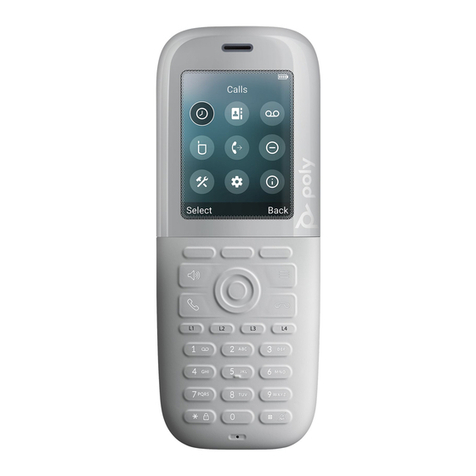
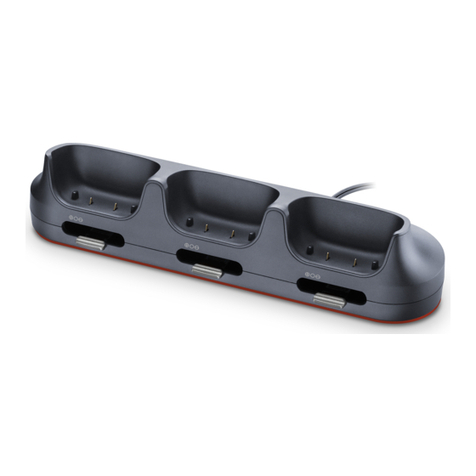
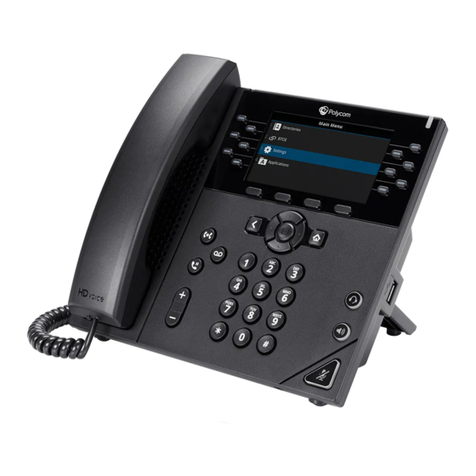
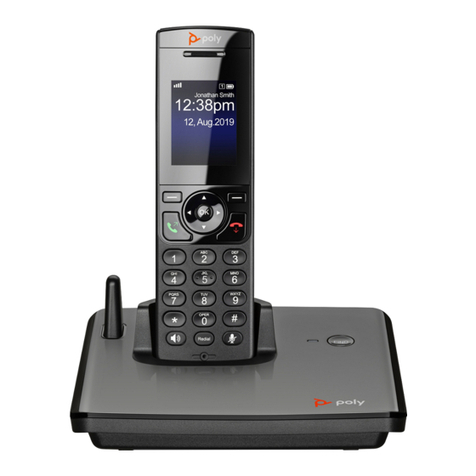
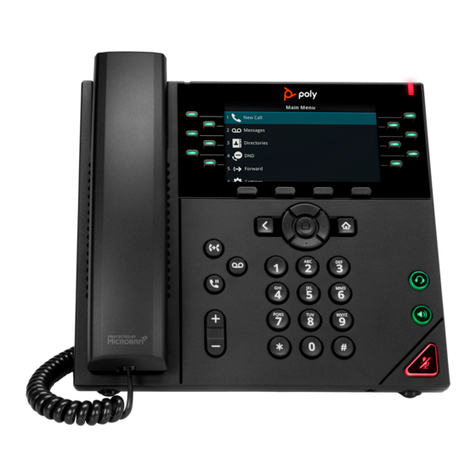
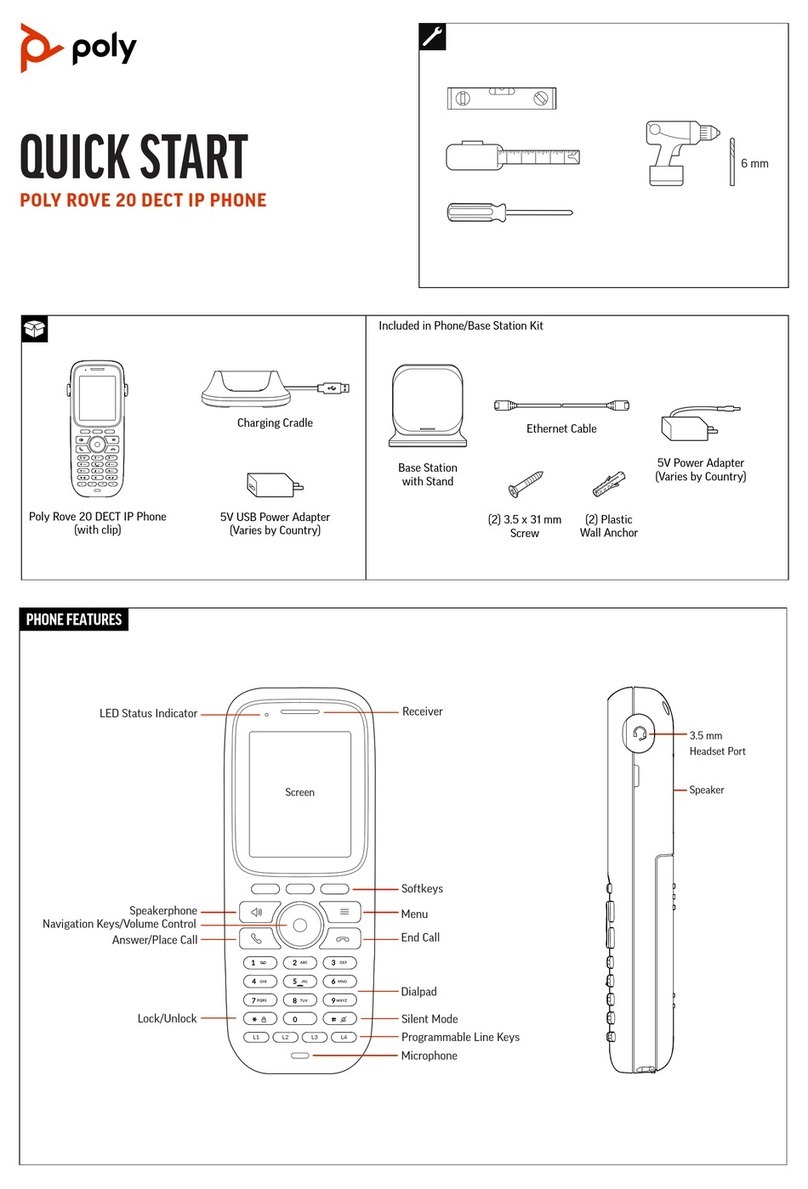
Poly VVX D230 User manual

USER GUIDE 7.1.1 | February 2021 | 3725-49215-003A
VVX D230 DECT IP Phone
Getting Help
For more information about installing, configuring, and
administering Poly/Polycom products or services, go to
Polycom Support.
Plantronics, Inc. (Poly — formerly Plantronics and Polycom)
345 Encinal Street
Santa Cruz, California
95060
© 2021 Plantronics, Inc. All rights reserved. Poly, the propeller
design, and the Poly logo are trademarks of Plantronics, Inc.
All other trademarks are the property of their respective
owners.

Contents
Before You Begin................................................................................................4
Audience, Purpose, and Required Skills.............................................................................4
Related Poly and Partner Resources..................................................................................4
Getting Started with VVX D230 DECT IP Phones............................................ 5
VVX D230 DECT IP Phone Hardware Overview................................................................ 5
VVX D230 Wireless Handset .................................................................................. 5
VVX D230 Base Station........................................................................................... 6
Setting Up the Base Station................................................................................................ 7
Access the Home Screen....................................................................................................7
VVX D230 Base Station Status Indicator............................................................................ 8
Audio Calls..........................................................................................................9
Placing Calls....................................................................................................................... 9
Place a Call Using the Default Line..........................................................................9
Place a Call Using an Alternate Line........................................................................9
Place a New Call During an Active Call................................................................. 10
Calling Contacts from the Directory........................................................................10
Call a Speed Dial Entry...........................................................................................11
Call a Missed Call Entry..........................................................................................11
Call a Received Call Entry......................................................................................11
Call a Dialed Call Entry...........................................................................................11
Call a Recent Calls Entry........................................................................................11
Redial a Number............................................................................................................... 12
Answering Calls................................................................................................................ 12
Answer an Incoming Call........................................................................................12
Answer an Incoming Call During a Call..................................................................12
Holding and Resuming Calls.............................................................................................13
Hold a Call..............................................................................................................13
Resume a Call........................................................................................................13
Switch Between Calls.............................................................................................13
End a Call..........................................................................................................................13
Transferring Calls..............................................................................................................14
Transfer a Call to Another Wireless Handset......................................................... 14
Blind Transfer a Call to a Contact...........................................................................14
Parking Calls..................................................................................................................... 14
Park a Call on a Extension..................................................................................... 14
1

Park a Call Locally on a Base Station.................................................................... 15
View Parked Call Details........................................................................................ 15
Retrieve a Call Parked on an Extension.................................................................15
Retrieve a Locally Parked Call............................................................................... 15
Rejecting Incoming Calls...................................................................................................16
Reject an Incoming Call......................................................................................... 16
Rejecting Calls with Do Not Disturb....................................................................... 16
Forwarding Calls............................................................................................................... 17
Enable Call Forwarding.......................................................................................... 17
Forward an Incoming Call...................................................................................... 17
Enable Call Forwarding on a Specific Line.............................................................17
Conference Calls.............................................................................................. 18
Initiate a Conference Call..................................................................................................18
Join Calls to Create a Conference Call............................................................................. 18
Split a Conference Call..................................................................................................... 18
Shared Lines.....................................................................................................19
Barge In.............................................................................................................................19
Pick Up Held Calls............................................................................................................ 19
Accessing and Broadcasting Messages........................................................20
Access Voicemail Messages.............................................................................................20
Placing Intercom Calls...................................................................................................... 20
Place an Intercom Call .......................................................................................... 20
Place an Intercom Call During a Call..................................................................... 21
Broadcasting Messages with Group Paging..................................................................... 21
Send a Group Page................................................................................................21
Broadcasting Messages with Push-to-Talk....................................................................... 21
Send a Push-to-Talk Broadcast .............................................................................21
Call Lists and Directories................................................................................ 22
Call Lists............................................................................................................................22
View Details for a Call List Entry............................................................................ 22
Delete a Call List Entry...........................................................................................22
Delete All Entries in a Call List............................................................................... 23
Speed Dial.........................................................................................................................23
Add a Speed Dial Entry.......................................................................................... 23
Replace a Speed Dial Entry................................................................................... 23
Delete a Speed Dial Entry...................................................................................... 24
Contents
2
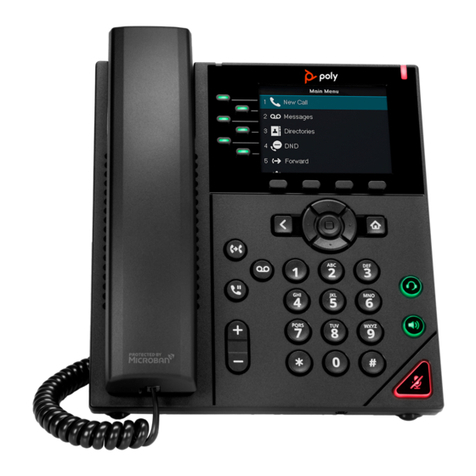
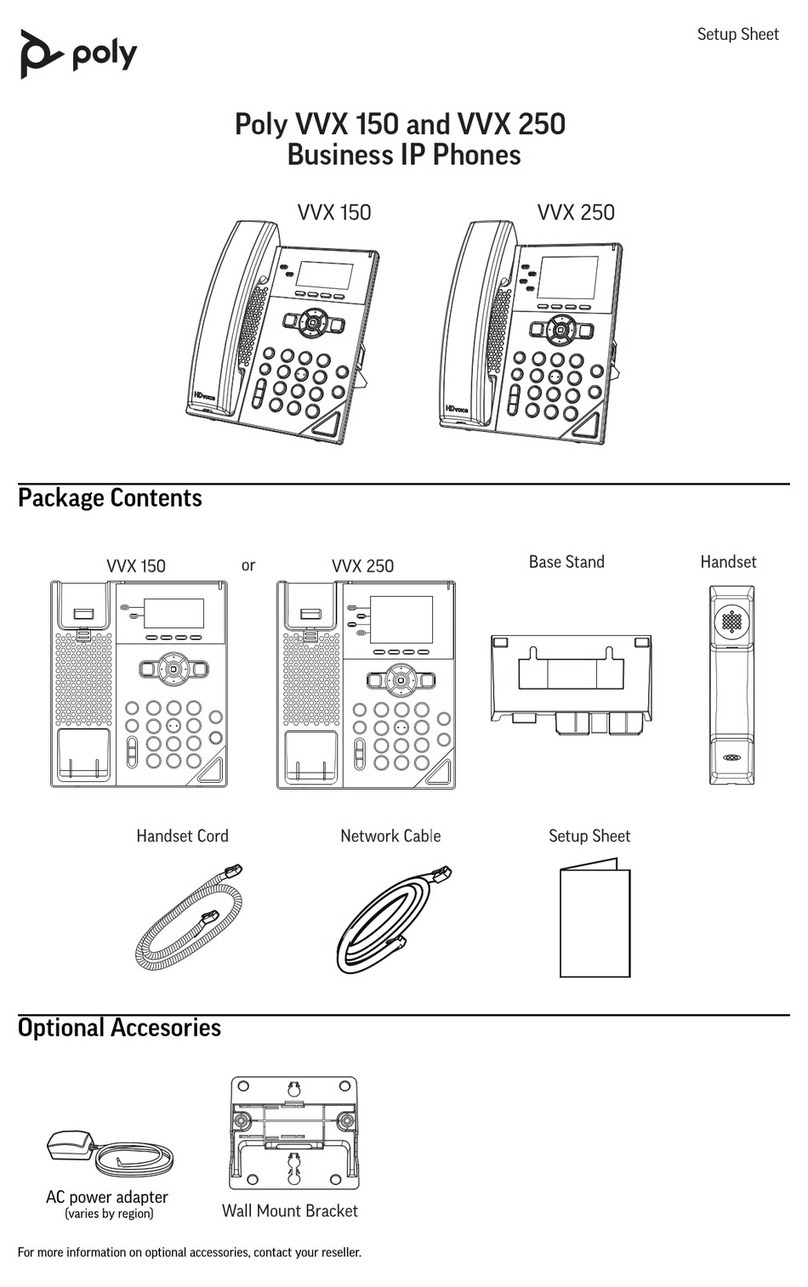
Contact Directory.............................................................................................................. 24
Adding Contacts..................................................................................................... 24
View Contact Information....................................................................................... 25
Sort the Contact Directory...................................................................................... 25
Edit a Contact in the Contact Directory.................................................................. 25
Delete a Contact from the Contact Directory..........................................................26
Enterprise Directory.......................................................................................................... 26
View Contact Information for Enterprise Directory Contacts.................................. 26
Search the Enterprise Directory............................................................................. 26
Save an Enterprise Directory Contact to the Contact Directory............................. 27
VVX D230 DECT IP Phone Settings................................................................ 28
Set the Time and Date Format..........................................................................................28
Set the Display Language................................................................................................. 28
Audio Adjustments............................................................................................................ 28
Adjust the Volume.................................................................................................. 28
Switch Between the Earpiece and the Speakerphone........................................... 29
Mute or Unmute the Microphone............................................................................29
Maintaining VVX D230 DECT IP Phones........................................................ 30
View Wireless Handset Information.................................................................................. 30
View Base Station Information.......................................................................................... 30
Clean Your System Components...................................................................................... 30
Restart a Wireless Handset.............................................................................................. 31
Register a Handset........................................................................................................... 31
Deregister a Handset........................................................................................................ 31
Factory Reset a Handset.................................................................................................. 32
Troubleshooting............................................................................................... 33
Wireless Handset Range.................................................................................................. 33
Find a Misplaced Handset.................................................................................................33
Contents
3

Before You Begin
Topics:
•Audience, Purpose, and Required Skills
•Related Poly and Partner Resources
This guide contains overview information, procedures, and references you can use to perform tasks with
your Poly VVX D230 DECT IP phone.
Audience, Purpose, and Required Skills
This guide is for beginning users, as well as intermediate and advanced users, who want to learn more
about the features available with VVX D230 DECT IP phones.
Related Poly and Partner Resources
See the following sites for information related to this product.
• The Poly Online Support Center is the entry point to online product, service, and solution support
information including Video Tutorials, Documents & Software, Knowledge Base, Community
Discussions, Poly University, and additional services.
• The Polycom Document Library provides support documentation for active products, services, and
solutions. The documentation displays in responsive HTML5 format so that you can easily access
and view installation, configuration, or administration content from any online device.
• The Poly Community provides access to the latest developer and support information. Create an
account to access Poly support personnel and participate in developer and support forums. You can
find the latest information on hardware, software, and partner solutions topics, share ideas, and
solve problems with your colleagues.
• The Poly Partners are industry leaders who natively integrate the Poly standards-based
RealPresence Platform with their customers’ current UC infrastructures, making it easy for you to
communicate face-to-face with the applications and devices you use every day.
• The Poly Services help your business succeed and get the most out of your investment through the
benefits of collaboration.
4

Getting Started with VVX D230 DECT IP
Phones
Topics:
•VVX D230 DECT IP Phone Hardware Overview
•Setting Up the Base Station
•Access the Home Screen
•VVX D230 Base Station Status Indicator
VVX D230 DECT IP phones are standalone IP-based wireless phones that enable you to manage calls to
your line while you’re away from your desk.
The system consists of a base station with support for up to 10 handsets.
VVX D230 DECT IP Phone Hardware Overview
The following figures and tables provide information about hardware features available on your phone.
VVX D230 Wireless Handset
The following figure displays the hardware features on VVX D230 wireless handsets.
The table lists each numbered feature shown in the figure.
Figure 1: VVX D230 wireless handset hardware features
5

VVX D230 Wireless Handset Hardware Feature Descriptions
Reference
Number Feature Feature Description
1 Soft keys Enables you to select context sensitive keys that display along the bottom of the
screen.
2 Navigation
keys / OK key
Use the navigation keys to increase or decrease the ringer volume, scroll through
menus, or move the cursor within fields.
Press OK to enter the main menu, select a highlighted item, or save an entry or
setting while in a menu.
3 Call key Place a call, answer a call, or view recent calls.
4 End key Hang up a call or cancel the handset software update. Press and hold to power
the wireless handset on or off.
5 Keypad Enter numbers or characters.
Press and hold * to turn on or turn off the ringer.
Press and hold # to lock or unlock the keypad.
Press and hold 0 to insert a plus sign (+) for international calls.
6 Speakerphone
key
Place or answer a call using the wireless handset speakerphone, and switch
between the speakerphone and the earpiece during a call.
7 Redial key Redial the last dialed number.
8 Mute key Mute or unmute the microphone during an active call.
9 Microphone Transmit audio during a call.
10 LED indicator Flashes to indicate an incoming call, missed call, or new voicemail.
11 Earpiece Listen to audio directly from the handset.
12 Headset port Connect a headset to the phone.
VVX D230 Base Station
The following figure displays the hardware features on the VVX D230 DECT base station.
The table lists each numbered feature shown in the figure.
Figure 2: VVX D230 DECT base station hardware features
Getting Started with VVX D230 DECT IP Phones
6

VVX D230 DECT Base Station Hardware Feature Descriptions
Reference
Number Feature Feature Description
1 Find Press to locate the registered wireless handsets.
Press and hold for 5 seconds or longer to register a wireless handset to the
base station.
2 Status indicator Shows the status of the phone.
3 Charging cradle Charges the wireless handset.
Setting Up the Base Station
Your wireless handset works by sending radio signals between the wireless handset and the base station.
The strength of the signal depends on where you place the base station.
Depending on the surrounding conditions, as well as space available and the building’s structure, the
connectivity range between the handset and base station may fluctuate. For maximum coverage and to
reduce interference, follow these recommendations when you set up the VVX D230 base station.
• Place the base station within 1.8 m (6 ft) of the main power socket (when not using PoE) and
Ethernet port so that the cables can reach.
• Make sure that the base station is at least 0.9 m (3 ft) from other electrical appliances to avoid
interference.
• If the reception for the base station location isn’t satisfactory, move it higher or to another location
for better reception.
Access the Home Screen
You can access the Home screen from any other screen on the wireless handset.
Procedure
»Do one of the following:
• Press Back repeatedly until you return to the Home screen.
• Press End .
Getting Started with VVX D230 DECT IP Phones
7

VVX D230 Base Station Status Indicator
The following table explains the behavior of the status indicator on the base station.
VVX D230 Base Station Status Indicator
Base Station State Status Indicator Behavior
Powering on
On
Idle
Steady indicator.
Waiting for network readiness Repeatedly flashes on for 1 second and off for 1 second.
Locating a handset Repeatedly flashes on for 1 second and off for 1 second.
Registering a handset Repeatedly flashes on for 2 seconds and off for 1 second.
Getting Started with VVX D230 DECT IP Phones
8

Audio Calls
Topics:
•Placing Calls
•Redial a Number
•Answering Calls
•Holding and Resuming Calls
•End a Call
•Transferring Calls
•Parking Calls
•Rejecting Incoming Calls
•Forwarding Calls
VVX D230 DECT IP phones support up to seven concurrent calls per base station and can make or
answer a maximum of two calls.
Placing Calls
You can place a call using the default line or an alternate line.
Place a Call Using the Default Line
Unless you choose an alternate line, the phone uses your default line when you place a call.
Procedure
1. Do one of the following:
• Enter your contact’s number.
• Select a contact from a directory.
• Select a contact from the recent calls list.
• Select a message from the Messages list.
2. Press Call .
Place a Call Using an Alternate Line
You can choose to use an alternate line before placing a call.
Procedure
1. Press Lines and select a line.
2. Do one of the following:
• Enter your contact’s number.
• Select a contact from a directory.
9

• Select a contact from the recent calls list.
3. Select OK.
4. Press Call .
Place a New Call During an Active Call
You can place new calls to contacts during active calls.
Procedure
1. While in an active call, press New Call.
2. Enter a contact’s number or choose a contact from the directory or recent calls.
3. Do one of the following:
• Press Call.
• If the called handset has multiple lines, choose a line and press Call.
Calling Contacts from the Directory
You can search for and call contact in your contact directory or the enterprise directory.
Call a Contact from the Contact Directory
You can call any contact stored in the contact directory on the wireless handset.
Procedure
1. Do one of the following:
• Press the Left Navigation Key , then select Contact Directory.
• Go to Menu > Directories > Contact Directory.
2. Do one of the following:
• Enter your contact’s first name or the last name to search for your contact.
• Press the Downward Arrow Key to go to your contact.
3. Select Options > Call.
Call a Contact from the Enterprise Directory
You can call any contact stored in the enterprise directory on the wireless handset.
Procedure
1. Do one of the following:
• Press the Left Navigation Key , then select Enterprise Directory.
• Go to Menu > Directories > Enterprise Directory.
2. Do one of the following:
• Enter your contact’s first name or the last name to search for your contact
• Press the Downward Arrow Key to go to your contact.
3. Select Options > Call.
Audio Calls
10

Call a Speed Dial Entry
You can quickly call a contact from the speed dial list.
Procedure
1. Do one of the following:
• Press the Left Navigation Key , then select Speed Dial List.
• Go to Menu > Directories > Speed Dial List.
2. Go to the desired entry and select Options > Call.
Call a Missed Call Entry
Use the missed call list to return a call to a missed caller.
Procedure
1. Do one of the following:
• Press the Right Navigation Key , then select Missed Calls.
• Go to Menu > Call Logs > Missed Calls.
2. Go to the desired entry and select Options > Call.
Call a Received Call Entry
You can call a recent contact from the received calls list.
Procedure
1. Do one of the following:
• Press the Right Navigation Key , then select Received Calls.
• Go to Menu > Call Logs > Received Calls.
2. Go to the desired entry and select Options > Call.
Call a Dialed Call Entry
You can call a contact from the dialed calls list.
Procedure
1. Do one of the following:
• Press the Right Navigation Key , then select Dialed Calls.
• Go to Menu > Call Logs > Dialed Calls.
2. Go to the desired entry and select Options > Call.
Call a Recent Calls Entry
You can call a contact from the recent calls list.
Procedure
1. Do one of the following:
Audio Calls
11

• Press the Right Navigation Key , then select Recent Calls.
• Go to Menu > Call Logs > Recent Calls.
2. Go to the desired entry and select Options > Call.
Redial a Number
You can redial the last number you dialed.
Procedure
»Select Redial.
Answering Calls
When you get an incoming call on a VVX D230 DECT IP phone, you can choose to answer the call in
various ways.
Answer an Incoming Call
Answer an incoming call from the wireless handset.
Procedure
»Do one of the following:
• Select Call .
• Press the Speakerphone button.
Answer an Incoming Call During a Call
A tone plays when you receive an incoming call during an active call.
Procedure
»Do one of the following:
• Select Call .
• Press the Speakerphone button.
The first call goes on hold automatically.
Audio Calls
12

Holding and Resuming Calls
When you are in a call, you can place an active audio call on hold and resume the call.
Hold a Call
You can place up to two active calls on hold at any time.
Procedure
»During a call, select Options > Hold.
Resume a Call
You can resume any held call on the wireless handset.
Procedure
»Select Options > Resume.
Switch Between Calls
You can switch between calls when you have at least one active call and one held call on the wireless
handset.
Procedure
»With one active call and a held call, press Swap.
End a Call
You can end an active call at any time.
Procedure
»Do one of the following:
• Select End .
• Place the wireless handset in its cradle or the charging cradle.
Audio Calls
13

Transferring Calls
You can transfer a call to another wireless handset, to a directory contact, or to a designated number.
Transfer a Call to Another Wireless Handset
You can transfer a call on your wireless handset to another contact to enable someone else to take the
call or to resume the call on another handset.
Procedure
1. During a call, select Options > Transfer.
2. Enter a number or select a contact from a directory or the recent calls list.
3. Select Call.
4. Talk with your contact, then select Options > Transfer again to complete the transfer.
Blind Transfer a Call to a Contact
Blind transferring a call sends the call to another contact without your speaking to the contact first.
Procedure
1. During a call, select Options > Blind Transfer.
2. Enter a number or select a contact from a directory or the recent calls list.
3. Select Transfer.
The phone transfers the call when the contact answers the call.
Parking Calls
When you park a call, you can put the call on hold and resume it on another wireless handset.
You can park a call locally on the VVX D230 base station or in a parking lot on your service provider’s
network, if available. You can retrieve a parked call on a wireless handset by entering a dedicated
retrieval code. This feature is only available for lines registered with a service that supports call park.
Park a Call on a Extension
You can park active calls from your wireless handset directly onto a contact’s line extension.
When you park a call on an extension, the call is moved from the handset’s line, and the phone notifies
the contact that a call is parked.
Procedure
1. During the call, go to Options > Call Park.
2. Enter the extension where you want to park the call.
For example, enter 6889.
3. Select Park.
Audio Calls
14

Park a Call Locally on a Base Station
You can park a call on a base station, and anyone with a handset registered to that base station can
retrieve the parked call.
When you park a call, you can manually choose the parking lot for the call or allow the phone to
automatically choose the first available parking lot.
Procedure
1. During the call, go to Options > Call Park.
2. Do one of the following:
• Enter a one- or two-digit number to choose a parking lot.
• Press the star (*) key to choose the first available parking lot.
3. Press the Park softkey.
View Parked Call Details
If your administrator has enabled enhanced call park, you can view the details of all calls parked in any
parking lot your wireless handset is configured to monitor.
Tip: You can resume a parked call from the Parked Calls screen.
Procedure
1. Do one of the following:
• Select Pick Up and then select Parked Calls.
• Select Menu and then select Parked Calls.
2. Choose a parked call from the list and press the Info softkey.
3. Press the Down Arrow Key to view more details.
Retrieve a Call Parked on an Extension
You can retrieve a parked call from any phone or wireless handset on the network.
You must have the retrieval code for the parked call. The retrieval code is set when parking a call.
Procedure
1. Enter the retrieval code, then enter the extension where you parked the call, followed by a pound
sign (#).
For example, enter *88, then enter 6889#.
2. Press Call .
Retrieve a Locally Parked Call
You can retrieve a locally parked call using a retrieval code that includes a pick-up prefix and the call’s
parking lot number.
The default pick-up prefix is 7, but the prefix may vary. Check with your administrator for the pick-up prefix
for your handset.
Audio Calls
15

Procedure
1. On a registered handset, enter the pick-up prefix + the parking lot number.
For example, enter 702.
2. Press Call .
Rejecting Incoming Calls
You can reject incoming calls manually via the handset, or automatically by enabling Do Not Disturb
(DND).
Reject an Incoming Call
You can reject rather than answer incoming calls on the wireless handset.
Procedure
»Press End .
Rejecting Calls with Do Not Disturb
Do Not Disturb (DND) enables you to set your phone to automatically reject calls when you don’t want to
be interrupted.
Enable Do Not Disturb
Do Not Disturb (DND) enables you to set your phone to automatically reject calls when you don’t want to
be interrupted.
Procedure
1. Go to Menu > DND.
2. Do one of the following:
• To enable DND on all lines, choose Select all.
• To enable DND on specific lines, select the lines where you want to enable DND.
3. Select OK.
Disable Do Not Disturb
If you disable Do Not Disturb, incoming calls ring normally.
Procedure
1. Go to Menu > DND.
2. Clear the lines where you want to disable DND.
3. Select OK.
Audio Calls
16

Forwarding Calls
You can enable call forwarding for any private lines registered on the wireless handset, and you can
choose to forward an incoming call to the handset.
You can’t enable call forwarding or forward incoming calls on shared lines or lines registered on multiple
phones.
Enable Call Forwarding
You can forward all incoming calls to another wireless handset or contact.
Procedure
1. Go to Menu > Call Forwarding.
2. Select a line, then choose one of the following options:
•Always
•No Answer
•Busy
3. Enter the number you want to forward calls to.
4. Select OK.
Forward an Incoming Call
You can forward an incoming call directly to a contact without answering the call.
Procedure
1. During an incoming call, select Forward.
2. Enter your forwarding contact’s number, then select OK.
The phone forwards the call when the far end answers.
Enable Call Forwarding on a Specific Line
You can enable call forwarding on any line on the wireless handset.
The phone always forwards calls to this line to the contact that you designate.
Procedure
1. Select Lines.
2. Go to a registered line on the wireless handset, then select Options > Enable Forward.
3. Choose one of the following options:
•Always
•No Answer
•Busy
4. Enter your forwarding contact’s number.
5. Select OK.
Audio Calls
17

Conference Calls
Topics:
•Initiate a Conference Call
•Join Calls to Create a Conference Call
•Split a Conference Call
You can initiate audio conference calls with various contacts on VVX phones. When you initiate a
conference call, you can manage conference participants, join calls into a conference, or split your
conference into individual calls.
Initiate a Conference Call
You can initiate a conference call with up to two contacts.
Procedure
1. Call a contact.
2. When the contact answers, go to Options > Conference.
3. Enter a number or select a contact from a directory or the recent calls list.
4. Press Dial.
The phone adds all call participants to a conference call.
Join Calls to Create a Conference Call
You can join one active call and one held call into a conference call.
Procedure
1. When you have an active call and a held call, go to Conference.
2. Select Select.
The phone joins the calls into a conference call. If you have multiple held calls, the other held calls
on the line remain held.
Split a Conference Call
When you split a conference, you end the conference call and place the other two people on hold.
After you split a conference call, you can resume one of the held calls.
Procedure
»During a conference call, select Split.
The conference call ends, and phone places the two participants on hold in two separate calls.
18

Shared Lines
Topics:
•Barge In
•Pick Up Held Calls
If there’s a shared line for more than one VVX D230 wireless handset, any of the handsets can receive an
incoming call on the line, barge in on other calls, and pick up a held call.
This feature is only available for lines registered with services that support shared lines.
Barge In
You can barge in on an active call on another wireless handset on the shared line.
Procedure
1. During an active call, select Lines.
2. Choose the shared line that contains the active call.
3. Go to Barge In.
Pick Up Held Calls
When you place a call on hold on a shared line, you can pick up and resume the call from your wireless
handset.
Procedure
1. On the wireless handset, select Lines.
2. Choose the shared line that contains the held call.
3. Go to Resume.
19
Other manuals for VVX D230
8
Table of contents
Other Poly IP Phone manuals

Poly
Poly Polycom VVX Series User manual

Poly
Poly VVX D230 User manual

Poly
Poly Edge E Series User manual

Poly
Poly Edge E Series User manual

Poly
Poly Edge B Series Assembly instructions

Poly
Poly Rove DECT User manual

Poly
Poly VVX D23 Service manual

Poly
Poly VVX D230 User manual

Poly
Poly VVX 350 Manual

Poly
Poly Edge B30 User manual

Poly
Poly CCX 500 User manual

Poly
Poly VVX 600 Operating instructions

Poly
Poly Rove 20 User manual

Poly
Poly VVX 350 User manual

Poly
Poly Edge E Series Assembly instructions

Poly
Poly VVX 150 User manual

Poly
Poly Edge E Series User manual

Poly
Poly VVX 150 Manual

Poly
Poly VVX D230 Service manual

Poly
Poly ROVE Assembly instructions