Poly CCX 500 User manual

Poly CCX 500
A guide to using your phone with Cloud Voice

Contents
What’s in the box? 3
Let’s get started 4
Check you’re set up on Cloud Voice 5
Getting to know your phone 6
Phone display 7
Using your phone 9
General information 11
2

What’s in the box?
We’re here to help you get the best out of your new phone.
Just follow the instructions below. Here’s what you should find
when you open the box.
Got everything?
• Poly CCX 500 phone (pictured)
• Ethernet cable
• Handset cord
• Quick Start Guide
• Power adapter
• Wall mount bracket
• Base stand
Ethernet cable Quick start guide
Power adapter Poly CCX 500 and handset with handset cradle
(Available without cradle)
Base stand
Handset cord
Wall mount bracket
3

Let’s get started
Set up your phone
Once you’ve unpacked your CCX 500, turn it upside down so
you can see the ports. Then slot the phone stand into one of
the slots, depending on which angle you prefer.
Get connected
Here’s how to connect your cables.
Ethernet cable Handset
Mains power adaptor
(Optional) Headset (Optional)
4

Your phone comes with
everything you need to get
set up on Cloud Voice.
Once your phone’s connected to the
network, it’ll update its firmware. This
might take some time, so please be
patient. Once it’s finished, it’ll show
this symbol:
If something has gone wrong, you’ll
see this symbol:
If this happens, just give us a call
on 0800 389 0537 and we’ll be able
to help.
Once everything is updated and ready
to go, your Cloud Voice number will
show on the screen.
Connect your headset
Your phone works with wired
headsets, which usually connect
through the RJ-9 port shown below.
It also works with electronic
hookswitch headsets, which tend
to connect with the RJ-9 and serial
ports. To add a headset just follow
the instructions that come with it.
Check you’re set
up on Cloud Voice
RJ-9 port
Note: Your phone supports
wired headsets, including
electronic hookswitch
headsets (EHS).
Your Cloud Voice number
appears here
EHS port
5

Getting to know
your phone
Phone features and keys
2
1
4
5
6
7
8
9
10
3
1Reversible tab
(behind handset)
Secures the handset in the cradle when you
position your phone stand at a high angle.
To secure the handset, remove the tab, reverse
it so the protrusion points up, and reinsert it.
Position the handset so the protrusion on the
tab fits into the slot on the handset.
2Message waiting
indicator
Flashes to indicate you have an incoming call.
Flashes red to indicate when you have new
messages.
3Touchscreen Enables you to select items and navigate menus
on the touch-sensitive screen.
4,5 Volume keys Adjusts the volume of the handset, headset,
speaker, and ringer.
6USB port(s) Enables you to attach a USB flash drive or
USB headset.
Poly CCX 500 phones include one USB-A port
and one USB-C port.
7Headset indicator Displays when the phone is powered on.
The icon glows green or blue when a headset
is connected and activated.
8Speakerphone
indicator
Displays when the phone is powered on.
The icon glows green when activated.
9Speaker Provides ringer and speakerphone audio output.
10 Mute key Mutes local audio during calls and conferences.
6

Home screen
The Home screen serves as a homepage. It has
touch keys that will take you to some of the phone’s
most important functions with one tap.
Calls screen
The Calls screen gives you access to the phone
keypad, your call logs, and your contacts.
Lines screen
The Lines screen shows all the lines assigned to the
phone, and your favourite contacts.
Phone display
Your Poly CCX 500 has three main display screen
views – Home, Calls and Lines.
• Home is the default view, but otherwise press Home from any
screen to get back to this screen.
• For the Calls screen: when on the Home screen, select Place a Call.
• For the Lines screen: from the Home screen, swipe left.
7

Icons and status indicators
Here’s a table of the icons and status indicators that
display on your phone screen.
Icon Description
Registered line
Unregistered line
Active call
USB device attached
Missed call
Placed call
Received call
Call forwarding enabled
Do Not Disturb (DND) enabled
Bluetooth
Configuration warning message
8

Using your phone
Time and date
Cloud Voice automatically sets time
and date, but you can easily change the
format in phone by going into Settings
and changing your preferences.
Making calls
From the Home screen, press Place a
call, enter the contact’s number, then
press Dial.
Answering calls
To answer a call, press the Answer
soft key, or press the Speakerphone
key . If you’re using a headset,
press the Headset key .
If you’re already on a call when you
receive another one, press the Answer
soft key to pick up the new call and
place the original one on hold. Both
calls will be displayed on your phone
screen. You can go back to the first
call by selecting it on your screen and
pressing the Resume soft key.
Transferring calls
You can transfer a call in two ways: by
blind transfer, which transfers your
active call as soon as the recipient’s
line starts ringing, or by consultative
transfer, which allows you to speak
with the recipient before you
complete the transfer manually.
To use blind transfer:
• During a call, select Transfer, then
dial a number or select a contact
from Recent Calls or Contacts.
The call will transfer as soon as the
recipient’s line connects.
To use consultative transfer:
• During a call select Consult; the
phone places your caller on hold
while you transfer. Dial a number
or select a contact from Recent
Calls or Contacts. When the
recipient answers you can speak
to them, then select Complete
Transfer to transfer the call.
• If the recipient either doesn’t
answer, or can’t accept the call and
hangs up before you transfer the
call, the original caller stays on hold.
You can resume that call, or try to
transfer it to another recipient.
9

Ending calls
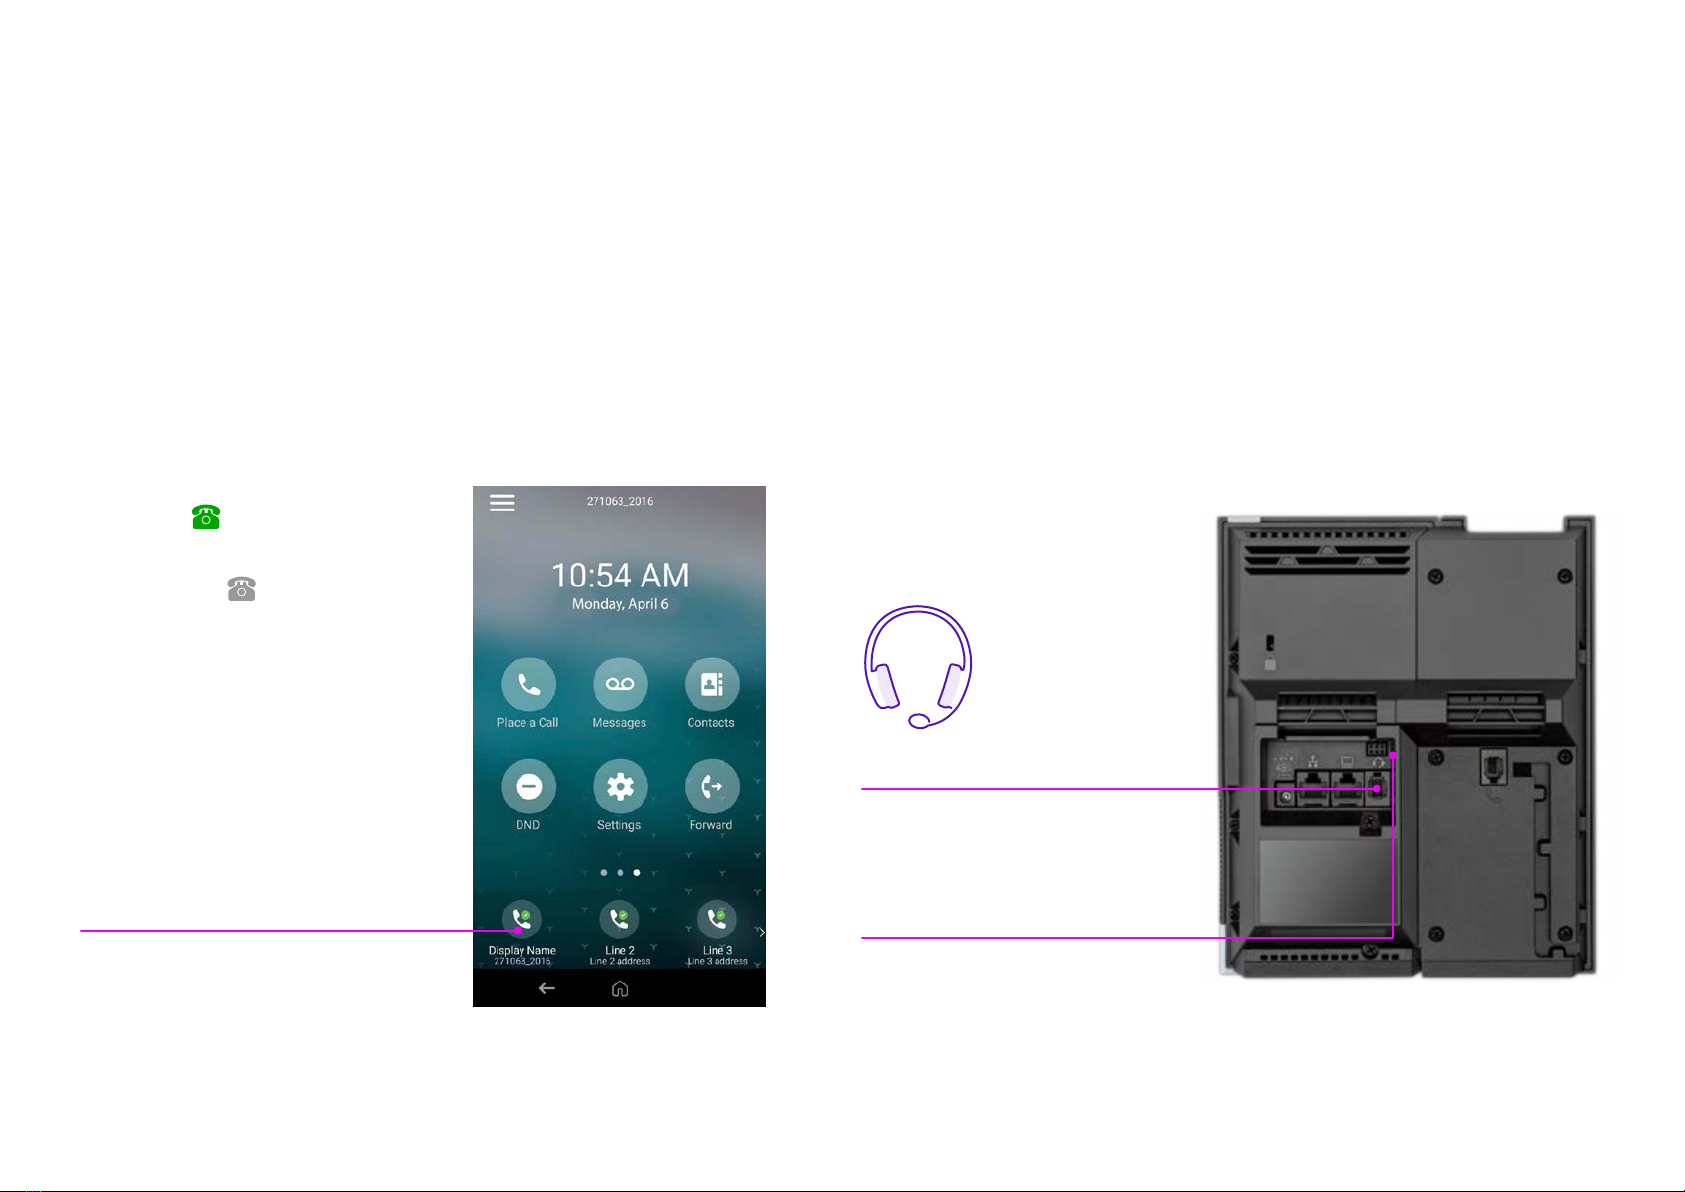
You can end an active call in one of
four different ways – by hanging up,
pressing the Speakerphone key ,
pressing the Headset key if you’re
using a headset, or by pressing the
End Call soft key.
To end a held call, navigate to the
Calls screen and highlight the held
call. Press Resume, and then press
the End Call soft key.
Conference calls
To start a conference call – while
in an active call, select Add. The
phone places your first call on
hold and opens the keypad. Dial
a second number or choose a
contact, and select Merge Calls to
start a conference call. To end the
conference call, select End Call.
Contact directory
Your contact directory is managed by
Cloud Voice. Take a look at the user
feature guide to find out more.
You can also add people to your
contact directory from your phone,
to make it easier to find and ring
them, rather than trying to remember
telephone numbers. To add someone
to your contact directory, go to your
Home screen and press Contacts.
Select a directory and press Add. In
the Add a Contact screen, you can
enter a new contact’s first and last
name, their phone number, their job
title, email address, and a few other
optional details.
If you want to ring a contact, go into
Contacts from the Home screen, and
select a contact to ring them. Or you
can press Place a Call from the Home
screen, press Contacts, and then
select a contact to call them.
To use the search feature, press
Contacts from the Home screen,
select a directory, and in the search
field enter the contact’s name.
Changing your ringtone
One way to personalise your phone is
to change the ringtone. If you’d like to
change your ringtone, from the Home
screen select Settings, Basic, and
then Preferences. Select Ring Type,
and then choose a ringtone. You can
select Play to hear the ringtone first.
If you want a specific ringtone for
individual contacts, select the
contact from your directory, and
press Edit. In the Edit screen, press
Ring Type and select a ringtone.
Voicemail
To access your voicemail, from the
Home screen go to Messages, and
select Message Center. If you have
multiple lines on your phone, select
the one that has the new message.
From the Messages screen, select
Connect, then follow the prompts to
hear your messages.
10

General information
Important – 999 or 112
emergency calls
• Your Cloud Voice number is
registered to a specific address,
so when you make a 999 or 112
call from your phone number,
that’s the address the emergency
services will see.
• If you use Cloud Voice at a
different address, the registered
address won’t automatically
change. So if your work location
changes, please let your
administrator know so they can
update your registered address.
• You might not be able to make
999 or 112 calls if there’s a power
or network failure, or you’re
using the service from an app
or mobile phone.
Safety information
Do not open the handset or the base.
This could expose you to high voltages
or other risks. If your phone needs to
be repaired, call us on 0800 389 0537
and we’ll be able to help.
Cleaning
Clean the handset and base with a
damp (not wet) cloth, or an antistatic
wipe. Never use household polish as
this will damage the product. Never
use a dry cloth as this may cause a
static shock.
Environmental
• Do not expose to direct sunlight.
• Make sure your phone is on a dry,
flat surface, not on a carpet or
anything which has fibres. Make
sure it can always get a free flow of
air over its surfaces.
• Do not submerge any part of your
product in water and do not use it
in damp or humid conditions, such
as bathrooms.
• Do not expose your product to
fire, explosive or other hazardous
conditions.
• There’s a slight chance your phone
could be damaged by an electrical
storm. Should this happen, contact
your BT service desk.
Product disposal instructions
• The symbol shown here
and on your phone means
your product is classed as
electrical or electronic equipment.
You shouldn’t throw it away with
other office waste once at the end
of its working life.
• The Waste of Electrical and
Electronic Equipment (WEEE)
Directive (2002/96/EC) has been
put in place to recycle products
using best available recovery and
recycling techniques to minimize
the impact on the environment,
treat any hazardous substances
and avoid the increasing landfill.
• Business users should contact
their suppliers and check the terms
and conditions of the purchase
contract and ensure that this
product is not mixed with other
commercial waste for disposal.
Guarantee
Your Poly CCX 500 is guaranteed for
a period of 12 months from the date
of purchase. Your guarantee covers
the repair or replacement of your
phone or any of its parts (other than
batteries) if they’re faulty or below
standard, or they break because of
bad workmanship or materials. If your
product is more than 28 days old, it
might be replaced with a refurbished
or repaired product.
The conditions of this guarantee are:
• The guarantee shall only apply
to defects that occur within the
12-month guarantee period.
• You provide proof of purchase.
• You’ll need to return your phone to
us according to our instructions.
• We don’t cover any faults or
problems that are caused by
accidents, misuse, fair wear and
tear, neglect, or if you’ve tried to
repair the equipment yourself.
This guarantee does not affect your
statutory rights.
11

Offices worldwide
The services described in this publication are subject to availability and may be modified from time to time. Services and equipment are provided subject
to British Telecommunications plc’s respective standard conditions of contract. Nothing in this publication forms any part of any contract.
© British Telecommunications plc 2021. Registered office: 81 Newgate Street, London EC1A 7AJ. Registered in England No. 1800000.
September 2021
12
Other manuals for CCX 500
2
Table of contents
Other Poly IP Phone manuals

Poly
Poly VVX D230 User manual

Poly
Poly VVX D230 User manual

Poly
Poly VVX 350 User manual

Poly
Poly Edge E Series User manual

Poly
Poly Edge B Series User manual

Poly
Poly VVX 300 User manual

Poly
Poly Edge B30 User manual

Poly
Poly VVX 150 User manual

Poly
Poly Edge B Series Assembly instructions

Poly
Poly Edge E Series Assembly instructions

Poly
Poly Edge E Series User manual

Poly
Poly Edge E Series Assembly instructions

Poly
Poly VVX 350 Manual

Poly
Poly VVX D23 Service manual

Poly
Poly VVX 250 User manual

Poly
Poly VVX 600 Operating instructions

Poly
Poly VVX 150 Manual

Poly
Poly Edge E Series User manual

Poly
Poly Polycom VVX Series User manual

Poly
Poly ROVE Assembly instructions