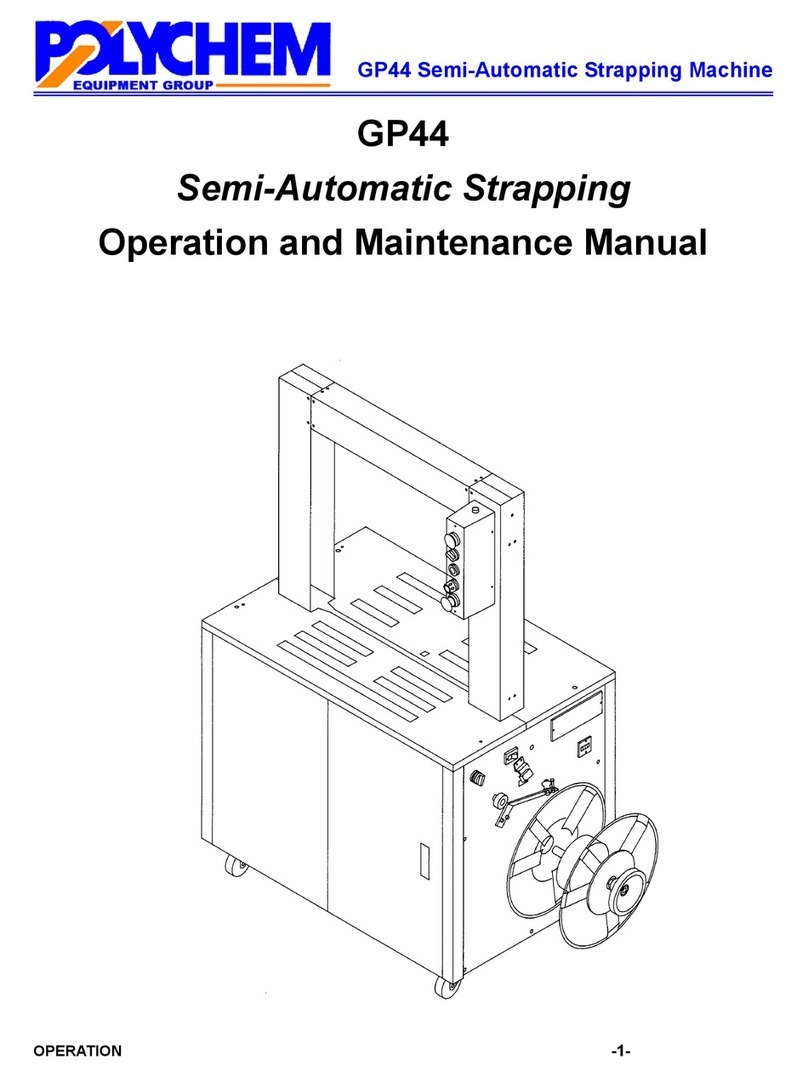
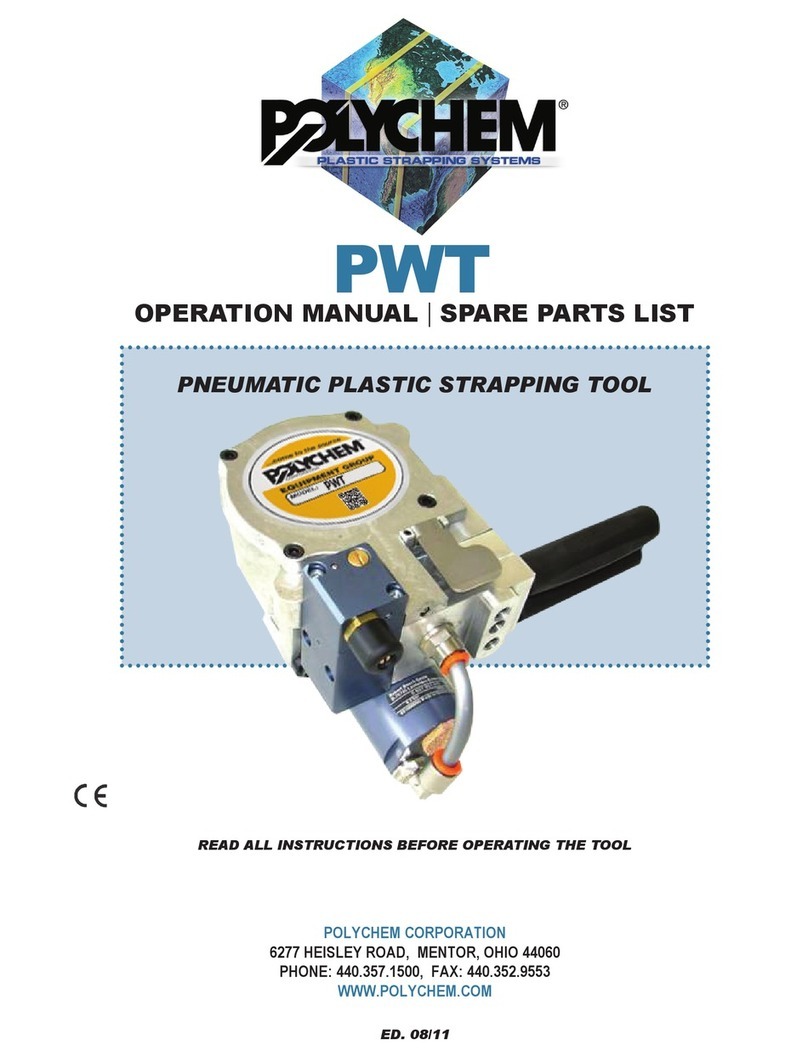
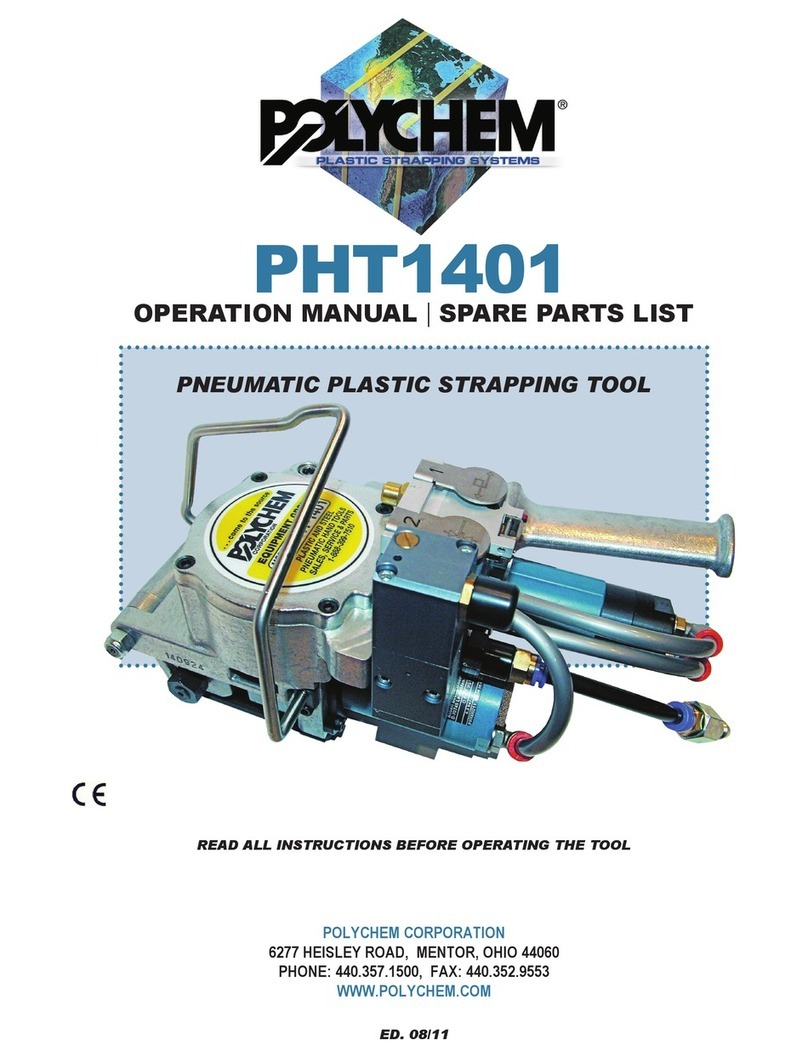
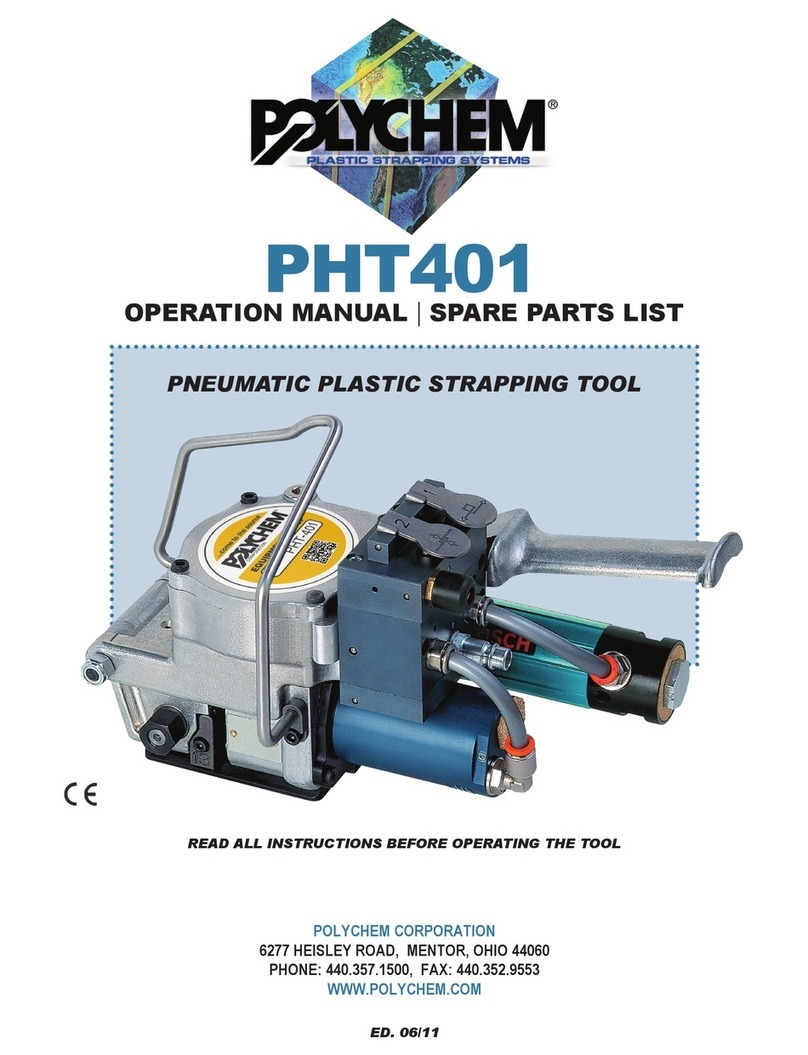
Polychem PHT801 Guide

POLYCHEM
OPERATION MANUAL – SPARE PARTS LIST
PHT1401
PNEUMATIC PLASTIC STRAPPING TOOL
POLYCHEM CORPORATION
6277 Heisley Road Mentor, Ohio 44060
Tel.: 440-357-1500 Fax: 440-352-9553 www.polychem.com
READ ALL INSTRUCTIONS BEFORE OPERATING THE TOOL
Ed. 09/10
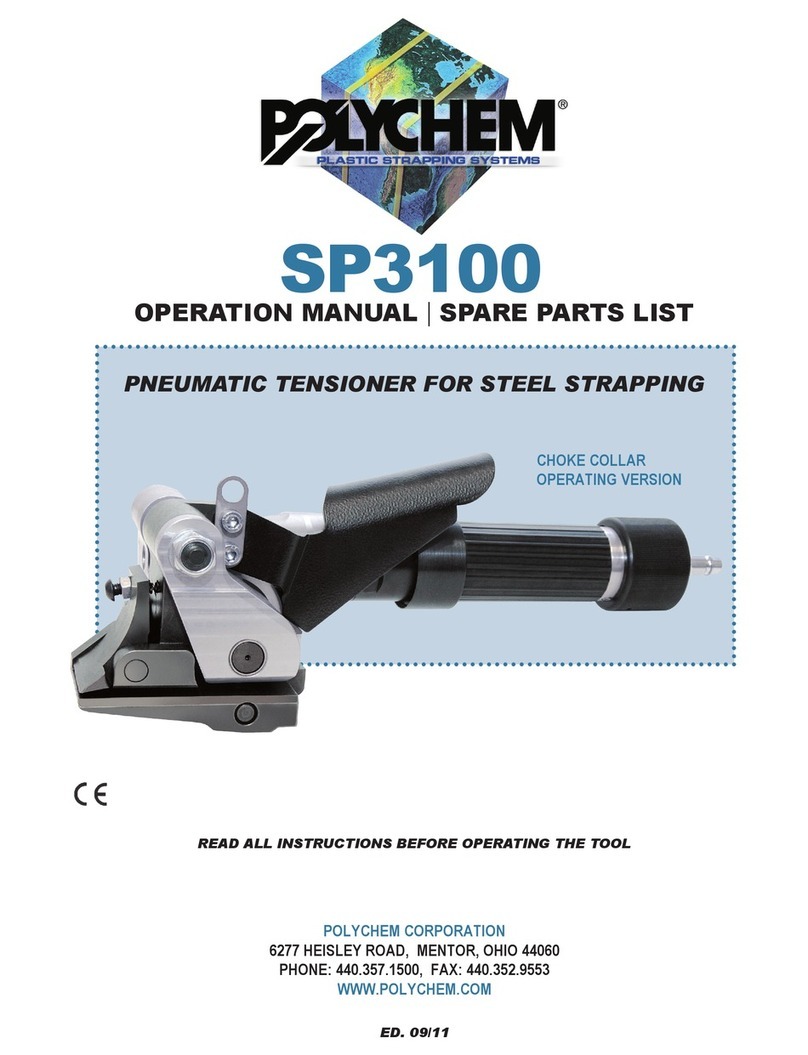
OPERATION MANUAL |SPARE PARTS LIST
PHT801/1201
PNEUMATIC PLASTIC STRAPPING TOOL
READ ALL INSTRUCTIONS BEFORE OPERATING THE TOOL
POLYCHEM CORPORATION
6277 HEISLEY ROAD, MENTOR, OHIO 44060
PHONE: 440.357.1500, FAX: 440.352.9553
WWW.POLYCHEM.COM
ED. 01/11


TABLE OF CONTENTS
1) Safety instructions
2) Technical data
3) Warranty and liability
4) Installation
5) Operating elements / adjustments
6) Operation
7) Servicing and cleaning
8) Troubleshooting
9) Layout – spare parts list
READ THE OPERATING INSTRUCTIONS CAREFULLY
WEAR EYE, FACE, AND HAND PROTECTION WHEN OPERATING
THE TOOL.
GENERAL SAFETY INSTRUCTIONS:
The tool must be used by properly trained people. Failure to follow the operating instructions or
improper use could cause strap breakage, injuries, or package damages.
Check tool daily, do not use tool with worn or damaged parts. Use original spare parts for replacement.
Never modify any tool part.
Do not put fingers, hands or other body parts between the strap and package during the cycle.
It is your responsibility to check the seal joints made by your tool. Training about the weld time
adjustment will be useful to check the seal quality in order to avoid severe injury. Never move goods
with bad quality seals. Only use specific strap dispenser to dispense the strap. Keep your working
area clean and always use the tool in good balance and safety conditions. Never use straps as a
means of pulling or lifting goods.
Always use a proper safety strap cutter and keep other people and yourself at a safe distance from
strap, always stand to side of strap, away from direction of strap trajectory once cut. Hold the upper
strap portion and pay attention that the lower strap will snap forward away from you.
Improper operation, excessive tensioning, use of non-recommended strap, or sharp corners on the
package could cause a loss of strap tension and/or strap breakage that could lead to packaging
failure or injury. The following is recommended; use edge protectors if package has sharp corners,
place the strap correctly around a properly positioned package, stand in safety position (on one side
of strap) during strapping cycle, and use the correct strap quality, width, thickness, and break strength
as recommended in this manual.
Please save this manual, as it is a part of the tool. This tool is manufactured without any substances
which could be dangerous to health. National instructions must be observed for disposal of all the
parts.
1.) SAFETY INSTRUCTIONS

GENERAL SAFETY INSTRUCTIONS FOR COMPRESSED AIR:
Never operate this tool using a bottled air or other gas source. Do not exceed the air pressure range
as shown in this operation manual. For all adjustments, repairs or cleaning of the tool, always disconnect
air supply. Always use dry, clean and lubricated compressed air.
DESCRIPTION OF THE TOOL: The tool model PHT801/1201 is designed to strap packages with
plastic strap. The strap is fed around the package manually and inserted in the tool, tensioned, cut
and friction welded by the tool.
TOOL SIZE
!
!
Length:
!
300mm – 11.8”
Width:
!
150mm – 6”
Height:
!
175mm – 6.9”
Weight:
!
5.1 kgs – 11.2lbs
AIR
REQUIREMENT
!
!
Pressure range:
!
4.5-7 bar / 64-99 psi
Air consumption:
!
14 L/s – 29cuft/min
SPECIFICATIONS
!
!
Max.Tension force:
!
3500N PHT801 6.5
bar– 2 psi
5000N PHT1201 6.5
bar – 2 psi
Tensioning speed:
!
9 mt/min PHT801
6 mt/min PHT1201
Sealing:
!
Friction weld seal
Joint strength:
!
80% plastic strap
strength*
Level sound
emission.
Measurement type
A (2003/10/CE)
!
77 dB (A)
Vibrations at
handle
(2002/44/CE)
!
<2.5 ms2
•
Depends on kind of
strap
CHART OF TYPES
ITEM
MODEL
STRAP
THICKNESS
T111323
PHT801 -1/2” *
PET -1/2”
>0.028” – 0.055”<
T119923
PHT801 – 5/8” - 3/4”
PP–PET -5/8”-3/4”
>0.028” – 0.047”<
T129933
PHT1201 – 5/8” - 3/4”
PET - 5/8”-3/4”
> 0.040” – 0.055”<
* Only with clutch on tensioning
2.) TECHNICAL DATA

Polychem Corporation warrants all its tools and battery chargers during a period of 6 months from the shipping
date document. Wear parts are warranted for 45 days, otherwise wear parts are excluded from regular
warranty, wear parts are shown on spare parts list (in tool manual).
Warranty includes free replacement parts. The warranty is not valid in case of improper use, lack of
maintenance, tampering, arbitrary modifications and reparations, use of non-original parts, disregard of
instructions of the operation manual, or missing serial number. No compensation can be claimed for
production shutdowns and for damages to people and objects due to tool defects. Polychem Corporation
reserves the right to modify the tools and documentation without any obligation to update previous ones.
Polychem warrants all its batteries during a period of 120 days from the shipping date document. The
manufacturer is committed to replace it with a free battery only when there are manufacturing defects that
make it unfit for use.
.
It is recommended to use always a dryer unit near the compressor and a filter-regulator-lubricator
unit with pressure gauge close to tool air connection to avoid the entrance of water and dirt in the
valves or in the pneumatic motors. Check daily the presence of oil in the lubricator. Connect the tool
to air with quick connector ¼” and use minimum 8mm or 3/8” internal diameter pipe; max length for
flexible pipe 10 m between tool and regulator group. Check that your compressor / air distribution
plant is able to supply the right air quantity as shown in the operation manual without losing pressure.
S100001
TOOL AIR CONNECTION
3.) WARRANTY
4.) INSTALLATION

DO NOT OPERATE THE TOOL WITHOUT STRAP, YOU COULD DAMAGE THE FEEDWHEEL
AND THE WELDING / CUTTING GROUP
Adjustment of welding - cutting time
The welding time can be adjusted with a screwdriver (pic.A). Depending on strap quality and
dimensions, turning the screw, as shown; turning clockwise will increase the time, turning counter
clockwise will decrease the time.
Adjusting strap tension
The maximum strap tension can be adjusted with a screwdriver by turning the screw on the pneumatic
motor as shown (pic.B). Turning clockwise will reduce the tension, turning counter clockwise will
increase tension. Do not exceed maximum tension.
Adjusting strap tension by clutch (optional)
The maximum strap tension could be adjusted also with clutch system (optional). Turning the nut
clockwise will increase tension and turning it counter clockwise will reduce tension.
5.) OPERATING ELEMENTS AND ADJUSTMENTS
LEVER 2 – CUTTING / WELDING
LEVER 1 – TENSIONING
LEVER 3 – RELEASE FEEDWHEEL
TENSION
HANDLE
MOTOR
WELDING MOTOR

( A ) ( B ) ( C )
Feed wheel gap adjustment
( D1 ) ( D2 )
( D3 ) ( D4 )
It is possible to adjust the gap between feed wheel and grippers in order to change the pressure on
the strap; Loosen the locking screw 1(pic.D1) and turn screw 2 (pic.D2), clockwise the gap will be
increased; counter clockwise the gap will be decreased. Screw 2 pushes against the gearbox housing
pin (pic. D3). The standard gap is 0.2 mm (0.008”) (Pic. D4).
Welding time adjustment
Tension motor adjustment force
Clutch adjustment
1
2
0.2mm
0.008”

( E3 )
Strap size conversion
( E1 ) ( E2 ) ( E3 )
To set the tool for 13mm (½”) (Only for PHT801 tool) - 16mm (5/8”) - 19mm (¾”) strap sizes follow
the below instructions:
Front strap guide (1)
Side strap guide (2)
Rear strap guide (3)
19 > 16
3/4”>5/8”
16 > 19
5/8”>3/4”
16/19 >
13
5/8”- 3/4”
>1/2”
13 >
16/19
1/2” >
5/8”- 3/4”
Turn strap guides 1 and 3 in 16mm(5/8”) position (pic.E1-E3)- Replace strap guide 2
with 16mm (5/8”) part (pic.E2)
Turn strap guides 1 and 3 in 19mm(3/4” ) position (pic.E1-E3)- Replace strap guide 2
with 19mm (¾”) part (pic.E2)
Replace strap guides 1 and 3 with 10/13 part and put in 13mm(1/2”) position (pic.E1-
E3)- Replace the strap guide 2 with 13mm (½”) part (pic.E2)
Replace strap guides 1 and 3 with 16/19 part and put in required position (pic.E1-E3)-
Replace the strap guide 2 with required size (pic.E2)

Wrap the parcel to be bound with the strap, as showed in pic.F1, hold the end of the strap with left
hand and overlap the strap with right hand ( beware that the strap must be clean, oil and grease
free); open the tool squeezing the handle and motor together with right hand, then insert the two
straps between the body and bottom plate pushing the straps against the front and rear guides
(pic.F2). Release handle (pic.F3).
( F1 ) ( F2 ) ( F3 )
Push the tension lever #1(pic. F4) until desired tension is reached or until the motor stalls. Release
lever #1 and push lever #2 one time (pic. F5) to cut and weld the strap. (Adjust time before
sealing).Welding and cooling time will be signaled by the little piston (pic. F6) when piston returns
the welding cycle is complete (pic.F7). At this point you can remove the strap by following the
instructions below.
( F4 ) ( F5 )
( F6 ) ( F7 )
6.) OPERATION
WARNING : Wait until the piston returns (pic.F7) before releasing the
strap

Push lever #3 for around one second to release the feed wheel tension force (pic. F8), open the tool
by squeezing the handle and motor together and then remove the tool by pulling it to the right (pic.
F8).
( F8 ) ( F9 )
Seal check
A regular seal check is very important and it can be visually examined as follows:
G1) -short sealing time-
G2)- right sealing time-
G3) -too long sealing time-
( G1 )
( G2 )
( G3 )
NO – seal strength affected
NO – seal strength insufficient

DISCONNECT TOOL FROM COMPRESSED AIR LINE BEFORE ANY SERVICE OR CLEANING
Periodically clean the tool from strap dust, particularly the feed wheel, the gripper plates and the
cutter. Use compressed air or a wire brush (do not use other tools or keys) (pic. H1,H2)
( H1 ) ( H2 )
Cutter replacement
Disconnect the air pipe from welding motor (pic.L1), remove the 2 locking motor screws (pic.L2),
remove the motor (pic.L3).Remove the cutter spring with pliers (pic.L4), put air in the disconnected
pipe to push down the piston to free up the cutter and then remove the cutter from its seat by using
pliers (pic.L5). Replace it and reassemble in reverse order putting grease on spring and cutter seat.
( L1 ) ( L2 ) ( L3 )
( L4 ) ( L5 )
7.) SERVICING - CLEANING

Feed wheel replacement
Remove the pushing spring (pic.M1), disconnect the motor pipes (pic.M2), remove the 6 bottom plate
screws (pic.M3), unscrew the holding screw (pic.M4), remove the nut on the pivot shaft (pic.M5) and
remove the shaft from main frame (pay attention to the shim) (pic M6). Remove the feed wheel shaft
nut (pic.M7) Remove the front cover, bushing, spacers, and feed wheel (pic. M8); replace the worn
part (pic. M9). Reassemble in the opposite order by starting with the feed wheel shaft parts.
( M1 ) ( M2 ) ( M3 )
( M4 ) ( M5 ) ( M6 )
( M7 ) ( M8 ) ( M9 )
Bottom plate grippers replacement
( N1 ) ( N2 ) ( N3 )
Remove the 6 bottom plate screws (pic.N1), unscrew the gripper screws (pic.N2), replace the parts
(pic.N3), and reassemble in opposite order.

Welding gripper replacement
Remove the cutter as shown in L1 to L5 sequence; remove the bottom plate as Pic. N1, remove the
safety circlip from welding gripper pin (pic.O1), remove the pin from welding gripper (pic.O2), and
remove welding gripper (pic. O3) and replace the worn part. Reassemble all parts in reverse order. It
is advised to replace the safety circlip with a new one.
( O1 ) ( O2 ) ( O3 )
PROBLEM
REMEDY
The tension of strap is insufficient
Check: air pressure value (min.4.5 bar), if the filter / lubricator and/or the pneumatic motor is
damaged or dirty (contact the after sale service), the power adjusting screw on the pneumatic
motor,
the pneumatic circuit, tension button, connections, pipes, valve (contact the after sale service)
Check if the clutch is loose (only for clutch models)
The feed wheel slips and mills on strap
Check if the feed wheel and grippers are dirty or damaged, check the gap between feed wheel
and grippers (around 0,2mm– 0.008”). Adjust the motor power—too much tension force.
Check if the strap qualities are right for the strapping tool and application
The strap is breaking during tension
Adjust the motor power—too much tension force. Check if the strap qualities are right for the
strapping tool and application. Check for sharp edges on package.
The tensioned strap is sideways; the seal isn’t in the middle of strap width
Adjust the motor power—too much tension force. Check if the strap qualities are right for the
strapping tool and application. Check that the strap guides are set for the proper width and are
aligned right.
The lower strap isn’t locked between the grippers and feed wheel so the tool goes forward
during the tension
Check the gap between feed wheel and grippers (around 0,2mm– 0.008”). Check if the locking
strap plates are dirty or damaged. Adjust the motor power for quality of strap
Top strap is dragging on lower strap
Check the gap between feed wheel and grippers (around 0,2mm– 0.008”)- try to increase the gap.
Check if the strap qualities are right for the strapping tool and application.
8.) TROUBLESHOOTING

!
Tensioning problem— the tool comes back after tensioning
Probably damage to the “holding tension system” ( contact the after sale service)
Air leak
Check hose connections and fittings ( contact the after sale service)
Seal time is too short; The upper strap isn’t completely cut; the cutting is inconsistent
Improper weld time. Check if the sealing foot or the cutter are damaged or worn out. Check: if the
sealing foot is dirty or slides on strap, if the tool returns after tensioning. Check the air pressure
value.
Check if the strap qualities are right for the strapping tool and application. Check, if the sealing
motor is locked or dirty. Check that the air circuit has the proper requirements. The cutter spring
is wrong for the strap or is damaged, try to replace it: - 400-0034 medium -- 400-0149 strong
Seal time is too long; the strap is breaking during the seal – cut
Improper weld time adjustment, may be too long, adjust it.
Both straps are cut during sealing
Check if the gripper plate (under the sealing foot) is dirty or damaged (clean or replace it)
Check if there is too much tension. Improper weld time adjustment, may be too long, adjust it.
After sealing, pushing the lever 3, the tension motor doesn’t turn and the strap isn’t
released
The “holding tension system ”is faulty ( contact the after sale service)
Check the pneumatic valve and air circuit and if the pneumatic motor is damaged or dirty (contact
the after sale service). Do not use tools to remove the strap from the strapping tool. Cut the
strap from the package and then remove the bottom plate from the tool to release the strap.
After the cycle is not possible remove the tool from package
Check if the sealing piston is locked in lower position (down), in this case cut the strap from the
package and find out the problem (could be a pneumatic valve problem)
The sealing time will not remain constant
Timer valve problem, try to clean, lubricate or replace it ( contact the after sale service)

Ed. 06/17
POLYCHEM
PART #
ITEM
DESCRIPTION
QTY
!
!
189604
A000014
ASSEMBLED GEARBOX BODY
1
!
!
189571
A000034
TENSION MOTOR ASSEMBLED
MT
1
!
!
189572
A000035
TENSION MOTOR ASSEMBLED
HT
1
!
!
189570
A000086
ASSEMBLED FRONT COVER
1
!
!
186897
B100032
PIPE 6x8 (Length meters)
0,5
!
*
189122
B100296
GRUB 1/4" S2610 CAMOZZI
1
!
!
189137
B100310
SWING ELBOW RL31 8 1/4
1
!
*
189502
B100311
SWING ELBOW RL31 8 - 1/8
2
!
*
189105
B200309
FAST AIR MALE CONN.
1
!
!
189479
B200347
PNEUM. VALVE
1
!
*
189472
B300019
GASKET RING RP6287.85
1
!
!
189120
B300020
GASKET 1.5X6.1 IN MTS
0,11
!
!
189177
B300021
O-RING 2125 (D32)
1
!
!
189471
B300022
O-RING 3300 (D85)
1
!
!
189474
B300025
O-RING 2015
1
!
!
189180
B400001
ROLLER BEARING BK0810
1
!
!
189182
B400002
BEARING 7200BE 2RS
1
!
!
189146
B400003
ROLLER BEARING HK0808
2
!
!
189176
B400004
BEARING 6001 2Z
2
!
!
189149
B400005
ROLLER BEARING NK1616
1
!
!
189198
B400008
BEARING 6001 2RS
1
!
!
189166
B400009
RING IR 12x16x16
1
!
!
189573
B400339
RING IR 12x16x20
1
!
!
189574
B400340
AXK1226 SKF
1
!
!
189575
B400341
AS 1226 SKF
2
!
!
190031
B500035
SCREW M4X10
1
!
!
190196
B500037
SCREW M4X8
1
!
!
189136
B500039
SCREW UNC 10X1/2"
9
!
*
189141
B500040
SCREW M6X16
5
!
*
189179
B500043
SCREW ECOFIX M5X12 ZINC
2
!
!
189480
B500044
SCREW M4X45
3
!
!
189276
B500045
SCREW M4X5
2
!
!
189698
B500047
SCREW M5X8
2
!
!
189438
B500048
SCREW M4X6
3
!
*
189163
B500053
SELFLOCK.NUT M8 H10
DIN982
1
!
!
190161
B500068
SCREW TCEI M3X8 UNI5931
3
!
!
189576
B500071
SCREW STEI M8X6
1
!
!
190044
B500379
SCREW STEI M4X5 UNI5923
1
!
!
189761
B500386
SCREW M4X30 DIN7984
2
!
!
189578
B500394
SCREW M6X14
1
!
*
189192
B600011
WASHER PS 10x16x0.5
1
!
!
189183
B600012
CIRCLIP A10 DIN471
1
!
!
189153
B600013
CIRCLIP H5
1
!
*
189193
B600014
WASHER PS 22x30x0,1
VAR
!
!
189194
B600015
WASHER PS 22x30x0,5
1
!
!
189279
B600016
WASHER PS 10x16x1
1
!
!
189506
B600017
WASHER PS 22x30x1,5
1
!
!
189476
B600028
SPRING R10-051 ISO 10243
1
!
*
189170
B600059
CUP WASH. 25x12.2x1.5
3
!
!
9.) LAYOUT-SPARE PARTS LIST

POLYCHEM
PART #
ITEM
DESCRIPTION
QTY
!
!
!
!
DIN2093
!
!
!
189579
B600338
GUIDE SOCKET BM 12 14 25
1
!
!
189580
B600342
GUIDE SOCKET BM 16 18 10
1
!
!
189767
B600389
WASHER PS 22x30x0,2
VAR
!
!
189500
B700030
PIN 3x24 DIN6325
1
!
!
189501
B700031
PIN 3x60 DIN6325
1
!
!
189581
B700078
PIN 6X18DIN6325
1
!
!
189668
B700427
ELASTIC PIN 5X16 UNI6874
1
!
!
189134
B900348
PNEUMATIC MOTOR
0607951449
1
!
!
189132
D000620
MEDIUM CUTTER SPRING
1
!
*
189157
D000780
LOCKING STRAP PLATE
1
§
*
189151
D001250
WELDING FOOT PHT801 1/2”
1
§
*
189133
D001260
CUTTER
1
§
*
189582
D001550
MAIN FRAME
1
!
!
189583
D001560
PISTON COVER
1
!
!
189282
D001620
CONNECTING ROD PIN
1
!
!
189150
D001630
CONNECTING ROD
1
!
!
189482
D001640
ECCENTRIC SHAFT
1
!
!
189152
D001650
WELDING FOOT PIN
1
!
!
189584
D001660
BOTTOM PLATE
1
!
!
189478
D001670
OPENING LEVER
1
!
!
189209
D001680
TENSION FEET PADS
2
§
*
189160
D001700
COVER
1
!
!
189121
D001710
PISTON SPRING
1
!
!
189232
D001720
STRONG CUTTER SPRING
1
!
*
189178
D001730
GEARBOX COVER
1
!
!
189484
D001740
CROWN
1
!
!
189181
D001750
WORMGEAR
1
!
!
189174
D001760
FEEDWHEEL SHAFT
1
!
!
189172
D001770
SHAFT
1
!
!
189190
D001780
SPECIAL NUT
1
!
!
189585
D001790
FEEDWHEEL
1
§
*
189586
D001800
REAR STRAP GUIDE 5/8” – 3/4"
1
!
!
189587
D001810
SIDE STRAP GUIDE 5/8”
1
!
!
189588
D001820
SIDE STRAP GUIDE 3/4”
1
!
!
189589
D001830
TENSION START LEVER
1
!
!
189590
D001840
WELDING START LEVER
1
!
!
189591
D001850
REVERSE START LEVER
1
!
!
189762
D001860
LEVERS SUPPORT
1
!
!
189592
D001870
SUSPENSION HOOK
1
!
!
189143
D001880
SIDE SUSPENSION HOOK
SUPPORT
1
!
!
189140
D001890
UPPER SUSP. HOOK SUPPORT
1
!
!
189593
D001900
FEEDWHEEL WASHER
1
!
!
189594
D001910
SPRING PIN
1
!
!
189595
D001920
REAR STRAP GUIDE 1/2"
1
!
!
189596
D001930
SIDE STRAP GUIDE 1/2"
1
!
!
189490
D001950
AIR CONNECTION
2
!
!
189763
D001960
REAR FRICTION PLATE
1
!
!
189168
D001970
FRICTION PLATE (CLUTCH
ONLY)
2
§
*
189169
D001980
FEEDWHEEL FOR CLUTCH
SYSTEM
1
§
*
189167
D001990
FRONT FRICTION PLATE
1
!
!

POLYCHEM
PART #
ITEM
DESCRIPTION
QTY
!
!
189597
D003970
FRONT STRAP GUIDE 1/2"
1
!
!
189598
D003980
FRONT STRAP GUIDE 5/8” –
3/4"
1
!
!
189764
D004570
WELDING FOOT 5/8” – 3/4"
1
§
*
189765
D004850
CUTTER PIN
1
!
!
189766
D004860
PISTON
1
!
!
!
§
WEARING PART
!
*
PART THAT SHOULD BE
STOCKED

PHT801-1201

No.!
QTY!
CODE!
DESCRIPTION!
JDE0PART0#0
1!
1!
3!605!125!063!
MOTOR!HOUSING!
X!
2!
1!
3!604!090!009!
STATOR!/!550W!
X!
3!
1!
3!604!220!005!
ROTOR!
189222!
5!
1!
3!605!700!167!
BEARING!FLANGE!
X!
6!
1!
1!900!905!127!
DEEP-GROOVE!BALL!BEARING!/!6000-2Z/C3!DIN!625!
X!
7!
1!
3!605!700!010!
BEARING!FLANGE!
X!
8!
1!
1!900!905!029!
DEEP-GROOVE!BALL!BEARING!/!DIN!625-608-2Z-C3!
X!
9!
1!
2!600!200!007!
SPACER!RING!
X!
10!
1!
3!600!202!004!
SPACER!RING!
190193!
11!
1!
2!916!011!012!
PLAIN!WASHER!/!DIN!125-A5,3-ST!
190192!
12!
1!
2!911!061!150!
HEX!SCREW!/!DIN!933-M5x8-8.8!
X!
26!
1!
3!606!337!209!
CARRIER!
X!
40!
1!
3!600!390!040!
FLANGE!
189697!
55!
2!
3!600!100!048!
SEALING!DISC!
190003!
61!
1!
3!603!462!017!
SILENCER!
189272!
66!
1!
3!604!710!032!
STRAIGHT!PIN!
X!
95!
1!
3!601!106!047!
NAMEPLATE!
X!
99!
1!
3!601!119!236!
REFERENCE!PLATE!
X!
804!
1!
3!607!030!260!
ASSEMBLY!OF!SERVICE!PARTS!/!5!PIECE!
X!
BOSCH 0 607 951 449 – ITEM B900348
400-0036
WELDING MOTOR

BOSCH 0 607 951 450 – ITEM A000035
401-0005
TENSION MOTOR
PHT1201
This manual suits for next models
1
Table of contents
Other Polychem Packaging Equipment manuals
Popular Packaging Equipment manuals by other brands

ITATOOLS
ITATOOLS ITA 51 Operation manual

Keji
Keji KEJTAPEDIS instruction manual

M.J. MALLIS GROUP
M.J. MALLIS GROUP Siat K12 Instructions and Spare Parts List

ALLpaQ Packaging Group
ALLpaQ Packaging Group Genesis Series Operator user manual

U-Line
U-Line H-5334 quick start guide

Titan
Titan PKD instruction manual