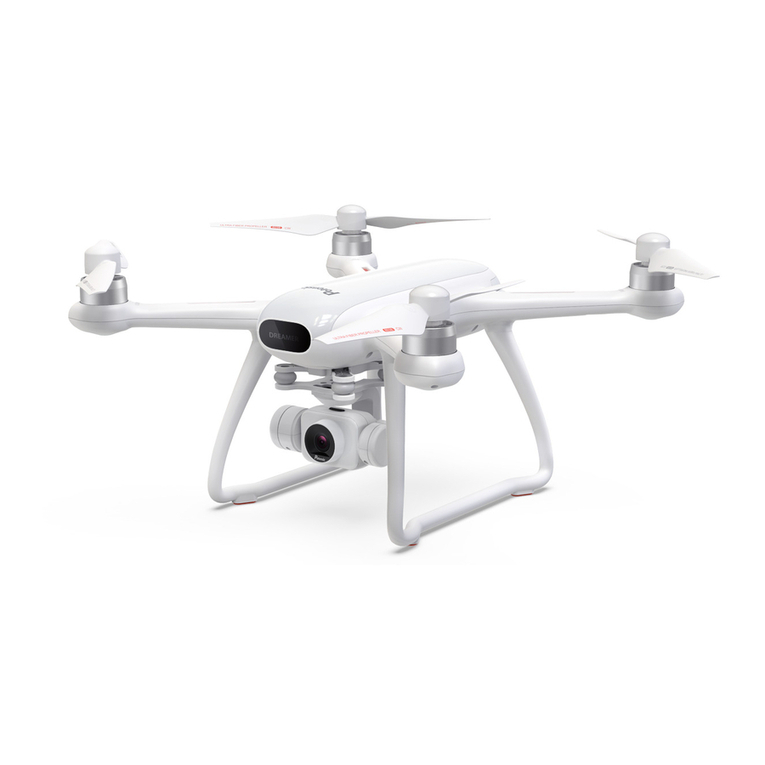
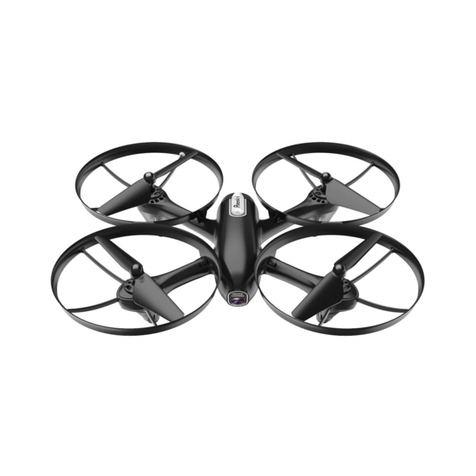
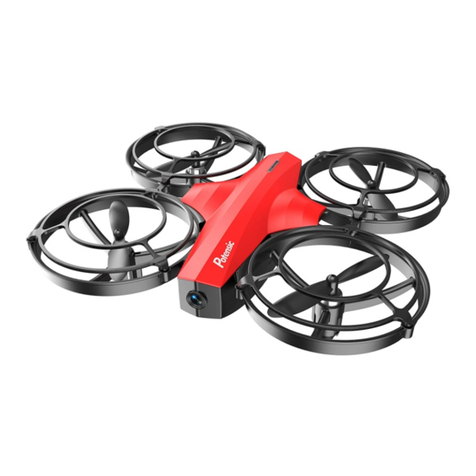
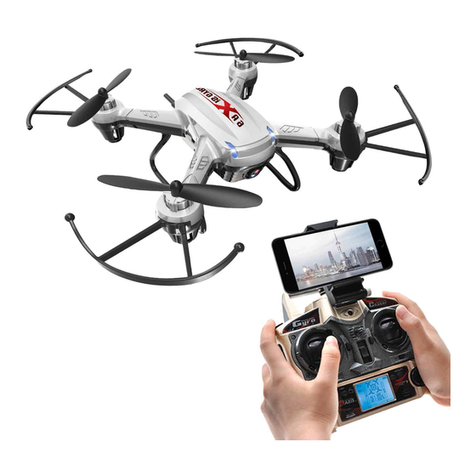
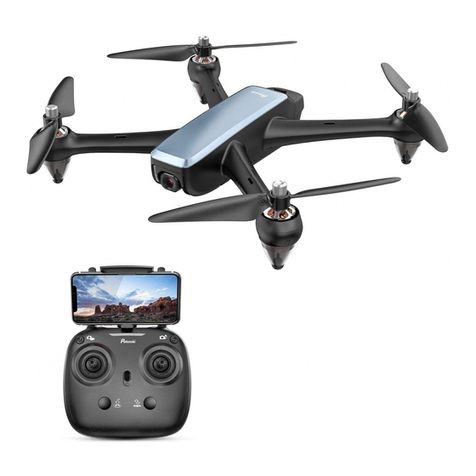
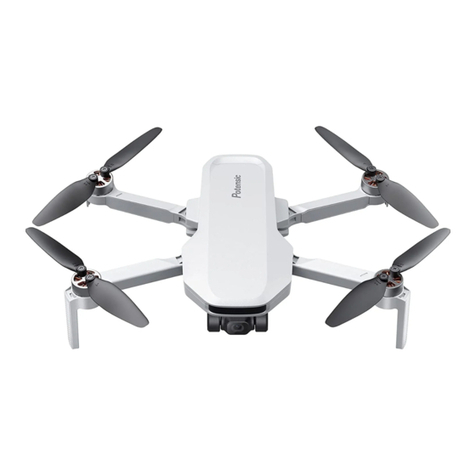
Potensic Dreamer Mini User manual

Dreamer Mini
DANGER
Only suitable
for age 14+
Web: www.potensic.com
FB: www.facebook.com/Potensic
Email: [email protected] [email protected] (IT)
[email protected] (ES)
[email protected] (DE)
[email protected] (FR)
Multi-Language User Manual

Contents
Disclaimer and Note
Accessories List
Drone Overview
Remote Control Diagram
Charging the Aircraft's Battery
Operation Method
About Aircraft
PotensicFly App
Malfunction Sloving Guideline
Specification
······································································
············································································
··············································································
······························································
·····················································
··········································································
················································································
············································································
·····················································
··················································································
01
03
03
04
05
06
07
09
12
13
EN

Thank you for purchasing this product. In order to operate the drone conveniently and safely, please read all instructions and warnings
carefully before operating. Please also keep the instruction manual for future reference and maintenance.
1. IMPORTANT
(1)This product is not a toy. It is a precision device, integration machinery and electronics with air mechanics and high frequency
transmission. It requires correct assembly and debugging to avoid any accident. The user should operate and control this product in a safe
manner. In case of incorrect operation, it may cause serious injury or property damage. It can also be lost due to incorrect operation. We
should assume no responsibility, because we can not control the process of assembly, use and operation of the aircraft.
(2)This product is suitable for experienced UAV pilots aged 14 and above.
(3)Flying place must be a locally legal flying site for R/C model.
(4)Once the product is sold, we will assume no safety responsibility arising from using, operation and control of the aircraft.
(5)In the event of a problem during using, operating of maintenance, please contact us by email, we will respond to you within 24 hours.
2. SAFETY PRECAUTIONS
The R/C aircraft model can be dangerous when in use, please make sure you keep it far away from any person or spectators when flying.
Artificial incorrect installation or body damage, poor electronically-controlled device, or unfamiliarity with operation may cause damage to the
aircraft or injure people or cause an unexpected accident. Please pay close attention to flying safety and learn to recognize more dangerous
conditions which may cause an accident due to your own negligence.
3. PREFLIGHT PRECAUTIONS
(1)Check if the battery levels of transmitter and receiver are saturated.
(2)Check if throttle Joystick and throttle of the transmitter are trimmed at the centre position before power-on.
(3)Be sure to follow the ON/OFF sequence of power source upon power-on. Be sure to turn on the power of transmitter upon power-off.
Incorrect ON/OFF sequence may cause the uncontrolled status of aircraft, thereby influencing personal safety. Please develop correct
ON/OFF habit.
(4)Check if the connection between the battery and such parts as motor is firm and reliable.
The continuous vibration of aircraft may cause loose of power connector, thereby resulting in uncontrolled status of aircraft.
(5)Keep it far away from any structures or crowds. The R/C aircraft may danger. Therefore, please keep it far away from crowds, buildings,
trees, structures, high voltage wire, etc. Please also avoid flying in adverse weather conditions such as rain, electrical storms, and high winds
to ensure safety of the user, any spectators, and surrounding property.
(6)Keep it away from any moist environment. The inside of the aircraft is composed of many precision electronic and mechanical parts.
Therefore, please try to avoid any moisture or water content from entering the main body of the aircraft as it may cause a breakdown of the
electronic and mechanical parts and thus cause an accident!
(7)Only operate with included parts for intended use. Please use the original parts for any upgrade, re-equipping or maintenance to ensure
flying safety. Please operate and use only under the scope of the product function permitted. DO NOT use for any illegal purpose or use
beyond the scope of which your local laws and regulations have stipulated.
(8)Avoid controlling it independently. New users may have certain difficulties during the early stages of learning to operate the aircraft. Please
try to avoid operating the aircraft alone. When available always operate the aircraft under the guidance of a more experienced user.
(9)Safe operation
Please operation the R/C aircraft according to your own state and flying skill. Any fatigue, bad mental state, or incorrect operation may
increase the probability of accidental risk.
(10)When the operator is flying in high speed, please keep the aircraft far from the pilot and any surrounding persons or objects so as not to
cause danger or damage.
(11)The R/C aircraft is composed of materials such as metal, fiber, plastic, electronics, etc.
Therefore, please keep it away from any heat source and avoid prolonged exposure to direct sunlight. Excessive heat exposure can cause
distort and damage.
01
WARNING
1. There is important information contained in this package and instruction manual, please keep it for future reference.
2. You have the responsibility to make sure that this model of aircraft won’t cause injury to others’ body or cause any damage to property.
3. Please operate strictly as shown on the instruction manual when debugging or assembling this aircraft. During the process of flying or
landing, be sure to keep a distance of 1-2 m away from the user or other persons so as to avoid injuring the head or face or body.
4. Our company and distributors won't be responsible for any incorrect operation, which may cause loss or damage or injury to the body.
5. Children aged 14 and above should use this product under the guidance of an adult. This product is FORBIDDEN to be used by children
under 14 years old.
6. Please correctly assemble and use this product as shown on the instruction manual or packing instruction. Some parts should be
assembled by an adult.
7. Small parts are included with this product. Please place it beyond the reach of the children to avoid a CHOKING HAZARD or parts being
mistakenly swallowed.
8. Playing on the road or near high traffic areas is strictly FORBIDDEN so as not to cause an accident.
9. Please dispose of the packing material timely so as not to cause injury to children.
Disclaimer and Note
Dear Customers:
10. Please DO NOT disassemble or re-equip the aircraft as it may cause a breakdown of the aircraft during flying.
11. Please use the original charing cable.
12. The remote control uses 1.5V/AAA batteries (not included).
13. Only the original charger made by our factory can be used.
02
FCC ID: 2AUYR-DSDR01A-11D
This equipment has been tested and found to comply with the limits for a Class B digital device, pursuant to Part 15 of the FCC
Rules. These limits are designed to provide reasonable protection against harmful interference in a residential installation. This
equipment generates, uses, and can radiate radio frequency energy, and if not installed and used in accordance with the
instructions, may cause harmful interference to radio communications. However, there is no guarantee that interference will not
occur in a particular installation. If this equipment does cause harmful interference to radio or television reception, which can be
determined by turning the equipment off and on, the user is encouraged to try to correct the interference by one or more of the
following measures:
– Reorient or relocate the receiving antenna.
– Increase the separation between the equipment and receiver.
– Connect the equipment into an outlet on a circuit different from that to which the receiver is connected.
– Consult the dealer or an experienced radio/TV technician for help.
This equipment complies with FCC radiation exposure limits set forth for an uncontrolled environment. This equipment should be
installed and operated with a minimum distance of 20cm between the radiator & your body. This transmitter must not be
co-located or operating in conjunction with any other antenna or transmitter.
14. Charger is not a toy.
15. When charging the battery, please conduct it under the surveillance of an adult. Please also keep it far away from any combustible object
when charging. Please keep this aircraft within eyesight when charging.
16. Please DO NOT made it short-circuited or squeeze the battery so as not to cause an explosion.
17. DO NOT mix the lithium battery with a different type of battery.
18. Please DO NOT make the batteries short-circuited or decompose the batteries or throw the batteries into the fire; DO NOT place the
batteries near the high temperature or heated area (such as near the fire or near the electric heating device.)
19. Aircraft should be kept far away from any other electric compliance or equipment as far as possible or kept far away from the place where
there is a magnetic object nearby as they may cause interference with each other.
20. Please keep the safe distance from the high-speed rotating rotor so as not to cause the danger of being twisted, wounded or cut.
21. Engine will heat up. Please DO NOT touch it to avoid being burned or injured.
22. The Light Emitting Diode can send out laser radiation. Please DO NOT shoot the light beam directly at someone and do not stare directly
at it.
23. Please DO NOT close this product to your ear as it may cause injury to your hearing.
24. USB charging cable equipped.
25. To comply with the command of the magnetic environment requirement formulated by the related national authorities, during the
regulated period in certain areas, please stop using the transmitter of this model when such regulation command is issued.
Fly in open areas Sunny and windless Maintain line of sight Fly Under 120m
Avoid leaping or getting near to the crowds, trees, high voltage power lines, buildings, airports or territorial
waters, as well as high-intensity power line base stations as it may affect the drone’s compass.
Do not use the product under bad weather conditions, such as rain, snow, fog or when the wind speed exceeds
5m/s or 10mph.
FLY SAFE
120

Take photos / Videos Short press headless mode
Speed gear adjustmentSteering gear adjustment
04
Remote Control Diagram
One key return
Ascent and descend /
Turn left / right
Antenna
GPS mode /
Attitude mode
Forward / Backward /
Slide left / Slide right
On / Off
Long press one key to
take off / One key to land
Indicator light
Press the buttons
simultaneously for
one-button emergency
Cell phone clip
Level calibration
Mode 1 / Mode 2
Replace the blades
TF Card Slot
1. Insert the TF card into the slot of the camera. The minimum capacity of TF card
is 4GB and the maximum is 128GB. All images and video files will only be
recorded on the TF card, not saved in the App or your phone. You can
manually upload from the gallery to your phone. The package list does not
tcontain TF card.
2. Before using TF card, please format it in FAT32 format on the computer. The
drone only supports TF card in FAT32 format.
1. Replace with a new blade at the corresponding position. Blade A should be
installed on position A, while blade B should be installed on position B. If the
blades are installed on the wrong position, the drone will be unable to be
operated or controlled.
2. Bland A rotates clockwise and blade B rotates anticlockwise while flying.
GPS mode (default)
Headlights (red lights) and rear lights (blue lights) keep on
Headlights (red lights) keep on
Rear lights (blue lights) blink slowly and alternatively
Headlights (red lights) keep on
Rear lights (blue lights) blink slowly at the same time
Headlights (red lights) blink slowly
Rear lights (blue lights) keep on (Attitude mode)
Rear lights (blue lights) keep on (GPS mode)
Headless mode
Attitude mode
GPS search condition
Emergency Stop or Rollover (Motor stopped)
Four lights blink slowly
Four lights blink quickly
Horizontal calibration: left lights blink slowly, right lights keep on
Vertical calibration: left lights keep on, right lights blink slowly
Four lights blink quickly
Drone Low Power
Drone Disconnected
Geomagnetic Calibration
Under the Normal Situation
Warning and Abnormal
DSDR05C DSDR05A

05
Push the phone holder upwards as shown in the figure, insert one side of the phone into the bottom slot of the phone holder, and
then pull the phone holder lever upwards until the phone is inserted.
After taking out the mobile phone, the stretching part of the mobile phone clip will automatically retract the mobile phone clip, and
then put the mobile phone clip into the remote controller.
Three AAA batteries required in the remote controller (Please purchase the battery separately).
a. The remote control uses 3 “AAA” non-rechargeable batteries, or “AAA” rechargeable batteries. (sold separately)
b. Pay attention to the polarity of the battery when installing or replacing the battery.
c. Non-rechargeable batteries are not rechargeable and can only be used with the same or the same battery as the
recommended battery.
d. Do not mix old and new or different types of batteries.
e. Exhausted batteries should be removed in time, and discarded batteries should not be thrown.
f. If you do not use it for a long time, please remove the battery to avoid damage to the product caused by battery leakage.
Charging the Aircraft's Battery
Press the battery clip and pull the battery out then the battery can be taken out from the aircraft.
Lithium battery charging instructions
1. Taking out the USB charging cable, connecting the battery port to the charging head, then plug the USB terminal into the USB
port on the computer (or USB power adapter) to charge the battery. The USB charger light stays red when charging, and the
light stays green when charging is completed.
2. Aircraft’s lithium battery charging period is 240 minutes(depends on the charging power source ).
Notices for charging
* Do not place the charged battery in a place of high
temperature and heating, such as a flame or an electric
heating device, otherwise damage or explosion will occur.
* Do not strike or hit a hard surface with a battery.
* Do not disassemble the battery.
* Do not put the battery in water, the battery should be
stored in a desiccative place.
* Personnel must not leave when charging.
Phone Charger Power Bank Computer Charging Car Charger

06
Use “left control stick” to control the
altitude & rotation during flight.
Short press to enter horizontal
calibration, long press 3S to enter
geomagnetic calibration function.
Long press 1S as shown in the picture
to enter one key to take off/one key to
land function.
Short press the button shown in the
pictureto enter one key to return
function.
Three gear of high, medium and low
speeds to adjust, turning thumbwheel
to the left is downshift, turning
thumbwheel to the right is shift up.
Long press 1S to switch GPS mode or
attitude mode, the default is GPS mode.
When entering GPS mode, the remote
control makes a “beep” sound; when
entering attitude mode, the remote
control makes two “beep” sounds.
Ascend / Descend /
Left / Right Turn
Horizontal /
geomagnetic
calibration
One key to take off
/ one key to land
One key to return
Speed thumbwheel
GPS mode /
Attitude mode
Operation Method
Ascend
Decend
11
22
3
3
44
1
2
3
4
Use “right control stick” to control
forward / backward / left / right
during flight.
Backward
Forward
RightLeft
1
24
Forward / Backward
/ Left / Right
1
2
3
4
5
6
7
3

1
1
2
2
07
As shown in the picture, short press
the camera button, the drone will
take a photo. Long press the camera
button, and the drone will record a
video. Long press or short press the
camera button again to exit the
photo/video mode.
Turn the switch to the left for Mode 1
(Left-hand throttle).
Turn the switch to the right for Mode 2
(Right-hand throttle)
Photo / Video
Switch mode
Emergency landing
In the headless mode, the operator
does not need to recognize the
position of the drone nose. It only
needs to control the drone according
to the direction of the joystick of the
remote controller.
Headless mode
8
9
10
11
About Aircraft
When the drone encounters an
obstacle or an emergency, press the
speed button and the flip button on
the remote controller at the same
time as shown in the picture to make
an emergency landing.
Steering gear
adjustment
12 Turn the thumbwheel left or right to
adjust the angle of camera when the
drone is in flight.
Flight Modes
Dreamer Mini adopts a new generation of flight control, which supports the following two flight modes.
GPS mode
GPS module can realize precise hovering, pointing flight and other intelligent flight modes. In the GPS mode, when the GPS
signal is strong, GPS can be used for precise positioning; when the GPS signal is poor, the aircraft can not accurately locate, only
provide attitude stabilization, and do not support intelligent flight function.
Attitude mode
Under this mode, the drone only provide attitude stabilization, which will produce drift in the horizontal direction. At this time, the
operator needs to manually control the flight of the aircraft. This mode should be used with caution by novices. Please do not fly
the aircraft too far (over the max flight range), so as to avoid the risk of losing aircraft and damage.

10
3. Open the PotensicFly APP, register and log in to enter the APP main page.
4. After the connection is successful, click start to enter the APP flight interface to start your flight experience.
Enter the mobile phone WLAN settings, click to connect to the aircraft WIFI: Potensic_DSDR05x_xxxxxx,
select in the mobile hotspot Internet network data detection prompt: Keep WLAN Connection.
2.2 Wifi connection (Android)

3. Setting Interface
1 2 3 4 5
6
7
8
9
10
11
12
1
2
3
1. Operation Interface
1. Home
2. Drone status
3. Transmission signal level
4. Drone power
5. Setting
6. Photo / Video switch
7. Photo Taking / Video Recording
8. Camera setting
9. Picture storage
10. Intelligent flight mode settings
11. One-key return
12. One-key take-off / One-key landing
2. Intelligent Flight Mode
1 2 3
67
8
9
4
5
1. Speed mode
2. Headless mode / Head mode
3. Horizontal calibration
4. Follow me mode
5. Geomagnetic calibration
6. GPS mode
7. Virtual joystick
8. Circling mode
9. Waypoint mode
1. Main controller settings
2. Remote control settings
3. More
11
5. If you need other help, please go to APP-Personal Center-Feedback and contact us.

12
Malfunction Sloving Guideline
Malfunction Cause Treatment
No response on the drone
1. The drone enters low voltage
protection mode
2. The remote controller’s battery
is low and the power indicator
will flash.
3. The frequencies of remote
controller and the drone are
not matched
Response of control is not
sensitive during flight
1. The remote controller’s battery
is low or poor battery quality
2. There are remote controllers
with the same frequency is
transmitting interference.
Deflecting while hovering 1. No horizontal calibration
1. Charge the drone
2. Change the remote controller’s
battery
3. Re-match the frequencies of the
remote controller and the drone.
1. Replace the battery with better
quality
2. Change to a place that does not
have devices with the same
frequency to transmit interference.
1. Do horizontal calibration again
Precautions
1. When the power supply (drone or transmitter) is insufficient, the remote-control distance will be shortened.
2. When the power of the drone is damaged, it will be not easy to take off or fly.
3. When the drone is damaged, please repair and stop using it in time, otherwise it may cause personal injury.
4. If you are not using the transmitter frequently, please remove the battery to avoid battery leakage.
5. Do not drop the transmitter from high or get it severely damaged, otherwise it will shorten the service lift of the transmitter.
There are two remote control modes of this product, mode 1 and mode 2. Mode 1 is the default setting.

13
Specification
Drone
Maximum ascending speed: 3m/s
Maximum descending speed: 2m/s
Maximum horizontal flight speed: 5m/s
Flight time: Max 18 minutes
Working environment temperature: 0 ~ 40°C
Working frequency: 2.402 ~ 2.483GHz
Hovering precision (vertical): ±0.5m (when GPS works normally)
Hovering precision (horizontal): ±1.5m (when GPS works normally)
Camera
Photo shooting mode: Single photo
Lens rotation range: +0° ~ 90°
Image format: JPEG
Video format: MP4(AVC/H.264)
Micro SD card: 4-128GB with transmission speed of class10 and above.(not included)
Working environment temperature: 0 ~ 40°C
Remote Control
Working frequency: 2.402 ~ 2.483GHz
Maximum effective distance of signal: Max 300m
Working environment temperature: 0 ~ 40°C
Battery: AAA batteries *3 (not included)
Battery
Capacity: 1000mAh 7.4wh
Voltage: 7.4V
Battery type: Li Po 2S
Working environment temperature: 0 ~ 40°C
Charging Cable
Rated input: DC 5V/1A~2A
Rated output: DC 7.4V/800mA
Rated power: 8.88wh
Other manuals for Dreamer Mini
1
Table of contents
Other Potensic Drone manuals

Potensic
Potensic D58 User manual

Potensic
Potensic P7 User manual

Potensic
Potensic A20 User manual

Potensic
Potensic U47 User manual

Potensic
Potensic T25 User manual

Potensic
Potensic ATOM SE User manual

Potensic
Potensic ATOM SE User manual

Potensic
Potensic D60 User manual

Potensic
Potensic ATOM SE User manual

Potensic
Potensic Dreamer 1 User manual
Popular Drone manuals by other brands

Chasing
Chasing GLADIUS mini quick start guide

SRP aero
SRP aero Lynx VTOL user manual

SPL-Technik
SPL-Technik SPL 310 user manual

Bird-X
Bird-X Prohawk instruction manual

Zero Zero Infinity Technology
Zero Zero Infinity Technology Hover Camera Passport user manual

Autel Robotics
Autel Robotics EVO Lite Series quick start guide