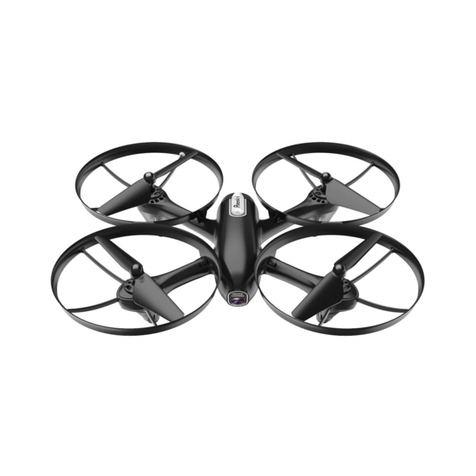
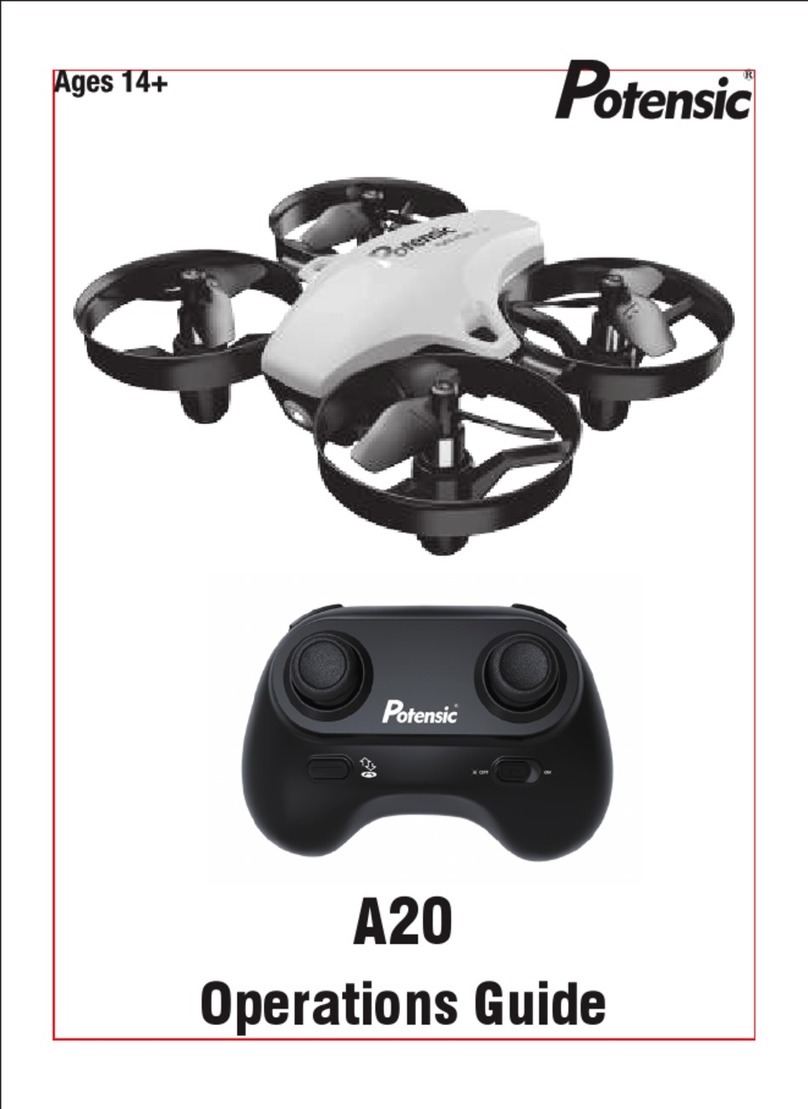
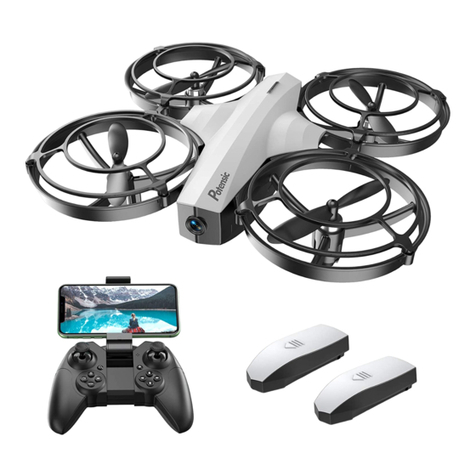
Potensic F186 DH User manual

02
5.8
14
User Manual
Contents
Important Statement·······················03
Safety Precautions···················· ·· ·0 3
Safe Notice on the Li-Po Battery··············04
Charging Method of Li-Po Battery·············0 5
Flyer W a r n i n g s ···················· ·· · · ·05
Definition of the Flyer and the Controller········06
Flying Operation··························09
Function of the Flyer···················· · ··1 3
Installation Blades···························15
Guidance on the Drone Problem··············16
Contact E-Mail:support@ipotensic.com

Important Statement
Thank you for purchasing the item with Potensic. This is a toy drone, not a professional
drone, but also need skills to control/play it.
(1)This drone is suitable for those experienced RC drone user aged 14 years or more.
(2)Please read the user manual carefully before flying.This product is a complicated
equipmentintegrated with professional knowledge of mechanic, electronic, air
mechanics,etc., so it should be installed and adjusted correctly to aviod accidents.
(3)The user must always operate in a safe manner. Potensic undertake no liability for
human injury or property damage caused by improper operation as we could not control
the procedure of installation, usage and operation of this drone.
(4)Potensic undertakes no liability for those accidents caused by improper operation,
usage and control fo the drone after sale of the product.
(5)We provide technology support and after-sale service. If you have any questions
about usage, operation, repairment etc., please contact :support@ipotensic.com.
03 04
Safety Precautions
This drone is suitable for those experienced RC drone user aged 14 years or more.
This product includes small parts, please keep it away from kids under 3.
(1)Flying field
The flying field must be legally approved by local government. Areas around airport
of radius of 5000m are not allowed for flying all kinds of remote controlled quadcopters.
Flying fields must be spacious enough and we suggest at least 8m(length)*8m(width)
*5m(height).
(2)Correct Usage
For safety, please use the Potensic parts to replace the damaged. Improper assembly,
broken main frame, defective electronic equipment or unsilled operation all may cause
unpredictable accidents such as drone damage or human injury.Starters are
recommended to learn from others who are experienced in operating a drone.Please
pay special attention to safety operation and have a good knowledge of accident
responsibility that the user may cause.
(3)Keep away from obstacles and crowds
The speed and status of a flying RC drone is uncertain and it may casue potential
danger. For security, we strongly suggest that the user must keep away from crowds,
buildings, power lines etc. Forbid flying the drone in rainy,storm, thunder and lighting
weather for the safety of user, people around and property.es.
(4)Do not look straight into the highlighting nevigation LED lights , which may cause
discomfort to the eyes.
(5)Keep away form humid environment
The drone inside is consisted of precise electronic components. Humidity or water
vapor may damage electornic components and cause accident.
(6)Safe operation
Please operate the RC drone in accordance with your physical status and flying skill.
Fatigue,listlessness and imporper operation may increase the rate of accident.
(7)Keep away from the rotating parts
Please control and operate the drone within your sight.Keep your face, body and
other spectators away from rotating parts, otherwise, it may casue serious injury
and damage.
(8)Keep away from heat
The drone is made of metal, fiber, plastic and electronic components. Keep away from
heat and sunshine to avoid distortion and damage.
(9)Controller range
The best control distance is 30 meters line of sight and altitude. Do not fly the drone
in area with tall buildings,power line etc. around that may influence the drone signal
to avoid any unexpected accident due to out of signal and control.
(10)Only Potensic battery charger can fit this drone. Please diconnect the charger with
the drone before cleaning. Check the charger wire, plug, fuselage and other components
on a regular basis to make sure they are in good condition. Please do not operate the
drone if there's any parts damaged.
Safe Notice on the Li-Po Battery
*Do not put the battery on high temperature place, such as fire or heating device to
avoid damage or explode.
* Do not use the battery to crash or hit hard surface.
* Do not put the battery into the water. Keep it in dry place.
* Do not detach the battery.
* Do not leave the battery without supervision when charging.
* Check the power supply connection before charging to make sure it works.
05 06
Drone Battery
Discarded lithium batteries can not be thrown in the trash,
please contact the battery recycling center.
Disposal and Recycle of Lithium Battery
Charging by
USB Adapter
Charging by USB
Ports of Computer
Charging by
Car charger
Name of Parts
Blade
colorshell
Protect
cover
Motor
Transmitter
17
Charging Method of Li-Po Battery
Flyer warnings
It is recommended to select the output 5V2A current adapter, which will be faster for charging.
The maximum current can not exceed 5V, otherwise the battery could be damaged.
(1)Confirm that the battery is fully charged.
(2)Confirm that the left throttle is in the middle position before power on.
(3)Before flight, please turn on the controller, first and then power on the drone. While
after flight, power off the drone first and then turn off the controller. Incorrect steps may
result in the drone out of control.
(4)Make sure the drone parts are connected strickly and securely. The continuous
vibration during flight may loosen the connection between the drone parts which may
result in hard control.
(5)Incorrect operation may result in crashing and make the drone parts damaged/
fa ul ty. We su gg es t t ha t t he u se r s ho ul d p ur ch as e t he dr on e pa rt s t o r ep la ce
immediately for sustainable flying. please feel free to contact us at [email protected] .
We will be standing by all the time for you!
Definition of the Flyer and the Controller
* Use Potensic original charger only.
* Check the charger wire, plug, fuselage and other components on a regular basis to
make sure they are in good condition. If any of those parts damaged, please do not
use them until they are repaired.
*If not using the drone for over a week, please make sure that the power of the battery
remains above 50% to keep its performance and utility.
1. Plug the USB charging cable to your computer USB interface, the light will indicate red.
2. Then connect it with the battery, the red light will off which indicates that the battery
is being charged.
3. If the red light comes on again, then the battery is fully charged. Charging time is
about 50 minutes.

07 08
1. Antenna Transmit Signal to the drone
2.Side Lights On/Off Turn on or turn off the side lights of the drone
3.Flip Make the drone 360 degree roll over
4.Power On/Off Push up to turn on the transmitter, down to turn off.
5.Power On/Off Indicator Light Indicates the states of the transmitter and low
voltage alarm
6.Throttle Up/Down Push the throttle Stick Up or Down, left or right and
the drone flies to up or down, rotate to left or right
synchronously. Transmitter Battery Installation
Open the battery cover on the back of transmitter and put 4 alkaline batteries
(excluding) into the box in accordance with electrode instructions.Pictures as below.
Battery cover
AA alkaline batteries
Notice:
1.Make sure the electrodes are correct.
2.do not mix using new and old batteries.
3.do not mix using different kinds of batteries.
4.Non-rechargeable batteries can not be charged
FPV Monitor Installation
Turn the antenna clockwise into the assembly of the monitor(Figure2),then insert the
monitor into the slot on the transmitte(Figure 3),open the sunshade.Power on the
transmitter, drone and the monitor, the monitor will automatically receive image
transmit from the drone.After successfully pair the drone with the transmitter, you can
take pictures and viedos with the transmitter. All pictures and videos taken will be
saved in the SD card in the camera under the aircraft. After aerial photography, you
can remove the SD card,and use SD card reader(included) to read aerial data in your
computer.
7.Left/Right/Forward/
Back Flying Stick
Push the Left/Right/Forward/Back Flying Stick up
or down, left or right, the drone flies forward or
backwards, left or right synchronously.
8.Move Head Left/Right
Steering Trim
Adjust the trim to right if the drone head rotates to
left when taking off, and vice versa.
9.Throttle Trim Adjust the flying speed of the drone.
10.Side Trim In Hover Adjust the trim to right if the fuselage drifts to left
when taking off, and vice versa.
11.Forwards/Backwards Trim Adjust the Trim to backwards if the drone fuselage
drifts to forward when taking off, and vice versa.
12.Picture Press the button to take pictures, they will be
saved in the SD card installed in the camera
13.Video
Press the button to begin recording, press it again
to end recording.The videos will be saved in the
SD card and it will be saved every 3 minutes.
14.Start/Landing
Press the button to take off the drone after binding.
Press the button during flight to slowly landing the
drone.
15. Headless Mode
Pre ss the b utton a nd the t rans mitte r w ill
continuously issue "beep beep beep" sound,
press the button again and the drone will exit
headless mode.
16.Speed Adjustment
Press the button and the transmitter issues a
"beep" sound, the percentage of speed output
on the LED screen will flash,turn it around left
or right to adjust the percentage. Press the
button again and output speed you choose will
take effect.
17.LED Screen Display the power of the transmitter and other
adjustment parameters.
Figure 1
Figure 2 Figure 3
Replace/Install the Drone Battery
1.Open the bottom battery cover of the drone
2.Take out the battery carefully, avoid using too much force,it may damage the power
cable of the drone.
3.Pinch the buckle on the battery wire connection,then disconnect the battery with
the cable of the drone.

Charge Your Monitor
Connect our original USB charging cable with any USB port, the red USB indicator
light keeps bright. Then connect the USB cable with the monitor, the red light turns
off, which indicates that the monitor is charging.About 30 minutes later, the light turns
red again and keeps bright when fully charged.The total using time upon a fully charged
monitor is about 25 minutes.* Be sure to power off the monitor when charging, or it
would be damaged.(Figure 4)
Specifications
1. Video Resolution: 1280*720/ 30FPS
2.Photo Pixels: 1600*1200
3.Camera light-sensitive chips: 1/4 inch HD Color CMOS
4.Lens Specifications: 4P visible angle 68 degree
5.Video format: PAL NTSC
6.Image area: 3888um * 2430um
7.Video output: 1.0Vp-p / 75Ω
8.Signal to noise ratio: 38db
9.5.8G Receiving sensitivity: -94dbm
10.Camera module working voltage: DC3.0-4.2V
11.Camera module power consumption: 440MA ± 10% (DC3.7V)
12.Monitor working voltage: DC3.3-5 v
13.Monitor power consumption: 620 ma, + / - 10% (DC3.7 V)
14.Working temperature: - 5 ℃ to 55 ℃ RH95 % of Max
15.Storage temperature: -40℃ -85 ℃ RH95% Max
16.Transmission power: 20 mw
Additional Instruction before Flying
1.The camera lens is front(head).Players should keep away from the head of the drone.
2.After frequency pairing,press the Start/Landing button and check the rotating blades.
The left front/right rear blades(blades A) rotates towards clockwise direction while
the right front/left left rear blades(blades B)rotates towards counterclockwise direction.
3.Slowly push the left throttle stick up, the drone flies upwards, then push the left stick
slowly down to end, the drone flies downwards and landing.
4. Adjust relative transmitter Trim button to adjust the rudder if the drone tilts to one
side when flying.
Calibration Instruction
Please follow the below steps to calibrate the drone if the drone wouldn't hover after
taking off, and can not be adjusted by trim button and cause difficult operation.
1.Turn off the drone switch and then turn off the transmitter switch.
2.Turn on the transmitter switch, then power on the drone switch and put it on the
horizontal ground, after successful frequency piaring, press the fip button (Figure 9),
you will hear "beep,beep,beep" sound from the transmitter. Push the left stick and
right stick to left rear positon about 45 degrees at the same time( Figure 10),the
percentage displayed on the transmitter LCD screen turns to 0.0%(Figure 11).
CHA
OFF ON
09 10
Flying Operation
Pairyourdronewiththetransmitter
1.Turn on the transmitter(Figure 5),then turn on the Drone,the side lights of the drone
flash slowly, move the left throttle forward and backword(Figure 6/7),the sides lights
of the drone stop flashing and stay bright, at this moment, the drone is successfully
connected to the transmitter.
2.Put the drone on the flat ground, press the swithover button on the controller(Figure 8),
the blades begin rotate and you can operate your drone with the transmitter.
Important Notice: Please make sure the gyro of the receiving board is placed on the
horizontal position after powering on the drone, so that the drone can be controlled.
Figure 4
Figure 5 Figure 6 Figure 7 Figure 8
Figure 9 Figure 10 Figure 11

3.After 8 seconds later, the side lights stop flashing and stay solid, which indicates
that the calibration is done and the drone is ready to fly.
Flying Control
1.Left and Right flying
Push Left/Right/Forward/Back Flying Stick(Right stick) left or right and the drone
flies to left or right synchronously.(Figure 12)
2.Upwards and Downwards Flying
Push the left throttle Up or Down and the drone flies to up or down synchronously.
(Figure 13)
3.Rotate to Left or Right
Push the left throttle Stick left or right and the drone rotates to left or right synchronously.
(Figure 14)
4.Forwards/Backwards Flying
Push the Left/Right/Forward/Back Flying Stick(Right stick)Up or Down and the drone
flies to forwards and backwards synchronously.(Figure 15)
5.Adjust Move Head Left/Right Steering Trim
Ajust the Trim to right if the drone head rotates to left when taking off, and vice versa.
(Figure 16)
6.Adjust Forward/Backwards Trim
Adjust the Trim to backwards if the drone fuselage drifts to forward when taking off,
and vice versa.(Figure 17)
Figure 12
Figure 13
Figure 15
Figure 16
forwards backwards
Rotate to Left Rotates to Right
Drift to Forward Drift to Backwards
11 12
Figure 14 Figure 17

drift to leftdrift to right
7.Adjust Side Trim In Hover
Adjust the trim to right if the fuselage drifts to left when taking off, and vice versa.
(Figure 18)
Function of the Flyer
1.Take Off: Turn on the transmitter and then power on the drone, push the left throttle
to the utmostcontrol distance and then to the low end, release the throttle, the side
lights stop flash and stay solid, which indicates successful frequency pairing. Press
the start/landing button and the drone begin to fly.
2.Landing: Push the left throttle down to the end while flying, the drone will slowly flies
downwards to the ground until the motors stop rotating.
3.One key to landing: Press the Start/Landing button while flying, the drone will fly
down to the ground until the motors stop rotating.(Forbid to move the left throttle
when using the the one key to landing function or it will not take effect.
4.Immediate landing: Push the left throttle and right stick to internal angle of 45
degree at the same time when immediate landing is need in urgent condition
(Figure 19), the motors will stop rotating and the drone will fall to the ground directly.
(Please keep away from clowds while using the function, the drone may generate
some impact in the process of immediate landing.)
Variable Gain
Before flight,turn on the transmitter and press the Speed Adjustment button, the
transmitter will issue "beep" sound, the percentage displayed on the LCD will flash
(Figure 20), turn around it to left or right to adjust the speed(Figure 21),cho ose a
proper speed and press the button again, the percentage on the LED screen will stay
solid and the speed is set.Percentage below 50% will reduce the sensitivity of the
drone, starters are advised to set the speed percentage between 30% and 50% to
practice it. Percentage above 50% will increase the drone's sensitivity and its operation
difficulty,recommand not try speed percentage above 50% until you are completely
get the hang of it.
+
-
Flip Mode
Press flip mode button of the transmitter(Figure 22) when flying and the transmitter
will issue sound of "beep beep...”which indicates the drone enters flip mode. Push
the Left/Right/Forward/Back Flying Stick(Right stick) to left/right/forward/back(Figure 23),
the drone will do 360 degree flipping to corresponding direction synchronously.
13 14
Figure 18
Figure 19
Figure 20 Figure 21
Figure 22 Figure 23

Headless Mode
By using headless mode, players are not needed to tell the front or rear of the drone
when operate it. Suitable for situations that the drone in sunshine or the drone over
a long distance and can not recognize the drone head and tail.The drone is set as
"head mode" by default.
Press the Headless button to enter the headless mode. While in Headless mode, no
matter which way the quad copter is facing, the right lever will move the quad copter
in the same direction the lever is being pushed - left for left, right for right, forward for
forward, or backwards for backwards - "Headless" mode. The controller will continue
to beep while in Headless mode.Press the Headless button again if you want to exit
the headless mode.
InstallationBlades
1.Remove the screws by counterclockwise rotate the screwdriver.
2.Upwards pull out the blades.
3.Install the blades with the same rotate direction,then tighten the screws by clockwise
rotate the screwdriver.
15 16 181/186DH-EN
Figure 24 Figure 25 Figure 26
C1
D1
F181Blades Installation
F186 Blades Installation
1. Put the blade changer to the base of the blades.
2.Push up the blades.
3.Put the new blades into its correct position.
.Make sure the blade be accordant with its rotate direction
F181 F186
This manual suits for next models
1
Table of contents
Other Potensic Drone manuals

Potensic
Potensic A20 User manual

Potensic
Potensic ATOM SE User manual

Potensic
Potensic D88 User manual

Potensic
Potensic D58 User manual

Potensic
Potensic T25 User manual

Potensic
Potensic D60 User manual

Potensic
Potensic Dreamer Pro User manual

Potensic
Potensic ATOM SE User manual

Potensic
Potensic ATOM SE User manual

Potensic
Potensic P7 User manual