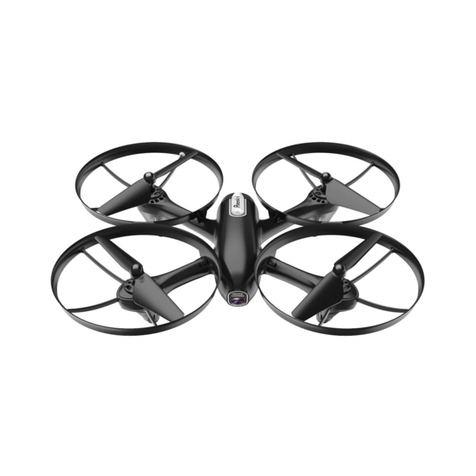
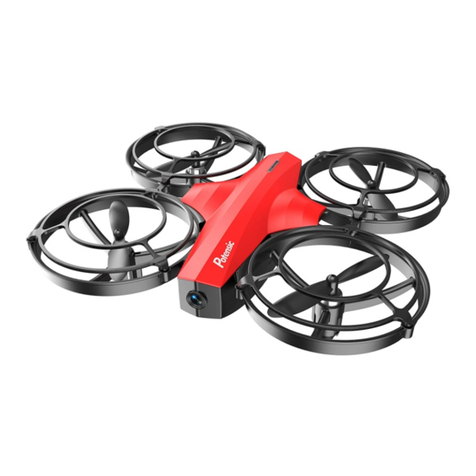
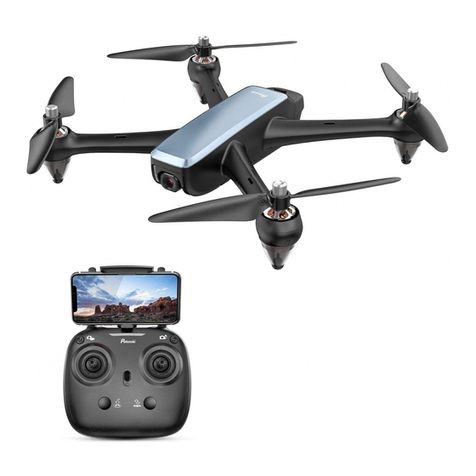
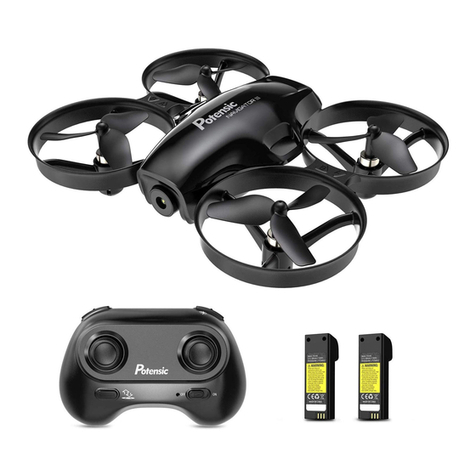
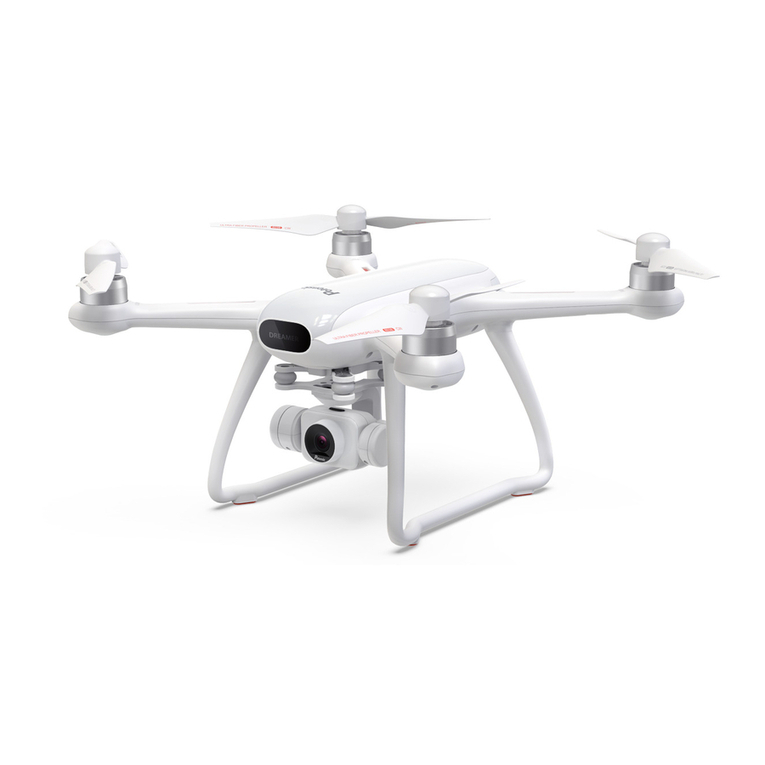
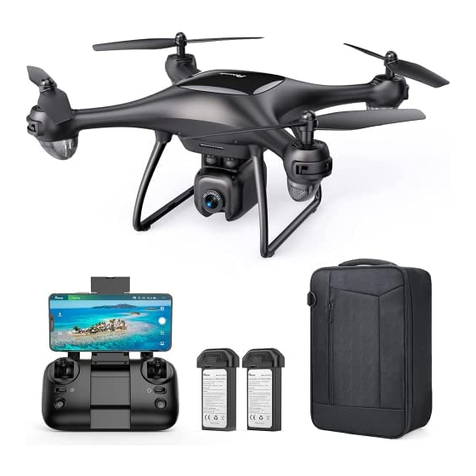
Potensic P7 User manual

DANGER
Only suitable
for age 14+
Email: [email protected]
Web: www.potensic.com
FB: www.facebook.com/Potensic
Email: [email protected]
Multi-Language User Manual
P7

DE
15 - 28
EN
01 - 14
FR
29 - 42
ES
43 - 56
IT
57 - 70
JP
71 - 84
Catalog

- 01 -
EN
03 Aircraft Overview
04 About Aircraft
07 Battery
07 Propellers Installation
08 Remote Control
02 Package List
02 Download “Potensic Toy”
10 Potensic Toy APP
11 Specification
FAQ
Disclaimer and Notice
Flight Precautions
Flight Environment Requirement
Warning and Tips
Aircraft Diagram
Remote Control Diagram
Aircraft Overview
Aircraft Indicator Status
Intelligent Flight
3D Flip
Battle Mode
Defense Mode
Connecting with Smart Phone
Operation Interface
Phone Control
Contents
12 Appendix

- 02 -
Package List
Download Potensic Toy
Drone x 1 Smart battery x 2 Remote control x 1
Extra blades x 2 pair
(CCW & CW)
Drone charger x 1
Propellers removal tool x 1User manual x 1
For smart phone with Android 5.0+ or windows system:
Search and download "Potensic Toy" from Google Play, or scan the QR code below
to download.
For smart phone with iOS 9.0+:
Search and download "Potensic Toy" from App Store, or scan the QR code below to
download.
AAA battery x3
Screw driver x 1

- 03 -
Aircraft Overview
Aircraft Diagram
Thank you for purchasing Potensic products. This chapter mainly introduces the
features of Wisp and the names of various parts of aircraft and remote control. In
order to make it easier for you to use the aircraft, please read this instructions
carefully before you operate the aircraft. Meanwhile, please keep this instruction
properly as a reference for future use.
Note: It is suitable for indoor and outdoor places with force-3 wind(Gentle Breeze)
or below.
Battery
Propeller
Motor
Camera
Infrared Transmitter
Infrared Receiver
Propellers Guard
Power Button
(Long press 1S to turn on/off)

- 04 -
Remote Control Diagram
Fast 360° Rotate Battle Mode
Control Stick
One-key
Take off/Land
Power Button Level Calibration
Front Trimming
Right Trimming
Back Trimming
Left Trimming
Phone Clip
Speed Switch Headless Mode
Emergency Stop
(Hold and press 2s)
Battery Slot
Take a Picture
Take a Video
3D Flip
(Press down the middle
button of the left stick)

- 05 -
About Aircraft
Aircraft Overview
Wisp is mainly composed of flight control, communication system, infrared transceiver
system, power system, and flight battery. The flight time can be up to 10 minutes. This
chapter will introduce the basic functions of the aircraft.
Attitude Hold: The aircraft only provides attitude stabilization and fixed altitude flight.
Aircraft Indicator Status
LED Lights
Normal flight
Headless mode
Geomagnetic calibration
Aircraft low power
No connection Light red stably
Intelligent Flight
Headless Mode
After switching to the headless mode, no matter where the front of your drone is pointing,
controlling the right stick of the remote control, the drone fly forward from your current
perspective. In other words, headless mode enables the aircraft to fly according to the
current orientation of the operator instead of its own direction.
Hand Gesture
Photo Taking:
Hold a “YEAH” gesture 3s and leave about 1.5m from the camera to take a picture.
Video Recording:
Hold a “PLAM” gesture 3s and leave about 1.5m from the camera to start recording
a video.
Land Protection
The aircraft has two landing-protection functions:
Low power landing protection:
when the aircraft has 20% power, the low power alarm will be triggered, and rear light will
flash red slowly. When the aircraft has 10% power, it will trigger low power landing and
drone will fly on the ground at a constant speed and the propellers stop turning.
Lost-of-control landing protection:
when the aircraft fly exceeds the acceptance distance of remote control signal (50m without
interference), the aircraft will land on the ground at a constant speed and the motors stop.
Light green stably
The green indicator light is on for 2
seconds and off for 1 second
Light green and red alternately
Light flashes red slowly

Press the " " Fast 360° rotating button, and the aircraft will rotate rapidly to avoid
enemy aircraft’s attacking.
Battle Mode
Press the " " button on the remote control, and the remote control sounds like a
gun shooting. The infrared transmitter of the aircraft emits infrared waves (emission
range: ±30° in front of the drone nose), and the aircraft can fight in the air. Two or
more aircraft can fight against each other.
- 06 -
1. When hitting the aircraft for the first time: the remote controller of the being hit
party emit “hit” sound and the aircraft rotates to the left.
2. For the second time: The remote controller of the being hit party emits a "hit"
sound and the aircraft rotates to the right.
3. For the third time: The remote controller of the being hit party emits a "hit" sound
and the aircraft rotates three times to the left.
4. For the fourth time: The remote controller of the being hit party emits a "hit"
sound, the aircraft rotates once to the right and then rotates to the left, and then
land slowly.
Defense Mode
Press down the middle button of the left stick, then one beep sound will emit from
the remote control. Operate the right stick to control the aircraft’s flipping direction.
3D Flip
360° 360° 360° 360°
Right flipping Left flipping Forward flipping Backward flipping

B
B
A
- 07 -
Battery
Propellers Installation
When the aircraft's power is too low, it should land in time and the battery be charged.
As shown in the Picture, connect the adapter correctly to charge the battery. When
charging, the indicator lights red, and after full charging, the indicator lights green.
The charging time is about 2 hours.
Note
1. Please use the original charger to charge the battery.
2. Do not charge on a carpet to avoid fire.
3. Recharge every 3 months to keep battery active.
4. Do not put a charged battery under high temperature, such as open fire or electric heating device,
otherwise it will be damaged or exploded.
5. Do not strike or knock surface of hard objects with a battery.
6. Do not disassemble a battery.
7. Do not leave the battery alone during charging.
1. Hold the arm of the machine with your left hand, and pull out the 3 fixed points of the blade
guard in turn with your right hand (Figure 1)
2. Use the tool to disassemble the propellers (Figure 2)
Figure1Figure2
Figure 3
Camera
3. There are two types of blades, choose the corresponding A blade or B blade (Figure 3)
4. Align the corresponding blade with the motor shaft and press down firmly, the blade
replacement is completed.
B
B
A
A

- 08 -
Remote Control
Wisp adopts a 2.4Ghz remote controller with complete function buttons, which can
complete various operations and settings between the aircraft and the camera within
the maximum communication distance of 50 meters. It can also display high-defini-
tion images on mobile devices in real time through Potensic-Toy app (smoothly
image transmission within 30m with no interference environment). The remote
control is powered by 3 * AAA battery that included in the package.
Installation the Remote Control Batteries
Open the back cover of the battery compartment of the remote control with a
screwdriver, and correctly install the 3 * AAA batteries.
Note:
1. Please confirm the position of positive and negative poles during installation, and
the power supply terminal cannot be short circuited. Different types of batteries
and old and new batteries should not be mixed.
2. To prolong the battery life, the exhausted battery should be removed from the
product if the product is not used for a long time.
3. If the battery has leakage, please do not use it again. Please follow the use the
national or regional waste cleaning laws and regulations for recycling, do not
arbitrarily discard, so as to avoid environmental pollution.
Connecting with the Remote Control
Step 1: Press and hold the remote control power on button for 1 second to start it.
Then, the remote control will make two "beep" sounds.
Step 2: Press and hold the aircraft power button for 1 second to start the engine,
and the red light of the aircraft is always on.(Step 1 and step 2 can be reversed).
Step 3: When the left stick of the remote control is pushed up to the top, the remote
control will give a "beep" sound(as shown in Picture 1). When the left stick of the
remote control is pulled down to the bottom, the buzzer will give a long "beep" (as
shown in Picture 2). After the red light of the aircraft turns green after releasing the
stick, the frequency linking is successful.
Picture 1 Picture 2
One button take-off: Short press the "take off and landing" button on the remote
control, hear a short "beep"; or click the "on/off" icon on the App to start the
virtual rocker, and click the icon " ";
Then, the aircraft will take off slowly and hover at an altitude of about 1.2 meters.
Manual landing: Pull down the throttle lever, push the throttle lever to the lowest
position and hold it, and the motor will stop after 3 seconds.
One button landing: Short press the "take off and landing" button on the remote
control, hear a short "beep"; or click the "on/off" icon on the App to start the
virtual rocker and click the icon " "; (The one-key takeoff/landing on the APP can
only be used when the mobile phone is directly connected to the aircraft.)
Then, the aircraft will land on the ground at a constant speed and the motors stop
rotating.
- 09 -
Level Calibration
After frequency linking, place the aircraft on the horizontal ground and press the
level calibration key of the remote control for calibration. Then, the drone tail light
"flashes alternately red and green" and turns green after calibration.
Taking Off and Landing
Manual take-off: Turn the left and right stick to the inside downwards at the same
time (Picture 1), and push the throttle stick(left stick) upward.
Picture 1

- 10 -
Potensic Toy APP
Connecting with Smart Phone
Wisp can also directly control the aircraft through the mobile phone. Please note
that the remote control distance is 50m(under no interference environment).
Operation Interface
1. Turn on the drone, then enter the mobile phone “setting-WiFi” and connect
"Potensic P7_xxxxxx", no passward is needed.
2. Start the mobile phone APP "Potensic Toy" to enter the operation interface.
1
38
4 5 6
11
79
10
13
15
12
1716
14
2
1. Left virtual stick
2. Right virtual stick
3. Virtual stick switch
4. Speed adjust(30%,60%,100%)
5. Headless mode
6. Gravity sensor
7. One button calibration
8. Path flight
9. Battery power display
10. Main interface
11. One key take off
12. One key landing
13. Take a video
14. Take a picture
15. Emergency stop
16. Forward and backward fine tuning
17. Left and right side flight fine tuning
Phone Control
The aircraft can be directly controlled by a mobile phone, please note that the flight
control distance is 30m (in a non-interference environment)
Steps:
1. Power on the aircraft
2. Open the APP after connecting to WiFi
3. Turn on the virtual joystick and press the "one-key take off" icon to control the flight.

- 11 -
Specification
Drone
Take off weight: 68g
Maximum rising speed: 2m/s
Maximum descent speed: 1m/s
Maximum horizontal flight speed: 5m/s
Flight time: about 10 minutes
Working environment temperature: 0°C ~ 40°C
Positioning system: optical flow positioning
Operating frequency: 2.402 - 2.483GHz
Camera
Lens: FOV 78°
Maximum resolution: 1280x720
Photo mode: single shot
Rotation range of lens: 0 - 15°
Video resolution: 1280x720
Image format: JPEG
Video format: MP4 (AVC/H.264)
Ambient temperature: 0°C ~ 40°C
Remote Control
Operating frequency: 2.402 - 2.483Ghz
Maximum effective distance of signal: 50m (under no-interference environment)
Ambient temperature: 0°C ~ 40°C
Working voltage/current: 4.5V/50mA
Drone Battery
Capacity: 700mAh
Voltage: 3.7V
Battery type: Li Po 1s
Energy: 2.59Wh
Overall weight of battery: 23g
Working environment temperature: 0°C ~ 40°C
Drone Charger
Rated input: 5V 0.5 - 2A
Rated output: 3.7V 600mA
Rated power: 2.22W

- 12 -
FAQ
Problems Causes Solutions
Turn on the aircraft and the
remote control, the tail light will
keep on red. But there is no
reaction during operation.
The frequency of the remote
control is not matched with the
aircraft successfully.
Do the frequency matching
again.
After inserting the battery of the
aircraft, there is no reaction after
starting up.
1. Check whether the remote
control and aircraft are
powered on.
2. Check the battery power.
3. Poor contact between positive
and negative electrodes of
battery.
1. Make sure the batteries of
remote control and aircraft are
installed in place.
2. Use a fully charged flight
battery.
3. Replace the battery to ensure
good contact between the
battery and the electrode part.
When the throttle stick is pushed
up, the motor does not rotate,
and the tail light of the aircraft
flashes slowly.
Drone power is low. Charge the battery or replace a
new battery.
Drone propellers can rotate but
the drone can not fly up.
1. Propeller A and B is installed
reversed.
2. Drone power is low.
1. Install the propellers according
to the right marks.
2. Charge the battery or replace
a new battery.
The aircraft vibrated violently
after takeoff.
1. Blade deformation.
2. The screw fixing the motor is
loose.
1. Replace blades.
2. Tighten the screws.
The direction has been adjusted
and fine tuned, but the fuselage
will still rotate, and the left and
right rotation speed of the aircraft
is different.
1. Blade deformation.
2. Poor motor.
1. Replace blades.
2. Contact after sales.
The aircraft will move forward
or backward.
The ground is uneven when the
plane did the level calibration.
Re-calibrate the aircraft on level
ground.
The aircraft couldn't fly after it fell. 1. The blade is loose or deformed.
2. The battery is loose.
1. Replace blades.
2. Reassemble the battery and
calibrate the aircraft.
1
2
3
4
5
6
7
8
Appendix

- 13 -
Disclaimer and Notice
The product is not a toy, but a precise equipment integrating mechanical, electronic, aerodynamics,
high-frequency emission and other professional knowledge. It needs correct assembly and
debugging to avoid accidents. The user must use a safe way to operate the drone. Improper
operation may cause serious personal injury or property damage.
This product is suitable for people who have the experience of operating RC aircraft and age over 14
years old.
Flight Precautions
1. Check whether the remote control, flight battery and mobile equipment are fully charged before
flight.
2. This product is suitable for the remote control aircraft flying in indoor and outdoor environment
(below force-3 wind(Gentle breeze)). Please select the indoor and outdoor sites without obstacles
and keep a proper distance from the crowd or pets.
3. When flying indoors for novice, please install propeller guards.
4. Check whether the fuselage is complete and whether the propeller is deformed.
5. Check whether the App works normally.
6. Out of control protection: the motor will stop automatically after 0.5 seconds when the aircraft
horizontal tilt angle is greater than 80 degrees.
Flight Environment Requirement
1. Fly away from people and avoid bad weather
The remote controlled drone may be uncertain in flight speed during fly, which poses potential
danger. It shall be far away from people, high-rise buildings, high-voltage wires, etc. And avoid
flying in the bad weather such as wind and rain, thunder and lightning.
2. Keep away from humid environment
The interior of the drone is composed of many precise electronic components and mechanical
parts. Therefore, it is necessary to protect the drone from humidity or prevent water entering the
drone body, to avoid accidents caused by the failure of mechanical and electronic components.
3. Keep away from heat source
The remote controlled drone is composed of metal, fiber, plastic, electronic components and other
materials. Therefore, it is necessary to keep away from the heat source as far as possible,
prevent sunlight, avoid deformation or even damage due to high temperature.
4. Avoid flying alone
It is difficult to learn control skills of a new drone as the beginner. It is necessary to avoid flying
alone as much as possible, and needs instruction of experienced operators.
5. Safe operation
Please operate the remote controlled drone with best mental status and operational proficiency.
Fatigue, poor mental state or improper operation will increase the probability of accident risks.
6. Keep away from high-speed rotating parts
When the drone rotor is rotating at high speed, keep the operators, surrounding people and
objects away from rotating parts to avoid danger and damage.

- 14 -
Warning and Tips
1. The package and instructions contain important information and should be properly kept.
2. It is your responsibility to ensure that this drone will not cause injury and property loss.
3. Our company and retailers shall not be responsible for any loss, damage and human injury
caused by improper use or operation.
4. The commissioning and installation of the drone shall be carried out in strict accordance with
operation instructions. The drone shall keep a distance of 1-2 meters from users or other people
during fly to avoid the drone from colliding with heads, faces and bodies of people during fly and
landing.
5. Children under 14 years old are not allowed to operate this product. Some parts shall be
assembled by adults. Adults should provide guidance on children when flying. When charging the
battery, keep the kids away from the charging battery.
6. This product contains small parts, please keep it out of reach of children to prevent dangers of
eating or suffocation.
7. It is strictly forbidden to fly on the road or in water-gathered places to avoid accidents.
8. Please don’t disassemble or refit the drone, which may cause drone damage.
9. The aircraft uses intelligent lithium battery, which can be charged on the drone or removed from
the drone and charge separately. Please use micro USB 5V charger, do not use a higher voltage
charger.
10. The battery of charger battery box shall be plugged into the specified power source as marked on
the product.
11. Do not make the battery short-circuit, decompose or put the battery into a fire; do not place the
battery in a high temperature and hot place (such as in a fire or near electric heating devices).
12. Please keep a safe distance from the rotating propellers to avoid dangers of wringing and cutting.
13. Keep the RC drone away from ears.
14. The drone shall be used far away from other electrical equipment and magnetic objects to avoid
signal interference.
15. Keep your drone in line of sight.
16. Don't fly in the crowd.
17. In order to ensure requirements for magnetic environment of the aviation radio station. The use
of model remote control shall be stopped as required within periods and areas of radio control
orders by relevant national departments.
18. Please totally learn about airspace restrictions and requirements.

17 Überblick des Fluggerätes
19 Über das Fluggerät
21 Batterie
21 Propeller installieren
22 Fernbedienung
16 Lieferumfang
16 "Potensic Toy" herunterladen
24 Potensic Toy APP
25 Spezifikation
Häufig gestellte Fragen
Erklärungen und Hinweise
Vorsichtsmaßnahmen beim Flug
Umgebungsbedingungen für den Flug
Warnungen und Tipps
Drohne-Diagramm
Diagramm der Fernbedienung
Überblick des Fluggerätes
Status der Drohne-Anzeige
Intelligenter Flug
3D Roll Over
Kampfmodus
Verteidigungsmodus
Verbindung mit Smartphone
Bedienungsoberfläche
Mobiltelefon-Steuerung
Inhalte
26 Anhang
- 15 -
DE

-16 -
Lieferumfang
Potensic Toy herunterladen
Drohne x 1 Smart Batterien x 2 Fernbedienung x 1
Zusätzliche Propeller x 2 Paare
(CCW & CW) Drohne- Ladekabel x1 Schraubendreher x 1
Bedienungsanleitung x 1
Für Smartphone mit Android 5.0+ oder Windows System:
„Potensic Toy“ im Google Play finden und herunterladen, oder scannen Sie den
folgenden QR-Code, um ihn herunterzuladen.
Für Smartphone mit iOS 9.0+:
„Potensic Toy“ im App Store finden und herunterladen, oder scannen Sie den
folgenden QR-Code, um ihn herunterzuladen.
AAA Batterien x 3 Werkzeug zum Entfernen
der Propellern x 1

- 17 -
Überblick der Drohne
Drohne-Diagramm
TVielen Dank dafür, dass Sie sich für Potensic Produkte entschieden haben. In
diesem Kapitel werden vor allem die Merkmale von Wisp und die Bezeichnungen
verschiedener Bauteile des Fluggerätes und der Fernbedienung beschrieben. Um
die Bedienung des Fluggerätes zu erleichtern, lesen Sie bitte diese Anleitung vor
der ersten Benutzung des Fluggerätes sorgfältig durch. Darüber hinaus bewahren
Sie diese Anleitung zum späteren Nachschlagen sorgfältig auf.
Hinweis: Das Gerät ist geeignet für Innen- und Außeneinsatz mit einer Windstärke
bis 3 (leichte Brise).
Batterie
Propeller
Motor
Kamera
IInfrarot-Sender
Infrarot-Empfänger
Propellerschutz
Power-Button
(Halten Sie den Button für 1
Sekunde gedrückt, um das Gerät
ein- oder auszuschalten)

- 18 -
Diagramm der Fernbedienung
Schnelle 360° Umdrehung Kampfmodus
Steuerknüppel
One-Button
Abflug/Landung
Power-Button
Waagerechte
Kalibrierung
Vorwärts trimmen
Nach rechts trimmen
Rückwärts trimmen
Nach links
trimmen
Phone-Halterung
Geschwind-
igkeitsschalter Kopfloser Modus
Not-Stop (für 2
Sekunden gedrückt
halten)
Batteriefach
Ein Foto
aufnehmen
Ein Video
aufnehmen
3D Roll Over
(Drücken Sie die Taste in den
rechten Joystick)
Table of contents
Languages:
Other Potensic Drone manuals

Potensic
Potensic Dreamer Mini User manual

Potensic
Potensic Dreamer Mini User manual

Potensic
Potensic Dreamer Pro User manual

Potensic
Potensic ATOM SE User manual

Potensic
Potensic D60 User manual

Potensic
Potensic A30 User manual

Potensic
Potensic D58 User manual

Potensic
Potensic ATOM SE User manual

Potensic
Potensic Dreamer 1 User manual

Potensic
Potensic F186 DH User manual
Popular Drone manuals by other brands

Rayline
Rayline funtom 2 instruction manual

HJ Toys
HJ Toys Flanker W606-5 instruction manual

dji
dji PHANTOM 4 PRO quick start guide

Force1 RC
Force1 RC U49W BLUE HERON user manual

WORLD TECH ELITE
WORLD TECH ELITE raptor instruction manual

Hangzhou Qifei Intelligence Technology
Hangzhou Qifei Intelligence Technology A16 2020 manual