Faults
Should a fault occur, e.g. after wear of a part, please
contact your local Ferm dealer.
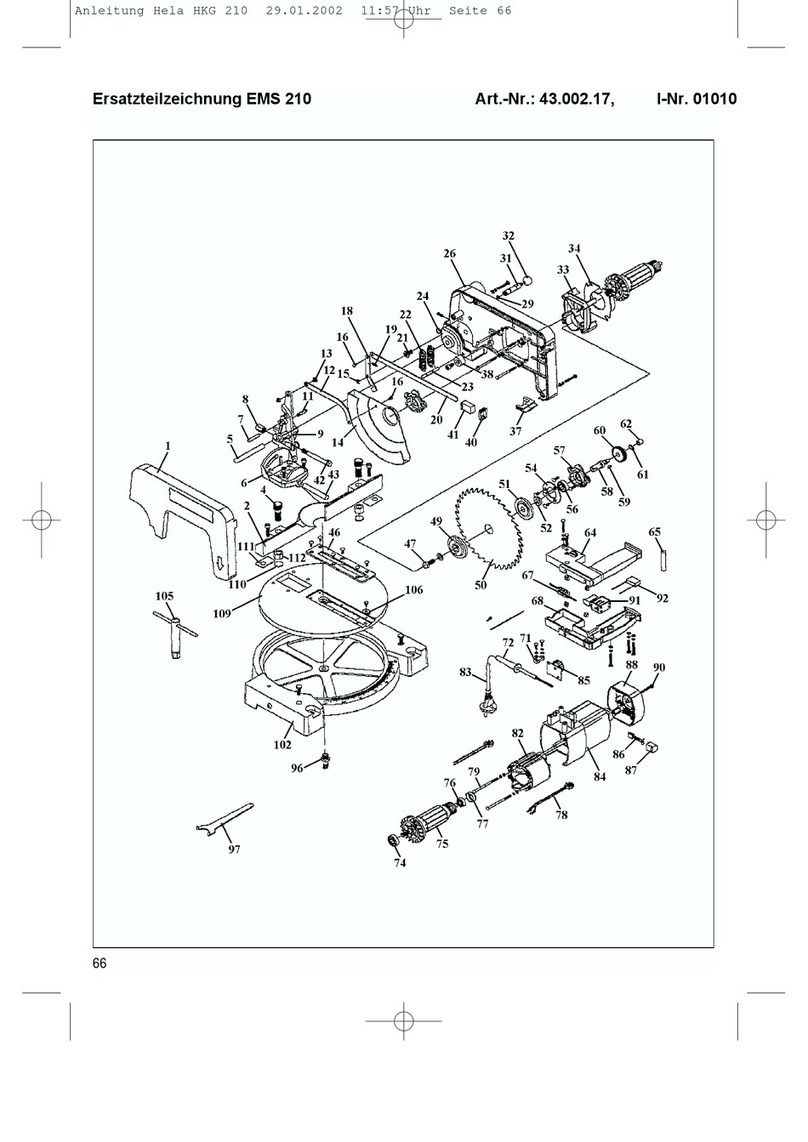
In the back of this manual you find an exploded view
showing the parts that can be ordered.
ENVIRONMENT
In order to prevent the machine from damage during
transport, it is delivered in a sturdy packaging. Most of
the packaging materials can be recycled. Take these
materials to the appropriate recycling locations.
Take your unwanted machines to your local Ferm-
dealer. Here they will be disposed of in an
environmentally safe way.
GUARANTEE
The guarantee conditions can be found on the separately
enclosed guarantee card.
We declare under our sole responsibility that this
product is in conformity with the following standards or
standardized documents
EN 50144-1, EN 50144-2-3, EN 55014-1,
EN 55014-2,EN 61000-3-2, EN 61000-3-3
in accordance with the regulations.
98/37/CEE,
73/23/CEE,
93/68/CEE,
89/336/CEE
from 01-05-2004
Oststrasse 11 - 13
50996 KÖLN BRD
E. Kok
Quality department
CE
ı
DECLARATION OF CONFORMITY (UK)
Powercraft 5
9. Use safety glasses.
Also use face or dust mask when operation is dusty.
10.Connect dust extraction equipment
If devices are provided for the connection of dust
extraction and collection facilities ensure these are
connected and properly used.
11.Do not abuse cord.
Never carry tool by cord or yank it to disconnect it
from electrical socket. Keep cord from heat, oil and
sharp edges.
12.Secure work.
Use clamps or a vice to hold work. It’s safer than
using your hand and it frees both hands to operate
tool.
13.Do not overreach.
Keep proper footing and balance at all times.
14.Maintain tools with care.
Keep tools sharp and clean for better and safer
performance. Follow instructions for lubricating and
changing accessories. Inspect tool cords periodically
and, if damaged, have repaired by authorized service
facility. Inspect extension cords periodically and
replace if damaged. Keep handles dry, clean and free
from oil and grease.
15.Disconnect tools.
When not in use, before servicing and when changing
accessories such as blades, bits and cutters.
16.Remove adjusting keys and wrenches.
Form the habit of checking to see that keys and
adjusting wrenches are removed from tool before
turning it on.
17.Avoid unintentional starting.
Do not carry plugged-in tools with finger on switch.
Be sure switch is off when plugging in.
18.Outdoor use extension cords.
When tool is used outdoors, use only extension
cords intended for use outdoors and so marked.
Always use tool in conjunction with a residual circuit
breaker device.
19.Stay alert.
Watch what you are doing. Use common sense. Do
not operate tool when you are tired.
20.Check damaged parts.
Before further use of the tool, a guard or other part
that is damaged should be carefully checked to
determine that it will operate properly and perform
its intended function. Check for alignment of moving
parts, binding of moving parts, breakage of parts,
mounting, and any other conditions that may affect its
operation. A guard or other part that is damaged
should be properly repaired or replaced by an
authorized service centre unless otherwise indicated
elsewhere in this instructions manual. Have defective
switches replaced by an authorized centre. Do not
use tool if switch does not turn on and off.
21.Warning.
The use of any other accessory or attachment other
than recommended in this operation instructions or
the catalogue may present a risk of personal injury.
22.Have your tool repaired by an expert.
This appliance is manufactured to very high
standards and meets relevant safety regulations.
Repairs should only be done by a suitable qualified
electrical engineer or otherwise.
23.Hear protection must be worn.
USE
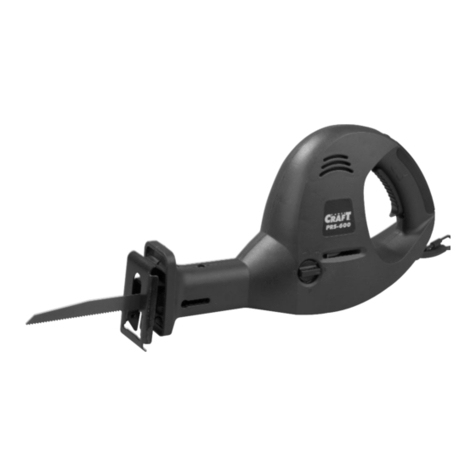
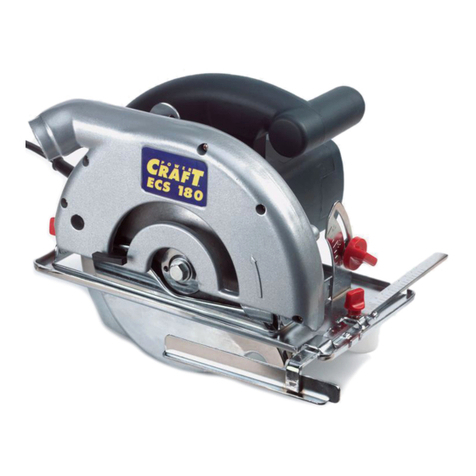
FITTING A SAW BLADE
The machine is equipped with a quick fit system.
•Turn the clamping ring of the saw blade holder as far
to the left as possible and hold it there.
• Place the saw blade in the blade holder.
• Let go of the clamping ring.
•Make sure when changing the saw blade that the
blade holder is free of material debris (such as
splinters of wood or metal).
•Before use, always check that the saw blade is
securely fixed.
Removing the saw blade
•Turn the clamping ring of the saw blade holder as far
to the left as possible and hold it there.
•Remove the saw blade from its holder.
• Let go of the clamping ring.
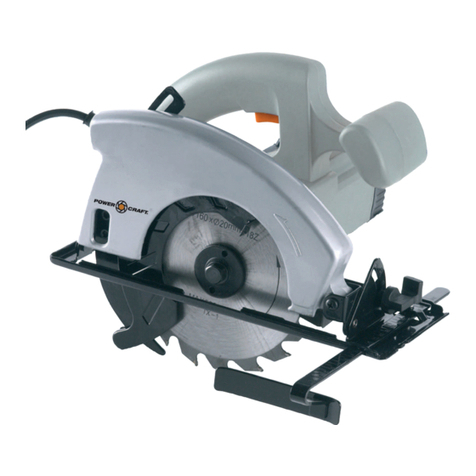
ADJUSTMENT OF THE GUIDE SHOE
Fig. 1
In order to be able to follow the shoe guide (6) easily, and
to make it rest properly on the material to be sawn, you
can adjust the guide shoe. This can be done by releasing
the handle (4) under the machine at the front and then
moving the guide shoe forwards or backwards.
Make sure that the guide shoe handle is returned to the
closed position before you begin to use the machine
again.
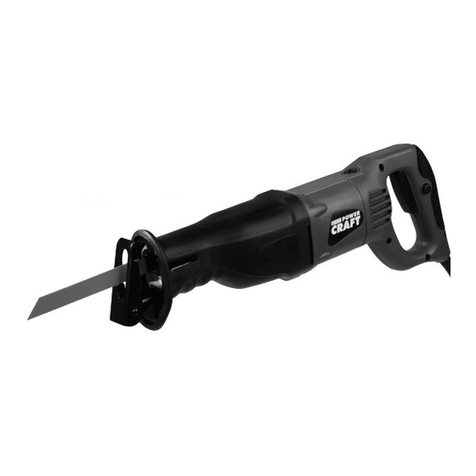
USING THE SAW
Fig. 3
Press the switch (1) to start the motor.
To make the saw run continuously, press switch (1) and
then press the button on the side of the handgrip (3).
To switch off continuous running, press switch (1) and
release it again.
The small blade with fine teeth that is supplied (Fig. 1,
no.8) can be used for sawing non-ferrous metals (max
3mm) such as aluminium or copper.
Never put force on the saw blade when you are sawing.
MAINTENANCE
During maintenance and cleaning always remove
the mains plug from the socket. Never use liquids
when cleaning electrical parts of the saw bench.
Cleaning
Keep the ventilation slots of the machine clean to
prevent overheating of the engine. Regularly clean the
machine housing with a soft cloth, preferably after each
use. Keep the ventilation slots free from dust and dirt. If
the dirt does not come off use a soft cloth moistened
with soapy water. Never use solvents such as petrol,
alcohol, ammonia water, etc. These solvents may
damage the plastic parts.
Lubrication
The machine requires no additional lubrication.
4Powercraft
