manuals.online logo
Brands
  1. Home
  2. •
  3. Brands
  4. •
  5. Prilux
  6. •
  7. Outdoor Light
  8. •
  9. Prilux Anzio LED User manual

Prilux Anzio LED User manual

Anzio LED
[GRÁFICOS: Unidades en mm/ GRAPHICS: Units in mm/GRAPHIQUES: Unités en mm/GRÁFICOS: Unidades em mm]
1/2 octubre 2020
PRECAUCIONES
• Desconecte la corriente antes de manipular el producto.
• Este producto debe ser instalado por personal cualicado, en
caso de duda consulte con un técnico especializado.
• Manténgalo alejado de los niños.
• No sumerja este producto en agua ni lo manipule con las manos
mojadas.
• Para su almacenaje, guarde el producto en un sitio seco y
protegido de golpes y humedad.
• Si la luminaria tiene suras o está dañada sustitúyala por una
nueva.
ACCESORIOS INCLUIDOS:
• Soporte y tornillos de jación.
• 2 Tornillos y 2 tacos.
SUSTITUCIÓN DE LA LÁMPARA:
• Lámpara no reemplazable.
AVISO
ANTES DE COMENZAR LA INSTALACIÓN DE ÉSTE
PRODUCTO, POR FAVOR, LEA ATENTAMENTE LAS
INSTRUCCIONES Y GUÁRDELAS EN UN SITIO SEGURO.
LA INSTALACIÓN DEBE REALIZARLA PERSONAL
CUALIFICADO.
LA INADECUADA MANIPULACIÓN DE LOS COMPONENTES
O DE LA PROPIA LUMINARIA PODRÍA DAÑAR EL CORRECTO
FUNCIONAMIENTO DE ESTE PRODUCTO, QUEDANDO
ANULADA LA GARANTÍA DEL FABRICANTE.
QUEDA ANULADA LA GARANTÍA DEL FABRICANTE: SI LA
INSTALACIÓN NO SE REALIZA SEGÚN LO INDICADO EN EL
REBT 2002.
ES DE OBLIGADO CUMPLIMIENTO LA APLICACIÓN DE
ITC BT09-4 DEL REBT (INSTALACIÓN DE PROTECTORES
DE SOBRETENSIONES EN LÍNEAS Y LUMINARIAS) PARA
INSTALACIONES INDUSTRIALES Y DE ALUMBRADO
PÚBLICO. LA GARANTÍA NO CUBRE DAÑOS PRODUCIDOS
POR SOBRETENSIONES EN LUMINARIAS SIN PROTECTORES
DE SOBRETENSIONES.
WARNING
BEFORE BEGINNING INSTALLATION OF THIS PRODUCT,
PLEASE READ THE INSTRUCTIONS CAREFULLY AND
STORE THEM IN A SAFE PLACE.
INSTALLATION MUST BE CARRIED OUT BY QUALIFIED
PERSONNEL.
IMPROPER HANDLING OF THE COMPONENTS OR OF
THE LUMINAIRE ITSELF MAY DAMAGE THE CORRECT
OPERATION OF THIS PRODUCT AND WILL VOID THE
MANUFACTURER’S WARRANTY.
THE MANUFACTURER’S WARRANTY IS VOID: IF
INSTALLATION IS NOT CARRIED OUT IN ACCORDANCE
WITH THE REBT 2002.
THE APPLICATION OF ITC BT09-4 OF THE REBT
(INSTALLATION OF SURGE PROTECTORS IN LINES AND
LUMINAIRES) FOR INDUSTRIAL AND PUBLIC LIGHTING
INSTALLATIONS IS MANDATORY. THE WARRANTY DOES
NOT COVER DAMAGE CAUSED BY OVERVOLTAGE IN
LUMINAIRES WITHOUT SURGE PROTECTORS.
PRECAUTIONS
• Disconnect power before handling the product.
• This product must be installed by qualied personnel. If in doubt,
consult a specialized technician.
• Keep him away from children.
• Do not immerse this product in water or handle it with wet hands.
• For storage, store the product in a dry place protected from shock
and moisture.
• If the luminaire is cracked or damaged, replace it with a new one.
ACCESSORIES INCLUDED:
• Bracket and xing screws.
• 2 Screws and 2 plugs.
LAMP REPLACEMENT:
• Non-replaceable lamp.
Ø221
Ø221
72
CARACTERÍSTICAS ELÉCTRICAS
Tensión 220-240Vac
GRADO PROTECCIÓN
Aislamiento eléctrico
Grado de estanqueidad IP65
ELECTRICAL CHARACTERISTICS
Voltage 220-240Vac
DEGREE OF PROTECTION
Electrical isolation
Degree of waterlightness IP65
2/2
www.grupoprilux.com
INSTRUCCIONES DE MONTAJE
1. Coja el soporte y mida la distancia entre los agujeros.
2. Marque en la supercie donde desea instalar la luminaria la
posición de los agujeros, ayudese de un nivel para que los
agujeros queden en la posición correcta.
3. Realice los agujeros en la supercie y coloque un taco en cada
agujero (Fig. 1).
4. Ponga el soporte en la supercie y jelo con los tornillos (Fig. 1).
5. Conecte la luminaria a la alimentación (Fig. 2).
6. Una vez conectada, proceda a colocar la luminaria en el soporte
y jela con los tornillos de sujección (Fig. 3).
1
2
3
MOUNTING INSTRUCTIONS
1. Take the bracket and measure the distance between the holes.
2. Mark the position of the holes on the surface where you want to
install the luminaire, using one level to ensure that the holes are in
the correct position.
3. Drill the holes in the surface and place a block in each hole (Fig. 1).
4. Place the bracket on the surface and secure it with the screws
(Fig. 1).
5. Connect the luminaire to the power supply (Fig. 2).
6. Once connected, place the luminaire on the bracket and x it
with the xing screws (Fig. 3).

Other Prilux Outdoor Light manuals

Prilux ACTIVA ENERGY AVANT 4 RGB User manual

Prilux

Prilux ACTIVA ENERGY AVANT 4 RGB User manual

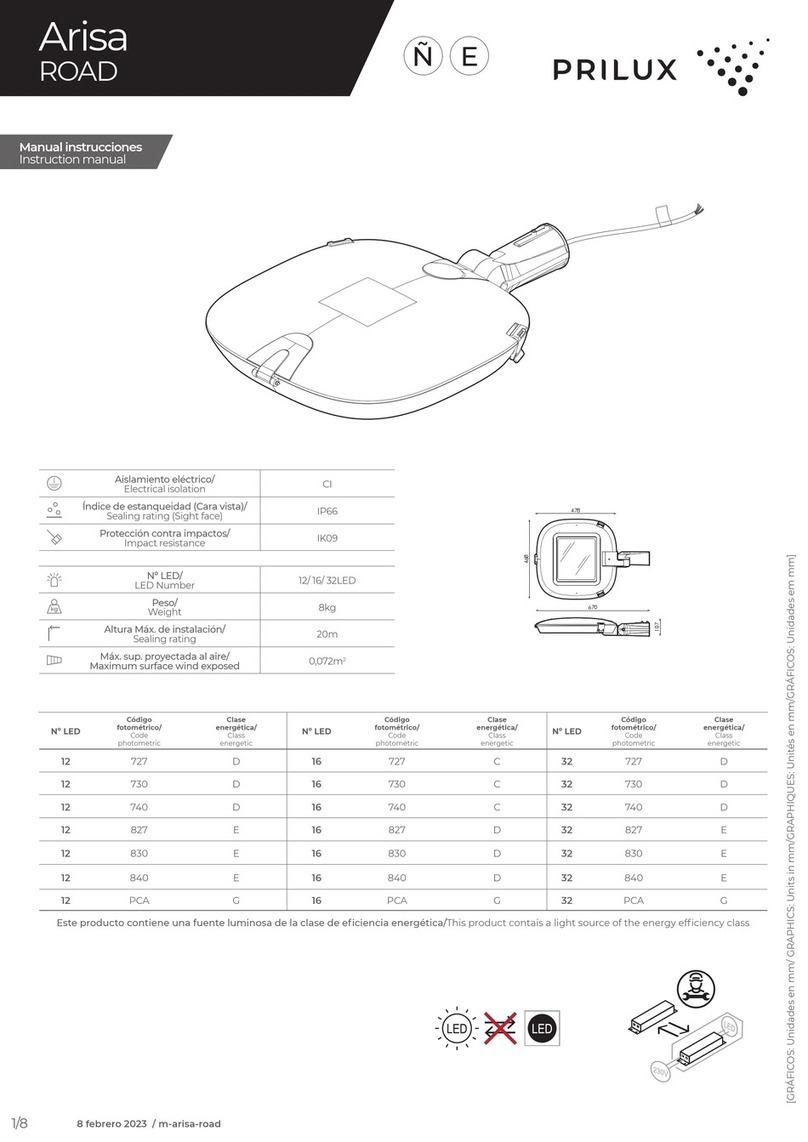
Prilux Arisa ROAD User manual

Prilux

Prilux Arisa ROAD User manual

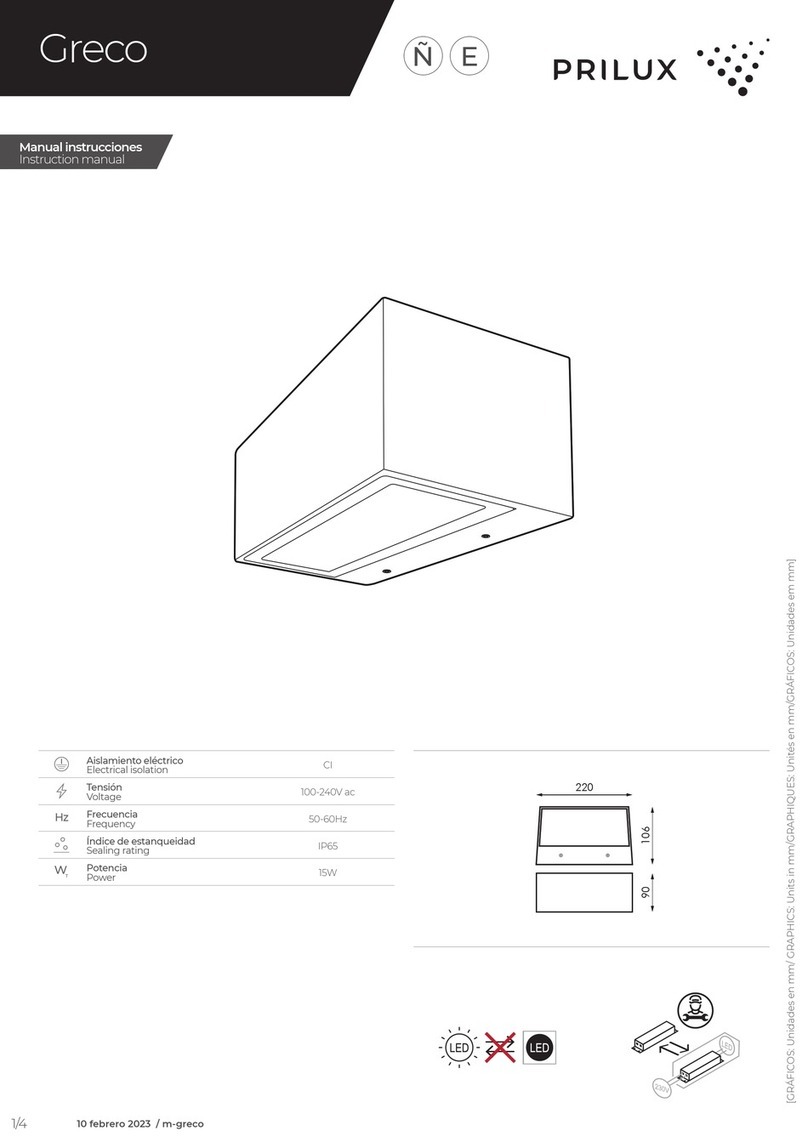
Prilux Greco User manual

Prilux

Prilux Greco User manual

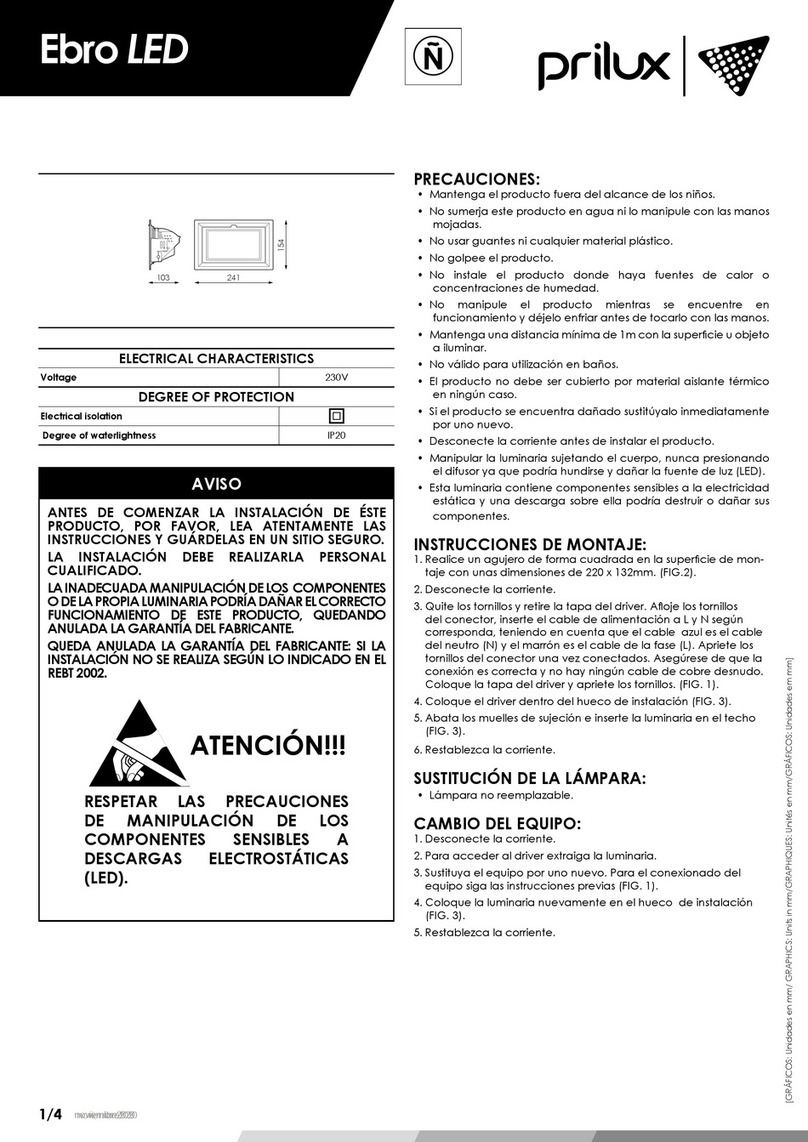
Prilux Ebro LED User manual

Prilux

Prilux Ebro LED User manual

Prilux Avatar User manual

Prilux

Prilux Avatar User manual

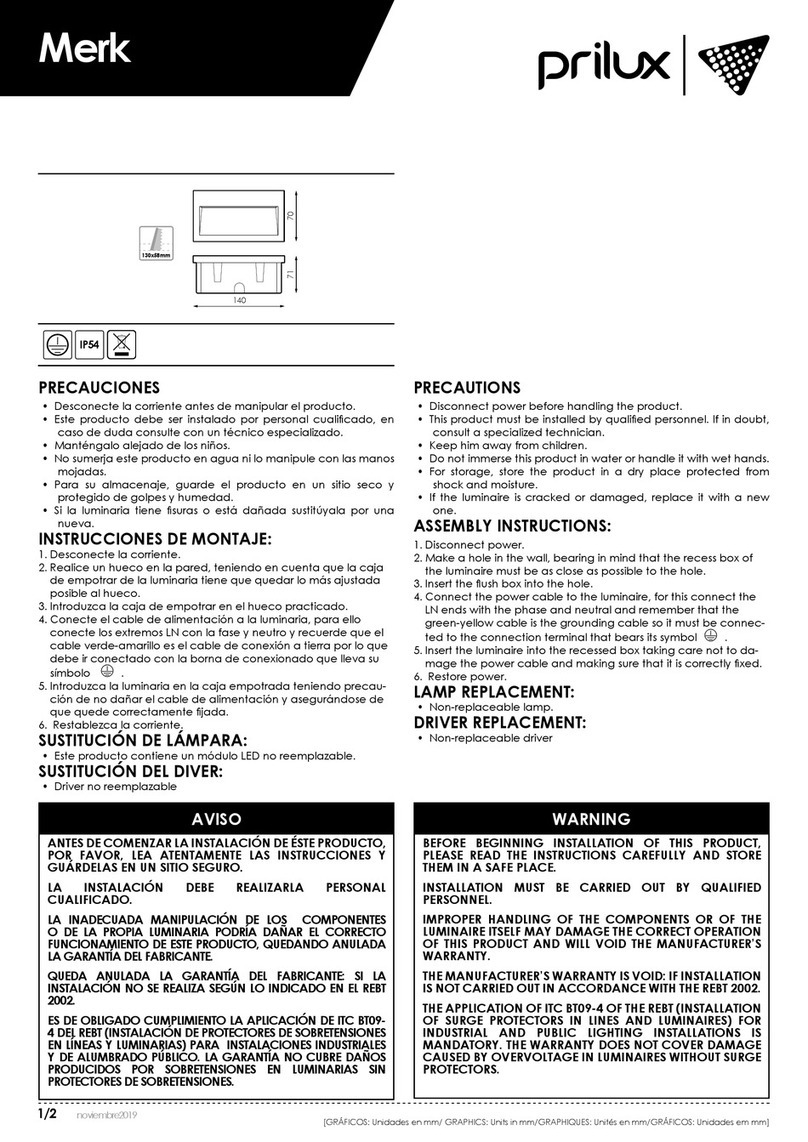
Prilux Merk User manual

Prilux

Prilux Merk User manual

Prilux decorativo flexiLIGHT LED DUAL 191821 User manual

Prilux

Prilux decorativo flexiLIGHT LED DUAL 191821 User manual

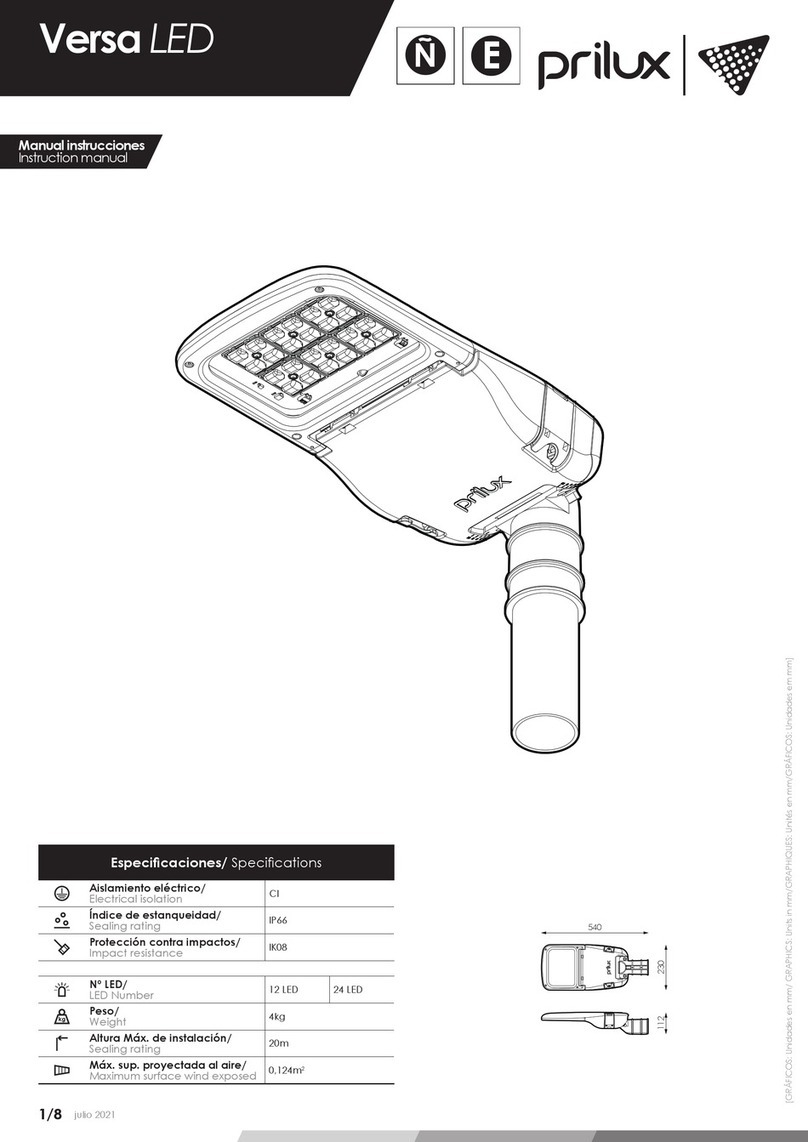
Prilux Versa LED User manual

Prilux

Prilux Versa LED User manual

Prilux Niza User manual

Prilux

Prilux Niza User manual

Prilux INSTANT 002684 User manual

Prilux

Prilux INSTANT 002684 User manual

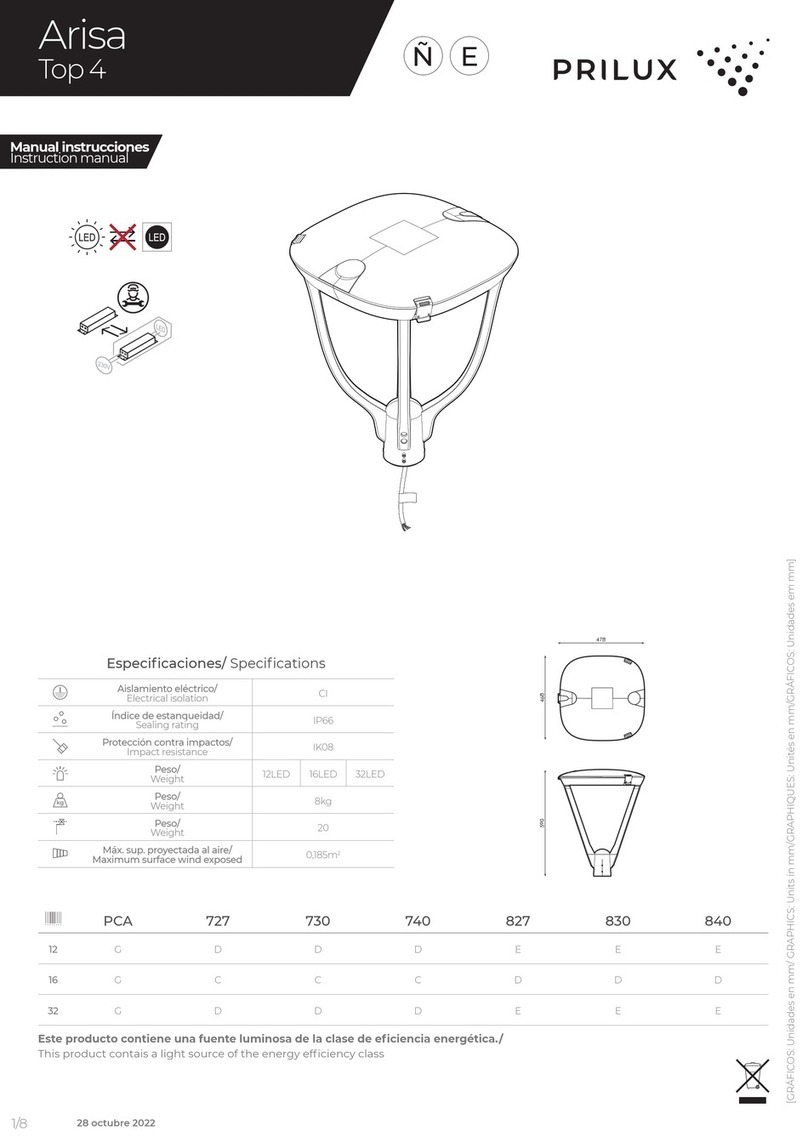
Prilux Arisa TOP4 User manual

Prilux

Prilux Arisa TOP4 User manual

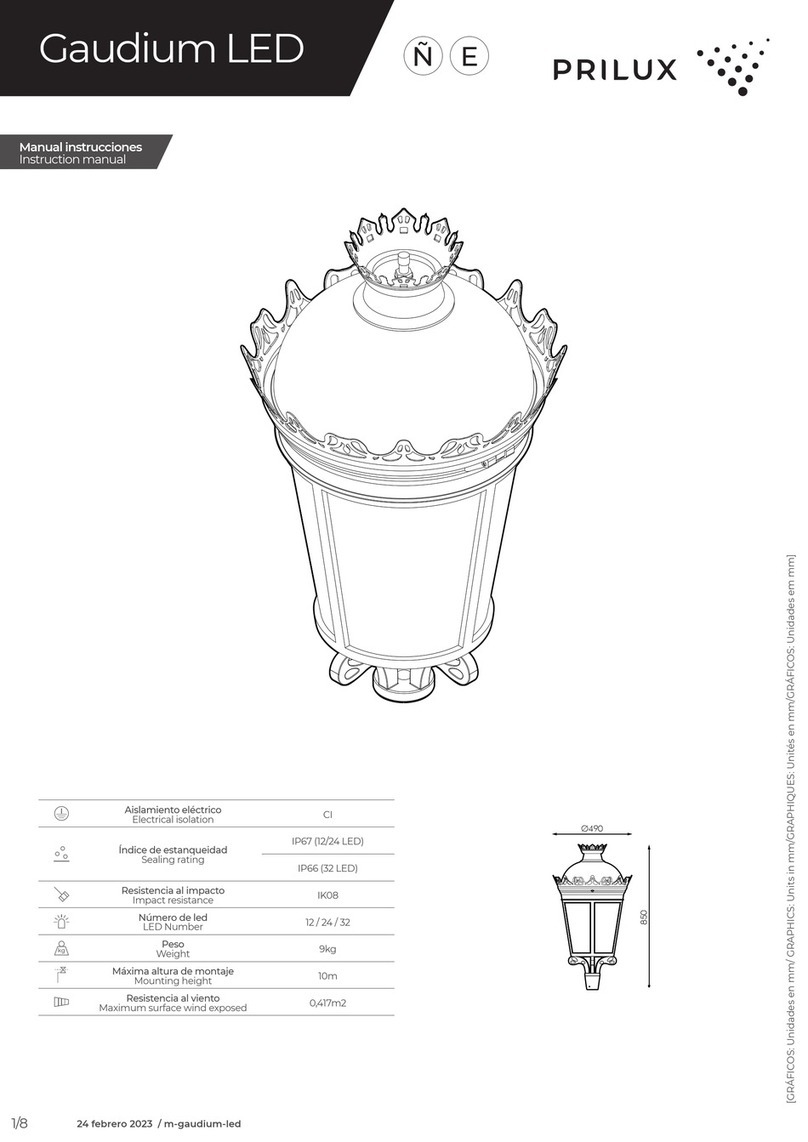
Prilux Gaudium User manual

Prilux

Prilux Gaudium User manual

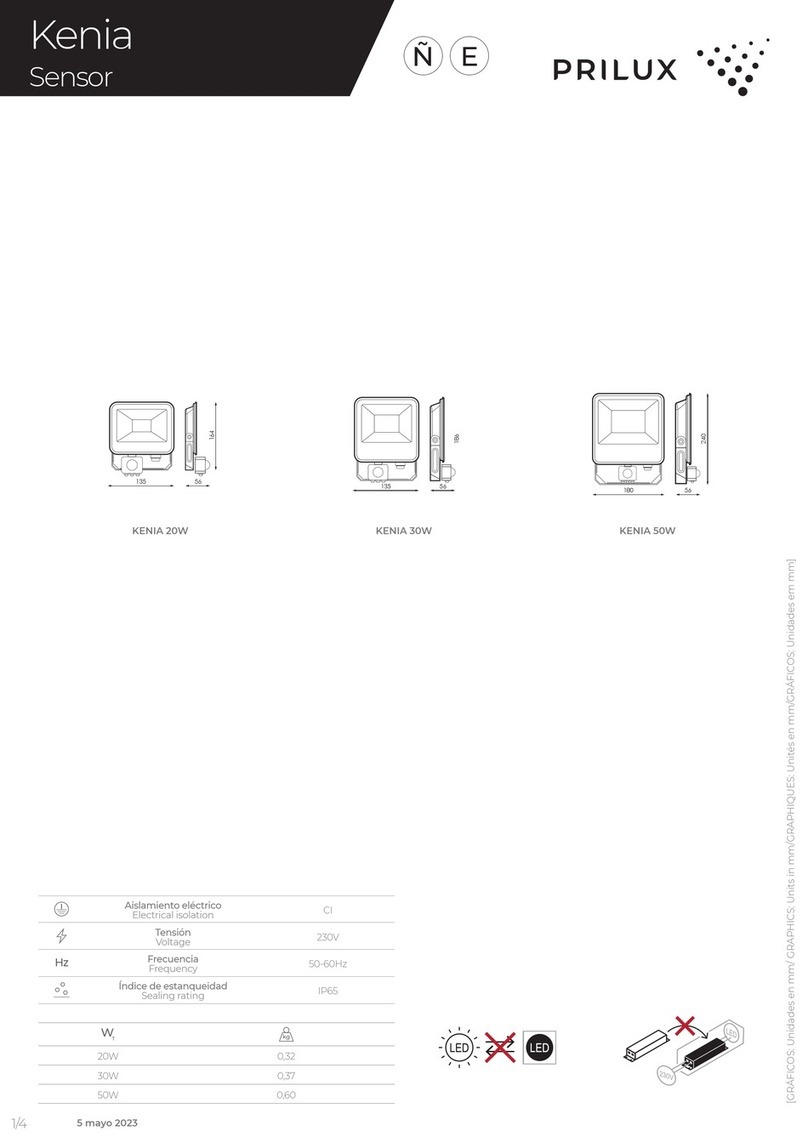
Prilux KENIA 20W User manual

Prilux

Prilux KENIA 20W User manual

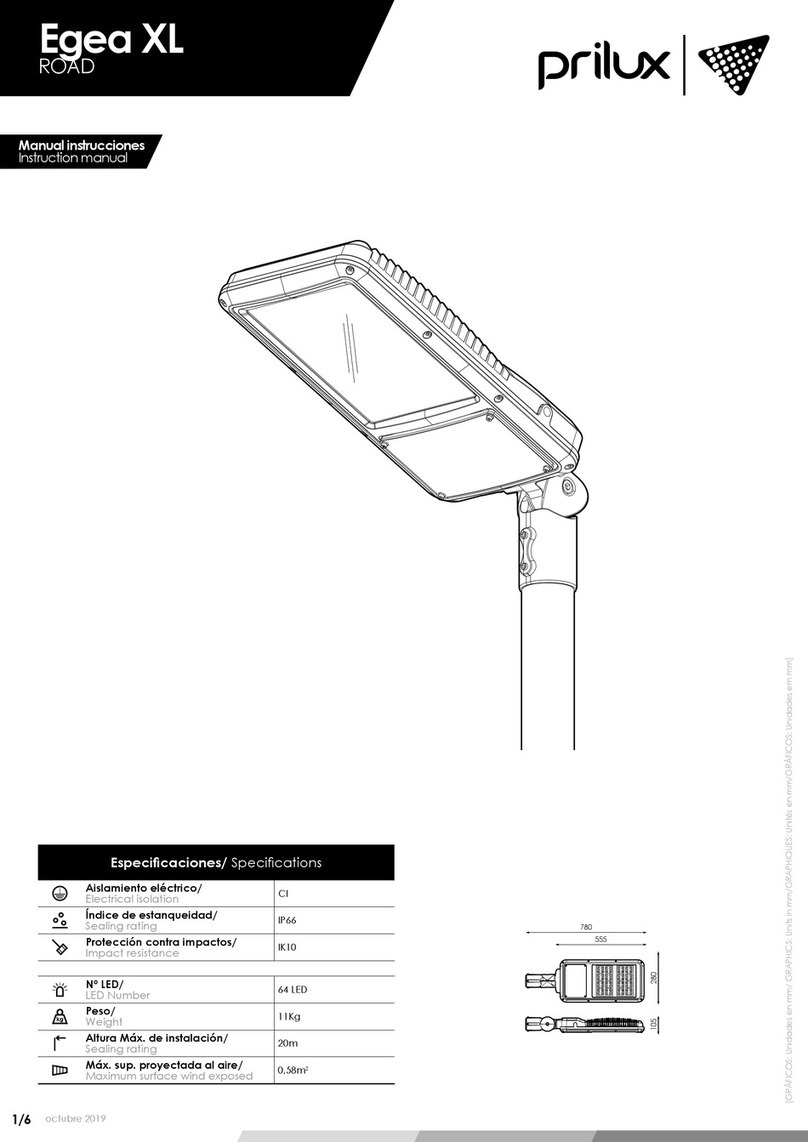
Prilux Egea XL ROAD User manual

Prilux

Prilux Egea XL ROAD User manual

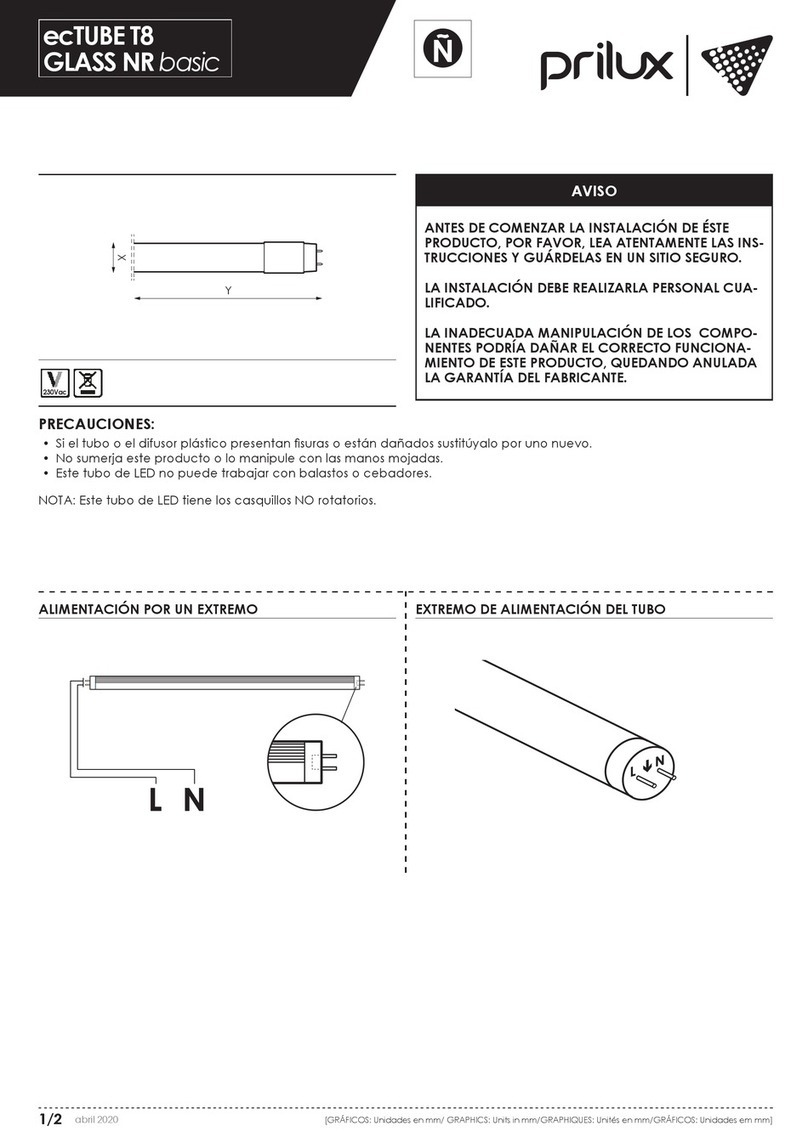
Prilux ecTUBE T8 GLASS N User manual

Prilux

Prilux ecTUBE T8 GLASS N User manual

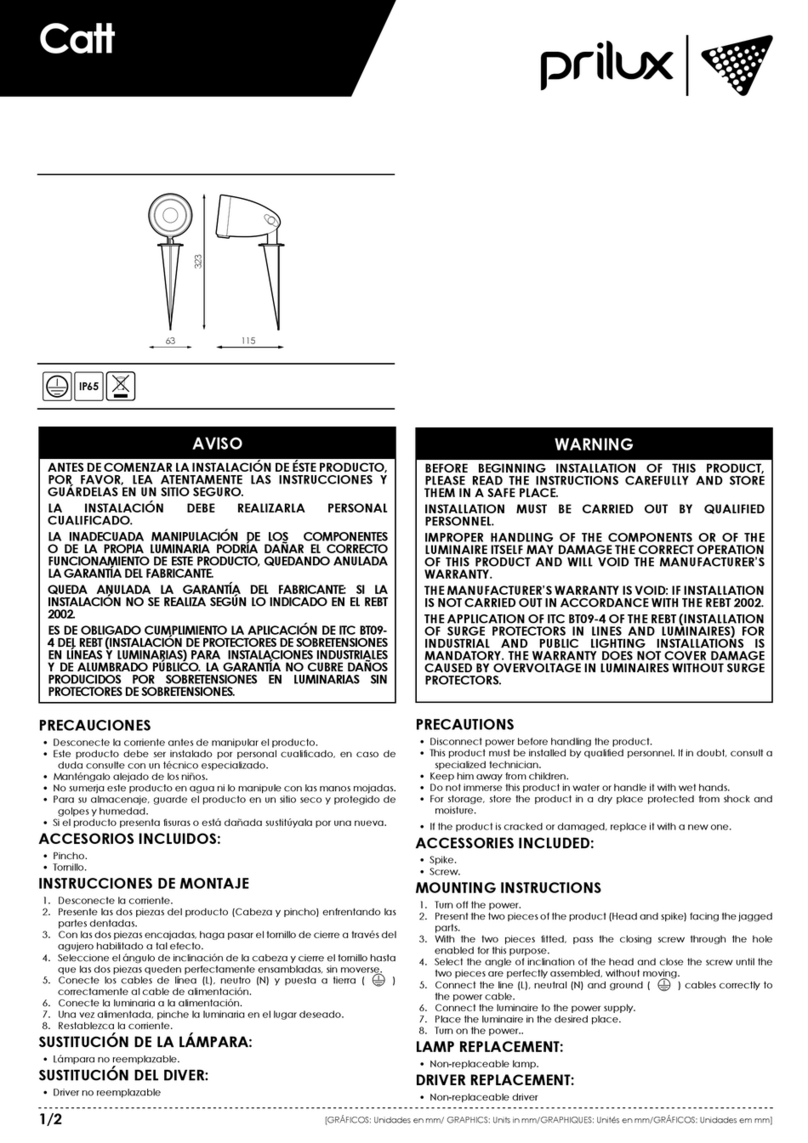
Prilux Catt User manual

Prilux

Prilux Catt User manual

Prilux Versa L User manual

Prilux

Prilux Versa L User manual

Prilux Pincho Jardin I User manual

Prilux

Prilux Pincho Jardin I User manual

Prilux Ircana LED User manual

Prilux

Prilux Ircana LED User manual

Prilux flexiLIGHT LED 953375 User manual

Prilux

Prilux flexiLIGHT LED 953375 User manual

Prilux flexiLIGHTLED decorativo User manual

Prilux

Prilux flexiLIGHTLED decorativo User manual

Prilux ICE GIFT 240895 User manual

Prilux

Prilux ICE GIFT 240895 User manual

Prilux Hexagon ARENA-PLAY User manual

Prilux

Prilux Hexagon ARENA-PLAY User manual

Prilux Icon PAR56 User manual

Prilux

Prilux Icon PAR56 User manual

Popular Outdoor Light manuals by other brands

OttLite 2598311P quick start guide

OttLite

OttLite 2598311P quick start guide

OttLite EasyView CSP57WGC quick start guide

OttLite

OttLite EasyView CSP57WGC quick start guide

ARCHIPELAGO LIGHTING LRHB Series installation guide

ARCHIPELAGO LIGHTING

ARCHIPELAGO LIGHTING LRHB Series installation guide

EE Systems Group eLEDing EE812W-AI8 quick start guide

EE Systems Group

EE Systems Group eLEDing EE812W-AI8 quick start guide

Portfolio 16025 manual

Portfolio

Portfolio 16025 manual

Targetti DART small manual

Targetti

Targetti DART small manual

VelLight LAMPH10S user manual

VelLight

VelLight LAMPH10S user manual

bover Cornet B/27 Assembly instructions

bover

bover Cornet B/27 Assembly instructions

Lucci Fresco Southampton installation instructions

Lucci Fresco

Lucci Fresco Southampton installation instructions

Hubbell Kim Lighting Neo Sphere NS installation instructions

Hubbell

Hubbell Kim Lighting Neo Sphere NS installation instructions

DekPro EFFEX Post Cap installation guide

DekPro

DekPro EFFEX Post Cap installation guide

Patriot Lighting 356-7679 instruction manual

Patriot Lighting

Patriot Lighting 356-7679 instruction manual

Landscape Forms Profile BW103-2 quick start guide

Landscape Forms

Landscape Forms Profile BW103-2 quick start guide

EINHELL TE-CL 18 Li H-Solo Original operating instructions

EINHELL

EINHELL TE-CL 18 Li H-Solo Original operating instructions

LIGMAN VANCOUVER 27 installation manual

LIGMAN

LIGMAN VANCOUVER 27 installation manual

HEPER TROLI LB6009.693 Installation & maintenance instructions

HEPER

HEPER TROLI LB6009.693 Installation & maintenance instructions

WE-EF ASP500 Installation and maintenance instructions

WE-EF

WE-EF ASP500 Installation and maintenance instructions

UMAGE ORBIT user guide

UMAGE

UMAGE ORBIT user guide

manuals.online logo
manuals.online logoBrands
  • About & Mission
  • Contact us
  • Privacy Policy
  • Terms and Conditions

Copyright 2025 Manuals.Online. All Rights Reserved.