THESE COMPONENTS ARE REQUIRED
TO INSTALL THE PRO-GARD BARRIER SYSTEM
pro-gard.com
800.480.6680 2
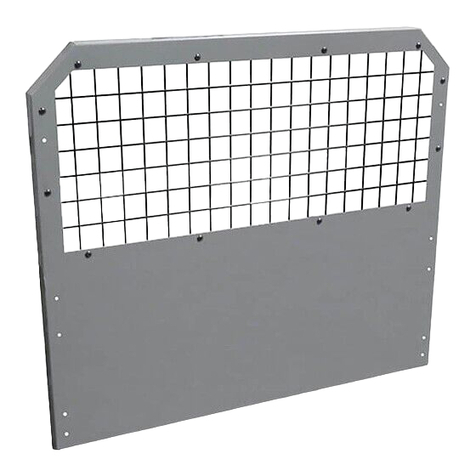
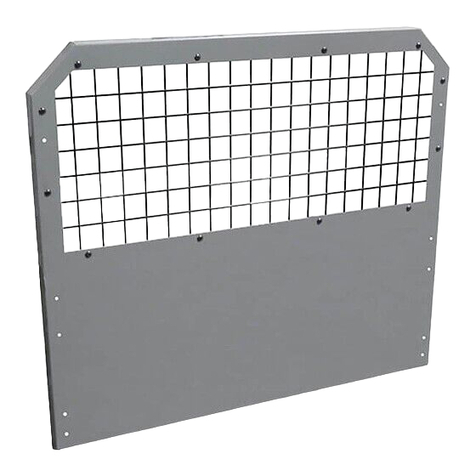
3B300WD BARRIER
III. Read all instructions carefully before starting the
assembly process.
IV. Barrier Installation
A. Install the upper mounting brackets (3P660D
Driver and 3P660P Passenger) to the barrier using
the phillips head bolts (3X05A) and whiz nuts
(3X16) through the holes in the top of the Barrier.
Hand tighten only. See Fig. 1
I. Refer to the diagram on the last page of these instructions to verify all parts were received.
II. The following tools will be required to complete the installation.
A. 1/4” drive ratchet with 7/16” socket
B. Phillps Screwdriver
C. Drill with 3/8” socket and 5/16” drill bit.
4B57S09 HARDWARE/WING KIT
DRIVER’S SIDE SHOWN
FIG. 1
3P660D 3X139
3X05A
Barrier Assembly
3X16
SPACER
B. Remove the rear OEM coat hook assemblies from the headliner.
C.PlacetheCargoBarrierAssemblyonthecargooorbehindthesecondrowseats.Note:
Thebottomofthebarriershouldbealignedalongtheedgeoftheoorbehindthe
second row seats. With the seats folded down begin to stand the Barrier up.
While raising the Barrier swing the upper mounting brackets around torward the rear
of vehicle. Align the upper mounting brackets with the coat hook mounting holes and
secure loosely using the supplied M6 bolts and spacers. See Fig. 1
D. Attach the Polycarbonate top panel (3P665) to the Barrier using the exsiting bolts from
the top of the barrier window frame. Hand tighten fasteners only. See Fig. 3
E. Attach the Polycarbonate Wings (3P666 Driver and 3P667 Passenger) between the Barrier
and the interior trim using the Phillips head bolts (3X05A) and whiz nuts (3X16). Hand
tighten fasteners only. See Fig. 3
