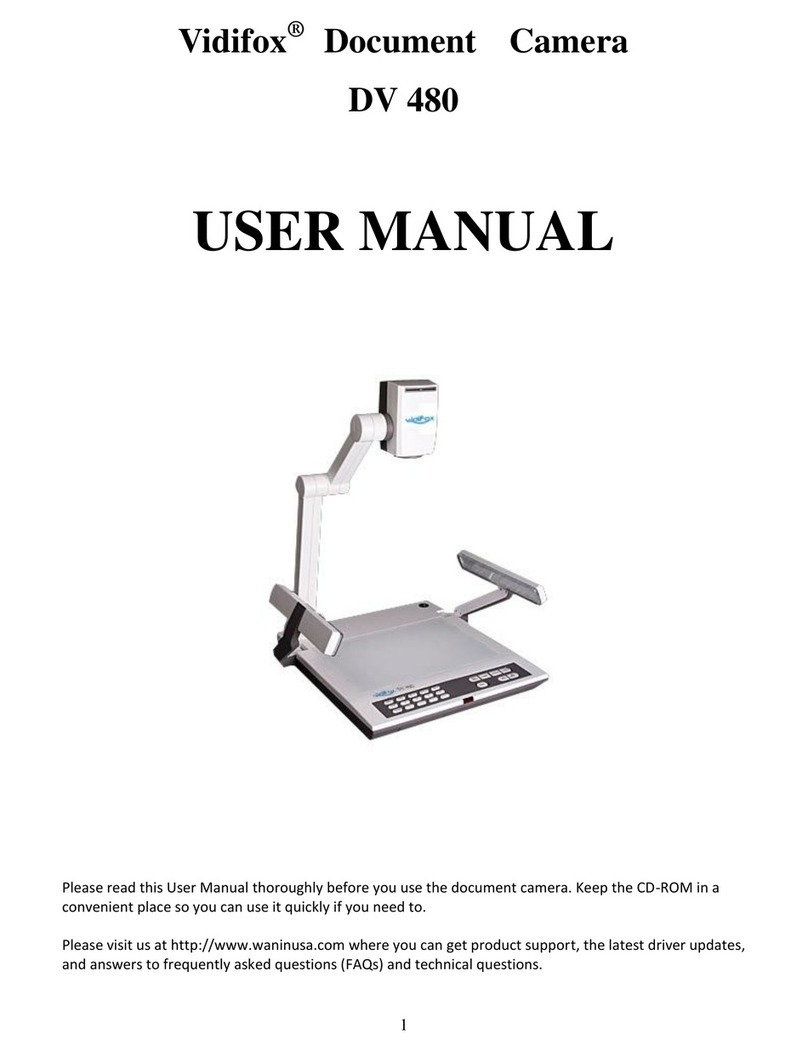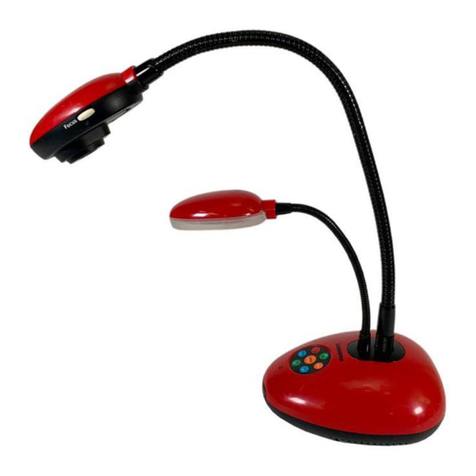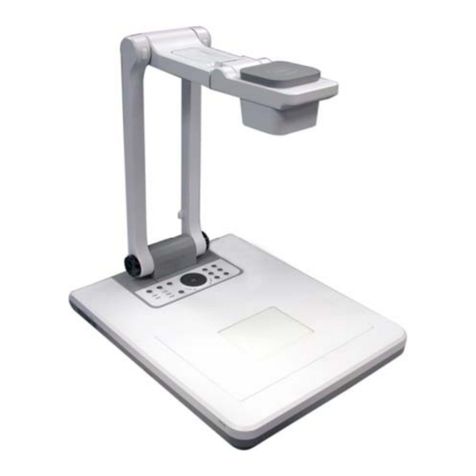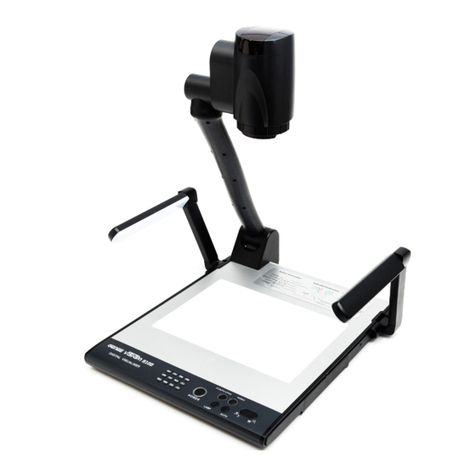
SPLIT (Image Split function)
PROJECTOR POWER (No function)
PROJECTOR INPUT (No function)
EXIT (Exit selected function)
TELE/ IDE (Increase and decrease magnification)
W
FAR/NEAR (Focus near or far)
AUTO (To auto adjust brightness, auto white balance and auto focus)
CAM/PC1/PC2 (No function)
S-VIDEO/VIDEO (No function)
VOLUME+/- (No function)
RED+/- (Increase or decrease the red hue)
BLUE+/- (Increase or decrease the blue hue)
BRIGHT+/- (Increase or decrease the brightness)
SCROLL /(No function)
INSTALLING VISUALISER SOFTWARE
This function is to snap and display images with the USB interface, which
includes displaying static and dynamic pictures, snapping dynamic images
and playback the dynamic images with the Windows Media Player or its
own player.
Insert the CD-ROM that comes with the visualiser into the CD-ROM
drive.
A. Click the Install Capture Program button to install the program that
captures images in the AVI or JPG format.
B. After the installation is finished, then click the Exit button to exit the
Software Setup window.
C. Shut down your computer when prompted in order for the changes to
take effect.
D. Use the USB2.0 cable provided to connect your computer to the
visualiser before your computer is restarted.
9
