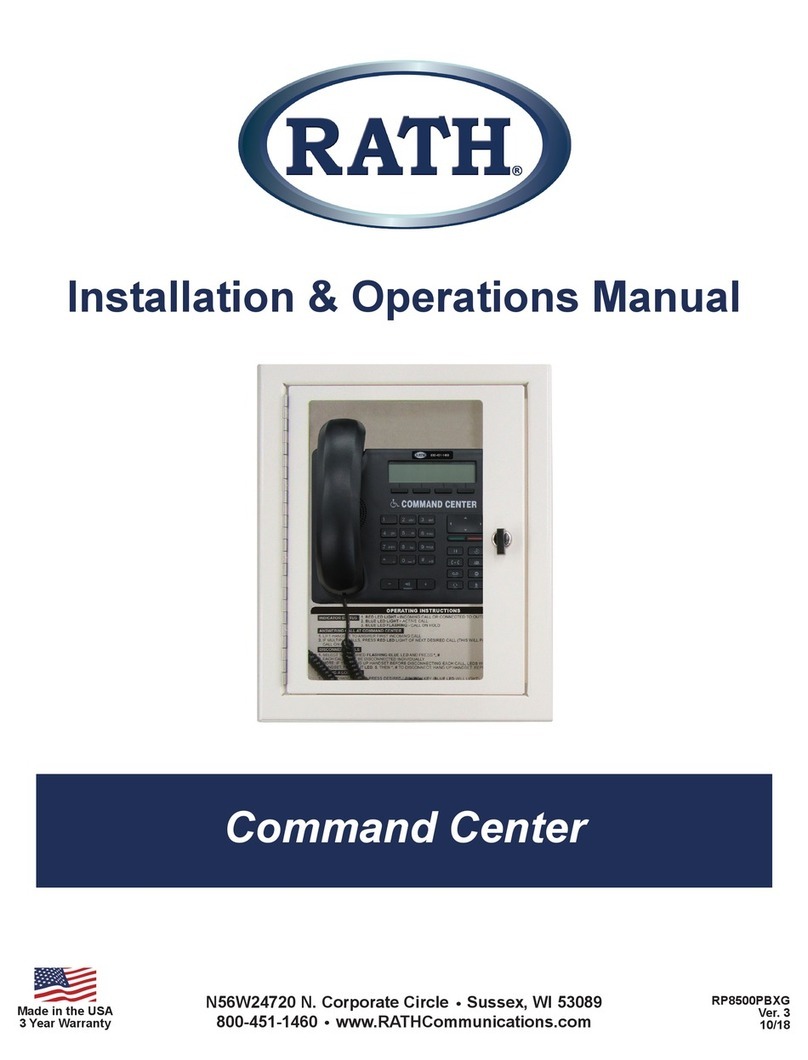
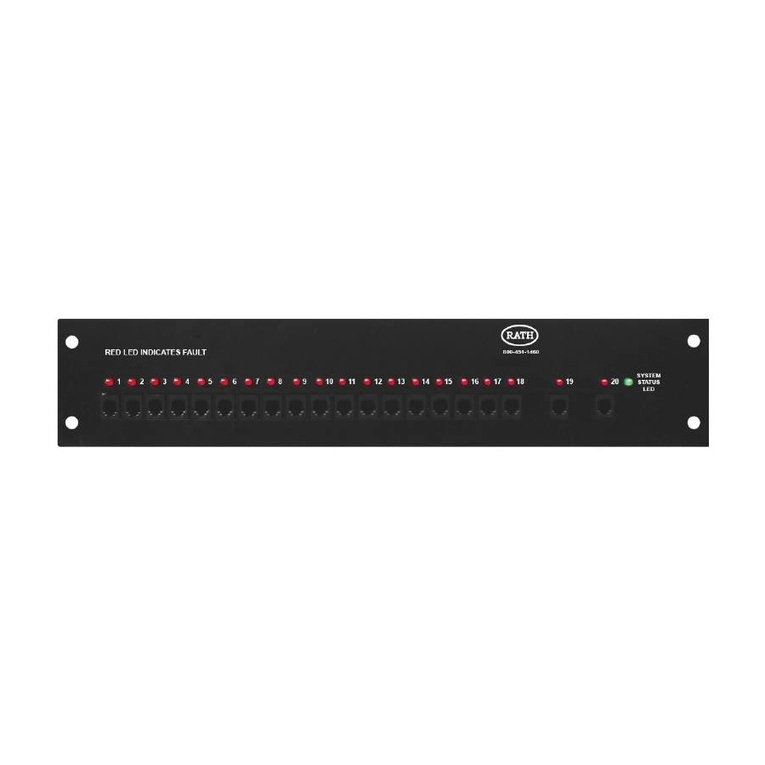
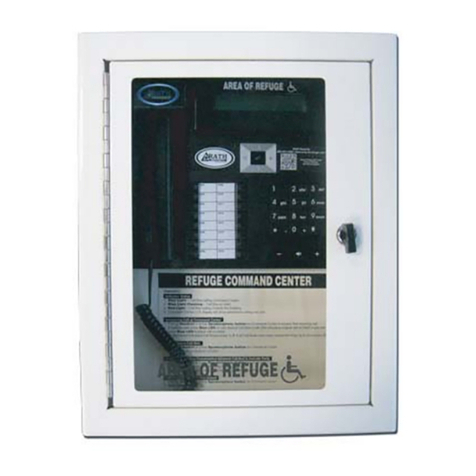
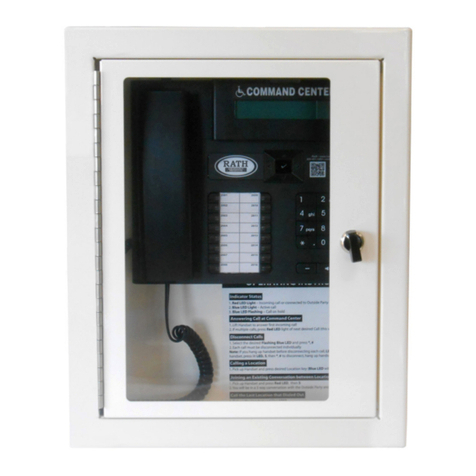
Rath Command Center User manual

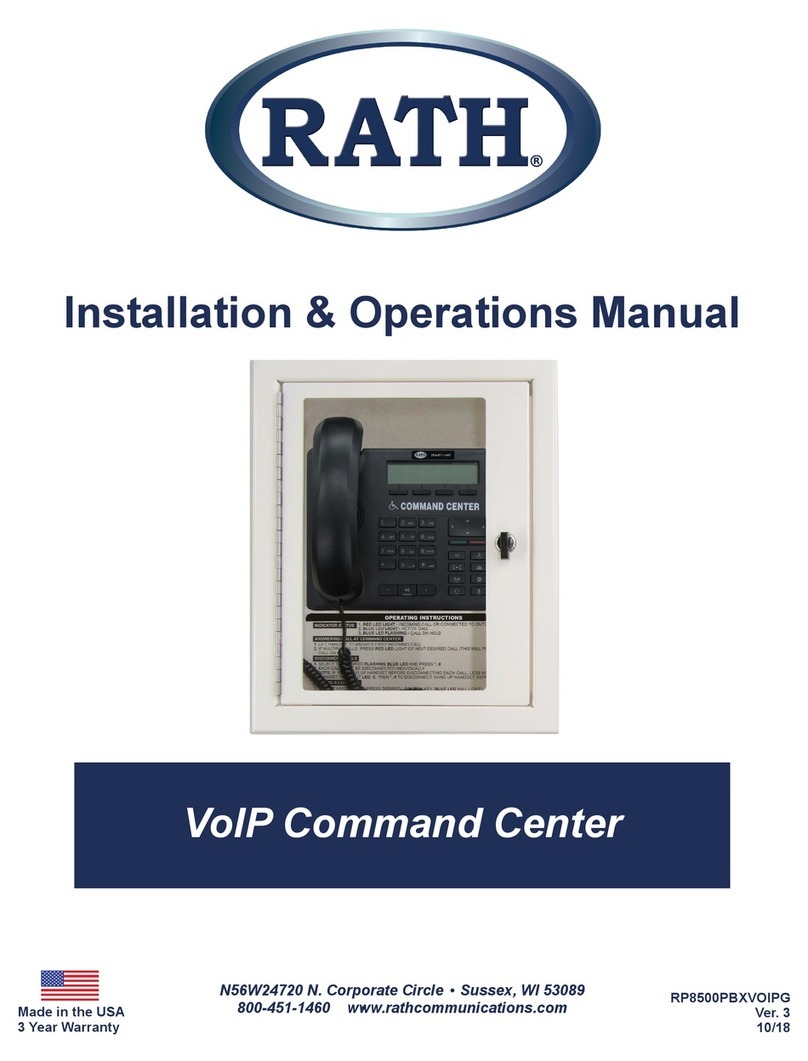
VoIP Command Center
Installation & Operations Manual
N56W24720 N. Corporate Circle Sussex, WI 53089
800-451-1460 www.RATHCommunications.com
RP8500PBXVOIPG
Ver. 5
10/19
Made in the USA
3 Year Warranty

Thank you for purchasing a RATH® VoIP Command Center. We are the largest Emergency
Communication Manufacturer in North America and have been in business for over 35 years.
We take great pride in our products, service, and support. Our Emergency Products are of the highest
quality. Our experienced customer support teams are available to remotely assist with site preparation,
installation, and maintenance. It is our sincere hope that your experience with us has and will continue
to surpass your expectations.
Thank you for your business,
®
N56W24720 N. Corporate Circle Sussex, WI 53089
800-451-1460 www.RATHCommunications.com
Table of Contents
Items Needed . . . . . . . . . . . . . . . . . . . . . . . . . . . . . . . .
Typical System Layout . . . . . . . . . . . . . . . . . . . . . . . .
Installation Steps . . . . . . . . . . . . . . . . . . . . . . . . . . . .
Distribution Module Wiring . . . . . . . . . . . . . . . . . . . .
Connecting System to Network . . . . . . . . . . . . . . . .
VoIP Card Programming . . . . . . . . . . . . . . . . . . . . . .
Registering Emergency Phones . . . . . . . . . . . . . . .
Emergency Phone Programming . . . . . . . . . . . . . .
Setting the Date and Time . . . . . . . . . . . . . . . . . . . . .
Command Center Operating Instructions . . . . . . . .
Sub-Master Phones . . . . . . . . . . . . . . . . . . . . . . . . . .
IP Command Center Phones . . . . . . . . . . . . . . . . . .
Troubleshooting . . . . . . . . . . . . . . . . . . . . . . . . . . . .
Page 3
Page 3
Page 4
Page 5
Page 7
Page 7
Page 9
Page 9
Page 10
Page 10
Page 11
Page 11
Page 12

Items Needed
Included
• Command Center Phone (will be mounted in a cabinet
or include a desk mount stand for desk mount)
• Distribution Module
• System wiring (pigtail cables, power cord, phone
line cord, and Ethernet cable)
• 1/8” Hex Allen Wrench (cabinet mount only)
Page 3
Not Included
• Network Switch (POE+ recommended)
• Router
• Windows laptop
• Minimum 22 or 24 AWG twisted, shielded cable for
wiring Command Center to Distribution Module
(unless ordered as an IP Command Center Phone)
• 120vac power
• Multimeter
• Analog phone (recommended for troubleshooting)
• Analog or digital phone line (only if the system needs
call out abilities)
• Small Phillips screwdriver
• Mounting hardware
• Power supply with battery backup (sold separately,
RATH® model RP7700104 or RP7701500)
• 2100 Series IP Emergency Phones (sold separately)
Cabinet Mount Desk Mount
Command Center Options: Distribution Module Options:
10-48 Zone Systems
64-128 Zone Systems
Typical System Layout
Command
Center
Distribution
Module
Power Supply
with UPS
120 Volt Power Connection to
Incoming 120 Volt Power
Router
Connection from
WAN Port on
VoIP Card to
Router
Ethernet from CPU
Card to Router
POE Switch
Each Phone Plugged
into POE port
IP Command Center
Typical System Layout
N56W24720 N. Corporate Circle • Sussex, WI 53089
800-451-1460 • www.RATHCommunications.com
10/19

Page 4
Installation Steps
1. Mount the Distribution Module and power supply with battery backup in an appropriate location (network closet
recommended).
2. Plug power supply with battery backup into a standard 120v wall outlet.
Note: System is to be powered by a grounded 120v, 60Hz, AC outlet protected by a 15A maximum circuit breaker.
3. Using the provided power cord, plug the 3-pin female connector side into power input next to the power switch on
the Distribution Module. Plug the male 3-prong side of the power cable into any of the open outlets on the back of
the power supply with battery backup. Wait to power on the Distribution Module until all connections are made.
4. Install the Command Center Phone.
Desk Mount: Install the foot stand on the back of the Command Center Phone and choose location per owner’s
specications. If the system is over 16 zones, connect additional button consoles to the Command Center using
the provided extenders. Refer to the diagram below for attaching the extenders and foot stands.
Cabinet Mount: Use the provided Allen Wrench to remove the back box or back plate from the cabinet.
Remove any applicable knockouts. Mount the backbox or plate in location per owner’s specications using
appropriate mounting hardware. Reassemble the cabinet.
5. Run at minimum a single 22 or 24 AWG twisted, shielded cable from the Command Center Phone back to the
Distribution Module. This single cable provides communication and power. No additional power is needed for
the Command Center.
Note: The maximum wire run length from the Distribution Module to the Command Center is 6,200’ for 22
AWG and 3,900’ for 24 AWG.
6. Using a biscuit jack, screw the twisted, shielded pair landed at the Command Center side to the red and green
screws of the biscuit jack. Plug the phone line cord provided with the Command Center into the female RJ11
jack on the biscuit jack. Plug the other end of the phone line cord into the input port on the back of the
Command Center.
Note: If using an IP Command Center, go to page 11 for wiring and setup.
EXTENDER
EXTENDER
STAND
LINE IN HERE

Distribution Module Wiring
Option 1: 1-48 Zone VoIP Systems
For 1-48 zone systems, remove the screws on the back of the Distribution Module and remove the cover to expose
the internal RJ45 connections.
• On top of each RJ45 port, there is a label indicating connection:
• SLT is the port used for connecting HARDWIRED Emergency Phones
IP EMERGENCY PHONES DO NOT CONNECT TO THE DISTRIBUTION MODULE
• DKP is the port used for connecting the Command Center Phone
• TWT is the port used for outside Telco Line
• Plug the supplied RJ45 pigtail cables into the RJ45 connections on the Distribution Module following
the wiring chart and pin-out color scheme below
• Refer to the top of the cards to see what type of RJ45 port and number of extensions
• The system uses T568-A for pin-out wiring
• The rst card installed will always be:
• Port 1: (01-04) Connection for 4 HARDWIRED Emergency Phones (SLT)
IP EMERGENCY PHONES DO NOT CONNECT TO THE DISTRIBUTION MODULE
• Port 2: (05-06) Connection for 2 Telco Lines (TWT)
• Port 3: (07-08) Connection for up to 2 Command Center Phones (DKP)
Card 1:
S01-S04 S05-S06 S07-S08
2003
2004
COMMAND CENTER 1
SLT TWT DKP
01 - 04
05 - 06
07 - 08
COMMAND CENTER 2
TELCO LINE 1
TELCO LINE 2
2001
2002
PHONE 1
PHONE 2
PHONE 3
PHONE 4
Note: Do not use
the green and
brown pairs
Note: DO NOT plug anything into the sixth card labeled “VMS”.
• Once all RJ45 connections are made, connect twisted, shielded pairs onto pigtail sides of the wiring harnesses
Page 5

Page 6
S01-S04 S05-S08 S09-S12
2003
2004
COMMAND CENTER 1
COMMAND CENTER 2
2001
2002
PHONE 1
PHONE 2
PHONE 3
PHONE 4
Note: Do not use
the green and
brown pairs
S13-S16 D1-2 T1-2
2007
2008
2005
2006
PHONE 5
PHONE 6
PHONE 7
PHONE 8
2011
2012
2009
2010
PHONE 9
PHONE 10
PHONE 11
PHONE 12
2015
2016
2013
2014
PHONE 13
PHONE 14
PHONE 15
PHONE 16
TELCO LINE 1
TELCO LINE 2
Option 2: 64-128 Zone VoIP Systems
• On top of each RJ45 interface there is a label indicating connection:
• S01-S_ is the port used for connecting HARDWIRED Emergency Phones
IP EMERGENCY PHONES DO NOT CONNECT TO THE DISTRIBUTION MODULE
• TD (1-2)(3-4) with a dot under the D is the port used for connecting Command Center Phone(s)
• TD (1-2)(3-4) with a dot under the T is the port used for outside Telco Line
• Plug the supplied RJ45 pigtail cables into the RJ45 interface connections following the wiring chart and pin-out
color scheme below
• Refer to the top of the cards to see what type of RJ45 interface and number of extensions
• The system uses T568-A for pin-out wiring
• The rst card installed will always be:
• Port 1: (S01-S04) Connection for 4 HARDWIRED Emergency Phones
IP EMERGENCY PHONES DO NOT CONNECT TO THE DISTRIBUTION MODULE
• Port 2: (S05-S08) Connection for 4 HARDWIRED Emergency Phones
• Port 3: (S09-S12) Connection for 4 HARDWIRED Emergency Phones
• Port 4: (S13-S16) Connection for 4 HARDWIRED Emergency Phones
• Port 5: (D1-2) Connection for up to 2 Command Center Phones
• Port 6: (T1-2) Connection for up to 2 Outside Telco Lines
Card 1:
Once all RJ45 connections are made, connect twisted, shielded pairs onto the pigtail sides of the wiring harnesses.
7. Turn on the 120vac power supply (if not already done).
8. Turn on the Distribution Module.

Page 7
Connecting System to Network
9. Connect the Ethernet cable from the WAN port on the VoIP Card on the Distribution Module to the router.
VoIP Card Programming
11. Program the VoIP card:
Note: If network information is provided to RATH® at the time of purchase, no additional information needs to be
entered for the VoIP card. If network information is NOT provided, the following needs to be performed:
a. Connect the Ethernet port of the Distribution Module to your Windows laptop using an Ethernet cable
• For 1-48 zone systems, the Ethernet port is located on the back of the housing (same side as the power switch)
• For 49-128 zone systems, the LAN Port is used
10-48 Zone 64-128 Zone
10. Connect Emergency Phones to the system:
a. IP Phones:
• Connect the Ethernet cable from the POE port on the emergency phone to the POE+ switch
• CAT5e or CAT6 is recommended
• Do not exceed the maximum wire run length of 320’
b. Elevator Phones (Analog Phones with IP Interface):
• Connect the Ethernet cable from the IP Interface to a network switch (do not exceed the 320’ maximum
wire run length)
• Connect the two-wire line cord from the LINE output on the IP Interface to the phone line input on the
Elevator Phone board
• CAT5e is the minimum standard cable for the system (please check with your local AHJ to ensure
compliance with state and/or local codes)

Page 8
b. Change the IP address of the laptop’s Network Interface Card
• Navigate to Control Panel
• Click on Network and Internet
• Click on Network and Sharing Center
• Click on Change Adapter Settings
• Right click on Ethernet/Local Area Connection
• Click on Properties
• Double click on Internet Protocol Version 4
• Click on Use the Following IP Address:
• Change IP to the default IP address range of the
Distribution Module (192.168.1.200 is recommended)
• Change Subnet Mask (default is 255.255.255.0)
c. Turn off the wireless card of the laptop (if applicable)
d. Log into the Distribution Module
• Enter 192.168.1.202 into the web browser (Google Chrome is recommended)
• Log in as System Engineer and enter password Rath7284!
e. Change Programming Port IP Address
• Navigate to Master Ethernet Port Parameters in left side menu
• Click on the +icon next to IPV4 Settings
• Enter desired IP Address, Subnet Mask, and Gateway
• Click Submit
• Click the lock icon in the top right hand corner to log out of the system
• Follow the instructions listed in step b to change the IP address of the PC to an address that is in the same
address range of the Programming Port
• Log back into the Distribution Module using the new IP address (password will not change)
f. Enter VoIP Information
• Navigate to VoIP Conguration in left side menu
• Click the drop down arrow, more menu options
should appear
• Click VoIP Port Parameters
g. Enter Server Information (this will be the SIP Server
information for the IP Emergency Phones)
• Navigate to WAN Port (IPV4 Settings)
• Enter the assigned network IP address into the IP
Address line
• Enter the Subnet Mask of your network into the
Subnet Mask line
• Enter the Router IP address into the Default Gateway line
• Click Submit
h. Setting up SIP Extensions
• Click on SIP Extension Settings
• VOIP Port 1 should be selected
• Enter the desired name in the Name line
• Enter the extension in the SIP ID line
Note: This must be a number above 4000 to avoid issues within the system (Example: Extension 1 = 4001,
Extension 2 = 4002).
• Enter the desired password in the Password line (follow the password requirements displayed on the screen)
• Click Submit

Page 8 Page 9
Registering Emergency Phones
Follow the instructions provided with the Emergency Phones to register the phones to the system. If network
information is provided to RATH® at the time of purchase, phones will already have the registration information
entered.
After all phones are registered, verify that all of them show up on the system and show registered. Log into the
Distribution Module and scroll down to VoIP Conguration in left side menu. Click SIP Extension Status, this will
allow you to see all connected devices. If any device shows Not Registered, the information entered into the
Distribution Module does not match what was entered in the Emergency Phone. This needs to be corrected.
Emergency Phone Programming
Phones should be programmed for Memory Location 1 to dial 3931 to call the Command Center rst.
1. Press ENTER to enter Programming Mode
2. Press 1, ENTER, 3931, STOP
3. Press and hold STOP for 3 seconds to exit Programming Mode
The system can be programmed to dial an outside number if the call is not answered at the Command Center.
To do this, perform the following steps at the Command Center:
1. Press the speaker phone button
2. Dial 1, 3, 4
3. Dial 9, the external number, #, * to store the number
4. Verify the Command Center display shows “Forwarded On” followed by the phone number entered
5. Press the speaker phone button to hang up
Note: To turn off call forwarding, dial 1, 3, followed by the GREEN button.

Page 10
You can program or modify the location message for the phone. All phones come with a default location
message. Message must be changed or disabled on all phones.
1. Press ENTER to enter Programming Mode
2. Press 1, 3, ENTER, 3
3. Press 6, RECORD key, after the beep speak message adding “For two-way communication, press *at any time” to
the end, STOP
4. Press 6, Play/Pause to play message back
5. Press and hold STOP for 3 seconds to exit Programming Mode
Note: For no message, press ENTER to enter Programming Mode, 1, 3, ENTER, 0, then press and hold STOP for
3 seconds.
Command Center Operating Instructions
Setting the Date and Time
Perform the following steps on the Command Center Phone:
1. Enter Programming Mode:
a. Dial 1#91
b. Enter Password 7284
2. Program the time zone:
a. Dial 1002 followed by the appropriate time zone code:
Eastern Time Zone = 111 Mountain Time Zone = 113
Central Time Zone = 112 Pacic Time Zone = 114
b. Touch the GREEN button in the middle of the phone when nished
3. Program the date (month-day-year format):
a. Dial 1001 followed by the date (Example: 1001 15 02 2011 for February 15, 2011)
b. Touch the GREEN button in the middle of the phone when nished
4. Program the time (military time including hour-minute-second):
a. Dial 1003 followed by the time (Example: 1003 143000 for 2:30pm)
b. Touch the GREEN button in the middle of the phone when nished
5. To exit Programming Mode dial 00 followed by the GREEN button
Command Center Operating Instructions
Indicator Status:
1. Red LED Light: Incoming call or connected to outside party
2. Blue LED Light: Active call
3. Blue LED Flashing: Call on hold
Answering Call at Command Center:
1. Lift the handset to answer the rst incoming call. The Command Center must ring before the call can be answered.
2. If multiple calls are coming in, press the red LED light next to the desired call (this will place the original call
on hold).
Note: The phone may be in the process of playing the location message when the call is answered at the
Command Center. Follow the prompts in the location message to stop the message and establish two-way
communication.

Page 10
Disconnecting Calls:
1. Select the desired ashing blue LED and press *, # .
2. Each call must be disconnected individually.
Note: If you hang up the handset before disconnecting each call, the LED(s) will remain illuminated. Lift the
handset, press the illuminated LED, the number 5button, then *, #. To disconnect, hang up the handset.
Repeat for each illuminated LED.
Joining a Call Already in Progress:
1. Pick up the handset, press the red LED, then the number 5button.
2. You will be in a three-way conversation with the outside party and location.
Calling a Location:
1. Pick up the handset and press the button for desired location.
Sub-Master Phones
A RATH® Command Center System comes with a single base station phone. It can accommodate one additional
base station phone which connects to the second DKP port on the rst card. If your system includes more than two
additional base station phones, there will be an additional card of just DKP ports. The additional base station wires
will wire back to the Distribution Module the same way as the main Command Center described on page 4.
Note: If using an IP Command Center, see below for wiring and setup.
IP Command Center Phones
If using the IP Command Center Phone, run the Ethernet cable from the Ethernet port on the back of the Command
Center Phone to the network switch (do not exceed 320’ maximum wire run length). If network information is
provided to RATH® at the time of purchase, no IP information needs to be modied in the Command Center Phone.
Using the keys on the Command Center Phone:
1. Tap the MENU button.
2. Select NETWORK PARAMETERS and tap the GREEN button next to the keypad.
3. Use the arrows to scroll down to IP ADDRESS. Enter the new IP address (wait 1 second after each number
before moving on to the next). Tap the GREEN button to save.
4. Use the arrow keys to scroll down to SUBNET MASK. Enter the new Subnet Mask (wait 1 second after each
number before moving on to the next). Tap the GREEN button to save.
5. Use the arrow keys to scroll down to GATEWAY. Enter the new Gateway IP address (wait 1 second after each
number before moving on to the next). Tap the GREEN button to save.
6. Use the arrow keys to scroll down to SIP SERVER. Enter the SIP Server IP address (WAN port IP Address
entered into the Distribution Module). Tap the GREEN button to save.
7. Tap the EXIT button. Unit will reboot.
Page 11
LINE IN HERE

Page 12
Troubleshooting
Problem Possible Cause & Solutions
Command Center
won’t power on:
• Check wires for voltage. The Command Center Phone uses the blue, blue white pair of
wires and should have 28vdc on them.
• If wires show 0v, verify the DKP port on the Distribution Module is being used.
• If wires show 48vdc, the Command Center Phone is connected to an SLT port and needs
to be moved to the DKP port.
• Verify the RJ11 jack is plugged into the correct plug on the back of the Command Center
phone.
Phones won’t
register:
• Verify the SIP Extension settings on the Distribution Module match the Emergency
Phones.
• Verify the Authentication Password meets system complexity requirements.
• Verify the IP address hasn’t been blacklisted. After logging into the Distribution Module,
scroll down to VoIP Conguration, click Blacklist IP Address, SIP Extensions, Clear All.
• Verify nothing else on the network shares the IP address assigned to the phone.
• Make sure the IP address of the Emergency Phone is in the same network as the SIP
Server.
Phones won’t call
the Command
Center:
• Verify the Command Center is fully booted and displays 3001 on the screen.
• Verify phones show Registered under SIP Extension Status.
• Verify phones are programmed to dial 3931.
Calls won’t forward
out:
• Verify call forwarding has been set up on the Command Center.
• Verify the Command Center can place a call out by lifting the handset, dialing 9, then a
phone number. If a message shows up on the Command Center screen saying, “All
Trunks Busy”, the system does not have an active phone line connected to it.
• Verify the phone line is connected to the TWT port and is using the blue, blue white pair.
Phone line should have voltage and dial tone on it.
• Verify dialing string for forwarding number.
Blue light on the top
right corner of the
Command Center
won’t stop blinking:
• A blinking light indicates a missed call.
• To clear the missed calls, click the button under “LOGS” on the Command Center screen.
When the screen displays “Missed Calls” click the green button and use the arrows to
scroll up and down to view the calls. Press the speaker phone button to exit.
Phones won’t hang
up:
• RATH® 2100 Series IP Phones require an Open-Loop Disconnect signal to properly hang
up. This setting should be pre-programmed into the phones but may need to be increased.
• Follow the instructions provided with the Emergency Phones to navigate and modify this
setting.
• The operator at the Command Center or monitoring location can press *, # before they
hang up to force the Emergency Phone to hang up.
Insufcient volume
on phones:
• Adjust the local volume potentiometer (VR1) on the Emergency Phone.
• If the volume is still poor, log into the Distribution Module and scroll down to VoIP
Conguration in the left side menu. Click SIP Gain Settings and modify the SIP-SYSTEM
Rx-Gain settings in the Template 1 column. It isn’t recommended to exceed 6 dB as it
may cause feedback. Click Submit to save.
Other manuals for Command Center
4
Table of contents
Other Rath Conference System manuals
Popular Conference System manuals by other brands

Alicat
Alicat BB9 operating manual

Lucent Technologies
Lucent Technologies MERLIN LEGEND Release 6.1 System programming and maintenance

Aiphone
Aiphone GT SERIES Quick start installation guide

Stentofon
Stentofon Pro700 Installation and programming guide

Algodue ELETTRONICA
Algodue ELETTRONICA KNX user manual

Cisco
Cisco Webex Room 70 Dual installation guide