2
The glass bulb consists of an accurately controlled amount of
special fluid hermetically sealed inside a precisely manufactured
glass capsule. This glass bulb is specially constructed to
provide fast thermal response.
At normal temperatures, the glass bulb contains the fluid in
both the liquid and vapor phases. The vapor phase can be seen
as a small bubble. As heat is applied, the liquid expands, forcing
the bubble smaller and smaller as the liquid pressure increases.
Continued heating forces the liquid to push out against the
bulb, causing the glass to shatter, opening the waterway and
allowing the deflector to distribute the discharging water.
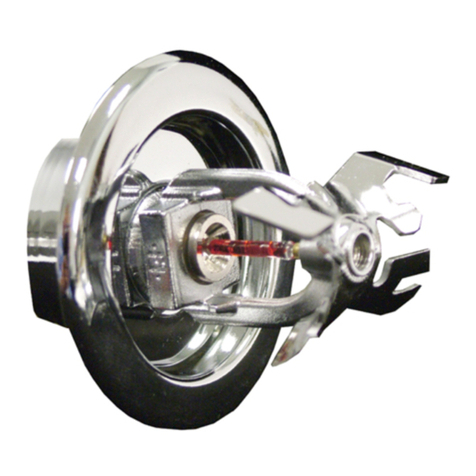
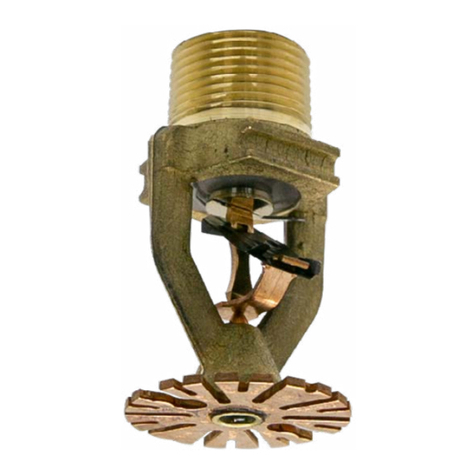
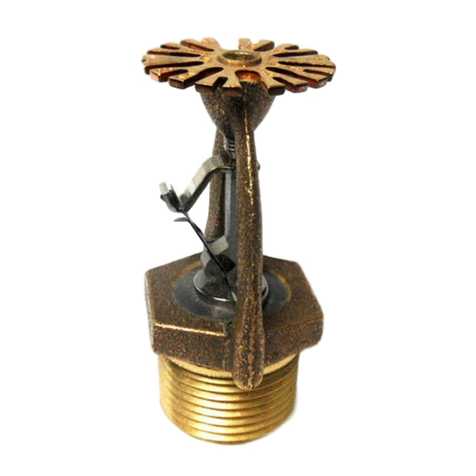
Model F1FR Series sprinklers provide a wide range of options
where quick-response, glass bulb sprinklers are used:
• Pendent, recessed pendent, upright, horizontal
sidewall, and vertical sidewall deflectors
• K-factors of 2.8 (40 metric), 4.0 (57 metric), 4.2
(60metric), and 5.6 (80 metric)
• Flush, recessed, and concealed installations
See the Design and Installation Information table in this
Bulletin for information on the approvals and availability of
specific Model F1FR series sprinkler configurations.
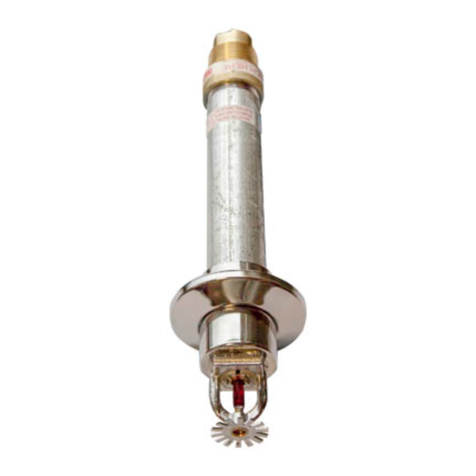
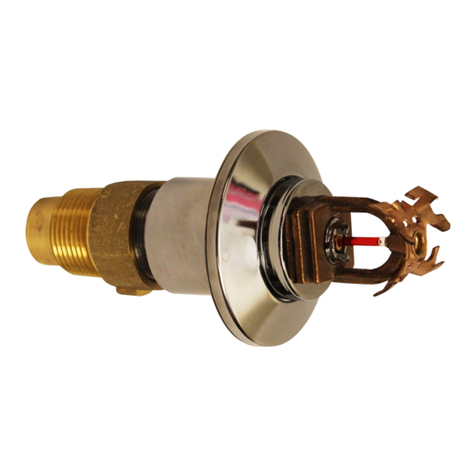
Model F1FR Recessed Pendent and Recessed Horizontal
Sidewall sprinklers are required to be used with Reliable Model
F1, F2, or FP recessed escutcheons. See the Recessed
Escutcheon Data table in this Bulletin for listing and approval
information with each specific Model F1FR series sprinkler.
Model F1 and F2 recessed escutcheons, shown in Fig. 1 and
3, are a friction fit assembly allowing for 3/4" (19 mm) and 1/2"
(12.7 mm) of adjustment, respectively. Model FP recessed
escutcheons, shown in Fig. 2, provide a 1/2" (12.7 mm)
threaded adjustment.
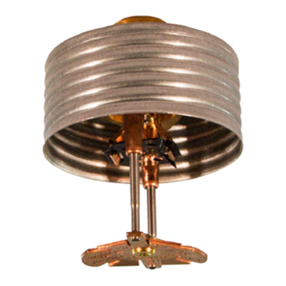
Model F1FR56 Concealed Pendent and Model F1FR56LL
Concealed Pendent sprinklers are required to be used with
Model CCP cover plates. A standard profile Model CCP cover
plate is available that provides up to 1/2" (12.7 mm) of cover
plate adjustment. In addition, a low profile Model CCP cover
plate is also available that provides up to 5/16" (8.0 mm) of cover
plate adjustment. See the Design and Installation Information
and Listed and Approved Temperature Ratings tables in this
Bulletin for further information on approved cover plate options.
Application
Model F1FR Series sprinklers are intended for use in
accordance with NFPA 13, FM Property Loss Prevention
Data Sheets, and the requirements of the Authority Having
Jurisdiction. Care must be exercised that the K-factor,
temperature rating, deflector style, and sprinkler type are in
accordance with the requirements of the applicable design
and installation standards. In addition, Model F1FR Series
sprinklers must be used in accordance with their listings and
approvals, as well as the information provided in this Bulletin.
Installation
Glass bulb sprinklers have orange bulb protectors or
protective caps to minimize bulb damage during shipping,
handling and installation. Reliable sprinkler installation wrenches
are designed to install sprinklers with bulb protectors in place.
Remove the bulb protector at the time when the sprinkler
system is placed in service for fire protection. Removal of the
bulb protector before this time may leave the bulb vulnerable
to damage. Remove bulb protectors by undoing the clasp by
hand. Do not use tools to remove bulb protectors.
Model F1FR Series sprinklers must be installed with the
Reliable sprinkler installation wrench identified in the Design
and Installation Information table in this Bulletin. Any other
wrench may damage the sprinkler. A leak tight sprinkler
joint can be obtained with a torque of 8 to 18 lb-ft (11
to 24 N-m). Do not tighten sprinklers over the maximum
recommended installation torque. Exceeding the maximum
recommended installation torque may cause leakage or
impairment of the sprinkler.
Recessed Sprinklers
Model F1FR Series Recessed sprinklers are to be installed
as shown in Fig. 1, Fig. 2, or Fig. 3, as applicable to the specific
model being installed. The Recessed Escutcheon Data table
in the Bulletin identifies the only recessed escutcheons that are
permitted to be used with each Model F1FR Series Recessed
sprinkler. The use of any other recessed escutcheon will void
all approvals and negate all warranties.
Concealed Sprinklers
Model F1FR Series Concealed Pendent sprinklers are to
be installed as shown in Fig. 4 or Fig. 5, as applicable to the
selected cover plate. Model F1FR56 Concealed Pendent
and Model F1FR56LL Concealed Pendent sprinklers have a
factory-installed Model CCP cup. A protective cap is installed
at the factory that should remain on the sprinkler until the
sprinkler is installed and should then be reinstalled on the
sprinkler until the cover plate is installed. The concealed
sprinkler assemblies are completed by the installation of a
Model CCP push-on/thread-off cover plate assembly. The
cover plate and sprinkler cup assemblies are joined using a
cover plate skirt with flexible tabs for threaded engagement.
A choice of two Model CCP cover plate assemblies provides
either 1/2" (13 mm) or 5/8" (8 mm) of cover adjustment. Do
not install Model F1FR Series Concealed Pendent sprinklers
in ceilings which have positive pressure in the space above.
Model F1FR Series Concealed Pendent sprinklers require
a 2
-
5/8" (67 mm) diameter hole to be cut in the ceiling.
The Model RC1 wrench is used to engage the sprinkler
wrenching surfaces and to install the sprinkler in the fitting.
Remove the protective cap to install the sprinkler, then
reinstall the protective cap until the cover plate is installed.
When inserting or removing the wrench from the sprinkler/
cup assembly, care should be taken to prevent damage to
the sprinkler. Do not wrench any other part of the sprinkler/
cup assembly. Installation is completed by removing the
protective cap from the sprinkler and pushing the cover plate
onto the cup. Final adjustment is made by hand turning the
cover plate until the skirt flange makes full contact with the
ceiling. Cover plate removal requires turning the cover plate
in the counter clockwise direction. After installation, inspect
all sprinklers to ensure that there is a gap between the cover
plate and ceiling and that the four cup slots are open and free
from any air flow impediment to the space above.
Concealed cover plate/cup assemblies are listed only for use
with specific sprinklers. The use of any concealed cover plate/
cup assembly other than the Reliable Model CCP with Model
F1FR56 Concealed Pendent and Model F1FR56LL Concealed
Pendent sprinklers or the use of the Model CCP Concealed
