Ricoh FT3813, FT4615, FT4618 User manual

FT3813/4615/4618 OPERATING INSTRUCTIONS
)76;46279482794;
)76;46279482794;)76;46279482794;
)76;46279482794;
OPERATING INSTRUCTIONS
Read this manual carefully before you use this product and keep it handy for future
reference.
For safety, please follow the instructions in this manual.
RICOH COMPANY, LTD.
15-5, 1 chome, Minami-Aoyama, Minato-ku, Tokyo
Telephone: Tokyo 3479-3111
Overseas Affiliates
U.S.A.
RICOH CORPORATION
5 Dedrick Place
West Caldwell, New Jersey 07006
Phone: +1-973-882-2000
The Netherlands
RICOH EUROPE B.V.
Groenelaan 3, 1186 AA,
Amstelveen
Phone: +31-(0)20-5474111
United Kingdom
RICOH UK LTD.
Ricoh House,
1 Plane Tree Crescent, Feltham,
Middlesex, TW13 7HG
Phone: +44-(0)181-261-4000
Germany
RICOH DEUTSCHLAND GmbH
Mergenthalerallee 38-40,
65760 Eschborn
Phone: +49-(0)6196-9060
France
RICOH FRANCE S.A.
383, Avenue du Général de Gaulle
BP 307-92143 Clamart Cedex
Phone: +33-(0)1-40-94-38-38
Spain
RICOH ESPAÑA S.A.
Av.Litoral Mar, 12-14,
08005 Barcelona
Phone: +34-(0)93-295-7600
Italy
RICOH ITALIA SpA
Via della Metallurgia 12,
37139 Verona
Phone: +39-045-8181500
Hong Kong
RICOH HONG KONG LTD.
23/F., China Overseas Building,
139, Hennessy Road,
Wan Chai, Hong Kong
Phone: +852-2862-2888
Singapore
RICOH ASIA PACIFIC PTE.LTD.
260 Orchard Road,
#15-01/02 The Heeren,
Singapore 238855
Phone: +65-830-5888
Printed in China
AE AE B019-8608
KF2JrR_Cov1-4.fm Page 1 Wednesday, December 8, 1999 2:49 PM

Introduction
This manual contains detailed instructions on the operation and maintenance of this machine. To get max-
imum versatility from this machine all operators should carefully read and follow the instructions in this man-
ual. Please keep this manual in a handy place near the machine.
Please read the Safety Information before using this machine. It contains important information related to
USER SAFETY and PREVENTING EQUIPMENT PROBLEMS.
Notes:
Some illustrations may be slightly different from your machine.
Certain options may not be available in some countries. For details, please contact your local dealer.
Notes:
The model names of the machines do not appear in the following pages.
Check the model of your machine before reading this manual. (For details, see page ix)
•Type 1 : FT3813
•Type 2 : FT4615
•Type 3 : FT4618
Centain types might not be available in some countries. For details please contact your local dealer.
Two kinds of size notation are employed in this manual. With this machine refer to the metric version.
For good copy quality, Ricoh recommends that you use genuine Ricoh toner.
Ricoh shall not be responsible for any damage or expense that might result from the use of parts other than
genuine Ricoh parts in your Ricoh office product.
Power Source
220/230V, 50/60Hz, 8A or more
Please be sure to connect the power cord to a power source as above. For details about power source, see
⇒P.73 “Power Connection”.
In accordance with IEC 60417, this machine uses the following symbols for the main power switch.
ameans POWER ON.
cmeans STAND BY.
Copyright © 1999 Ricoh Co., Ltd.
KF2JrR_Cov2-3.fm Page 1 Wednesday, December 8, 1999 2:49 PM

Safety Information
When using your equipment, the following safety precautions should always
be followed.
Safety During Operation
In this manual, the following important symbols are used:
WARNING:
Ignoring this warning could cause serious injury or even
death.
CAUTION:
Ignoring this caution could cause injury or damage to property.
KF2Jr-AE-1
Safety Information
i

WARNINGS:
•
Connect the power cord directly into a wall outlet and never use
an extension cord.
•
Disconnect the power plug (by pulling the plug, not the cable) if
the power cable or plug becomes frayed or otherwise damaged.
•
To avoid hazardous electric shock or laser radiation exposure, do
not remove any covers or screws other than those specified in this
manual.
•
Turn off the power and disconnect the power plug (by pulling the
plug, not the cable) if any of the following conditions exists:
•
You spill something into the equipment.
•
You suspect that your equipment needs service or repair.
•
Your equipment’s cover has been damaged.
•
Do not incinerate spilled toner or used toner. Toner dust might ig-
nite when exposed to an open flame.
•
Disposal can take place at our authorized dealer or at appropriate
collection sites.
•
Dispose of the used toner bottle in accordance with the local regu-
lation.
KF2Jr-AE-1
Safety Information
ii

CAUTIONS:
•
Protect the equipment from dampness or wet weather, such as
rain, snow, and so on.
•
Unplug the power cord from the wall outlet before you move the
equipment. While moving the equipment, you should take care that
the power cord will not be damaged under the equipment.
•
When you disconnect the power plug from the wall outlet, always
pull the plug (not the cable).
•
Do not allow paper clips, staples, or other small metallic objects to
fall inside the equipment.
•
Keep toner (used or unused) and toner bottle out of the reach of
children.
•
For environmental reasons, do not dispose of the equipment or ex-
pended supply waste at household waste collection points. Dis-
posal can take place at an authorized dealer or at appropriate col-
lection sites.
•
The inside of the machine could be very hot. Do not touch the
parts with a label indicating the "hot surface". Otherwise it could
cause a personal burn.
•
Our products are engineered to meet high standards of quality and
functionality, and we recommend that you only use the expendable
supplies available at an authorized dealer.
•
Before moving the equipment, be sure to pull all four handles fully
out. Not doing this may result in an injury, such as getting your fin-
gers pinched. After moving the equipment, return the four handles
to their original positions.
KF2Jr-AE-1
Safety Information
iii

ENERGY STAR PROGRAM
As an ENERGY STAR Partner, we have determined
that this machine model meets the ENERGY STAR
Guidelines for energy efficiency.
The ENERGY STAR Guidelines intend to established an international energy-saving
system for developing and introducing energy-efficient office equipment to deal with
environment issues, such as global warming.
When a product meets the ENERGY STAR Guidelines for energy efficiency, the Partner
shall place the ENERGY STAR logo onto the machine model.
This products was designed to reduce the environment impact associated with office
equipment by means of energy-saving features, such as Low-power Mode.
•Low-power Mode
This product automatically lowers its power consumption 1 minute after the
last copying job has been completed. To exit Low-power mode, press the
Clear Modes/Energy Saver key. For how to change settings, ☛see page
61.
•Auto Off Mode
To conserve energy, this copier automatically turns off 30 minutes after the
last copying job has been completed. To exit the Auto Off Mode, turn on the
main switch. For how to change the default interval before entering Auto Off
mode, ☛ see page 61.
Specification
Low-power Mode Power consumption about 0.12 kW
Default interval 1 min.
Recovery time 10 sec.
Auto Off Mode Power consumption 0 W *1
Default interval 30 min.
*1 Based on Energy Star measurements.
Recycled paper
Please contact your sales or service representative for recommended recy-
cled paper types that may be used in this machine.
KF2Jr-AE-TOC2
ENERGY STAR PROGRAM
iv

TABLE OF CONTENTS
WHAT YOU CAN DO WITH THIS COPIER.................................................x
WHERE IT IS & WHAT IT IS........................................................................2
COPIER EXTERIOR AND INTERIOR ........................................................2
OPERATION PANEL ..................................................................................4
BASICS
STARTING THE COPIER ............................................................................10
When The Main Switch Is In The Standby Position....................................10
When The Energy Saver Indicator Is On.....................................................11
COPY PAPER AND TONER
COPY PAPER..............................................................................................14
Available Paper Sizes ..................................................................................14
Non-recommended Copy Paper...................................................................14
Notes For Copy Paper .................................................................................15
Paper Storage ..............................................................................................15
TONER...........................................................................................................16
Notes For Toner...........................................................................................16
Toner Storage ..............................................................................................16
ORIGINALS
RECOMMENDED ORIGINALS AND NON-RECOMMENDED ORIGINALS .....18
Recommended Originals..............................................................................18
Non-recommended Originals For The Optional Document Feeder.............18
SETTING ORIGINALS ON THE EXPOSURE GLASS ................................19
SETTING ORIGINALS IN THE OPTIONAL DOCUMENT FEEDER ..........20
Setting A Stack Of Originals ........................................................................20
Setting One Original At A Time .................................................................22
KF2Jr-AE-TOC
TABLE OF CONTENTS
v

COPYING
BASIC COPYING ..........................................................................................26
BASIC FUNCTIONS .....................................................................................28
Adjusting Copy Image Density ...................................................................28
Photo Mode ................................................................................................. 29
Copying From The Bypass Feed Table .....................................................30
Entering Copy Job Settings During The Warm-up Period (Auto Start) .....33
REDUCING AND ENLARGING ..................................................................34
Reducing And Enlarging Using Preset Ratios (Preset R/E) .......................34
Reducing And Enlarging In 1% Steps (Zoom) ...........................................35
MAKING TWO-SHEETS COPIES FROM BOOK ORIGINALS
(SERIES COPIES).........................................................................................36
FINISHING (OPTION OF TYPE 2 AND 3) ...................................................38
Sorting Into Sets (123, 123, 123) (Sort) ..................................................38
Stacking Together All Copies Of A Page (111, 222, 333) (Stack) ..........40
COPYING WITH USER CODES...................................................................42
SAVING ENERGY ........................................................................................43
COMBINATION CHART................................................................................44
WHAT TO DO IF SOMETHING GOES WRONG
IF YOUR COPIER DOES NOT OPERATE AS YOU WANT .......................46
IF YOU CANNOT MAKE COPIES AS YOU WANT.....................................48
LOADING PAPER.........................................................................................49
Loading Paper In The Paper Tray...............................................................49
ADDING TONER ...........................................................................................51
KF2Jr-AE-TOC3
TABLE OF CONTENTS
vi

CLEARING MISFEEDS ................................................................................52
Check The Misfeed Location Display ..........................................................52
When A,B Or C Is Lit ...................................................................................53
When R Is Lit ...............................................................................................53
When P Is Lit................................................................................................54
CHANGING THE COPIER’S SETTINGS
CHANGING PAPER SIZE ............................................................................56
How To Change The Paper Size Of Paper Tray.........................................56
USER TOOLS................................................................................................58
How To Access User Tools ........................................................................58
How To Change Adjustment Values Or Modes...........................................59
User Tool Menu............................................................................................60
SERVICE REPRESENTATIVE SETTINGS ..................................................68
MAINTAINING YOUR COPIER
DO’S AND DON’TS
WHERE TO PUT YOUR COPIER
REMARKS
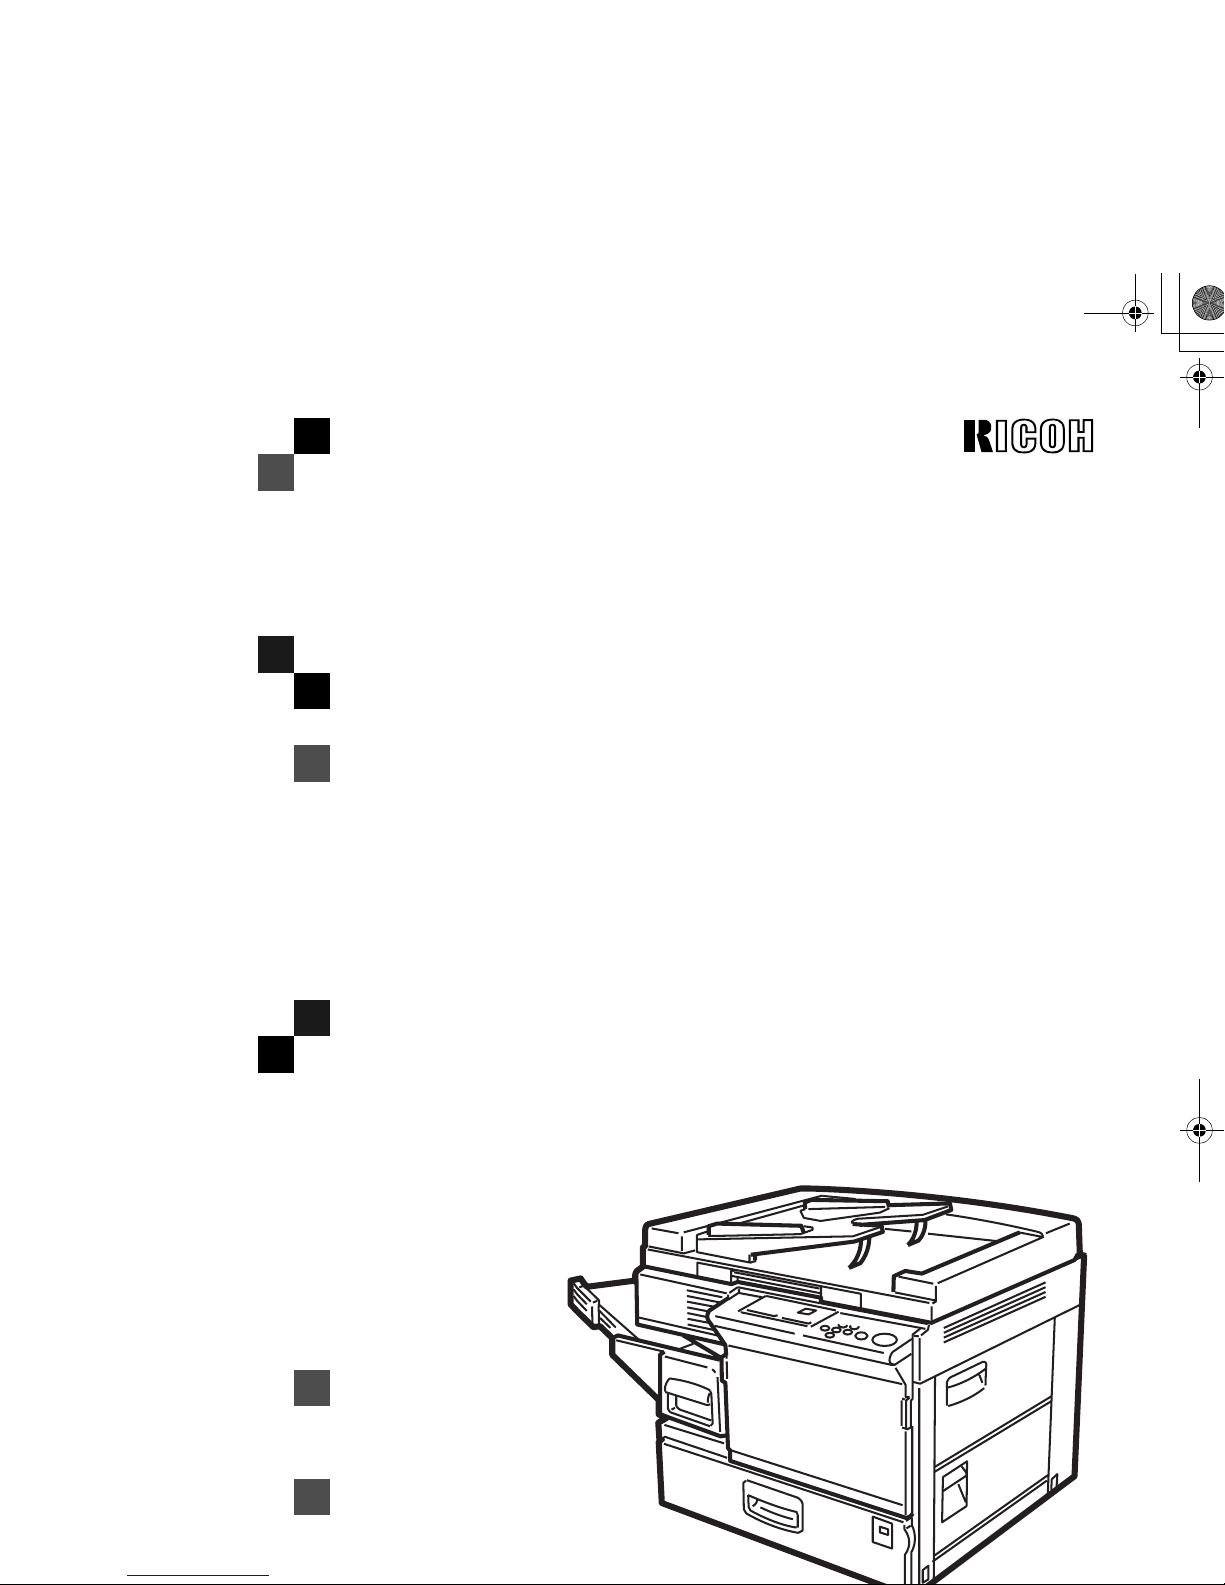
MAINTAINING YOUR COPIER.....................................................................70
Copier...........................................................................................................70
Document Feeder (Option)...........................................................................71
WHERE TO PUT YOUR COPIER.................................................................72
Copier Environment......................................................................................72
Power Connection .......................................................................................73
Access To Copier.........................................................................................74
DO’S AND DON’TS.......................................................................................75
Copier...........................................................................................................75
Document Feeder (Option)...........................................................................75
10-bin Sorter (Option)...................................................................................75
KF2Jr-AE-TOC3
TABLE OF CONTENTS
vii

REMARKS.....................................................................................................76
Copier ..........................................................................................................76
10-bin Sorter (Option).................................................................................. 76
SPECIFICATIONS
COPIER..........................................................................................................78
DOCUMENT FEEDER (OPTION) .................................................................82
10-BIN SORTER (OPTION) ..........................................................................83
INDEX
INDEX ............................................................................................................86
TROUBLESHOOTING...................................................................................90
KF2Jr-AE-TOC3
TABLE OF CONTENTS
viii

MACHINE TYPES
There are three models of this machine. The main differences between
them are copy speed and paper tray capacity. To make sure which model
you have, see the inside front cover.
Copy speed
Type 1 : 13 copies / minutes(A4:, 8 1/2" x 11":)
Type 2 : 15 copies / minutes(A4:, 8 1/2" x 11":)
Type 3 : 18 copies / minutes(A4:, 8 1/2" x 11":)
Paper tray capacity
Type 1 : 250 sheets x 1(80g/m2, 20 lb)
Type 2 : 500 sheets x 1(80g/m2, 20 lb)
Type 3 : 250 sheets x 2 (80g/m2, 20 lb)
KF2Jr-AE-TOC3
TABLE OF CONTENTS
ix

WHAT YOU CAN DO WITH THIS COPIER
*1: Options of Type 2 and 3 only.
Sorting into sets (123, 123, 123)*1
☛ See pages 38 ~ 39.
Stacking together all copies of a page (111, 222, 333)*1
☛ See pages 40 ~ 41.
Making one-sided copies from facing pages
☛ See pages 36 ~ 37.
Reducing and enlarging in 1% steps
☛ See page 35.
KF2Jr-AE-2-2
WHAT YOU CAN DO WITH THIS COPIER
x

❐Make enlarged copies of this facing pages and stick them on the wall.
The bypass feed table is
open. You can copy from it. Copying photographic
originals.
☛ See pages 30 ~ 32. ☛ See page 29.
Reducing using preset ratios Enlarging using preset ratios
☛ See page 34.
☛ See page 34.
KF2Jr-AE-2-2
1

WHERE IT IS & WHAT IT IS
COPIER EXTERIOR AND INTERIOR
KF2Jr-AE-2
13
14
WHERE IT IS & WHAT IT IS
2

1. Left scale Use to align originals on the exposure glass.
2. Main switch Switches the copier between on and standby
conditions. ("standby" means that the optional
anticondensation heater is on.)
3. Copy tray Completed copies are delivered here.
4. Paper tray Type 1: 250 sheets x 1
Type 2: 500 sheets x 1
Type 3: 250 sheets x 2
5. Platen cover Lower this cover over originals for copying.
6. Exposure glass Position originals here face down for copying.
7. Operation panel Operator controls and indicators are located here.
8. Front cover Open to access the inside of the copier.
9. 10-bin sorter
(Option of Type 2
and 3)
Completed copies are sorted or stacked here.
10. Document feeder
(Option) Insert a stack of originals here. The originals are
individually fed onto and removed from the expo-
sure glass.
11. Bypass feed table Use to copy onto paper of unusual size or
weight, or color paper.
12. Right Side Cover Open to remove misfed papers.
13. Toner Bottle Replace the toner bottle when the fAdd Toner
indicator is lit.
14. Fusing Unit Fuses the copy image to the paper. When ac-
cessing the inside of the copier, use caution.
This unit may be very hot.
KF2Jr-AE-2
WHERE IT IS & WHAT IT IS
3

OPERATION PANEL
Keys
KF2Jr-AE-2
3
9
1
2
4
57
68
1. Sorter key (option of Type 2
and 3)
☛ See pages 38 ~ 41
2. Series Copies key
☛ See page 36
3. Zoom Up key
Press or hold down to increase
the reproduction ratio in 1% steps.
☛ See page 35.
4. Zoom Down key
Press or hold down to reduce the
reproduction ratio in 1% steps.
☛ See page 35.
5. Reduce and Enlarge keys
☛ See page 34.
6. Full Size key
☛ See page 26.
7. Select Paper Tray key
Press to select a tray for the
paper feed. ☛ See page 26.
8. Photo Mode key
☛ See page 29.
9. Lighter and Darker keys
☛ See page 28.
WHERE IT IS & WHAT IT IS
4

KF2Jr-AE-2
10 11 13
12 14
10. Auto Image Density key
☛ See page 28.
11. Number keys
Use to enter the desired num-
ber of copies. They are also
used to enter data.
12. Clear/Stop key
Press to cancel the copy
number entered. While copy-
ing, press to stop copying.
This key is also used to clear
data.
13. Start key
Press to start copying. Use to
set the Auto Start. ☛ See
page 33.
14. Clear Modes/Energy Saver
key
Press to clear the copier of
previously entered settings.
Press this key for more than 1
second to enter/exit the
Energy Saver mode. ☛ See
pages 11 and 43.
WHERE IT IS & WHAT IT IS
5

Indicators
Type 1
Type 2
Type 3
KF2Jr-AE-2
WHERE IT IS & WHAT IT IS
6

KF2Jr-AE-2
1. Stack indicator (option of
Type 2 and 3)
☛ See page 40.
2. Sort indicator (option of
Type 2 and 3)
☛ See page 38.
3. Reduce and Enlarge indicator
☛ See page 34.
4. Bypass Feed indicator
☛ See page 30.
5. Check Paper Size indicator
☛ See pages 47.
6. Add Toner indicator
Blinks when the toner bottle is
nearly empty. Lights when the
toner bottle is empty, it is lit.
☛ See pages 51.
7. Check Paper Path indicator
Lights it a paper misfeed occurs,
it is lit. ☛ See pages 52 ~ 54.
8. Misfeed Location display
Shows the location of misfed
paper . ☛ See pages 52 ~ 54.
9. Ready indicator
Lights when the machine is ready
to make copies. ☛See page 10.
10. Wait indicators
It is lit during the warm-up period.
☛ See page 10.
11. Copy Counter
Indicates the number of copies.
12. Auto Image Density indicator
☛ See page 28.
13. Manual Image Density indicator
☛ See page 28.
14. Paper Size indicator
Shows the selected paper
tray, paper size and direction.
15. Photo Mode indicator
☛ See page 29.
16. Three Digit indicator
Data display.
17. Series copies indicator
☛ See page 36.
WHERE IT IS & WHAT IT IS
7
Table of contents
Other Ricoh Copier manuals

Ricoh
Ricoh Aficio 2075 User manual

Ricoh
Ricoh E7 Series Service manual

Ricoh
Ricoh A220 User manual

Ricoh
Ricoh MP 401 spf User manual

Ricoh
Ricoh B003 User manual

Ricoh
Ricoh FT5034C User manual

Ricoh
Ricoh Afico 3030 User manual

Ricoh
Ricoh PS430 User manual

Ricoh
Ricoh Aficio 480W User manual

Ricoh
Ricoh SWALLOW 2 User manual