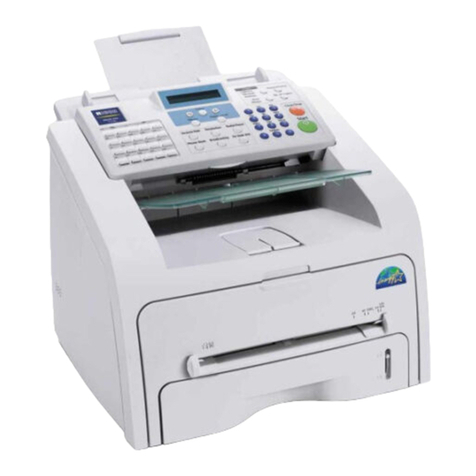
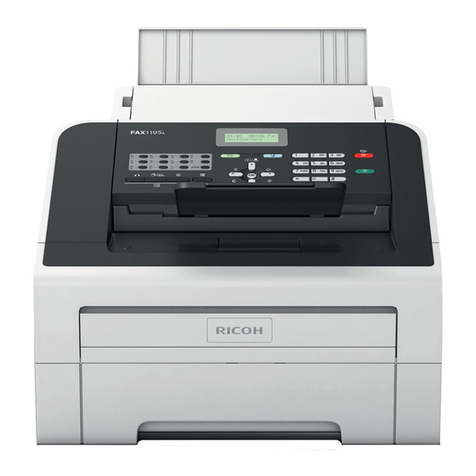
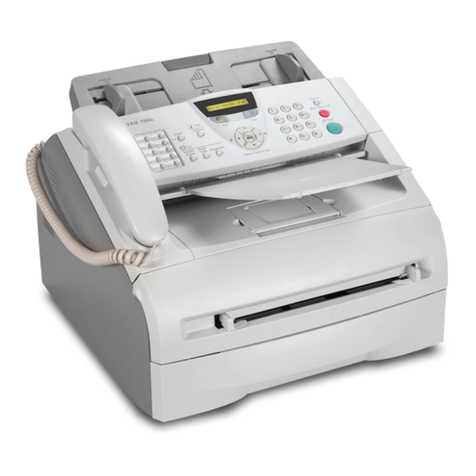
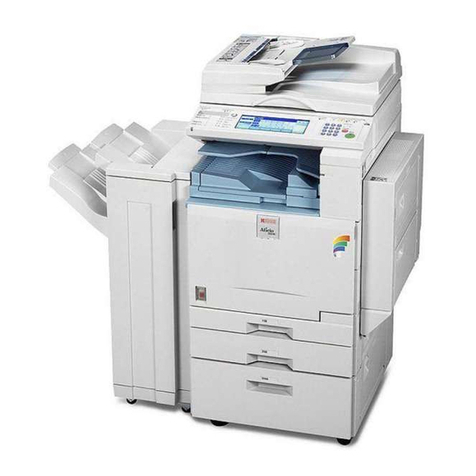
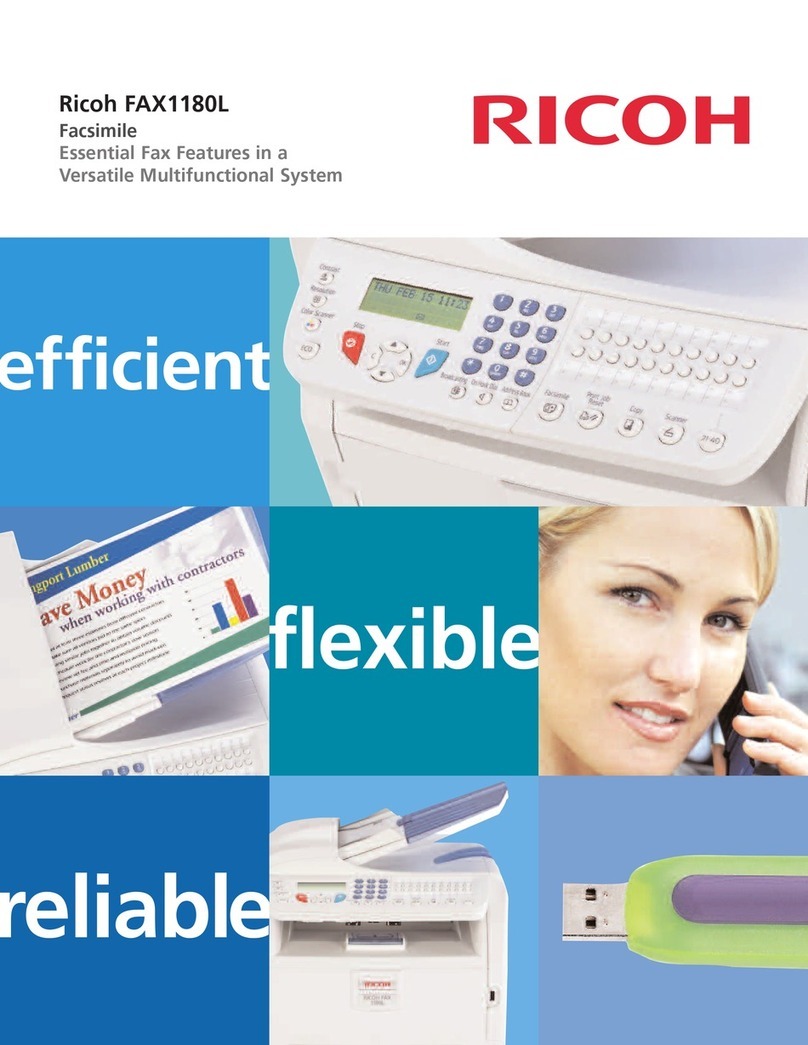
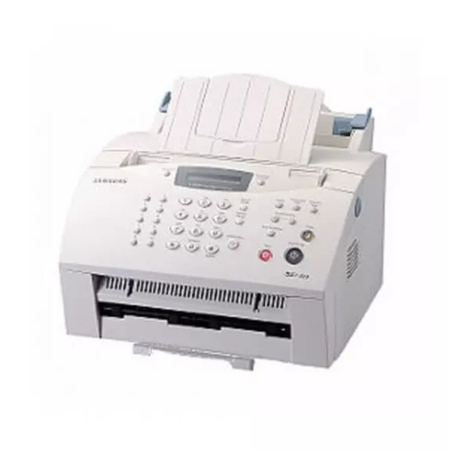
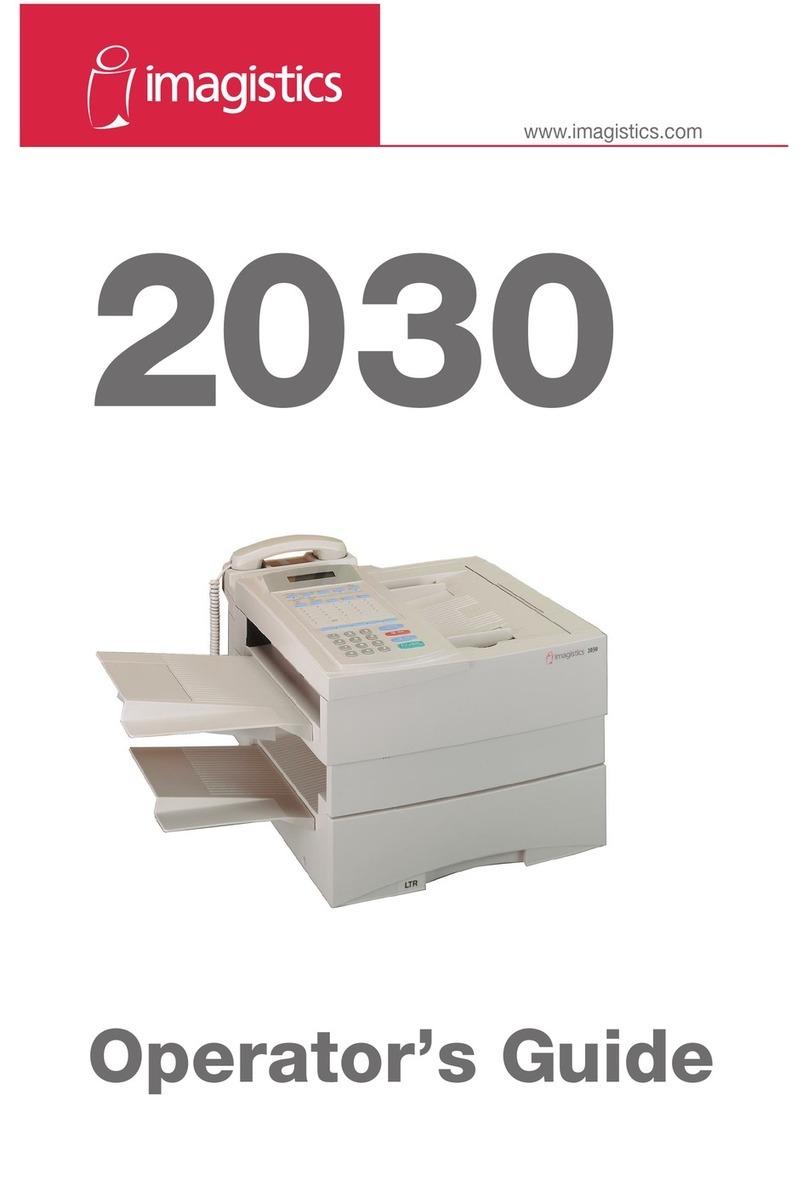
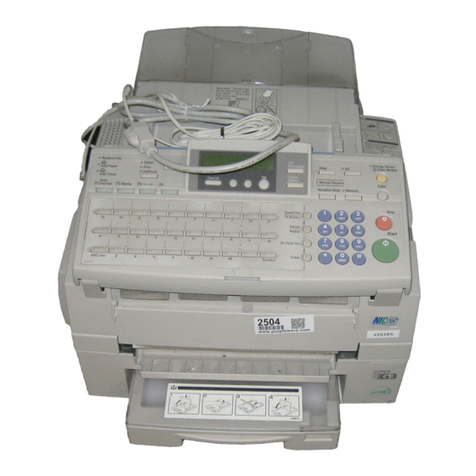
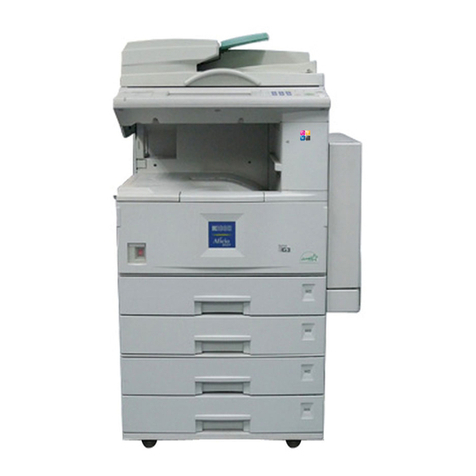
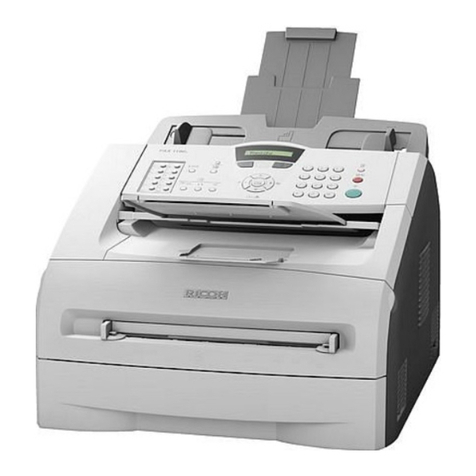
Ricoh fax1160l User manual


Trademarks
• Windows, Windows 95, Windows 98, Windows Me, Windows NT, Windows 2000
and Windows XP are trademarks of Microsoft corporation.
• Ot er names and trademarks mentioned in t is manual are trademarks of t eir
respective olders.

I
Introduction
Welcome! ––––––––––––––––––––––––––––––––––––––––– 1.1
Contents –––––––––––––––––––––––––––––––––––––––––– 1.3
Identifying Parts ––––––––––––––––––––––––––––––––––– 1.4
Setting Up Your Machine
C oosing a Location –––––––––––––––––––––––––––––––– 1.9
Preparing Your Mac ine for Use ––––––––––––––––––––– 1.9
Attac ing t e Supports –––––––––––––––––––––––––––– 1.10
Connecting to t e P one Line –––––––––––––––––––––– 1.11
Connecting to t e Computer (MFP model only) –––––– 1.12
Plugging In t e Power ––––––––––––––––––––––––––––– 1.13
Loading Paper –––––––––––––––––––––––––––––––––––– 1.13
Installing t e Toner Cartridge –––––––––––––––––––––– 1.16
Setting t e Date and Time ––––––––––––––––––––––––– 1.18
Setting Your Fax Number and Name –––––––––––––––– 1.19
Contents
Getting Started
Setting Up Stand-alone Fax System
Setting Volume –––––––––––––––––––––––––––––––––– 2.1
Setting Alert Tones ––––––––––––––––––––––––––––––– 2.2
Setting User-Selectable System Options –––––––––––––– 2.2
Sending a Fax
Preparing Documents for Faxing or Copying ––––––––––– 2.7
Setting Document Resolution and Contrast –––––––––––– 2.8
Loading Documents ––––––––––––––––––––––––––––––– 2.9
Sending a Fax Automatically ––––––––––––––––––––––– 2.10
Sending a Fax After Talking ––––––––––––––––––––––– 2.11
1
2
Stand-alone Fax

II
Receiving a Fax
About
Reception Modes –––––––––––––––––––––––––– 2.12
Loading Paper for Receiving Faxes
–––––––––––––––– 2.13
Receiving Automatically in FAX Mode –––––––––––––––– 2.13
Receiving in AUTO Mode –––––––––––––––––––––––––– 2.14
Receiving Automatically in ANS/FAX Mode –––––––––––– 2.14
Receiving Manually in TEL Mode –––––––––––––––––––– 2.15
Receiving Manually Using Remote Receive Start Code ––– 2.15
Making a Copy
Copying Overview ––––––––––––––––––––––––––––––– 2.16
Making a Single Copy –––––––––––––––––––––––––––– 2.16
Using Advanced Copy Features ––––––––––––––––––––– 2.17
utomatic Dialling
How To Enter a Name Using t e Number Keys ––––––––– 2.18
One-Touc Dialling –––––––––––––––––––––––––––––– 2.20
Speed Dialling –––––––––––––––––––––––––––––––––– 2.22
Searc ing for a Number in t e Memory –––––––––––––– 2.24
Transmission Options
Broadcasting ––––––––––––––––––––––––––––––––––– 2.25
Delayed Fax –––––––––––––––––––––––––––––––––––– 2.26
Priority Fax –––––––––––––––––––––––––––––––––––– 2.28
Polling –––––––––––––––––––––––––––––––––––––––– 2.29
Adding Documents To a Sc eduled Operation ––––––––– 2.31
Cancelling a Sc eduled Operation ––––––––––––––––––– 2.31
dditional Functions
Monitoring a Dual Job Status ––––––––––––––––––––––– 2.32
Forwarding Received Faxes –––––––––––––––––––––––– 2.32
Printing Reports ––––––––––––––––––––––––––––––––– 2.33
Group Dialling (for Multi-Address Transmission) ––––––––––– 2.35
Stand-alone Fax (continued)
2

III
Contents (continued)
Installing Software
System Requirements –––––––––––––––––––––––––––––– 3.1
Installing t e Software ––––––––––––––––––––––––––––– 3.1
Uninstalling t e Software ––––––––––––––––––––––– 3.3
Print Media
Selecting Print Media ––––––––––––––––––––––––––––––– 3.5
Using t e Automatic Paper Input Tray –––––––––––––––– 3.7
Using t e Manual Paper Input Tray –––––––––––––––––– 3.9
Specialty Paper Guidelines ––––––––––––––––––––––––– 3.12
Printing
Printing a Document –––––––––––––––––––––––––––––– 3.13
Cancelling a Print Job ––––––––––––––––––––––––––––– 3.16
Printing Help ––––––––––––––––––––––––––––––––––––– 3.17
Printing Several Pages Per S eet ––––––––––––––––––– 3.18
Scaling Your Document –––––––––––––––––––––––––––– 3.19
Fitting Your Document to a Selected Paper Size –––––– 3.20
Printing Posters ––––––––––––––––––––––––––––––––––– 3.21
Printing Watermarks –––––––––––––––––––––––––––––– 3.22
Using Page Overlays –––––––––––––––––––––––––––––– 3.24
Printing in a Network Environment ––––––––––––––––– 3.28
Scanning
Scanning from a Windows Application –––––––––––––– 3.30
Type1100 TWAIN for Scan Window ––––––––––––––––– 3.31
Printing and Scanning (MFP model only)
3

IV
Guidelines for Maintenance ––––––––––––––––––––––––– 4.1
Clearing Memory ––––––––––––––––––––––––––––––––––– 4.1
Cleaning t e OPC Drum –––––––––––––––––––––––––––– 4.2
Adjusting S ading ––––––––––––––––––––––––––––––––– 4.2
Setting t e Mac ine to be C ecked by P one ––––––––– 4.3
Sending Toner Low Information
to t e Service Company ––––––––––––––––––––––––––––– 4.3
Cleaning t e Mac ine –––––––––––––––––––––––––––––– 4.4
Managing t e Toner Cartridge ––––––––––––––––––––––– 4.7
Automatic Document Feeder Rubber Pad Replacement 4.10
4
Maintenance
Clearing Paper Jams
––––––––––––––––––––––––––––––––––
5.1
LCD Error Messages
––––––––––––––––––––––––––––––––––
5.5
Fax Problems
––––––––––––––––––––––––––––––––––––––––
5.7
General Printing Problems (MFP model only)
––––––––––
5.9
Print Quality Problems
––––––––––––––––––––––––––––––
5.11
Troubleshooting
5
Connecting Ot er Devices to t e P one line
–––––––––––
A.1
Specifications
––––––––––––––––––––––––––––––––––––––––
A.4
Safety Information
–––––––––––––––––––––––––––––––––––
A.6
Index
––––––––––––––––––––––––––––––––––––––––––––––
A.13
Appendix

Environmental and Safety Consideration
Laser Safety Statement
T e printer is certified in t e U.S. to conform to t e
requirements of DHHS 21 CFR, c apter 1 Subc apter J for Class
I(1) laser products, and elsew ere is certified as a Class I laser
product conforming to t e requirements of IEC 825.
Class I laser products are not considered to be azardous. T e
laser system and printer are designed so t ere is never any
uman access to laser radiation above a Class I level during
normal operation, user maintenance, or prescribed service
condition.
C UTION: Use of controls or adjustment or performance of
procedures other than those specified in this manual
might result in hazardous radiation exposure.
WARNING
Never operate or service the printer with the protective cover removed
from Laser/Scanner assembly. The reflected beam, although invisible, can
damage your eyes.
V

Ozone Safety
During normal operation, t is mac ine produces ozone. t e ozone
produced does not present a azard to t e operator. However, it is
advisable t at t e mac ine be operated in a well ventilated area.
If you need additional information about ozone, please request
your nearest dealer.
Power Saver
T is printer contains advanced energy conservation tec nology
t at reduces power consumption w en it is not in active use.
W en t e printer does not receive data for an extended period of
time, power consumption is automatically lowered.
T e energy star emblem does not represent EPA endorsement of
any product or service.
Radio Frequency Emissions
FCC Regulations
T is equipment as been tested and found to comply wit t e
limits for a Class B digital device, pursuant to Part 15 of t e FCC
Rules. T ese limits are designed to provide reasonable protection
against armful interference in a residential installation. T is
equipment generates, uses and can radiate radio frequency energy
and, if not installed and used in accordance wit t e instructions,
may cause armful interference to radio communications.
However, t ere is no guarantee t at interference will not occur in a
particular installation.
If t is equipment does cause armful interference to radio or
television reception, w ic can be determined by turning t e
equipment off and on, t e user is encouraged to try to correct t e
interference by one or more of t e following measures:
• Reorient or relocate t e receiving antenna.
• Increase t e separation between t e equipment and receiver.
• Connect t e equipment into an outlet on a circuit different from
t at to w ic t e receiver is connected.
• Consult t e dealer or an experienced radio/TV tec nician for
elp.
Do not make any c anges or modifications to t e equipment
unless ot erwise specified in t e manual. If suc c anges or
modifications s ould be made, you must first stop operation of t e
equipment.
Use of s ielded cable is required to comply wit Class B limits in
Subpart B of Part 15 of FCC Rules.
C UTION: Changes or modifications not expressly approved by the
manufacture responsible for compliance could void the
user’s authority to operate the equipment.
VI
Canadian Radio Interference Regulations
T is digital apparatus does not exceed t e Class B limits for
radio noise emissions from digital apparatus as set out in t e
interference-causing equipment standard entitled “Digital
Apparatus”, ICES-003 of t e Industry and Science Canada.
Cet appareil numérique respecte les limites de bruits
radioélectriques applicables aux appareils numériques de Classe
B prescrites dans la norme sur le matériel brouilleur: “Appareils
Numériques”, ICES-003 édictée par l’Industrie et Sciences
Canada.
DDeeccllaarraattiioonn ooff CCoonnffoorrmmiittyy
Notice to Users in EE Countries
T is product complies wit t e essential requirements and
provisions of Directive 1999/5/EC of t e European Parliament
and of t e Council of 9 Marc 1999 on radio equipment and
telecommunications terminal equipment and t e mutual
recognition of t eir conformity.
Notice to Users ccessing nalog PSTN
in EE Countries
T is product is designed to be able to access analog PSTN in all
EEA countries. Local PSTN compatibility is dependent on
software switc settings. Please contact your service
representative if relocating t is product to anot er country. In
t e event of problems, please contact your service
representative in t e first instance.
Ricoh/NRG/L NIER: T e CE Decalration of Conformity is available on t e Internet at URL:
ttp://www.rico .co.jp/fax/ce_doc/
VII
VIII
Memo

chapter
1
1
This chapter provides information on the following topics:
Introduction
◆ Welcome!
◆ Contents
◆ Identifying Parts
Setting Up Your Machine
◆ Choosing a Location
◆ Preparing Your Machine for se
◆ Attaching the Supports
◆ Connecting to the Phone Line
◆ Connecting to the Computer (MFP model only)
◆ Plugging In the Power
◆ Loading Paper
◆ Installing Toner Cartridge
◆ Setting the Date and Time
◆ Setting Your Fax Number and Name

1.1
Getting Started
Welcome!
Thank you for purchasing this product, a powerful business tool with the
capabilities of a full range of office equipment. With this machine, you
can:
Introduction
You can get 600 x 600 dpi high-quality laserjet printing
from this machine. You can create professional documents
using the creative printing features on the various kinds of
print media, such as plain papers, envelopes,
transparencies, label, and so on.
Print (MFP model only)
se this product as a full-featured stand-alone fax
machine to send and receive faxes. Perform advanced
tasks such as delayed transmission, broadcasting, and
unattended memory sending.
Fax

1.2 Getting Started
Make up to 99 copies of a 20-pages document without
having to connect to a PC. You can adjust the contrast,
enlarge or reduce the copies and collate.
A
A
Copy
Scan important documents to create electronic files. se
the scanner to add photo or graphic images to other
software applications or to jazz up your projects.
Scan (MFP model only)

1.3
Getting Started
Document output support
Document input support Power cord *
CD-ROM ser’s Guide Quick Guide
One-touch label for the front panel
and a panel sheet (for Europe only)
Contents
Here’s what comes with this machine.
Toner cartridge
Fax machine
*
: These may look different depending on the country.
Notes:
•
You should use the Telephone line cord which is supplied with the
machine. If you are replacing it with the other vendor’s part, it
should be AWG #26 or lower gage.
•
Power cord must be plugged in grounded power socket.
software CD-ROM
(for MFP model only)
Telephone line cord *

1.4 Getting Started
Identifying Parts
Before setting up your machine, make sure you identify the following
parts related to the scanner and paper print paths.
Document input support
Supports original documents.
Aligns documents.
Loads up to 20 pages at a time.
Supports the original document
when faxing, copying, or
scanning is complete.
Document guides
utomatic document feeder
Document output support
Identifying Scanner Path Parts
Items to be faxed, copied, or scanned use the scanner path
which consists of the following parts:

1.5
Getting Started
Identifying Printer Path Parts
Paper for printing, receiving faxes and copying follow the printer
path. This path consists of the following parts:
se to feed paper one
sheet at a time.
Supports the printed pages.
Holds paper.
Aligns paper.
Manual paper input tray
(For MFP model only)
Support the print media
Paper input support
Paper output tray
utomatic paper input tray
Paper guides

1.6 Getting Started
01 02 03 04 05
16 17 18 19
11 12 13 14 15
20
06 07 08 09 10
GHI
TPQRS
Sy
Demo
01 02 03 04 05
16 17 18 19
11 12 13 14 15
20
06 07 08 09 10
1
4
7
Identifying Front Panel Features
Look for the following keys and features on the front panel. These features are used to
fax documents, make copies, and adjust settings.
User Tools
se to set up various system
options.
Scroll/Volume
se to scroll the menu items or us
to move the cursor left or right
through the display. Also, use to
adjust the ringer volume.
Search/Delete
se to search for a number in
memory or to delete the last digit
when typing text.
Report/Help
se to print various reports and
the help list.
Trans. Option
se to access advanced fax
operations.
Twenty One-Touch Buttons
Store frequently dialled fax
numbers.
LCD Display
Displays messages and menu settings.
Status
se to switch the display status while
performing dual jobs.
Pause/Redial
se to redial the last fax number or to
insert a pause into a fax number.
On Hook Dial
se to dial numbers without picking up
the handset. Also, use to make a voice
call after sending or receiving a fax.

1.7
Getting Started
Rcv. Mode/Contrast
When a document is loaded, choose the contrast characteristic of copied
or transmitted documents.
When a document is not loaded, choose the receive mode to use.
The selected mode is displayed in Standby mode.
Resolution
Choose the resolution of documents.
Number Keypad
se to enter fax numbers manually or to
enter letters.
Speed(#)
se to send documents by entering a
registered 2-digit number.
Fax Forward
Allows you to forward the received faxes to
the defined remote fax machine at a specified
duration.
Copy
Makes a copy of a document.
Start/Enter
Starts a job. Also use to activate the selection
shown on the display.
Stop
Stops an operation at any time.
JKL MNO
TUV WXYZ
ymbols
Speed
Rcv. Mode/
Contrast
Resolution
23
56
0
89

1.8 Getting Started
Identifying Connecting Parts and Others
Power cord connector
Telephone line jack
Extension telephone jack
Cover
Cover release
buttons (right and left)
Parallel cable connector
(MFP model only)

1.9
Getting Started
Choosing a Location
For the trouble-free operation of your machine, place it on a flat, stable
surface near your workstation. Leave enough space to allow for easy
paper loading and exiting, as well as opening the front cover.
Do not place your machine:
• In direct sunlight.
• Near heat sources or air conditioners.
• In a dusty or dirty environment.
Preparing Your Machine for Use
When you take this machine out the box, note that it has been packaged
to protect it during shipping. Before you use the machine, make certain
that you check for the following items:
• Remove all tapes.
• Remove all packing materials.
Setting Up
Your Machine
This manual suits for next models
7
Table of contents
Other Ricoh Fax Machine manuals

Ricoh
Ricoh Fx880 User manual

Ricoh
Ricoh 4420NF User manual

Ricoh
Ricoh FAX 1190L Safety guide

Ricoh
Ricoh 5510L User manual

Ricoh
Ricoh FAX2900L User manual

Ricoh
Ricoh LASER FACSIMILE User manual

Ricoh
Ricoh Fax22 User manual

Ricoh
Ricoh FAX3800L User manual

Ricoh
Ricoh Aficio 2022 User instructions

Ricoh
Ricoh FAX4430NF Operating instructions

Ricoh
Ricoh Aficio FAX5000L User manual

Ricoh
Ricoh 3800C Series User manual

Ricoh
Ricoh FAX220 User manual

Ricoh
Ricoh FT5233 User manual

Ricoh
Ricoh FAX2500L User manual

Ricoh
Ricoh MV310 User manual

Ricoh
Ricoh 1195L Operating and maintenance manual

Ricoh
Ricoh FAX 2900Li User manual

Ricoh
Ricoh FAX RF01F User manual

Ricoh
Ricoh FAX1180L User manual