PICTOGRAPH
Read the following instruction rst before operating
the product.
Important safety indications
Use personal protective equipment.
Double insulated tool.
INSULATION CLASS II
CE compliant
WARNINGS
WARNING! Read all safety warnings, instructions,
illustrations and specications provided with this
power tool. Failure to follow all instructions listed below
may result in electric shock, re and/or serious injury.
Save all warnings and instructions for future reference.
The safety and accident prevention instructions are
reported in the “SAFETY INSTRUCTION” booklet which
is an integral part of these documents. This operating
instructions manual indicates the additional information
required for the specic use of the tool.
CORRECT USAGE
This tool is designed to be used as a polisher.
This tool is not intended to be used for smoothing,
metal brushing and cutting operations. The use of this
tool for unintended applications may cause hazards and
injuries to people.
The tool must be used with accessories that have
been specically designed or recommended by the
manufacturer. The xing of the accessory to the tool
does not guarantee a safe operation.
The rated speed of the accessories must be at least
equivalent to the maximum speed specied on the
tool. Using the accessories at speeds above the rated
one, may cause them to break or be projected into the air.
The external diameter and thickness of the
accessories must match the specications of the
tool. Accessories with incorrect dimensions cannot be
adequately protected or controlled.
The conguration of accessories must match the tool.
The use of accessories that cannot be perfectly tted on
the tool may result in imbalance, excessive vibrations
and in the impossibility of controlling the tool.
Do not use damaged accessories. Before use, inspect
all the accessories. Inspect the supporting pads and
verify there are no cracks, tears or excessive wear. If
the tool or accessory has fallen, verify that it is not
damaged or install a new accessory. After inspecting
or installing an accessory, test the operation of the tool
at maximum speed and without load for one minute,
keeping at a safety distance. If the accessories are
damaged, they will break during this test.
STARTING UP
Voltage and power frequency must match the data
displayed on the identication plate (1). Make sure
that tool is switched off before plug is connected.
TOOL ASSEMBLY
Position the cap (7) on the gearbox such that the holes
for mounting the screws (5) are aligned with those on
the gearbox.
ACCESSORIES ASSEMBLY
BACKING PAD (Pic 1 to Pic 4)
- Place the disc pad (9) in the centre;
- slightly turn the disc pad (9) until it is xed to the screw;
- tighten the disc pad xing screw using the supplied
disc pad Allen wrench (10). Do not tighten the disc
pad if it is in the wrong position.
- lubricate the rubber shroud (11) with non-silicone
based products.
- ordinary maintenance: it ‘s necessary to periodically
check the correct tightening of the screw (4) of the
backing pad using the wrench supplied (10)
POLISHING FOAM
Apply pressure on polishing pad to join pad to plate (8).
START AND STOPPING
- Starting: push the lever of the switch (2) towards the
body of the tool; if the tool is to be locked in the ON
position, press button (11) at the same time and keep
it pressed while releasing lever (2), thus locking the
switch.
- Stopping: release the lever of the switch or, if locked
in position, push the lever to release the lock button.
The tool continues to rotate after it is turned off.
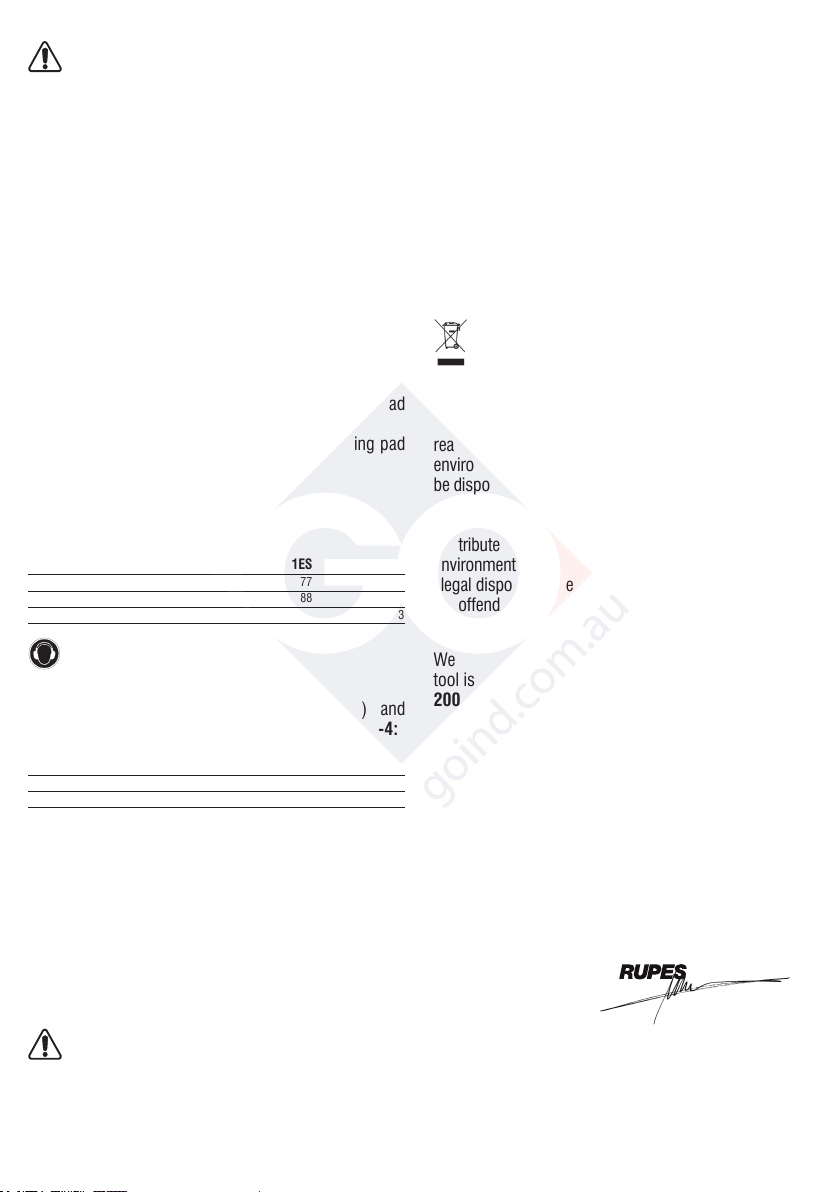
TECHNICAL SPECIFICATIONS ENGLISH
MODELLO LH16ENS LH18ENS LH22N LH22EN
CLASSE DI ISOLAMENTO II II II II
TENSIONE DI LAVORO 230 V - 50 Hz 230 V - 50 Hz 230 V - 50 Hz 230 V - 50 Hz
CORRENTE ASSORBITA 4,3 A 5,3A 4,9 A 4,9 A
POTENZA ASSORBITA 900 W 1100W 1020 W 1020 W
REGOLAZIONE ELETTRONICA DELLA VELOCITÁ SI SI NO SI
GIRI/min 700 ÷ 1700 750 ÷1.850 2000 950 ÷2000
DIAMETRO MAX DEL PORTATAMPONE O DEL TAMPONE 200 200 200 200
FILETTATURA DELL’ALBERO MANDRINO M14 M14 M14 M14
PESO Kg 1,9 1,9 3,3 3,3
Le istruzioni per la sicurezza e la prevenzione degli infortuni
sono riportate nel fascicolo “INDICAZIONI PER LA
SICUREZZA” che costituisce parte integrante della presente
documentazione.
Il presente manuale d’istruzioni per l’uso riporta solamente le
informazioni aggiuntive strettamente correlate all’uso specifico
della macchina.
UTILIZZO CONFORME AGLI SCOPI PREVISTI
Questo utensile è destinato a funzionare come lucidatrice.
Leggere tutti gli avvertimenti di sicurezza, le istruzioni, le
illustrazioni e le specifiche forniti con questo utensile. Il
mancato rispetto di tutte le istruzioni sotto riportate può
causare un incidente grave.
Le operazioni di molatura, levigatura, spazzolatura metallica
o di taglio non sono previste con questo utensile. Le
operazioni per le quali non è previsto l’utensile possono
provocare un pericolo e causare danni alle persone.
Non utilizzare accessori non specificatamente realizzati dal
produttore di utensile e da lui consigliati. Il semplice fatto che
l’accessorio possa essere fissato al vostro utensile non
garantisce un funzionamento in tutta sicurezza.
La velocità nominale dell’accessorio deve essere almeno
pari alla velocità massima indicata sull’utensile. Gli
accessori fatti funzionare a una velocità superiore a quella
nominale possono rompersi ed essere proiettati in aria.
Il diametro esterno e lo spessore del vostro accessorio
devono essere adatti alle caratteristiche di capacità del
vostro utensile. Gli accessori che hanno dimensione non
corrette possono non essere protetti o controllati adeguata-
mente.
La conformazione degli accessori deve adattarsi
correttamente al mandrino dell’utensile. Gli accessori dotati
di fori dell’albero che non corrispondono agli elementi di
montaggio sull’utensile non rimarranno in equilibrio, vibreranno
eccessivamente e potranno provocare una perdita di controllo.
Non usare un accessorio danneggiato. Se l’utensile o
l’accessorio ha subito una caduta, esaminare i danni
eventuali o installare un accessorio non danneggiato. Dopo
aver esaminato e installato un accessorio, mettetevi, insieme
alle persone presenti, a distanza dal piano dell’accessorio
rotante e fate funzionare l’utensile alla velocità massima a
vuoto per un minuto. Gli accessori danneggiati si romperanno
in genere in questo periodo di prova.
AVVERTENZE GENERALI
DATI TECNICI ITALIANO
Leggere tutte queste istruzioni prima di azionare il presente
prodotto.
Indicazioni importanti per la sicurezza dell’ utilizzatore
Utilizzare i dispositivi
di protezione individuale.
Utensile in doppio isolamento.
SIMBOLI GRAFICI
AVVERTENZE DI SICUREZZA SPECIFICHE
Non permettere ad alcuna parte allentata della cuffia
dell’accessorio di lucidatura ne alle stringhe di fissaggio di girare
liberamente.
Mettere in sicurezza o tagliare ogni fili di fissaggio allentato. I fili
di fissaggio allentati e in rotazione possono attorcigliarsi sulle
vostre dita oppure impigliarsi sul pezzo in lavorazione.
MESSA IN FUNZIONE
Tensione e frequenza di rete devono corrispondere ai dati
indicati sulla targhetta di identificazione (1). Prima di
collegare la spina accertarsi che l’utensile sia spento.
MONTAGGIO DELL’UTENSILE
LH16ENS - LH18ENS
Posizionare la calotta (6) sulla scatola ingranaggi in modo che
i fori per il passaggio dell'impugnatura (5) corrispondano a quelli
esistenti sulla scatola ingranaggi; avvitare le viti (9).
LH16ENS - LH18ENS - LH22N - LH22EN
Avvitare l'impugnatura laterale (5) completa del paramano (12);
l’impugnatura laterale la stessa può essere posizionata sia a
destra che a sinistra del corpo macchina.
MONTAGGIO DELGLI ACCESSORI
PIATTELLO PORTATAMPONE
Avvitare il piattello portatampone (8) sull’albero mandrino (4)
mantenendolo fermo con il pulsante di blocco (14).
TAMPONE
Far aderire mediante pressione il tampone di lucidatura al
supporto.
MESSA IN SERVIZIO
LH16ENS
- Avviamento: spingere in avanti la slitta dell'interruttore (2);
qualora se ne desideri il bloccaggio in posizione “inserito”
spingere contemporaneamente sulla parte anteriore della slitta.
-Arresto:rilasciare la slitta o, qualora sia bloccata, spingere
sulla parte posteriore e lasciare che la stessa ritorni nella
posizione di “arresto”.
LH18ENS
- Avviamento: spingere la leva dell'interuttore (2) verso il corpo
macchina; qualora se ne desideri il bloccaggio in posizione
"inserito", spingere contemporaneamente il pulsante (13)
mantenendolo premuto, mentre si rilascia la leva (2) in modo
che la stessa resti bloccata.
- Arresto: rilasciare la leva (2) dell'interruttore o, qualora sia
bloccato, spingere sulla leva in modo da provocare il rilascio
del pulsante di blocco.
LH22N - LH22EN
- Avviamento: premere la leva dell'interuttore (2) verso l’alto;
qualora se ne desideri il bloccaggio in posizione "inserito",
spingere in avanti il blocco dell’interruttore (13) verso il corpo
6
TYPE LHR 21ES LHR 15ES
Ø POLISHING FOAM mm 180 150
Ø BACKING PAD mm 150 125
Ø ORBIT mm 21 15
POWER 500 500
R.P.M. 2000 ÷4200 2000÷5000
WEIGHT 2,60 2,50
ELECTRONIC SPEED CONTROL ••
INSULATION CLASS II II
The values shown are based on a nominal voltage of 230V/50Hz. In the case of voltages and frequencies of different power values may vary. Refer to the label technical
specications to the nominal values of the tool.