3
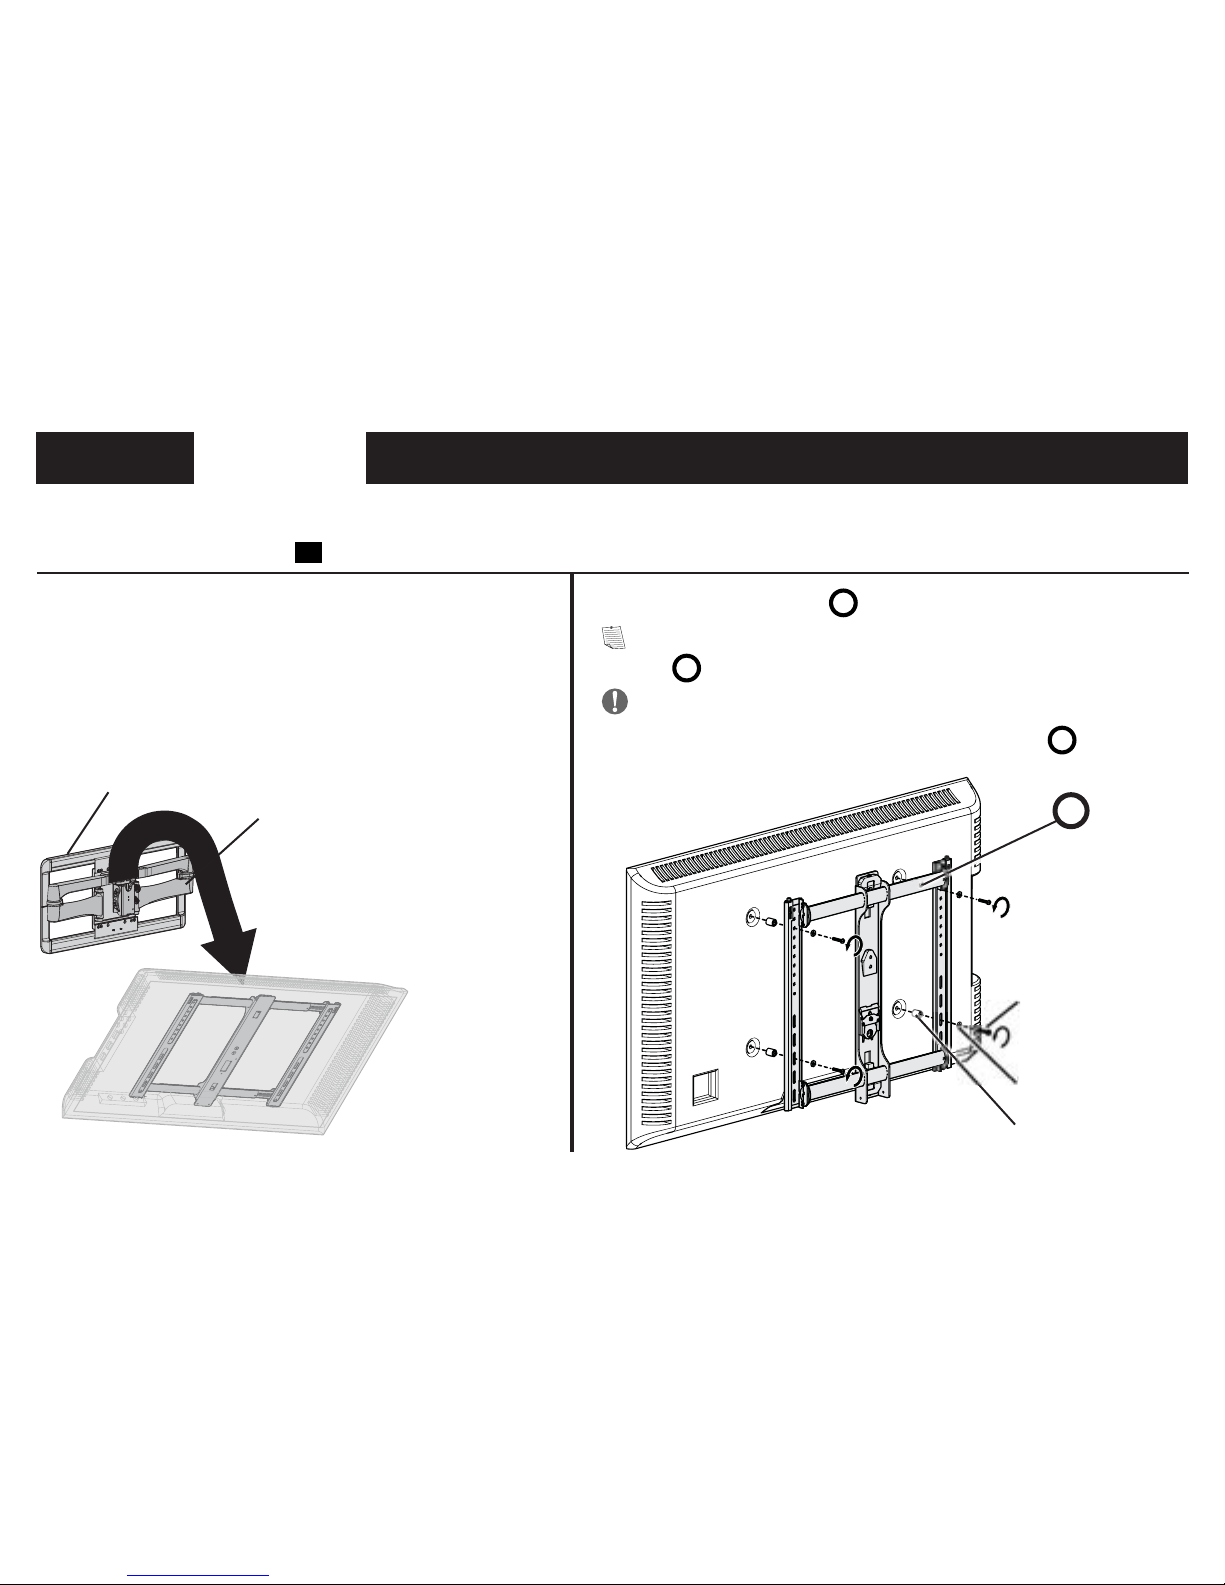
Please read through these instructions completely to be sure you’re comfortable with this easy install process.
Also check your TV owner’s manual to see if there are any special requirements for mounting your TV.
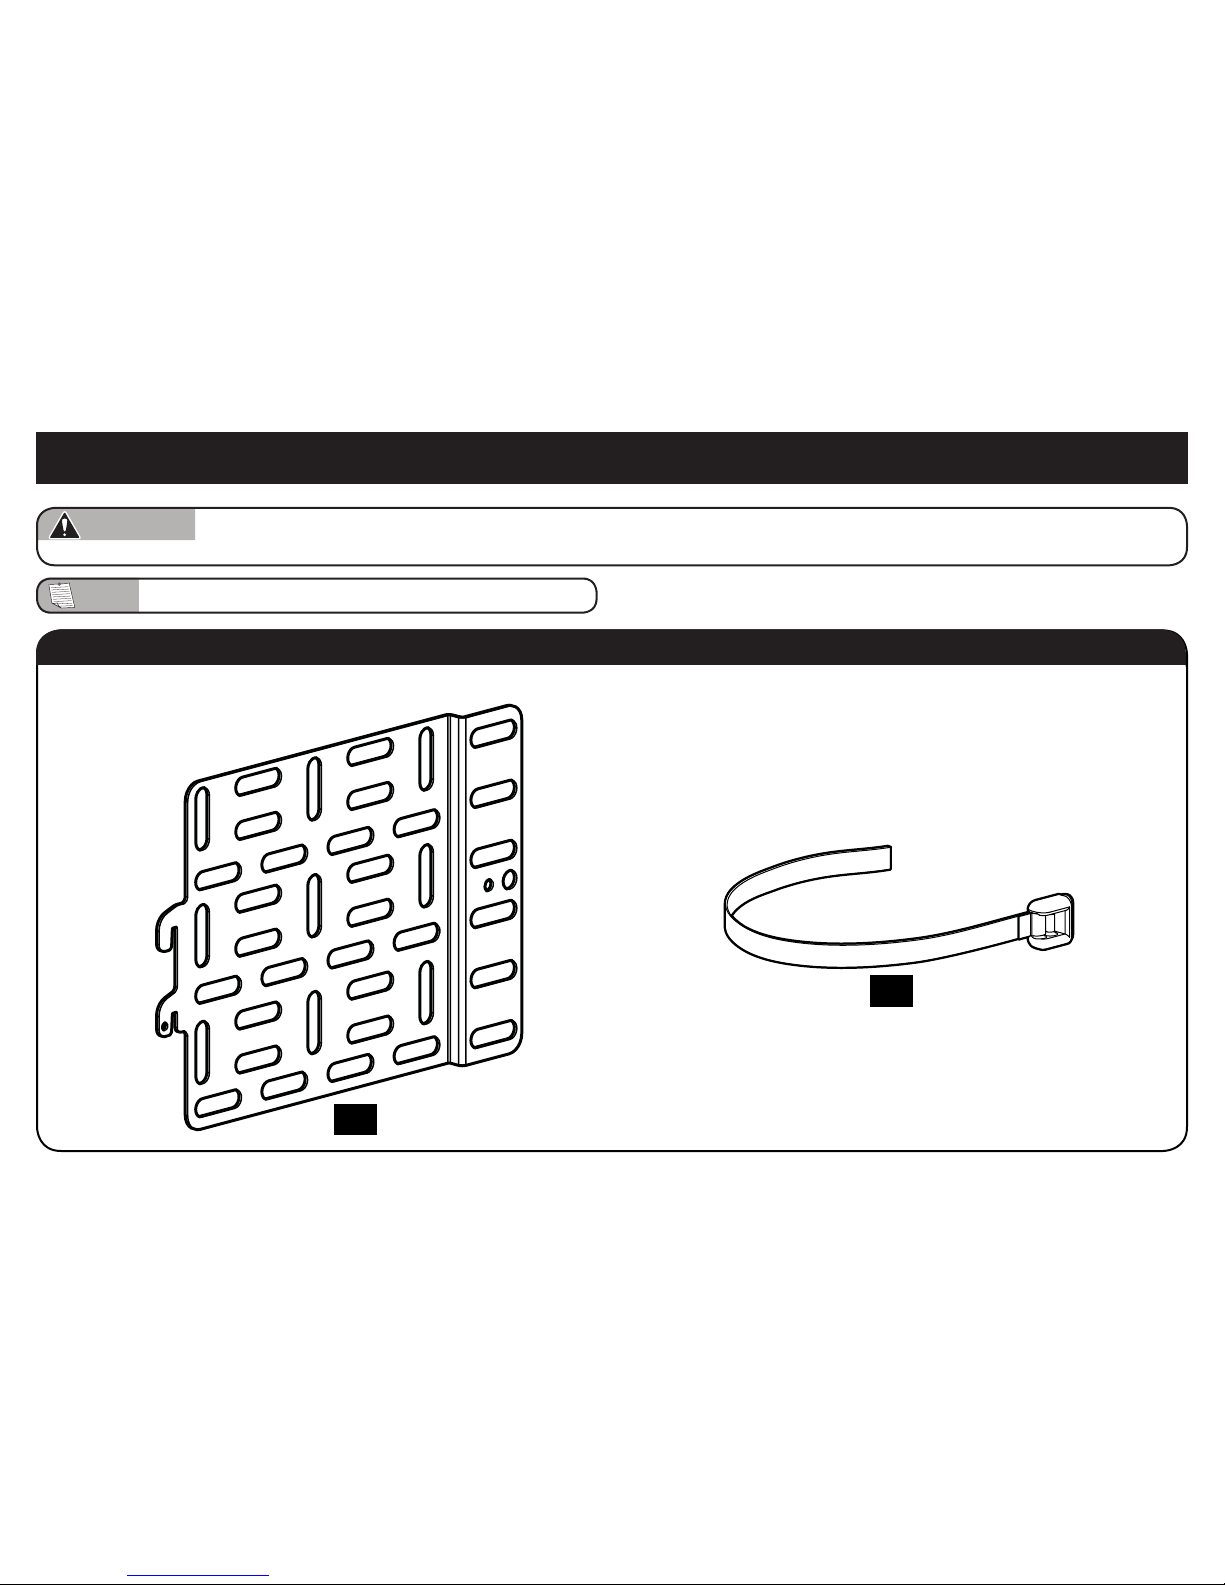
Tools needed
Before getting started, let’s make sure this accessory is perfect for you!
1
2
3
4
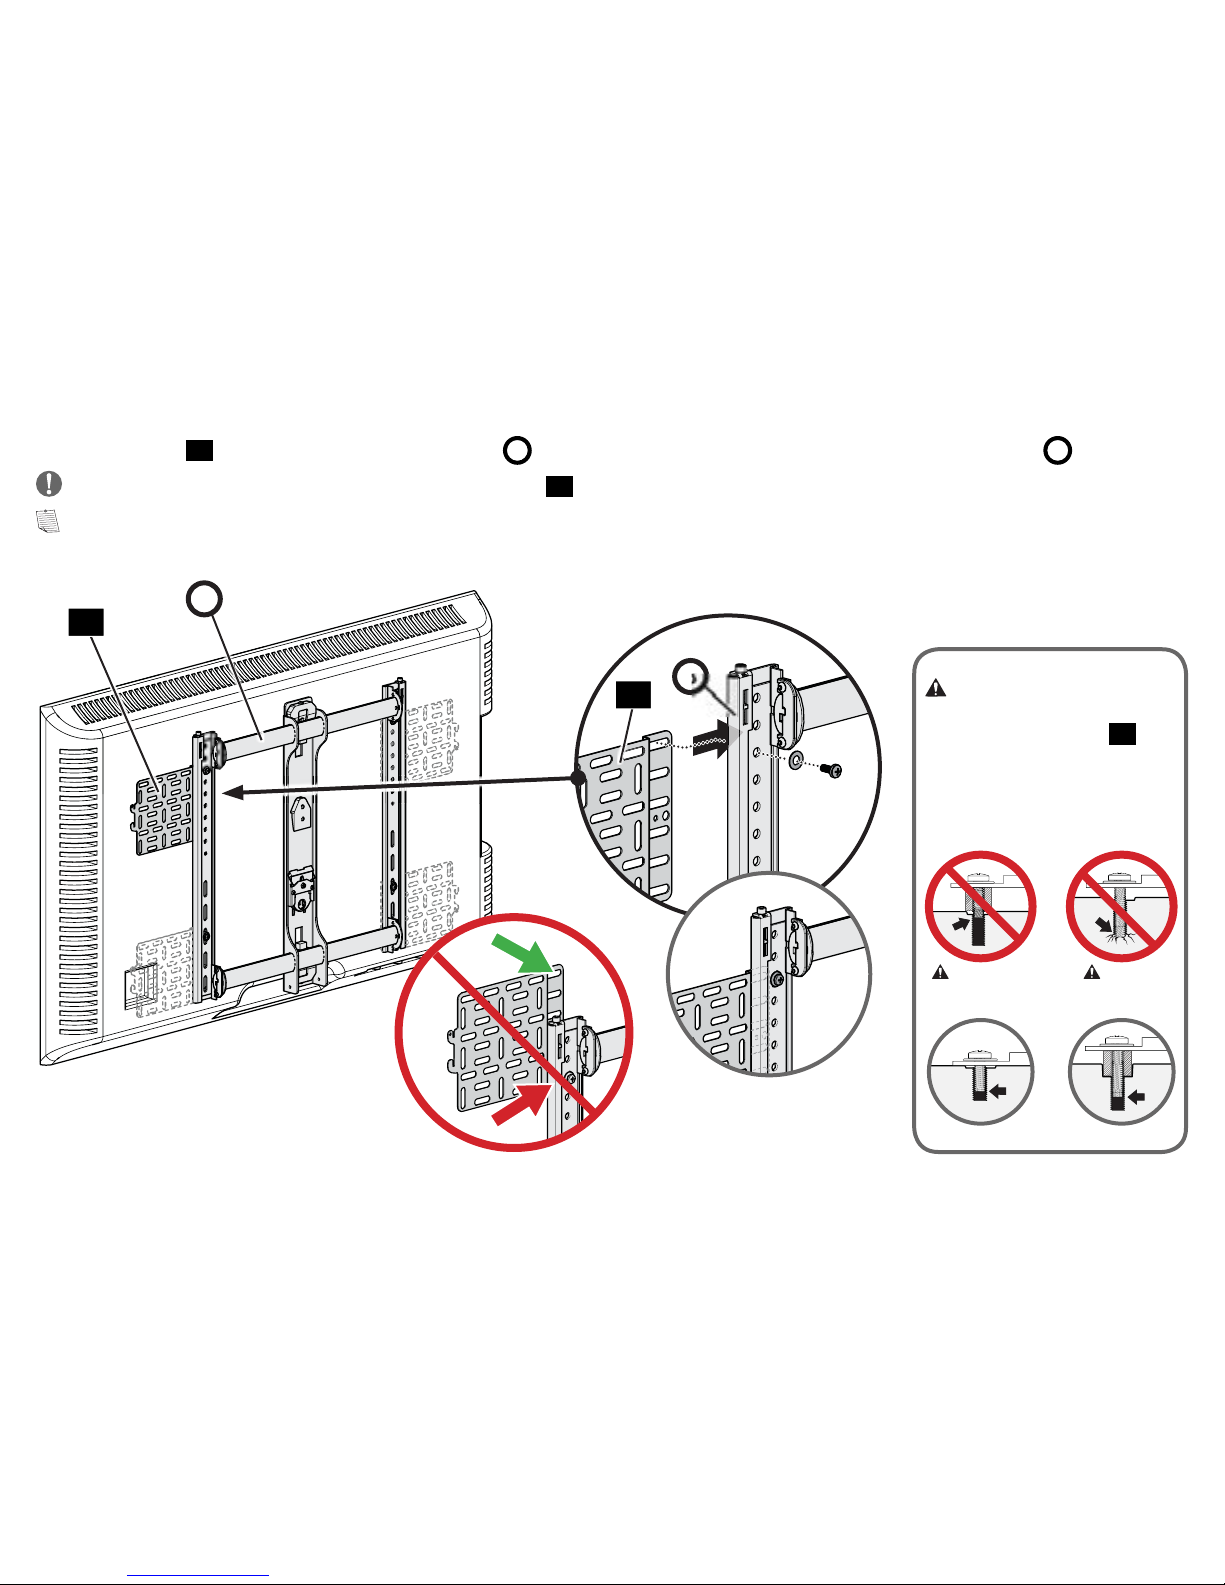
CAUTION: Avoid potential personal injuries and property damage!
●This accessory may not be compatible with other add-on accessories. Verify with all pertinent owner’s manuals.
●Do not use this product for any purpose not explicitly specified by manufacturer.
●Manufacturer is not responsible for damage or injury caused by incorrect assembly or use.
Ready to
begin?
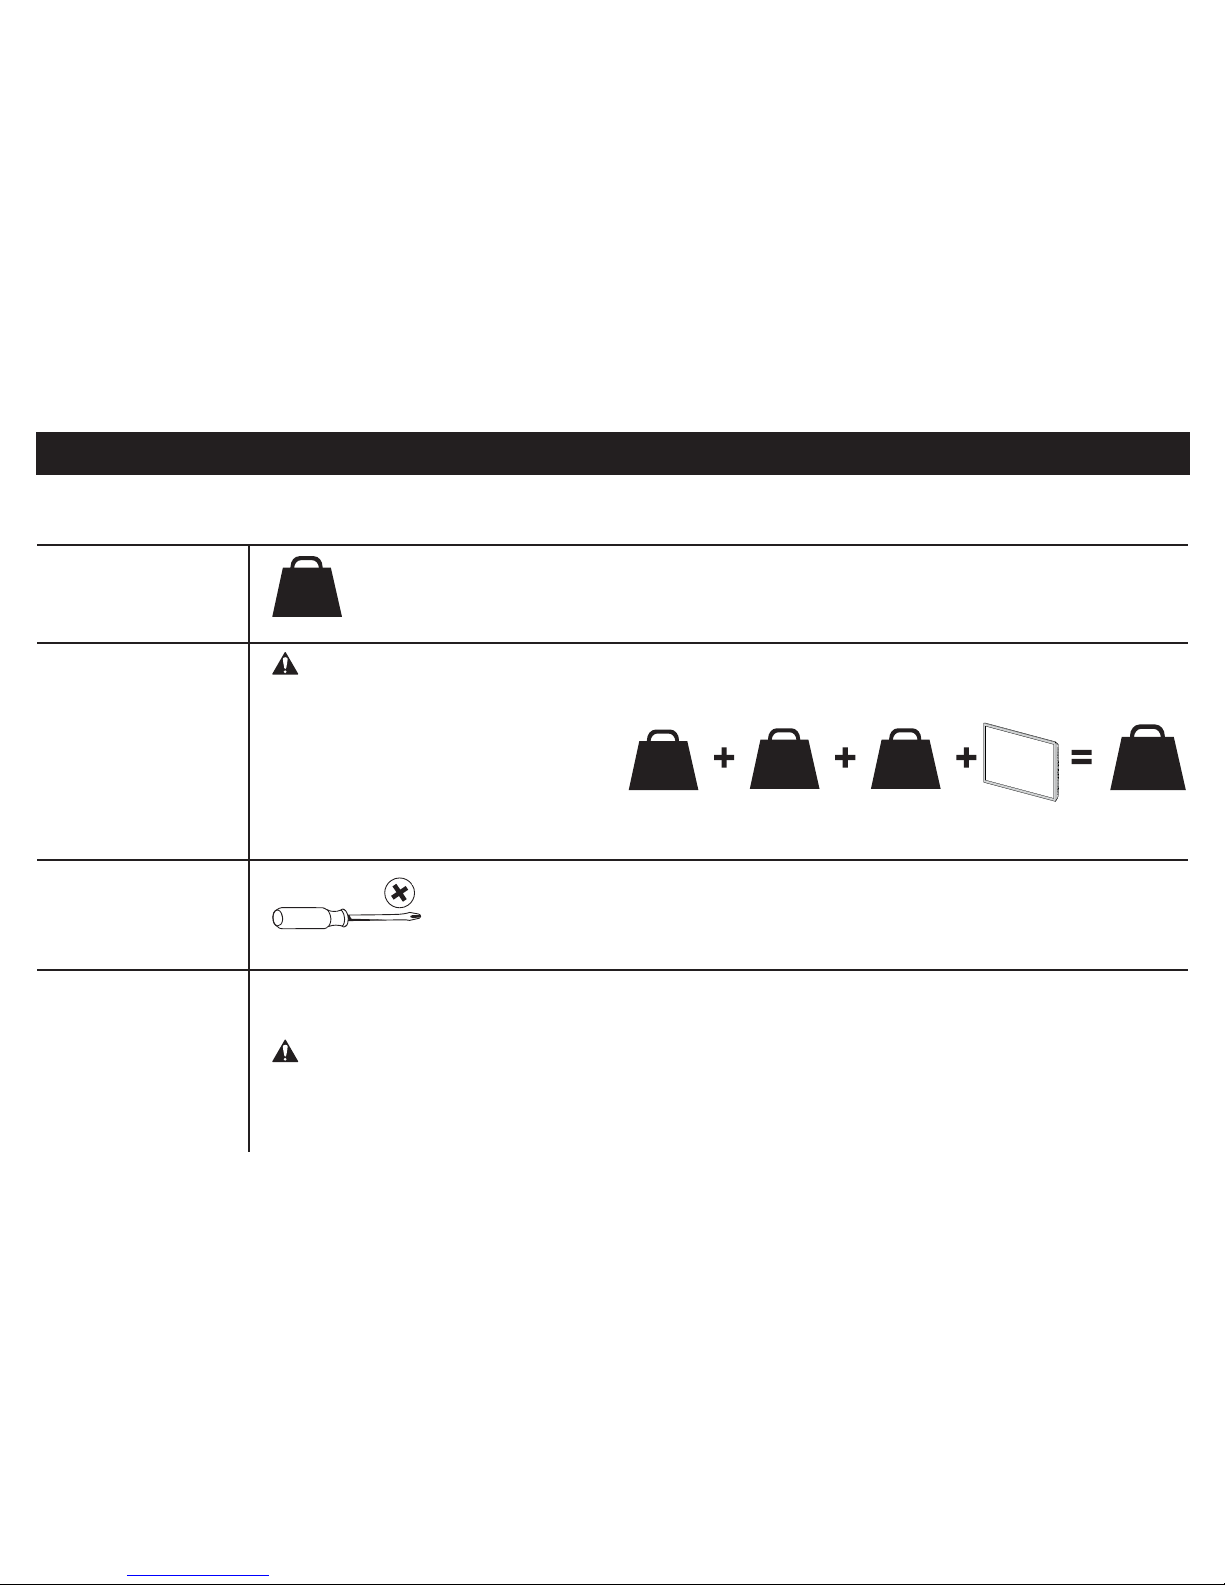
Weight
Restrictions
for TV Mounts
Weight Limit
for the SASP1
CAUTION: Avoid potential personal injuries and property damage!
Review the IMPORTANT SAFETY INSTRUCTIONS in your TV mount’s instruction manual to verify weight restrictions.
Do not exceed 3 lbs. (1.3 kg) of accessories for the SASP1 panel.
Questions? Visit accents.sanus.com or call 1-800-359-5520 (UK: 0800-056-2853).
3 lbs.
(1.3 kg)
This SASP1 Small Parts Panel adds 1 lb.
(0.45 kg) to the weight of your TV.
Your total (combined) weight MUST NOT
exceed the maximum weight rating for your
TV mount.
IMPORTANT SAFETY INSTRUCTIONS – SAVE THESE INSTRUCTIONS – PLEASE READ ENTIRE MANUAL PRIOR TO USE
NOTE: DO NOT install more than 2 panels.
TOTAL
WEIGHT
(plus) (plus) (plus) (equals)
1 lb.
(0.45 kg)
SASP1
__ lbs.
(__ kg)
Your Mount
__ lbs.
(__ kg)
Accessories TV
__ lbs.
(__ kg)
Screwdriver