manuals.online logo
Brands
  1. Home
  2. •
  3. Brands
  4. •
  5. Sartorius
  6. •
  7. Laboratory Equipment
  8. •
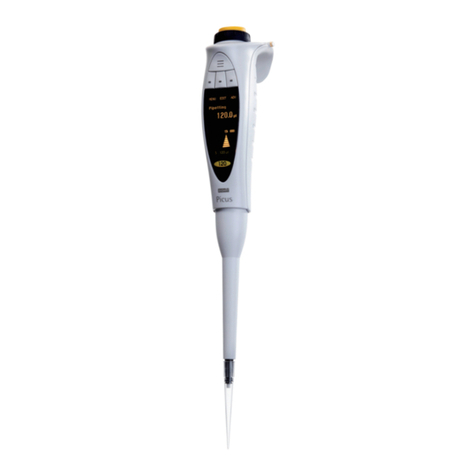
  9. Sartorius Biozym Picus User manual

Sartorius Biozym Picus User manual

This manual suits for next models

3

Other Sartorius Laboratory Equipment manuals
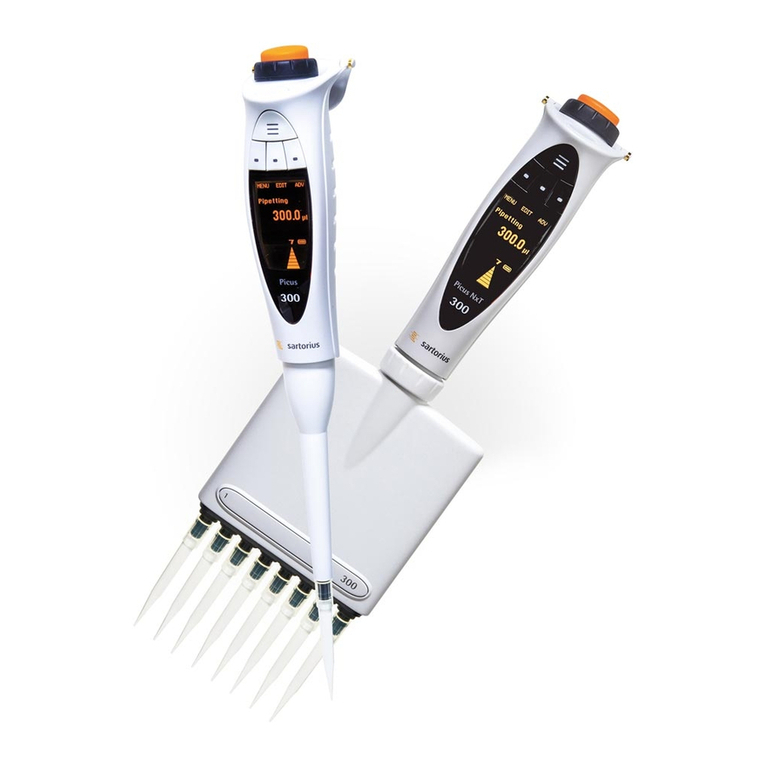
Sartorius Picus 2 User manual

Sartorius

Sartorius Picus 2 User manual

Sartorius Secura Quintix 26 User manual

Sartorius

Sartorius Secura Quintix 26 User manual

Sartorius IS06BBE-SX Manual

Sartorius

Sartorius IS06BBE-SX Manual

Sartorius CERTOMAT Tplus User manual

Sartorius

Sartorius CERTOMAT Tplus User manual

Sartorius BIOHIT Picus User manual

Sartorius

Sartorius BIOHIT Picus User manual

Sartorius Sartobind IEX MA 15 User manual

Sartorius

Sartorius Sartobind IEX MA 15 User manual

Sartorius PICUS User manual

Sartorius

Sartorius PICUS User manual

Sartorius Cubis MCA Series User manual

Sartorius

Sartorius Cubis MCA Series User manual

Sartorius VL1005 User manual

Sartorius

Sartorius VL1005 User manual

Sartorius eLINE User manual

Sartorius

Sartorius eLINE User manual

Sartorius cubis MPS User manual

Sartorius

Sartorius cubis MPS User manual

Sartorius Sartocheck 4 plus User manual

Sartorius

Sartorius Sartocheck 4 plus User manual

Sartorius WZA623-NX User manual

Sartorius

Sartorius WZA623-NX User manual

Sartorius Sartorius SWC User manual

Sartorius

Sartorius Sartorius SWC User manual

Sartorius MD8 16746-01--SHB User manual

Sartorius

Sartorius MD8 16746-01--SHB User manual

Sartorius Vivaspin Turbo 15 RC User manual

Sartorius

Sartorius Vivaspin Turbo 15 RC User manual

Sartorius Cubis MCE Series User manual

Sartorius

Sartorius Cubis MCE Series User manual

Sartorius Cubis MCA2.7S User manual

Sartorius

Sartorius Cubis MCA2.7S User manual

Sartorius PICUS User manual

Sartorius

Sartorius PICUS User manual

Sartorius YDK04 User manual

Sartorius

Sartorius YDK04 User manual

Sartorius WZA225-CW User manual

Sartorius

Sartorius WZA225-CW User manual

Sartorius Sartocheck 4 plus User manual

Sartorius

Sartorius Sartocheck 4 plus User manual

Sartorius ePET User manual

Sartorius

Sartorius ePET User manual
Sartorius Cubis MSU116P User manual

Sartorius

Sartorius Cubis MSU116P User manual

Popular Laboratory Equipment manuals by other brands

Radleys Carousel 6 Plus instructions

Radleys

Radleys Carousel 6 Plus instructions

Hemotherm 400MR Operation & technical manual

Hemotherm

Hemotherm 400MR Operation & technical manual

mrclab DVO Series Operation manual

mrclab

mrclab DVO Series Operation manual

CoolLED pE-800 quick start guide

CoolLED

CoolLED pE-800 quick start guide

Luminex Guava easyCyte Maintenance Guide

Luminex

Luminex Guava easyCyte Maintenance Guide

IKA A10 basic operating instructions

IKA

IKA A10 basic operating instructions

Belden HIRSCHMANN RPI-P1-4PoE installation manual

Belden

Belden HIRSCHMANN RPI-P1-4PoE installation manual

Koehler K1223 Series Operation and instruction manual

Koehler

Koehler K1223 Series Operation and instruction manual

Globe Scientific GCM-12 quick start guide

Globe Scientific

Globe Scientific GCM-12 quick start guide

Getinge 86 SERIES Technical manual

Getinge

Getinge 86 SERIES Technical manual

CORNING Everon 6000 user manual

CORNING

CORNING Everon 6000 user manual

Biocomp GRADIENT MASTER 108 operating manual

Biocomp

Biocomp GRADIENT MASTER 108 operating manual

Cole Parmer Stuart SB3/1 instruction manual

Cole Parmer

Cole Parmer Stuart SB3/1 instruction manual

BEVS 2501/2A user manual

BEVS

BEVS 2501/2A user manual

Qiagen DML 3000 user manual

Qiagen

Qiagen DML 3000 user manual

Queensgate NANOSCAN OP400 Quick start instructions

Queensgate

Queensgate NANOSCAN OP400 Quick start instructions

Parr Instrument 4560 Operating instructions manual

Parr Instrument

Parr Instrument 4560 Operating instructions manual

Integra DOSE IT operating instructions

Integra

Integra DOSE IT operating instructions

manuals.online logo
manuals.online logoBrands
  • About & Mission
  • Contact us
  • Privacy Policy
  • Terms and Conditions

Copyright 2025 Manuals.Online. All Rights Reserved.

QUICK START GUIDE
Picus® & Picus® NxT
Electronic Pipettes
Getting Started
1. The Picus®/Picus® NxT pipette is delivered ready
for use, with the fixed battery partially charged.
2. It is recommended to charge the pipette before
first use, for approximately one (1) hour using:
- Charger: connect the pipette to the charger
cable, which has a USB adapter, and plug the
charger adapter into the mains power outlet
Charging stand or carousel: make sure that the
charging stand is connected to the mains power
outlet, and that the charging contacts of the
pipette are properly inserted into the grooves of
the charging stand
3. Insert the replaceable Safe-Cone Filter(s) into the
tip cone(s) before use to avoid contamination of
the pipette. Alternatively, you may use filter tips.
4. Press the ON/OFF button on top of the pipette to
turn the power on.
5. Press tip ejector when indicated by the display.
6. Pipette is now ready to be programmed and
operated.
1
1
2
2
3
3
4
4
5
5
6
6
7
7
Operating Buttons
1. USB-charging socket
2. ON/OFF button
3. Operating-button
4. Adjustment-wheel
5. Electronic tip ejector
6. Hotkey for memory places
7. Softkeys for programming
Display
1. Softkey functions
2. Current mode
3. Pipetting volume and aliquots in multi
dispensing modes
4. Additional mode (ADV), if selected
5. Speed
6. Battery indicator
7. Arrow indicating pipetting direction
Pipetting Modes
- available in all
Picus®/Picus® NxT
models
Additional Modes
- to be used in conjunction with the pipetting mode
Tracker Mixing Counter Excess
Volume
Adjustment
Auto
Dispensing
Repeated
Blow-out*
Pipetting    
Reverse Pipetting   
Manual Pipetting 
Multi Dispensing   
Diluting  
Sequential Dispensing 
Multi Aspiration 
Titrate
*Only in Picus® NxT models.
4.-6. Change the setting and
press OK or NEXT
1. Press MENU
3. Press EDIT
2. Choose mode
8. Start pipetting
Programming
For programming the pipette, use:
Operating-button
- Activates the pipetting aspiration and dispensing
- Confirms the selected settings
Adjustment-wheel
- Enables fast and comfortable navigation in menu
and volume setting
- Controls pipetting aspiration and dispensing
operations in manual pipetting mode
Softkeys
- Activate the programming functions
1. Press left Softkey to open MENU and turn the
Adjustment-wheel to scroll between the modes.
2. Press Operating-button on top, or OK to confirm the
selection.
3. Turn Adjustment-wheel or press EDIT to unlock the
mode for editing.
4. Change the settings by turning Adjustment-wheel.
5. Press NEXT to move to next parameter to be edited.
6. Confirm the settings by pressing Operating-button
or OK.
7. Attach the pipette tip(s).
8. Start pipetting by pressing Operating-button.
9. To activate additional modes (e.g. mixing, tracker,
counter) press ADV. Turn Adjustment-wheel to scroll
between the functions and press Operating- button
or OK to activate selected feature.
10. To store the active mode to memory, press Hotkey.
Scroll through the memory locations with
Adjustment-wheel. At the desired location press
SAVE to store and to rename the program.
Autoclavable
lower parts
excl. 1200 models
The status of the information, specifications and illustrations in this quick guide are subject to
change. Sartorius reserves the right to make changes to the technology, features, specifications and
design of the equipment without notice. All trademarks are Sartorius property unless otherwise
stated. Patents granted or pending. Patents: 109882, 120861, 4451311, 10-0937762, 255595,
PL202091, 006476
Setup Mode
It is possible to store personal settings in Picus®/Picus® NxT.
Open MENU by pressing left Softkey and scroll down to
choose SETUP.
Adjustment: enables the user to adjust the pipette in 1, 2
or 3 calibration points.
- 1 point adjustment: calibration in 1 point, set the
calibration volume in µl
- 2 point adjustment: calibration in 10% and 100% of
the nominal volume
- 3 point adjustment: calibration in 10%, 50% and
100% of the nominal volume
Adjustment is always done in P mode, and the adjustment is
valid in all modes, when activated.
Publication No. SUL6017-e140601 • Order No. 85037-545-23 • Ver. 06 | 2014 © Sartorius Biohit Liquid Handling Oy
Sound: turns sounds on or off, for example for Adjustment-wheel, messages
and battery status indicator
Backlight: changes the display backlight colour
User ID: allows the user to personalise the pipette with an ID
GLP Info: for setting and displaying the previous and next service and
maintenance dates
Reset: resets to factory settings
Information: displays the software version and battery charging level
Languages: displays available user interface languages: English, French,
German, Chinese and Russian
Password: in Picus® NxT models, it is possible to protect programmes stored
to memory with an optional pipette-specific 4 digit password
This Quick Start Guide is for basic operation of the Picus®/Picus® NxT
electronic pipette. For further information and more detailed instructions,
please see the User Guide at www.sartorius.com. A paper print-out can be
requested from [email protected].
Biozym Scientific GmbH
Steinbrinksweg 27
D-31840 Hessisch Oldendorf
Tel.: +49 (0)5152-9020 - Fax: +49 (0)5152-2070
[email protected]
www.biozym.com