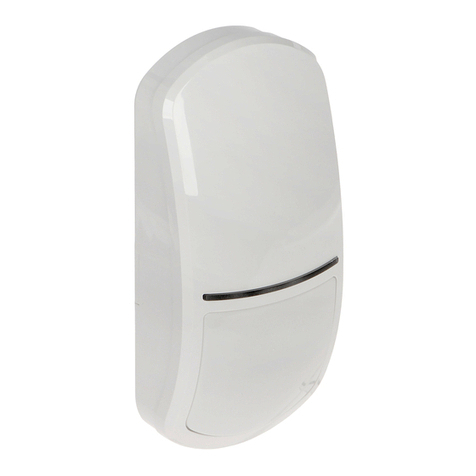
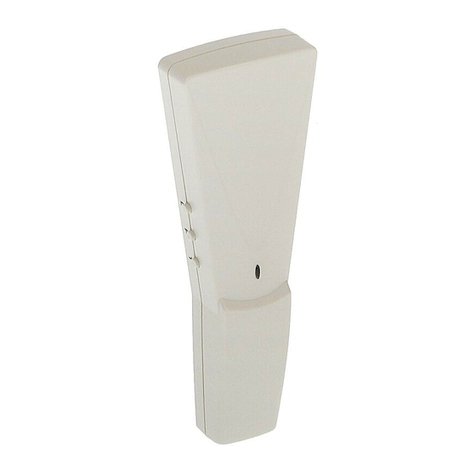
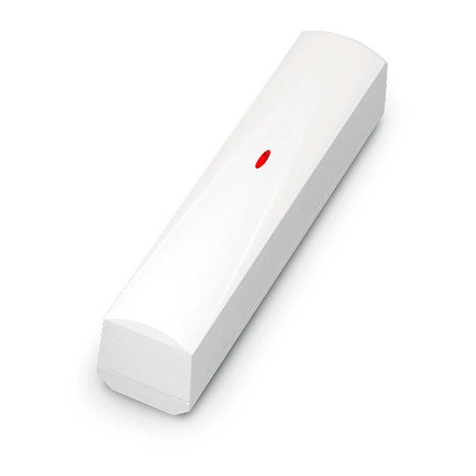
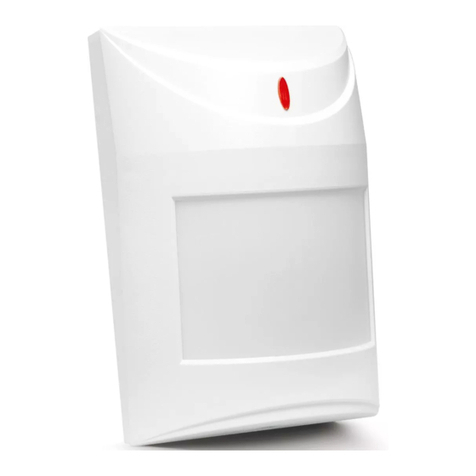
Satel AGATE User manual

agate_en 02/17
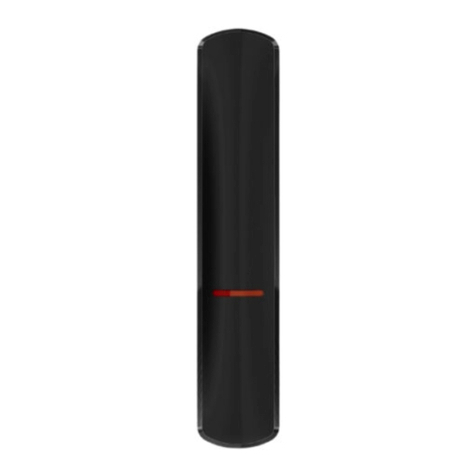
OUTDOOR DUAL TECHNOLOGY CURTAIN DETECTOR
AGATE
Firmware version 1.02
SATEL sp. z o.o. • ul. Budowlanych 66 • 80-298 Gdańsk • POLAND
tel. +48 58 320 94 00
www.satel.eu

WARNING
The device should be installed by qualified personnel.
Read carefully this manual before proceeding to installation.
Changes, modifications or repairs not authorized by the manufacturer shall void your rights
under the warranty.
SATEL's goal is to continually upgrade the quality of its products, which may result in some
changes of their technical specifications and firmware. The current information on
the introduced modifications is available on our website.
Please visit us:
http://www.satel.eu
The declaration of conformity may be consulted at www.satel.eu/ce
The following symbols may be used in this manual:
- note;
- caution.

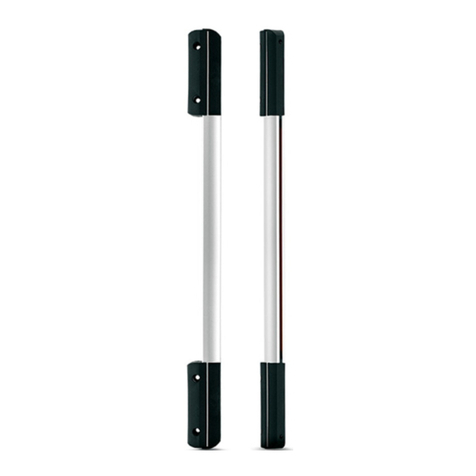
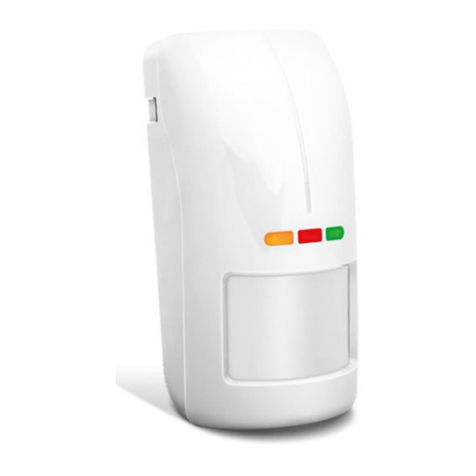
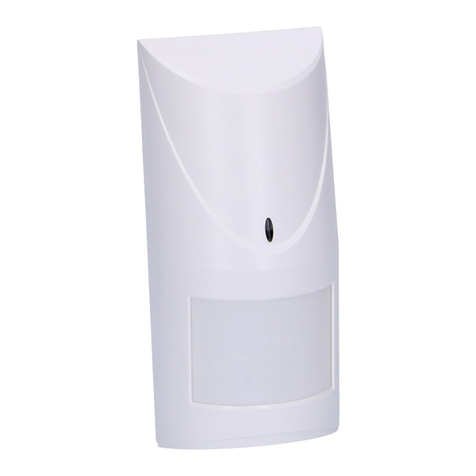
The AGATE detector makes it possible to detect motion at the moment of crossing the
perimeter of protected area. It is designed for perimeter protection. This manual applies to
the detector with electronics version 1.4 (or newer) and firmware version 1.02 (or newer). The
detector meets requirements of the EN 50131-2-4 standard for Grade 3.
The Grade 3 certificate applies to the indoor use. The outdoor use of the
detector (despite full Grade 3 functionality) is not covered by the certificate
(there is no standard for the outdoor detectors).
1. Features
Passive infrared (PIR) sensor and microwave sensor.
Adjustable detection sensitivity of both sensors.
Digital motion detection algorithm.
Digital temperature compensation.
Active IR anti-mask, compliant with EN 50131-2-4 requirements for Grade 3.
Tricolor LED indicator.
Remote LED enable/disable.
Capability of separate sensor configuring/testing.
Supervision of detector signal path and supply voltage.
Tamper protection against cover removal and tearing enclosure from the wall.
Weatherproof enclosure featuring a very high mechanical strength.
Angle-type mounting bracket included.
2. Description
The alarm will be triggered when infrared sensor (PIR) and microwave sensor detect motion
within a time period shorter than 5 seconds.
Active IR anti-mask
The active anti-mask feature detects attempts to cover the detector or paint over the lens.
The detector emits infrared radiation and measures the amount of radiation reflected. If the
lens is covered or painted over, the amount of reflected radiation will change. Registering
a rapid change in the level of infrared radiation will result in activating the anti-mask relay.
The relay will remain active as long as masking is sensed by the detector.
The active anti-mask feature meets the EN 50131-2-4 requirements.
Supervision features
In the event of the voltage drop below 9 V (± 5%) for more than 2 seconds or the signal path
failure, the detector will signal a trouble. The trouble is indicated by the activation of alarm
relay and the steady light of all LED indicators. The trouble signaling will continue as long as
the trouble persists.
Remote LED enable/disable
The LED can be enabled/disabled remotely when the LED is not enabled by means of the
jumper. The LED terminal is provided to allow remote LED enable/disable. The LED is
enabled, when the terminal is connected to the common ground, and disabled, when the
2 AGATE SATEL
terminal is disconnected from the common ground. You can connect to the LED terminal an
OC type control panel output programmed e.g. as the SERVICE MODE STATUS, BI SWITCH or
ZONE TEST STATUS.
3. Electronics board
terminals:
uW-+- +PIR
TMP - tamper output (NC).
LED - remote LED control.
+12V - power input.
COM - common ground.
NC - alarm output (NC relay).
AM - anti-masking output (NC relay).
pins to enable/disable the LED indicators. If the
LED indicators are to be enabled, place the
jumper on pins (the remote LEDs enable/disable is
not available then).
tamper contact activated by cover removal.
microwave sensor.
tricolor LED to indicate:
– alarm – the LED lights red for 2 seconds.
– motion detection by the microwave sensor - the
LED lights green for 4 seconds.
– motion detection by the PIR sensor – the LED lights blue for 4 seconds.
– trouble – the LED lights red throughout the duration of trouble.
– warm-up – flashing alternately red, green and blue for about 45 seconds.
potentiometer for adjustment of the microwave sensor sensitivity.
potentiometer for adjustment of PIR sensor sensitivity.
anti-mask circuit LEDs.
dual element pyrosensor. Do not touch the pyroelectric sensor, so as not to soil it.
4. Installation
Disconnect power before making any electrical connections.

SATEL AGATE 3
The detector can be installed outdoors as well as indoors, in spaces with harsh
environmental conditions (high dustiness, high humidity, low or high temperatures, etc.).
Thus, you can use it in warehouses, production halls, or other industrial facilities.
Install the detector at the recommended height (Fig. 2-I).
Install the detector at a roofed location or under a protective roof, where streams of water
from rain or melting snow will not run down the enclosure.
Don’t install the detector closer than 3 meters from the moving objects (eg. tree branches,
bushes, laundry etc.) (Fig. 2-II).
Don’t direct the detector on reflective surfaces or on fans or a heat sources (Fig. 2-III).
Do not install the detector at any location directly exposed to sun rays.
1. Remove the front cover (Fig. 3).
2. Push the fastening catches outward and remove the electronics board (Fig. 4).
43
3. Make the openings for screws and cable in the enclosure base.
To ensure tightness of the enclosure, make the holes only at places specially intended
for this purpose, which are provided with sealing material around the inner side of the
base.

4 AGATE SATEL
4. Run the cable through the hole you made, and then strip insulation from the cable so that
it should extend a few millimeters beyond the material sealing the hole (Fig. 5). If the
detector is to be installed on the angle bracket included in the delivery set, make a hole in
the bracket and run the cable through it as shown in Fig. 6 (the detector can also be
mounted on the adjustable brackets, BRACKET A and BRACKET B, offered by SATEL).
5. Mount the enclosure base directly to the wall (Fig. 5) or to the angle bracket screwed
down to the wall (Fig. 6). Wall plugs and screws are delivered with the detector. For the
hole designated by letter A on the figures 5 & 6, use the smaller screw. Fig. 7 shows the
possible ways of detector installation.
If the detector is to meet the requirements of EN50131 standard for Grade 3, it must
not be mounted on any bracket.
5 6
6. Fasten the electronics board.
7. Connect the wires to the corresponding terminals.
If the detector is to be installed outdoors, do not connect the anti-masking outputs to
the control panel zones. Severe weather conditions, including rain, fog or frost, can be
interpreted by the anti-mask circuit as an attempt to mask the detector.
8. Using potentiometers and jumper, set the detector working parameters.
9. Replace the cover.
7
5. Start-up and walk test
When starting the detector, its enclosure must be closed for the anti-mask feature to
work properly. After power-up, the detector is analyzing the environment in which it

SATEL AGATE 5
has been installed and adjusting the working parameters of anti-mask circuit
accordingly (for 45 seconds). During that time the detector must not be in any way
obstructed.
When testing the detector, the LED should be enabled.
1. Power-up the detector. The LED will start flashing alternately red, green and blue to signal
warm-up of the detector.
2. When the LED stops flashing, check that moving within the coverage area will activate the
alarm relay and make the LED light up red. Fig. 6 shows the maximum coverage area (at
the maximum sensitivity).
Separate testing of sensors
If a wire is connected to the LED terminal which enables the LED to be switched on/off
remotely, the wire must be disconnected before power-up.
To test the microwave sensor, do the following:
1. Before power-up, place a jumper on the LED switching on/off pins.
2. Power-up the detector and, during the warm-up period, remove the jumper from pins.
After completion of the warm-up, the LED should flash green every 3 seconds.
3. Replace the cover.
4. Check that moving within the coverage area will activate the alarm relay and make the
LED light up green.
5. If necessary, change sensitivity and check the sensor again for proper operation.
To test the PIR sensor, do the following:
1. Before power-up, remove the jumper from the LED switching on/off pins.
2. Power-up the detector and, during the warm-up period, place the jumper on pins. After
completion of the warm-up, the LED should flash blue every 3 seconds.
3. Replace the cover.
4. Check that moving within the coverage area will activate the alarm relay and make the
LED light up blue.
5. If necessary, change sensitivity and check the sensor again for proper operation.
The sensor separate testing mode is automatically exited after 20 minutes.
After completing the tests and closing the enclosure, turn off and then turn on again
the detector so that the anti-mask circuit can configure properly.
8
0
2,4 m
0 14 m
4 m
4 m
0

6 AGATE SATEL
6. Specifications
Supply voltage ................................................................................................... 12 V DC ±15%
Standby current consumption ..........................................................................................21 mA
Maximum current consumption ........................................................................................25 mA
Microwave frequency ..............................................................................................24.125 GHz
Detectable speed ...................................................................................................... 0.2...3 m/s
Alarm signaling period........................................................................................................... 2 s
Warm-up period ..................................................................................................................45 s
Recommended installation height .....................................................................................2.4 m
Security grade (detector mounted directly to the wall) ..................................................Grade 3
Standards complied with ......................... EN50131-1, EN 50131-2-4, EN50130-4, EN50130-5
IP code............................................................................................................................... IP54
Environmental class according to EN50130-5 ......................................................................IIIa
Operating temperature range..................................................................................-40...+55 °C
Maximum humidity ..........................................................................................................93±3%
Dimensions ................................................................................................... 44 x 105 x 40 mm
Weight.................................................................................................................................92 g
Table of contents
Other Satel Security Sensor manuals

Satel
Satel APMD-150 User manual

Satel
Satel AMD-102 User manual

Satel
Satel TD-1 User manual

Satel
Satel AVD-100 User manual

Satel
Satel AOD-210 User manual

Satel
Satel ASD-110 User manual

Satel
Satel COBALT Pro User manual

Satel
Satel SX6-TO User manual

Satel
Satel AOCD-260 User manual

Satel
Satel OPAL Pro User manual

Satel
Satel ASD-250 User manual

Satel
Satel SLIM-PIR-PRO User manual

Satel
Satel MGD-300 User manual

Satel
Satel AOCD-250 User manual

Satel
Satel AMD-103 User manual

Satel
Satel ADD-200 User manual

Satel
Satel APMD-150 User manual

Satel
Satel SLIM-DUAL-PRO User manual

Satel
Satel AGD-200-BR User manual

Satel
Satel GRAPHITE User manual