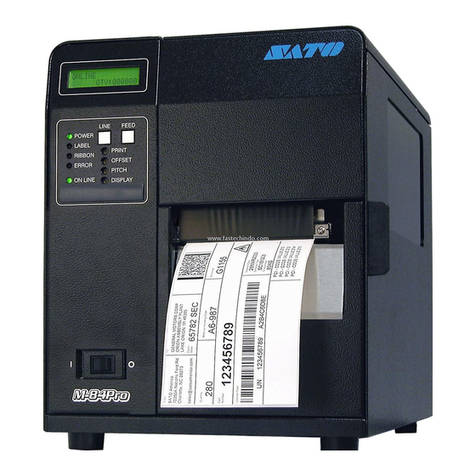
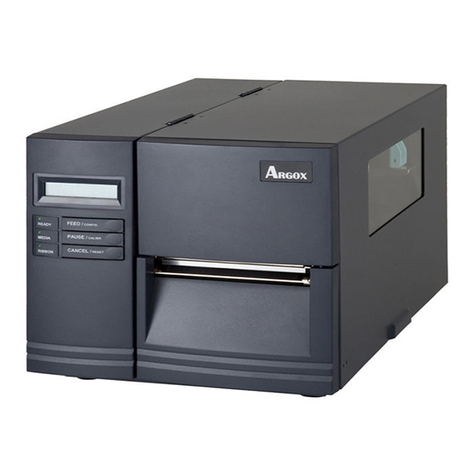
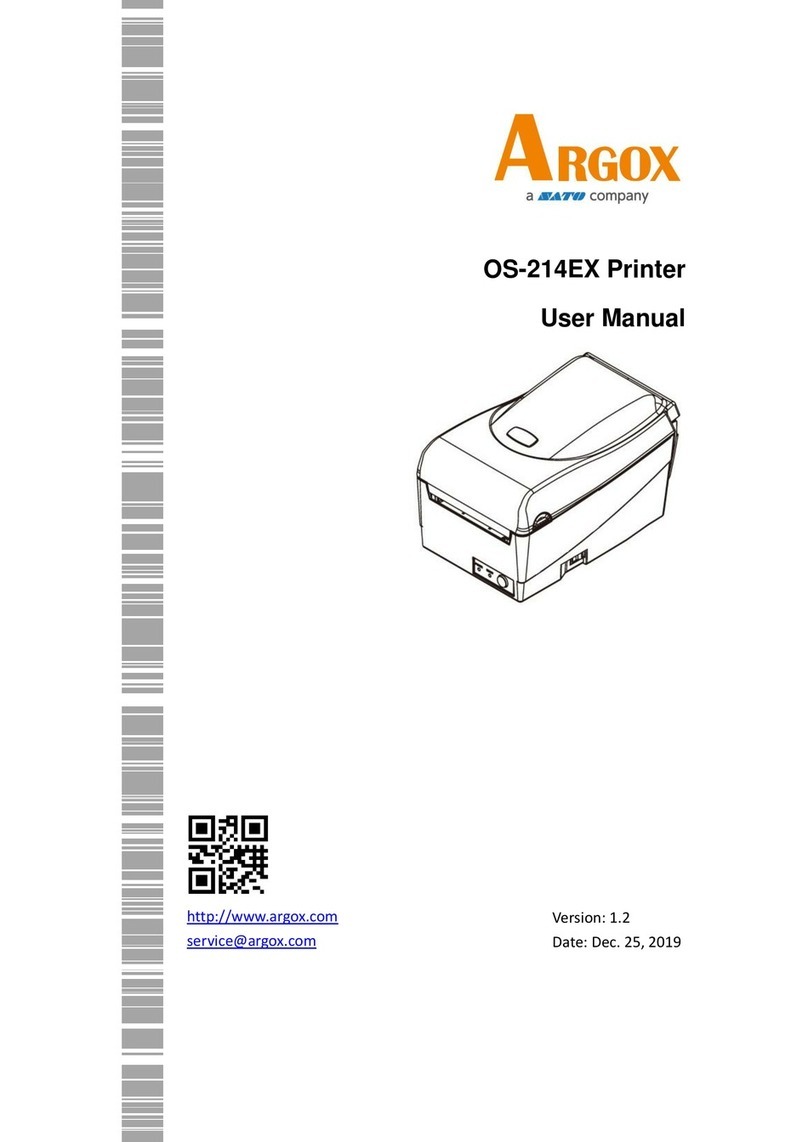
SATO Argox iX4-280 User manual

iX4-280/380 Series Printer
User Manual
i
Liability Disclaimer
Argox Corporation takes steps to assure that the company’s published
engineering specifications and manuals are correct; however, errors do
occur. Argox reserves the right to correct any such errors and disclaims any
resulting liability. In no event shall Argox or anyone else involved in the
creation, production, or delivery of the accompanying product (including
hardware and software) be liable for any damages whatsoever (including,
without limitation, damages for loss of business profits, business
interruption, loss of business information, or other pecuniary loss) arising
out of the use of or the results of use of or inability to use such product,
even if Argox has been advised of the possibility of such damages.
FCC Compliance Statement
This equipment has been tested and found to comply with the limits for a
Class A digital device, pursuant to Part 15 of the FCC Rules. These limits are
designed to provide reasonable protection against harmful interference in a
residential installation. This equipment generates, uses, and can radiate
radio frequency energy and, if not installed and used in accordance with the
instructions, may cause harmful interference to radio communications.
However, there is no guarantee that the interference will not occur in a
particular installation. If this equipment does cause harmful interference to
radio or television reception, which can be determined by turning the
equipment off and on, the user is encouraged to try to correct the
interference by the following measures:
Reorient or relocate the receiving antenna.
Increase the separation between the equipment and the receiver.
Connect the equipment into a different outlet on a different circuit.
Consult the dealer or an experience Radio/TV technician for help.
This unit was tested with shielded cables on the peripheral devices. Shielded
cables must be used with the unit to ensure compliance. The user is
cautioned that any changes or modifications not expressly approved by
Argox Information Co., Ltd. could void the user’s authority to operate the
equipment.

iX4-280/380 Series Printer
User Manual
ii
This is a Grade A product. In living environment, the product may cause interference
to radio communications. In this case, the user is encouraged to try to correct the
interference by effective measures.
Caution
Ensure to connect the power cord of power adapter to a socket-outlet
with earth connection.
CAUTION: Risk of Explosion if Battery is replaced by an Incorrect Type. Dispose of
Used Batteries According to the Instructions.
ATTENTION: Risque d’explosion si la batterie est remplacée par un type incorrect.
Mettre au rebus les batteries usagées selon les instructions.
Caution
Any changes or modifications not expressly approved by the party
responsible for compliance could void the user's authority to operate the
equipment.
All rights reserved. Copyright © 2024 Argox Information Co., Ltd

iX4-280/380 Series Printer
User Manual
iii
Contents
1 Introduction ........................................................................................................ 1
1.1 Features.................................................................................................... 1
1.2 Unpacking................................................................................................. 2
1.3 Understand your printer........................................................................... 3
1.3.1 Perspective view .......................................................................... 3
1.3.2 Back view..................................................................................... 3
1.3.3 Interior view ................................................................................ 4
1.4 Printer control panel................................................................................. 5
1.4.1 Status lights.................................................................................. 5
1.4.2 Buttons ........................................................................................ 8
2 Get started .......................................................................................................... 9
2.1 Attach the power cord.............................................................................. 9
5.1 Turn on/off your printer.......................................................................... 10
5.1.1 Turn on your printer................................................................... 10
5.1.2 Turn off your printer .................................................................. 11
5.2 Load media ............................................................................................. 12
5.2.1 Prepare media ........................................................................... 13
5.2.2 Placing media roll....................................................................... 13
5.2.3 Media types............................................................................... 24
5.3 Load Ribbon............................................................................................ 26
5.3.1 Placing Ribbon Roll .................................................................... 27
3 Printer operation............................................................................................... 30
3.1 Front Panel ............................................................................................. 30
3.1.1 LCD Function Setting Procedure................................................. 31
3.2 Printing Media Calibration & Configuration............................................ 37
3.3 Printing a Configuration Report.............................................................. 37
3.4 Restore to Factory Default ...................................................................... 44
3.5 Media sensing......................................................................................... 45
3.5.1 Transmissive sensor ................................................................... 45
3.5.2 Reflective sensor........................................................................ 46
3.5.3 Adjust Position of Label Sensor.................................................. 47
3.6 Communications..................................................................................... 48
3.6.1 Interfaces and Requirements..................................................... 48
3.7 Driver installation ................................................................................... 50
3.7.1 Installing a Plug and Play printer driver (for USB only)............... 50
3.7.2 Installing a Printer Driver (for interfaces Other than USB) ......... 56
iX4-280/380 Series Printer
User Manual
iv
4 Configuration onWebSettingTool ......................................................................... 62
4.1 Attaching the power cord............................................................................ 62
4.2 Connecting the printerto a LAN hub ................................................................. 62
4.3 Getting the IP address of the printer.................................................................. 63
4.4 Logging in to the web setting tool ............................................................... 63
5 Maintenance ..................................................................................................... 65
5.1 Cleaning.................................................................................................. 66
5.1.1 Printhead ................................................................................... 66
5.1.2 Platen Roller............................................................................... 67
5.2 Printer Adjustments................................................................................ 68
5.2.1 Printer Head Pressure Adjustment ................................................... 68
5.2.2 Ribbon Tension Adjustment.............................................................. 70
5.2.3 Printing Wrinkle Adjustment............................................................. 71
5.2.4 Small-size Media Offset Adjustment................................................. 74
5.3 RTC Battery Replacement ....................................................................... 75
6 Troubleshooting ................................................................................................ 76
6.1 Printer issues .......................................................................................... 76
6.2 Media issues........................................................................................... 77
6.3 Ribbon issues.......................................................................................... 78
6.4 Other issues............................................................................................ 79
7 Specifications .................................................................................................... 80
7.1 Printer..................................................................................................... 80
7.2 Media & Ribbon...................................................................................... 82
7.3 Electrical and operating environment..................................................... 82
7.4 Physical dimension ................................................................................. 83
7.5 Fonts, Barcodes, and Graphics Specification........................................... 83
7.6 Wireless LAN (Optional).......................................................................... 86
7.7 Interfaces................................................................................................ 88
7.7.1 USB ............................................................................................ 88
7.7.2 RS-232C...................................................................................... 89
7.7.3 GPIO........................................................................................... 90
7.7.4 Ethernet..................................................................................... 91

iX4-280/380 Series Printer
User Manual
1
1Introduction
Thank you for purchasing an Argox iX4-280/380 Series industrial barcode
printer. This manual provides information about how to set up and operate
your printer, load media, ribbon and solve common problems. Illustrations
are provided to help you quickly become familiar with the printer.
1.1 Features
■Fast Print Speed
iX4-280: 10 IPS (Max.)
iX4-380: 8 IPS (Max.)
■Communicatio
Standard: Ethernet, dual USB hosts, USB device, and RS-232
Option: Wi-Fi module and GPIO
■Online management
Web management and SNMP support
■Dual USB host function
Stand-alone mode of scanner/ keyboard multiple data entry devices
■New media calibration
Intelli mode & Smart mode

iX4-280/380 Series Printer
User Manual
2
1.2 Unpacking
Make sure all of the following items are included in your package.
Printer
Quick Installation
Guide
DVD
USB Cable
AC Power Cord
1”ID Core for Ribbon
When you receive the printer, open the package immediately and inspect for
shipping damage. If you discover any damage, contact the shipping company
and file a claim. Argox is not responsible for any damage incurred during
shipping. Save all package materials for the shipping company to inspect.
Note If any item is missing, please contact your local dealer.

iX4-280/380 Series Printer
User Manual
3
1.3 Understand your printer
1.3.1 Perspective view
1.3.2 Back view
iX4-280/380 Standard
USB Type A
Ethernet
USB Type B
RS232 Serial
Power switch
AC power connector
LCD Display
FEED Button
PAUSE Button
CANCEL Button
Front Access Door
Top Access Door

iX4-280/380 Series Printer
User Manual
4
iX4-280/380 Optional
1.3.3 Interior view
Internal Parts and Features
WIFI
Parallel port
GPIO
Feed Slot
Media Supply Spindle
Ribbon Supply Spindle
Thermal Print Head
Ribbon Pick-up Spindle

iX4-280/380 Series Printer
User Manual
5
Rotate Head Latch
1.4 Printer control panel
There are three lights on the front panel - READY, MEDIA and RIBBON. These
indicators display operation status of the printer. Three buttons - FEED,
PAUSE, and CANCEL can control printer simple function.
1.4.1 Status lights
Status lights help you check printer’s condition. The following tables show
the status lights and the conditions they indicate.
LCD Display
READY
MEDIA
RIBBON
Description
READY
ON
ON
ON
In the ready mode
PRINT HEAD
HEAT
ON
Blinking
ON
Print head needs to cool down.
COMMAND
ERROR
ON
Blinking
Blinking
A command error was found while
checking the command sequence.
Head Latch
Thermal Print Head
Paper Roller
Paper Sensor Guide

iX4-280/380 Series Printer
User Manual
6
LCD Display
READY
MEDIA
RIBBON
Description
EEPROM
ERROR
ON
Blinking
Blinking
An EEPROM for back-up cannot be
read/written properly.
MEMORY
ERROR
ON
Blinking
Blinking
∙An error has occurred in writing
data into USB memory or flash
memory.
∙An erase error has occurred in
formatting USB memory or flash
memory.
∙Saving failed because of the
insufficient capacity of USB
memory or flash memory.
∙Firmware update has error.
CANCEL ...
Blinking
ON
ON
Press CANCEL KEY to interrupt and
delete a print task
CLEAR FLASH
Blinking
ON
ON
Clear flash memory.
CUTTER
FAILED
Blinking
ON
ON
Cutter has failed, or there is paper
jam inside the cutter.
MEMORY
FULL
Blinking
ON
ON
Printer buffer is full caused by the
loaded soft fonts, graphics or
forms.
MEMORY
INITIALIZED
Blinking
ON
ON
USB Memory is being initialized.
PAUSE
Blinking
ON
ON
Printer is in PAUSE status. Media
sensor cannot index label gaps

iX4-280/380 Series Printer
User Manual
7
LCD Display
READY
MEDIA
RIBBON
Description
PRINTHEAD
BROKEN
Blinking
ON
ON
Head broken error
PRINT HEAD
OPEN
Blinking
ON
ON
Head latch is not closed.
RESET
Blinking
ON
ON
Press CANCEL KEY + POWER ON to
reset NVR table.
SERIAL IO
ERROR
Blinking
ON
ON
The format or baud rate of the
RS232 communication is
inconsistent between the printer
and host.
SELF TEST ...
Blinking
ON
ON
Press FEED KEY + POWER ON to
print the self-test label.
UPGRADING
FW.
Blinking
ON
ON
Printer is receiving data
RIBBON OUT
Blinking
ON
Blinking
Ribbon is not installed or
end-of-ribbon occurred.
CALIBRATION .
..
Blinking
Blinking
ON
Press PAUSE KEY + POWER ON to
calibrate media.
MEDIA OUT
Blinking
Blinking
ON
Media is not installed or used up.
Printer fails to detect the media
gap. The media sensor is out of
range during calibration. The label
has run out. The last label has
been issued normally and the label
has run out.
PAPER JAM
Blinking
Blinking
ON
A paper jam occurred during paper
feed.

iX4-280/380 Series Printer
User Manual
8
1.4.2 Buttons
There are three buttons, each with two basic functions.
Button
Function 1
Function 2
FEED
•Feed a label
PAUSE
•Pause printing
•Press again to resume printing
CANCEL
•Interrupt and delete a print task
•Force printer to continue after
an error is solved.

iX4-280/380 Series Printer
User Manual
9
2Get started
This chapter describes how to set up your printer.
2.1 Attach the power cord
1Ensure the power switch is set to the OFF position.
2Place the printer within cable distance of the host and printer (using a USB or
serial cable).
3Keep the power cord isolated from other electrical cables.
4Plug one end of the AC power cord into the power socket on the printer. The
power socket is located on the back of the printer.
5Plug the other end of the AC power cord into a wall outlet. Make sure the wall
outlet and the printer have the same voltage and frequency, otherwise you may
damage or explode the printer.
Warning Do not plug the AC power cord with wet hands, or operate
the printer and the power supply in an area where they may get wet.
Serious injury may result from these actions!

iX4-280/380 Series Printer
User Manual
10
5.1 Turn on/off your printer
When your printer is connected to a host (a computer), it is good to turn on
the printer before turning on the host and turn off the host before turning
off the printer.
5.1.1 Turn on your printer
1. To turn on your printer, turn on the Power Switch as below. The “I”is the
ON position.
2. READY, MEDIA, and RIBBON LED stay solid blue. Then the READY LED will
turn off for a few seconds while the LCD screen displays the firmware
version. The LCD will display Ready to Print and the READY LED will
return to solid blue.

iX4-280/380 Series Printer
User Manual
11
5.1.2 Turn off your printer
1. Make sure that READY, MEDIA, and RIBBON are solid blue before turning
off the printer.
2. To turn off your printer, turn off the Power Switch as below. The “O”is
the OFF position.
Caution Do not turn off your printer during data transfer.

iX4-280/380 Series Printer
User Manual
12
5.2 Load media
The iX4-280/380 printer offers three different loading modes: standard,
peel-off, and cutter.
•Standard mode allows you to collect each label freely.
•Peel-off mode peels backing material away from the label as it prints. After
the label is removed, the next label prints.
•Cutter mode automatically cuts the label after it prints. There are rotate
cutter and guillotine cutter types to cut media.
IMPORTANT When using the Peeler Mode and Cutter Mode for the
first time, be sure to enable the PEELER INSTALLED or CUTTER
INSTALLED setting on the front panel. For more information about
the panel setting, see CH 3.1.1 LCD Function Setting Procedure.

iX4-280/380 Series Printer
User Manual
13
5.2.1 Prepare media
The media roll can be loaded into the printer in the same manner for both
inside and outside wound media. In case the media roll is dirty during
shipping, handling, or storage, remove the outer length of the media. It
helps avoid dragging adhesive and dirty media between the printhead and
platen roller.
Inside Wound
Outside Wound
5.2.2 Placing media roll
Load Media In Standard Mode
1Lift the top cover to expose the media compartment.
Door

iX4-280/380 Series Printer
User Manual
14
2Insert the media roll into the media supply spindle and slide the media guide
inward.
3. Rotate the head latch counterclockwise and open the outside media guide
counterclockwise for media loading.
Outside Media Guide
Head Latch
Media
Guide
Media Supply
Spindle

iX4-280/380 Series Printer
User Manual
15
4. The label must face up as the media passes through the printhead module.
Thread the media under the 'media guide' and through two rings until it locks in
place at the 'Outside Media Guide'. Then, pass it under the paper sensor guide
module and over the roller.
5. Return the outside media guide and hook the head latch.
Outside Media Guide
Head Latch
Print Head Module
Paper Sensor
Guide Module
Roller
Media Guide
Two Ring
This manual suits for next models
1
Table of contents
Other SATO Printer manuals

SATO
SATO CG412DT User manual

SATO
SATO CL4NX RIDF Owner's manual

SATO
SATO M-84Pro Series User manual

SATO
SATO Argox D4 Series User manual

SATO
SATO MB400I User manual

SATO
SATO M 8400S User manual

SATO
SATO GL408e User manual

SATO
SATO MB 200i User manual

SATO
SATO CX400 User manual

SATO
SATO GZ4e Series User manual

SATO
SATO GY412 User manual

SATO
SATO M-8400RV User manual

SATO
SATO CL608e/CL612e User manual

SATO
SATO M-84Pro Series User manual

SATO
SATO CT4i Series User manual

SATO
SATO M-8465Se User manual

SATO
SATO M-84Pro Series User manual

SATO
SATO CL6XXe User manual

SATO
SATO M-84Pro Series User manual

SATO
SATO CS-9018 User manual