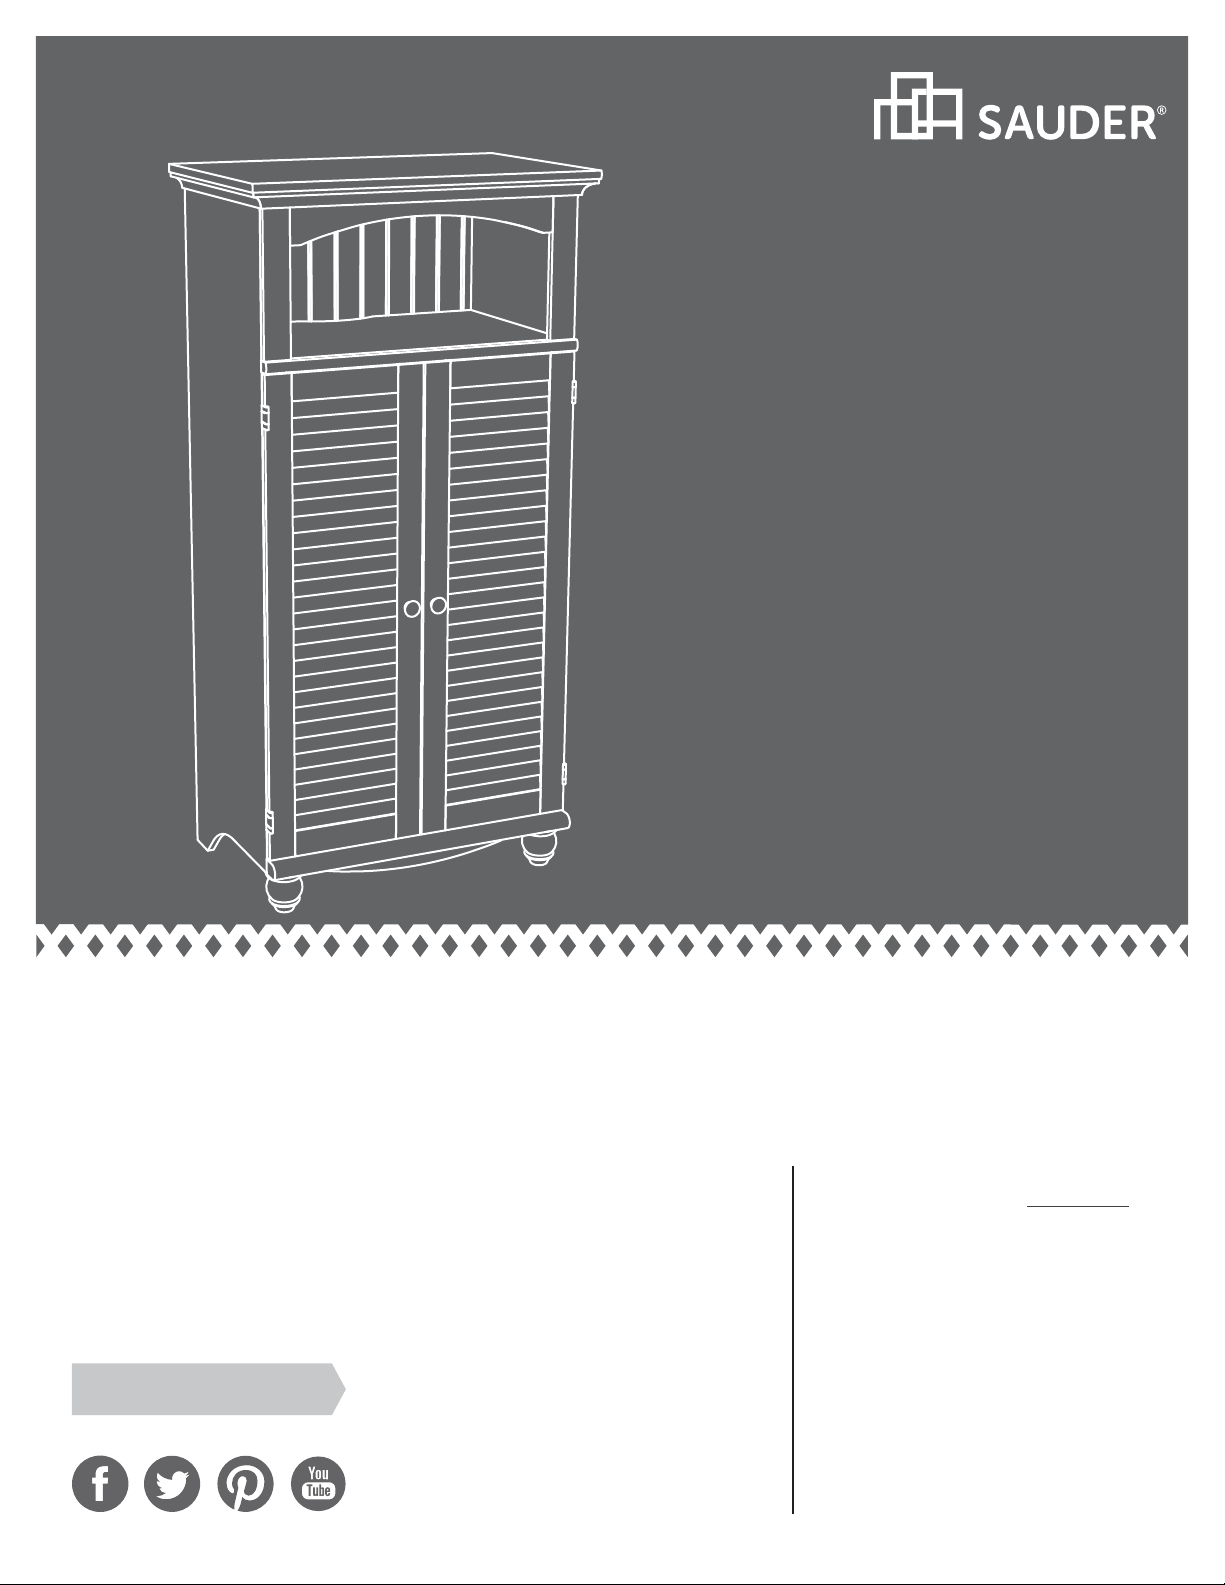
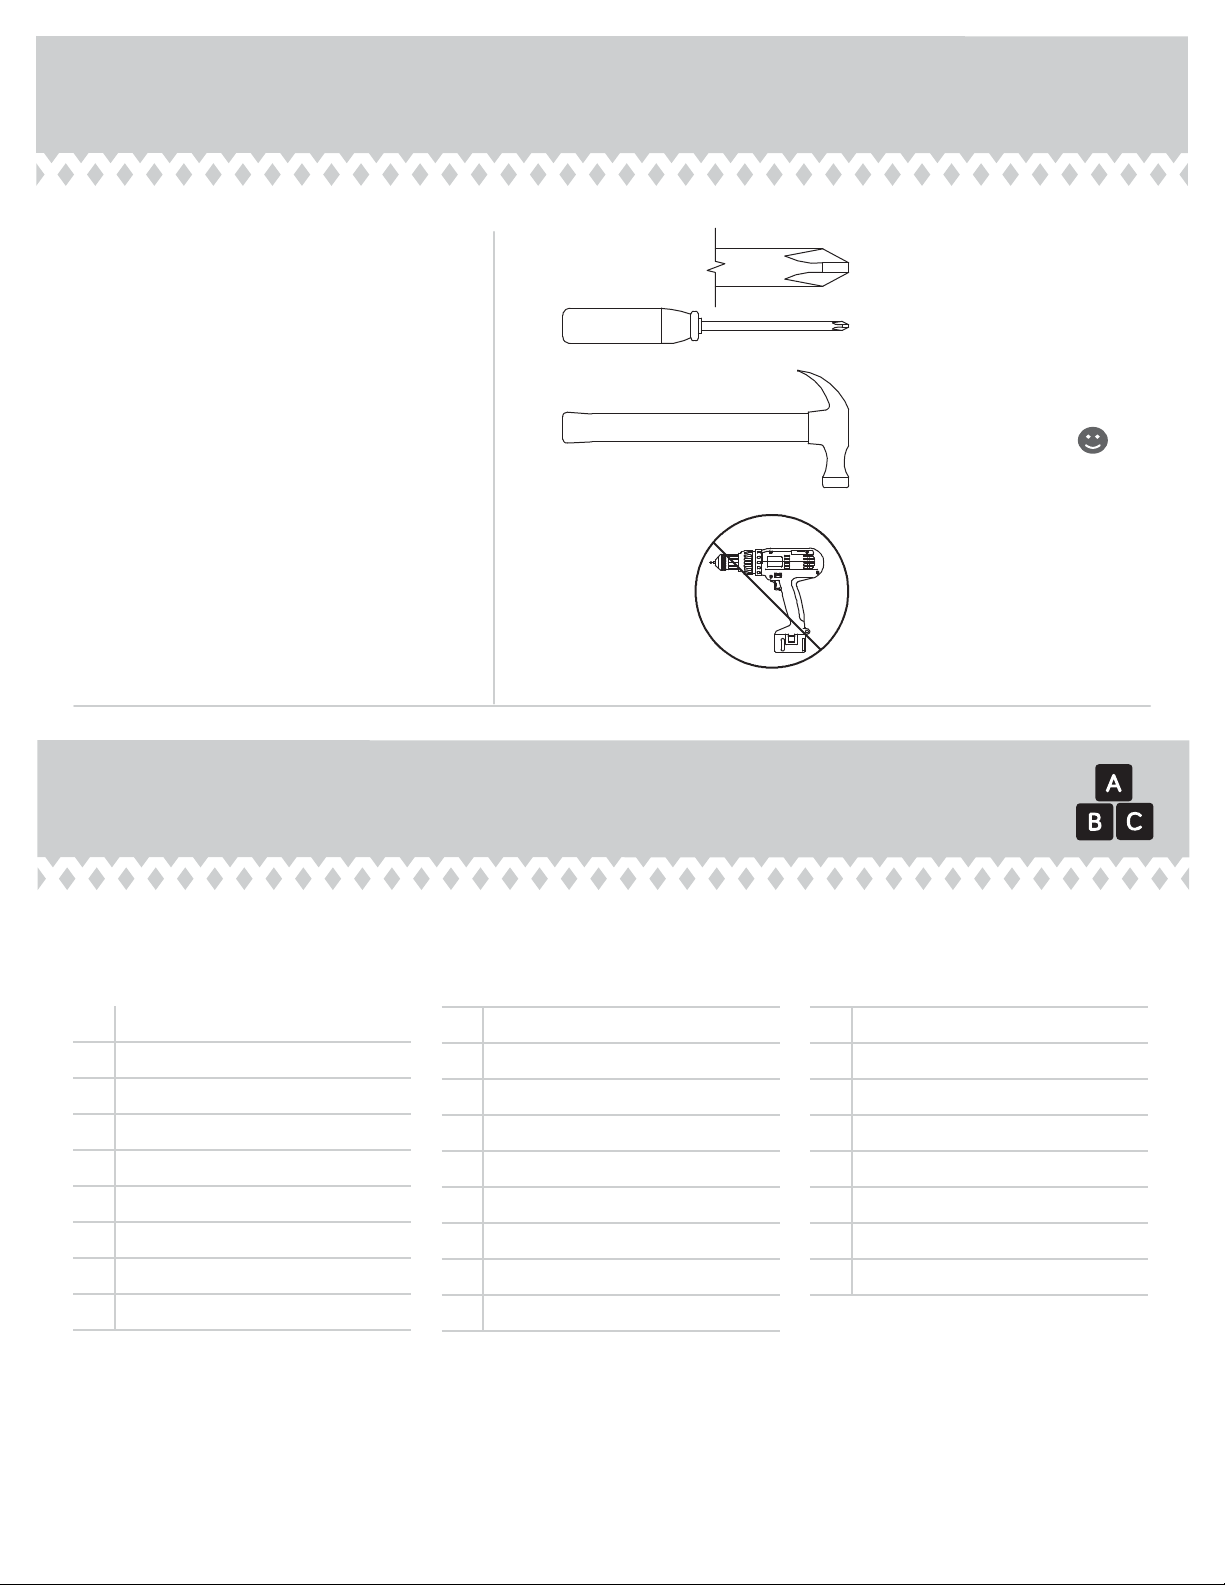
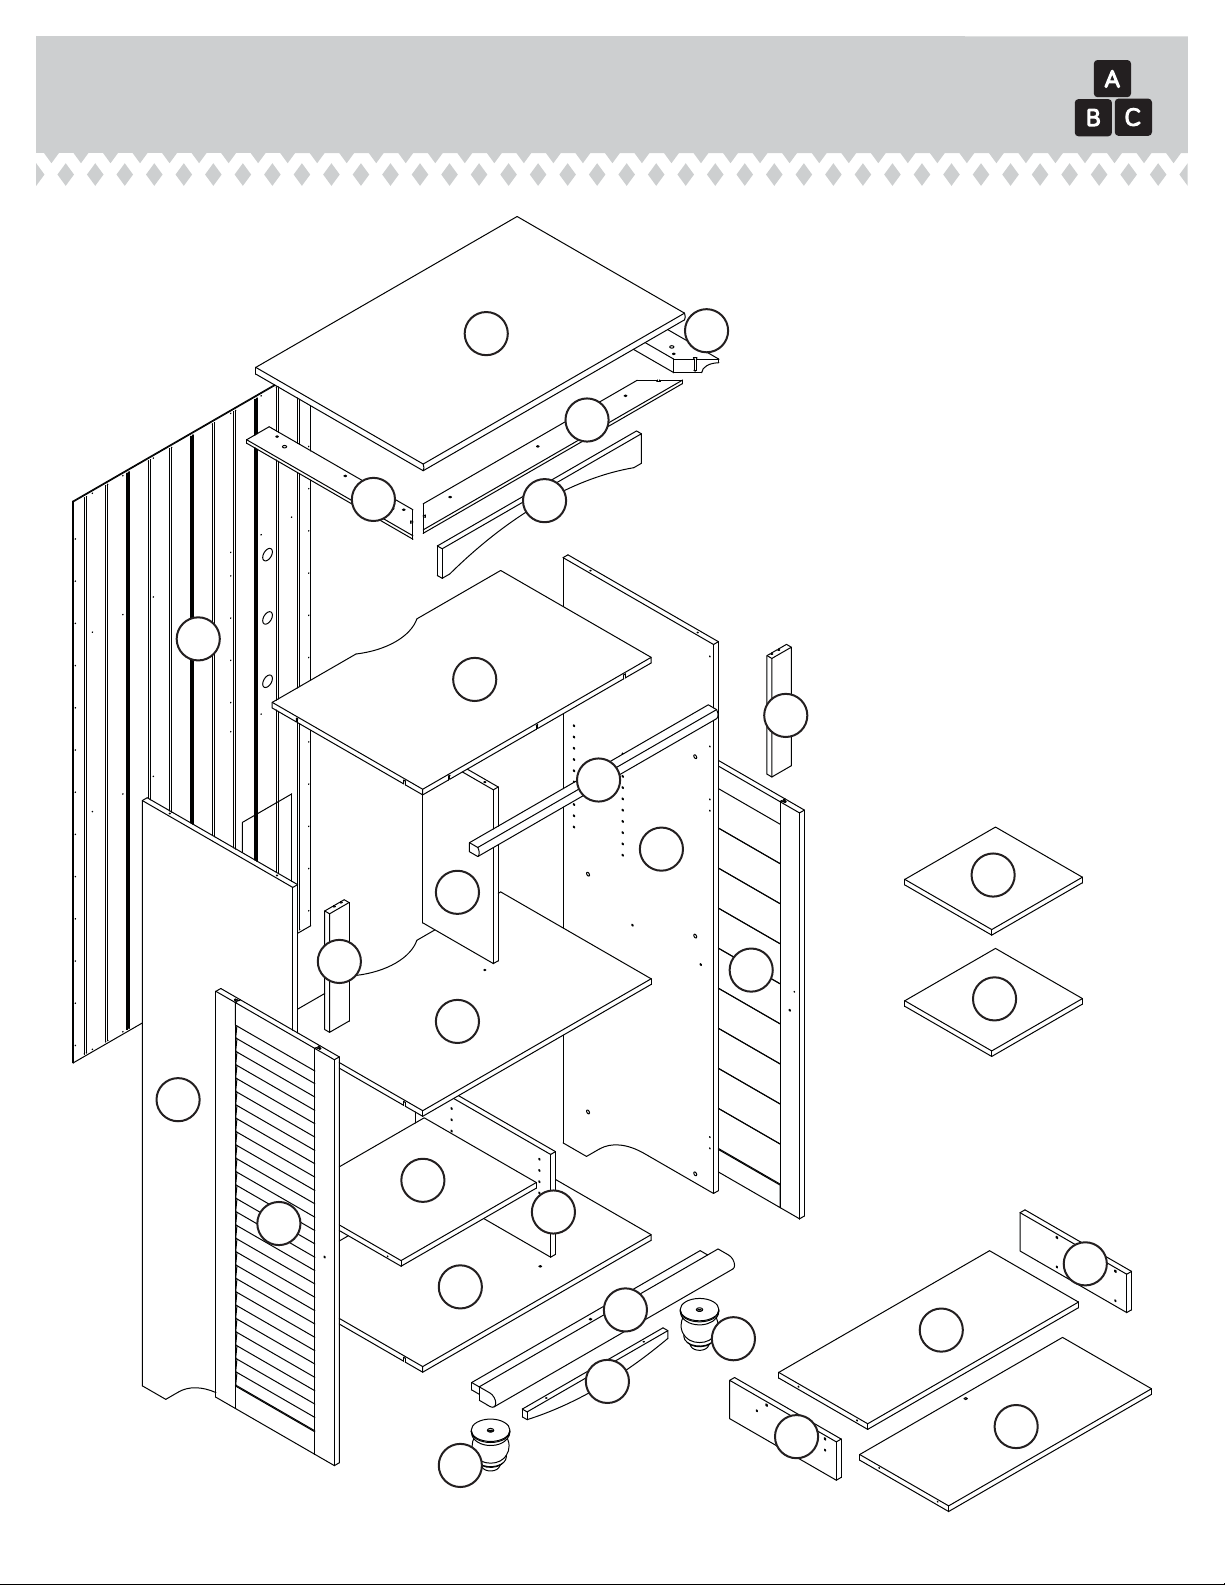
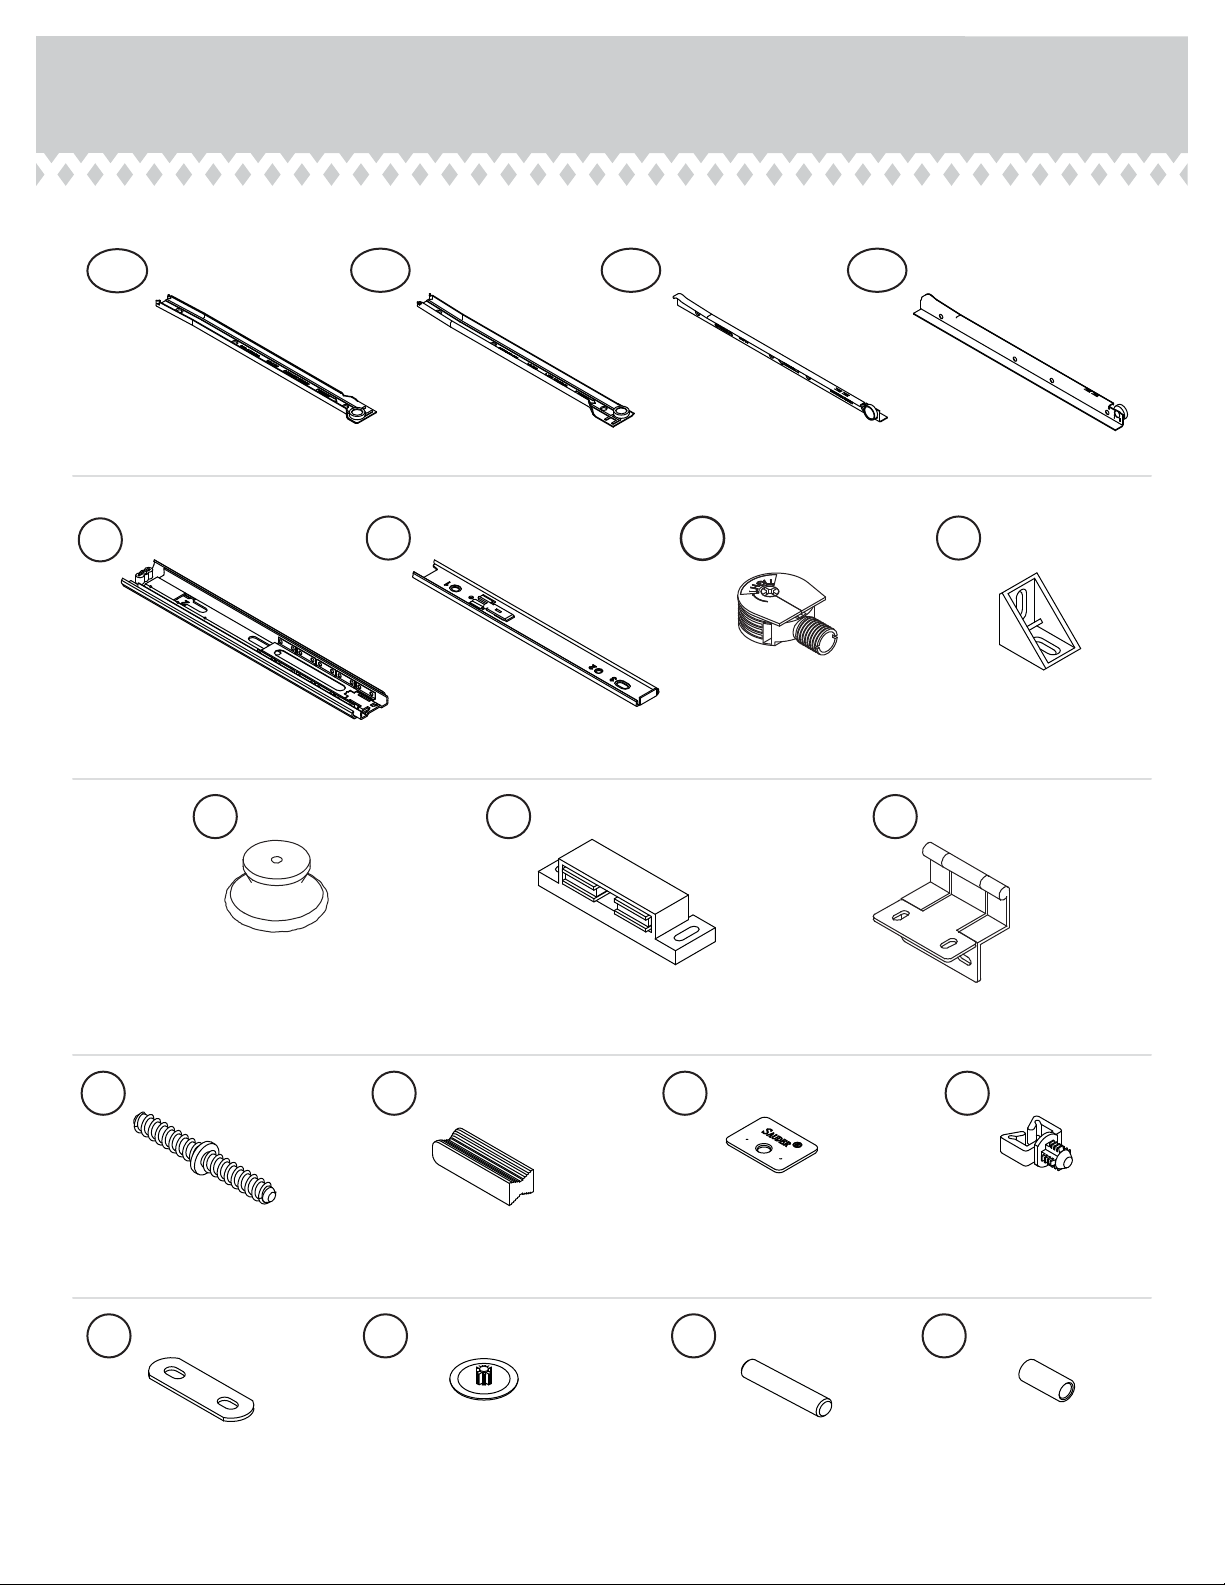
Sauder Harbor View 8070-297 User manual
Other Sauder Indoor Furnishing manuals

Sauder
Sauder worksense Bergen Circle 426278 User manual

Sauder
Sauder Trestle 414602 User manual

Sauder
Sauder Cannery Bridge 424192 User manual

Sauder
Sauder worksense MASON PEAK 427807 User manual

Sauder
Sauder Pallada Series 411843 User manual

Sauder
Sauder 418269 User manual

Sauder
Sauder Jaclyn Smith 416404 User manual

Sauder
Sauder Harbor View 401685 User manual

Sauder
Sauder OfficeWorks AFFIRM 427440 User manual

Sauder
Sauder 423493 User manual

Sauder
Sauder OFFICE WORKS AFFIRM 427448 User manual

Sauder
Sauder Clifford Place 433363 User manual

Sauder
Sauder Cannery Bridge 429510 User manual

Sauder
Sauder Barrister Lane 414723 User manual

Sauder
Sauder Cottage Road 418072 User manual

Sauder
Sauder Harbor View 400742 User manual

Sauder
Sauder County Line 417771 User manual

Sauder
Sauder OfficeWorks AFFIRM 427427 User manual

Sauder
Sauder Parklane 419152 User manual

Sauder
Sauder Credenza International Lux 420631 User manual


Popular Indoor Furnishing manuals by other brands

Regency
Regency LWMS3015 Assembly instructions

Furniture of America
Furniture of America CM7751C Assembly instructions

Safavieh Furniture
Safavieh Furniture Estella CNS5731 manual

PLACES OF STYLE
PLACES OF STYLE Ovalfuss Assembly instruction

Trasman
Trasman 1138 Bo1 Assembly manual

Costway
Costway JV10856 manual