3
Contents
eMag 120 HD / eMag 150 HD – overwiew 4
Intended use, clinical use, intended users
intended usage environment 4
Performance characteristics, what's in the box
5
Setting up the eMag 120 HD / eMag 150 HD 6
Powering the unit 6
Opening the unit 7
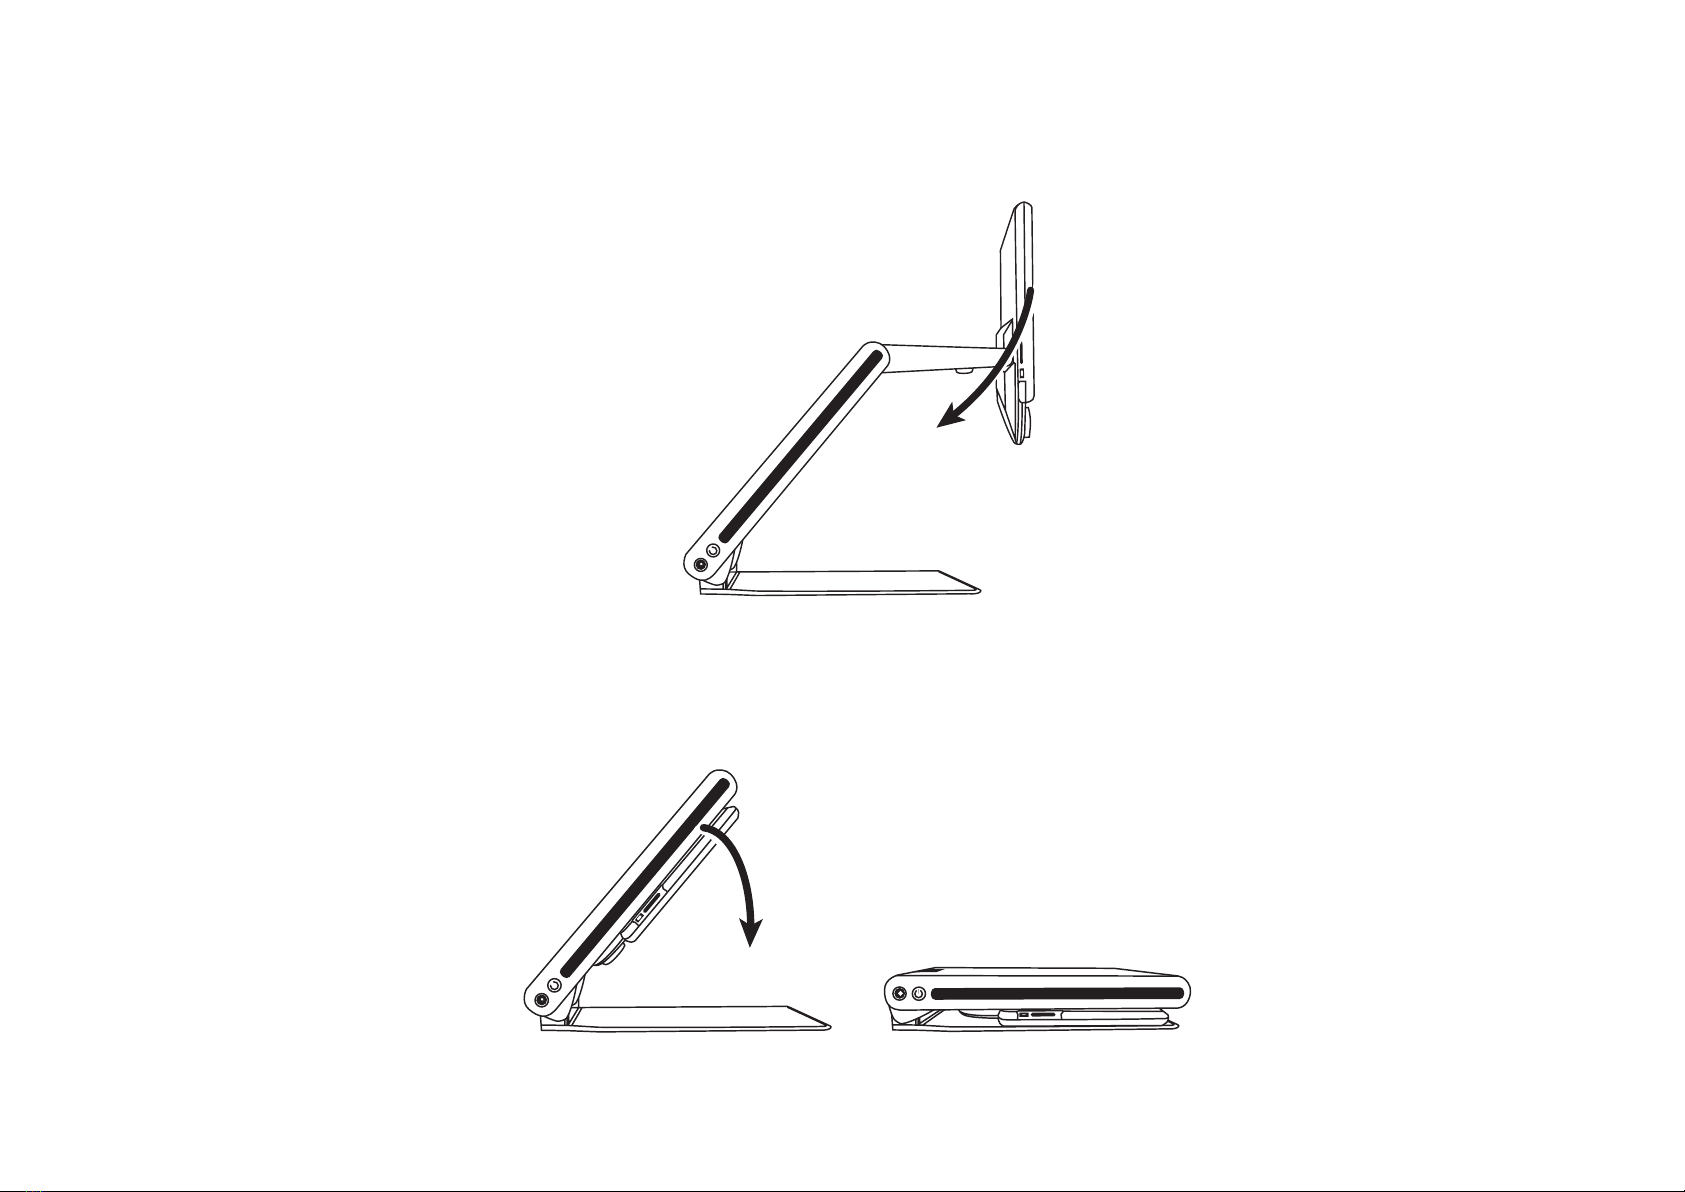
Closing the unit 9
Manually powering the unit on and off 10
Battery status LED 11
Control panel functions 12
General operation 14
Changing magnification 14
Adjusting screen and image brightness 14
Changing screen colors 15
Color modes 16
Freezing an image 17
Using the find feature 17
Self-view camera 18
Advanced operation 20
Control panel – advanced features 20
Adjusting LED brightness 22
Saving an image 22
Reviewing or deleting images saved
on an SD Card 23
Review other images saved on an SD Card 24
Delete the current image while in Review mode
24
Displaying a slide show 25
Start the slide show 26
Reading Lines and Reading Masks
26
Turning on reading lines or reading masks 27
Adjusting distance between reading
lines or reading masks 27
Adding and removing color modes 28
Restoring factory settings 29
Changing and saving default settings 30
Adjusting magnification settings 32
Selecting a magnification table 33
Changing the magnification display number 34
Configuration menu settings 35
Changing the battery 38
Removing the battery 38
Replacing the battery 40
Setting date and time 41
Troubleshooting 43
Service and support 44
Safety and maintenance 45
Technical data 46
Technical data, Manufacturer 46