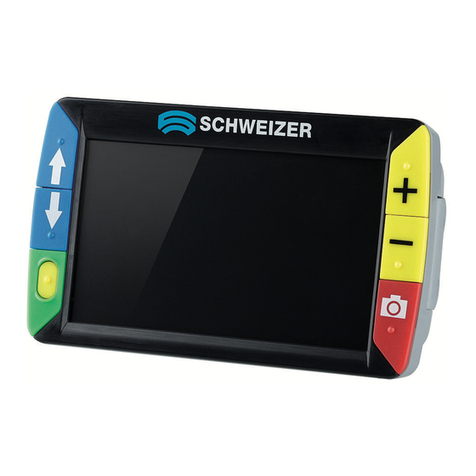
Schweizer eMag 43 User manual

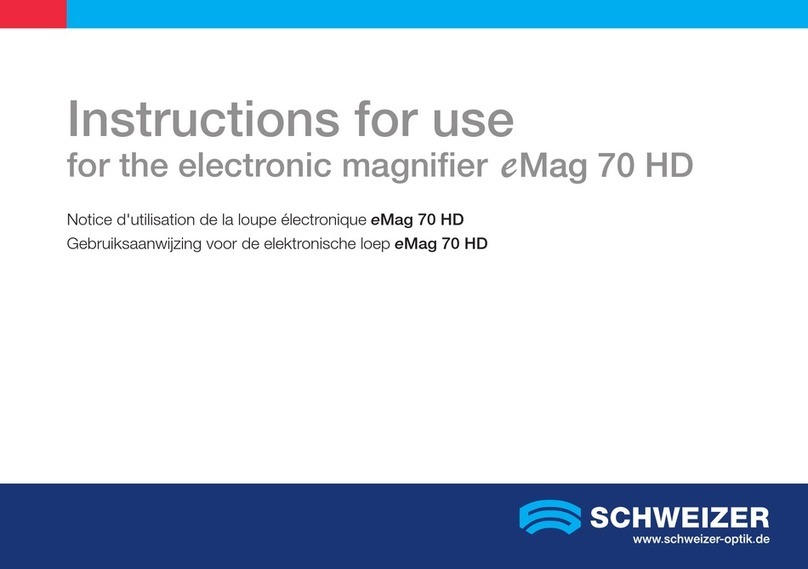
Instructions for use
for the electronic magnifier
Notice d'utilisation
de la loupe électronique
Gebruiksaanwijzing
voor de elektronische loep
eMag 43
EN
FR
NL

2
Contents .Contenu .Inhoudstabel
EN English
page 03
FR Français
page 27
NL Nederlands
pagina 51

EN
3
eMag 43 Handheld video magnifier
Instructions for use
Distributor:
A. SCHWEIZER GmbH
Hans-Böckler-Straße 7
91301 Forchheim, Germany
www.schweizer-optik.de
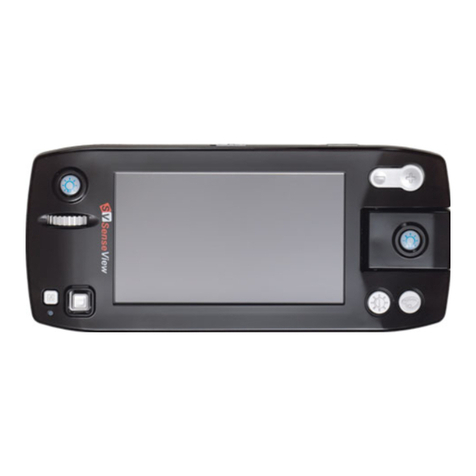
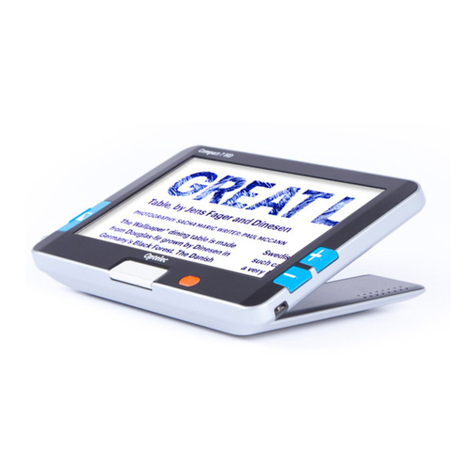
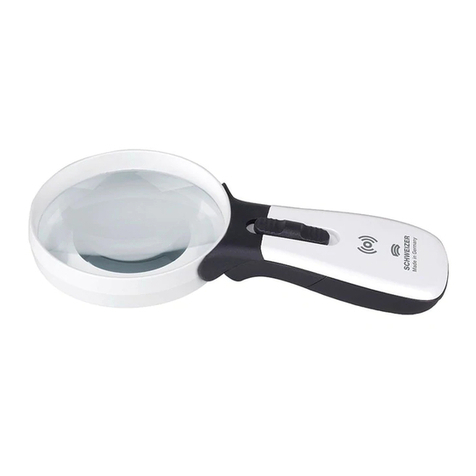
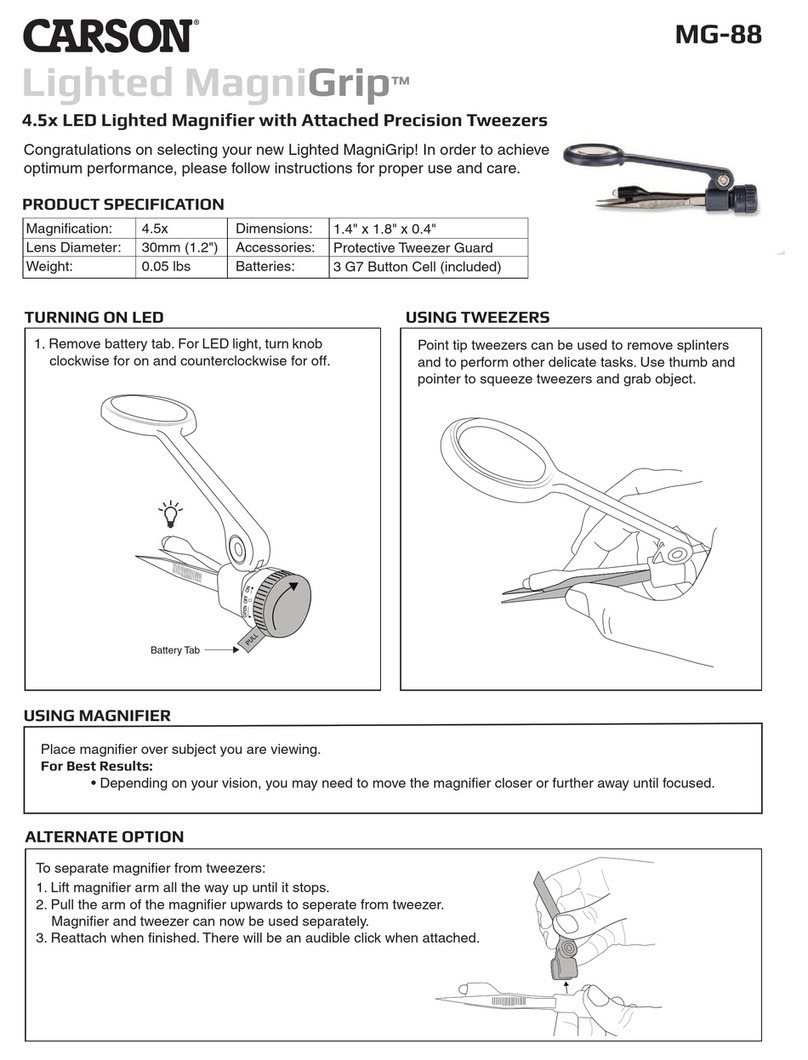
Congratulations on your purchase of the eMag 43. This electronic handheld magnifier allows you to magnify
printed text and objects from 2 to 14 times the object's original size. The eMag 43 features a 4.3-inch, wide-
screen (16:9 aspect ratio) LCD display. We hope you enjoy using this high-quality device.
The information and data contained in this document are subject to change without notice. No part of this
document may be reproduced or transmitted in any form or by any means, electronic or mechanical, or for
any purpose, without the express written approval of A. SCHWEIZER GmbH.
Copyright © 06/2022, A. SCHWEIZER GmbH. All Rights Reserved.

4
Service and support
If you require technical support with your eMag 43, please contact the dealer who sold you the visual aid. It is
recommended you first refer to “Troubleshooting” (on page 20).
Note: The eMag 43 contains no user serviceable components. Any unauthorised attempt to service or
replace internal components will render the warranty null and void.

EN
5
Table of contents
eMag 43 – overview 6
Intended use, Clinical Use,
Intended Users,
Intended Usage Environment 6
What's in the box? 7
Carrying the eMag 43 7
eMag 43 Components 8
Quick start 10
Inserting batteries 10
Charging batteries 12
Battery status LED 13
Using the eMag 43 14
Reading with the eMag 43 14
Magnifying an image 15
Magnification level with handle collapsed 16
Magnification level with handle extended 16
Freezing and magnifying an image 17
Saving and deleting an image 18
Saving an image when the memory is full 19
Turn LED Lights Off 19
Troubleshooting 20
Technical data 22
Safety and maintenance 23
Cleaning the eMag 43 housing 23
Cleaning the eMag 43 LCD screen 24
Battery safety instructions 24
Symbol guide 25

6
Intended use
This electrical device serves to electronically enlarge objects or for reading printed materials in everyday use.
Clinical Use
This electrical device contributes significantly to daily tasks, facilitates independence, increases productivity
and improves self-esteem.
Intended Users
This device is for people with visual impairments or for others who would like to view text, pictures or objects
enlarged.
Intended Usage Environment
This device is intended for use at home, at the office and out and about. It is for enlarging and improving
pictures and texts for users.
eMag 43 – overview

EN
7
Carrying the eMag 43
The eMag 43 has a wrist strap that you can use to carry it comfortably
and safely. To attach the strap, do the following:
1. Push one end of the strap through the hole in the wrist strap post
that is located on the rear of the eMag 43.
2. Loop one end of the wrist strap through the other end of the wrist
strap and pull the strap tight.
When using the eMag 43, you can now place your hand in the wrist
strap. This helps protect the eMag 43 from falling if you let it go of by
accident.
What's in the box?
Before using the eMag 43, please take out and verify all the items that are in the box:
eMag 43 electronic handheld magnifier
AC power adapter with four international adapters
Four AAA nickel-metal hydride (NiMH) rechargeable batteries
Carrying case with shoulder strap
Wrist strap
eMag 43 User's Guide

8
Power
button
Power port
Battery indicator LED Magnification button
Fold-Out handle
(extended position)
Freeze frame button
Colour
select
button
Fold-Out handle
(extended position)
Wrist strap post
Battery indicator LED
Lights
Camera window
Power port
Battery compartment
eMag 43 Components

EN
9
eMag 43 front and top view
eMag 43 rear view
1 Power button (green)
2 Colour select button (blue)
3 Magnification button (yellow)
4 Freeze frame button (red)
5 LCD screen
6 Power port
7 Battery indicator LED
8 Handle and battery compartment
9 Lights
10 Camera window
11 Wrist strap post

10
Inserting batteries
To insert the batteries, do the following:
1. Hold the eMag 43 in one hand. With the
other hand, rotate and swing the handle
until it is fully extended as shown in the
following illustration.
Quickstart
Note: Before using the eMag 43 electronic handheld magnifier, you must charge the unit. The batteries
charge faster when the unit is off. Allow at least two hours for a complete charge before using the
unit for the first time. Please observe the "Inserting and Charging the Batteries" chapter.
The eMag 43 is easy to use, even for those unfamiliar with assistive technology. Press the
green/yellow
power button to turn the unit on. Hold or place the eMag 43 over an object and adjust the magnification to
your preference using the yellow magnification button. The magnified image appears on the unit's display.
For safety reasons, eMag 43 turns off automatically after 30 minutes if no button is pressed during that time.
The following describes the location of the eMag 43 components and the LED operation.
Fold-Out handle
LCD screen
EN
11
2. Turn the eMag 43 so that the LCD display is facing away from you, then slide the battery cover in the di-
rection of the arrow shown in the following illustration.
Note: Observe the correct polarity of the batteries when inserting. Insert the batteries as shown in the
following illustration.
3. Close the battery cover again.

12
Charging batteries
To charge NiMH batteries, do the following:
1. Plug the small end of the power adapter into the power port. The port is located on the left top-edge of the
unit next to the LED as shown in the following illustration.
2. Plug the other end of the power adapter into a standard AC outlet. The battery indicator LED blinks green
to show that the batteries are charging.
3. Once the batteries are charged, the LED stops blinking and glows a steady green. Unplug the power
adapter from the eMag 43. The battery indicator LED turns off.
Power port
Battery indicator LED

EN
13
Battery status LED
Green solid: Batteries are charged, power adapter connected.
Green flashing: Batteries are charging, power adapter connected.
Red flashing: Low battery status.
Red solid: Error: disconnect power adapter, wait a few seconds and then reconnect it.
No LED: Batteries are charged, the power adapter is not plugged in or the eMag 43 is off.
Your eMag 43 is now ready for up to two hours of continuous use. When the batteries are low, the battery
indicator LED flashes red. Connect the power adapter and plug it in to recharge the batteries.
Note: Please note that after 30 minutes the eMag 43 switches to energy-saving mode (screen goes blank)
ifno key is pressed during this time.
Press the On/Off Button to reactivate the eMag 43.

14
After charging the batteries, you are ready to begin reading with the eMag 43. With the unit’s powerful
magnification features, you can read or view letters, menus, maps, photos, labels, bus and train schedules,
television listings, receipts, ingredients, and much more.
Reading with the eMag 43
To read by using the eMag 43, do the following:
1. Make sure that the unit is charged.
2. Press the
green/yellow
power button to turn on the eMag 43. After a few seconds, the LCD displays the
current view as seen through the camera window.
3. If you are reading a book, letter, or other printed item, place it on a flat surface, such as a table or desk.
4. You can then hold the eMag 43 by its handle the same way as you would hold a normal magnifying glass,
or you can fold the handle under the unit and place the eMag 43 directly over the text or object that you
want to read or view. Anything under the unit is magnified and shown on the screen.
5. Adjust the zoom using the yellow magnification button located on the left side next to the LCD.
6. Select a colour mode by pressing the blue colour select button located on the left side of the screen.
Five different video modes are available: Normal (full colour), White on Black (enhanced positive), Black on
White (enhanced negative), Yellow on Blue and Yellow on Black.
7. Move or slide the unit to the right to read to the end of the line. Slide the unit first to the left and then down
to read the next line of text.
For safety reasons, eMag 43 turns off automatically after 30 minutes if no button is pressed during that time.
Using the eMag 43

EN
15
Magnifying an Image
The eMag 43 has three digital zoom settings. Depending on the position and placement of the unit, it
supports screen magnification levels from 2x to 14x.
1. To increase screen magnification, press the yellow magnification button.
2. To step up to the next level of magnification, press the yellow magnification button again.
3. Pressing the yellow magnification button a third time returns the eMag 43 to its initial
magnification level.
For more information about the different magnification levels, please refer to the following section.

16
Magnification level with handle collapsed
When the eMag 43 is placed on a document, the starting magnification is 5x.
By pressing the yellow magnification button repeatedly, the magnification increases to 7.5x, to 10x, and
then back to 5X.
Magnification level with handle extended
When the eMag 43 is held over a document (as shown in the illustration), the starting magnification is 2x.
Magnification level 2x while holding the eMag 43 approximately 7.6 cm above item.
By pressing the yellow magnification button repeatedly, the magnification increases to 3x, to 4x, and
then back to 2x.

EN
17
When the eMag 43 is in this low position (approx. 1.3 cm) above a document, the starting magnification is 7x.
By pressing the yellow magnification button repeatedly, the magnification increases to 10.5x, to 14x, and
then back to 7x.
Freezing and magnifying an Image
Freezing an image can be useful for reading labels on items on a store shelf, for example. By holding the
eMag 43 close to the item and capturing the image, you can then hold the unit close enough for you to read.
To freeze the current image on the LCD screen, do the following:
1. Press the red freeze frame button.
2. If you wish, you can change the magnification of the picture taken by pressing the yellow magnification
button.
3. Press the red freeze frame button again to turn off the freeze frame mode.

18
Saving and deleting an image
Switch on the
eMag 43
(press the green/yellow button ). Then press the red button
to take the desired
image. The image on the display can be saved as follows
Press and HOLD this red button for 6 seconds to enter Storage mode.
The check box in the lower left corner will be automatically checked. This indicates that the image will be
stored when you exit Storage mode.
The Forwards symbol is now displayed in the bottom right corner Press the red button to advance
to the next image. Press the button repeatedly to advance through all the images saved in theeMag43
To delete an image, press the blue button to clear the check box The image is deleted when you exit
Storage mode.
Press and HOLD the red button for 3 seconds to leave Storage mode.
To view stored images press and HOLD the red button for 6 seconds. You will then enter Storage
mode You can then advance through the images as previously described in this section.

EN
19
Saving an image when the memory is full
The eMag 43
can store a maximum of 15 images. If you try to store another image, the "Memory full" icon
is displayed in the bottom left corner.Before you can save another image
you must delete one ormore images
from the memory:
Press the red button to advance to the desired image and then press the blue button
to clear
thecheck box.
Press and HOLD the red button for 3 seconds to leave Storage mode. The new image is saved, andall
unchecked images are deleted.
Turn LED Lights Off
To avoid glare when viewing reflective surfaces you can turn off the LED lights.
Press and HOLD the green/yellow button and then press the red button . The LED lights turn off.
To turn on the lights again, press and HOLD the green/yellow button and then press the red
button .

20
Problem
Solution
The screen is blank. Ensure that the power is on. Verify that the item you want to
magnify is positioned correctly under the camera window.
Reduce the magnification level. Charge the NiMH batteries.
Ifusing AAA alkaline batteries, replace the alkaline batteries.
(Do not mix NiMH batteries and alkaline batteries.)
The unit does not turn on. Charge the NiMH batteries. If using AAA alkaline batteries,
replace the alkaline batteries. (Do not mix NiMH batteries and
alkaline batteries.)
The image on the screen is dark or
distorted.
Make sure that the eMag 43 is positioned flat on the page you
are reading.
The battery indicator LED is flashing red. Charge the NiMH batteries, or, if using AAA alkaline batteries,
replace the alkaline batteries. (Do not mix NiMH and alkaline
batteries.)
The battery LED is solid red while the
power adapter is connected to the
eMag 43.
A battery error has occurred. Unplug the power adapter from
the eMag 43 and plug it in again. Charge the NiMH batteries
for at least 2 hours. If using AAA alkaline batteries, replace the
alkaline batteries. If the problem continues, disconnect the
power adapter and call your eMag 43 merchant.
Troubleshooting
Table of contents
Languages:
Other Schweizer Magnifier manuals

Schweizer
Schweizer eMag 43 HD User manual

Schweizer
Schweizer ERGO-Style User manual

Schweizer
Schweizer ERGO-Style User manual

Schweizer
Schweizer eMag 43 HD User manual

Schweizer
Schweizer eMag 70 HD User manual

Schweizer
Schweizer EMAG 120 HD User manual

Schweizer
Schweizer ERGO-Lux i mobil User manual

Schweizer
Schweizer EMAG 150 HD User manual

Schweizer
Schweizer eMag 34 User manual

Schweizer
Schweizer ERGO-Lux i mobil User manual