manuals.online logo
Brands
  1. Home
  2. •
  3. Brands
  4. •
  5. Sealey
  6. •
  7. Tools Storage
  8. •
  9. Sealey SL1D.V2 User manual

Sealey SL1D.V2 User manual

INSTRUCTIONS FOR:
LOCKERS - 1 DOOR, 2 DOOR, 4 DOOR
MODEL No's: SL1D.V2, SL2D.V2, SL4D.V2
Thank you for purchasing a Sealey product. Manufactured to a high standard this product will, if used according to these instructions and
properly maintained, give you years of trouble free performance.
1. SAFETY INSTRUCTIONS
IMPORTANT: PLEASE READ THESE INSTRUCTIONS CAREFULLY. NOTE THE SAFE OPERATIONAL REQUIREMENTS, WARNINGS & CAUTIONS.
USE THE PRODUCT CORRECTLY AND WITH CARE FOR THE PURPOSE FOR WHICH IT IS INTENDED. FAILURE TO DO SO MAY CAUSE
DAMAGE AND/OR PERSONAL INJURY AND WILL INVALIDATE THE WARRANTY. PLEASE KEEP INSTRUCTIONS SAFE FOR FUTURE USE.
2. INTRODUCTION
WARNING! Ensure Health & Safety, local authority, and
general workshop practice regulations are adhered to when
using these lockers.
Locate locker in a suitable work area.
Keep the work area clean, uncluttered and ensure there is
adequate lighting.
WARNING! Use locker on level and solid ground, preferably
concrete.
Keep the locker clean and tidy in accordance with good
workshop practice.
Keep children and unauthorised persons away from the work area.
DO NOT use the locker for any purpose other than that for
which it is designed.
DO NOT use the locker outdoors.
DO NOT get the locker wet or use in damp or wet locations or
areas where there is condensation.
DO NOT clean the locker with any solvents which may damage
the surfaces or the protective coating.
2.1. Introduction:
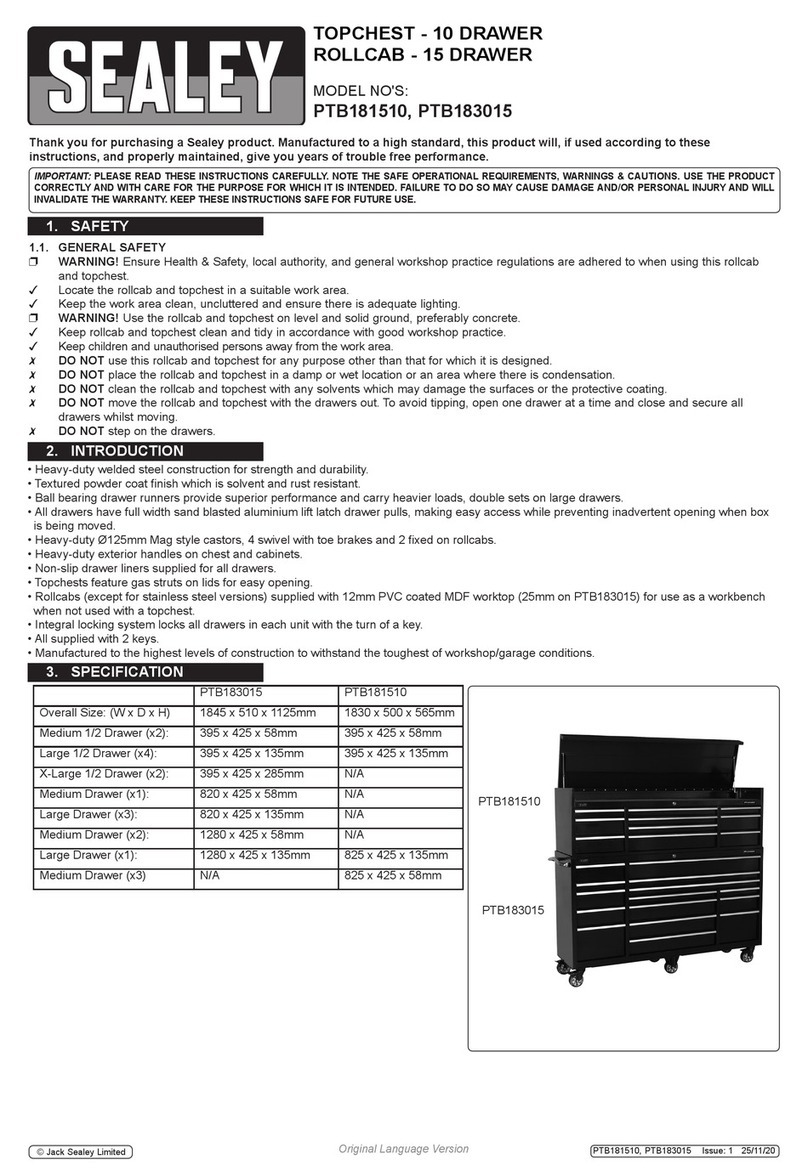
A range of lockers suitable for a variety of commercial
 applications.Singleandtwodoormodelsttedwithahanging
bar, single door model also has single shelf. Doors on all models
 areventilatedandttedwithcylinderlocks,2setsofkeys
 suppliedperlock.Suppliedatpacked.
2.2. Dimensions:
Width: 380mm, Depth: 450mm, Height: 1850mm.
3. ASSEMBLY
3.1. Lay out the back panel and the two side panels. The side
panels have a cut-out at the front and a lip at the bottom.
Slide the back panel into one of the side panels from the top
 (fig.1)andslideitallthewaydown(fig.2)-notethattheshelf
brackets line up.
fig.1
fig.2
3.2. Fit the other side panel to the back panel following the same
procedure. Ensure that the side panels are supported in an
upright position so that the panels are not twisted.
3.3. Carefully stand the unit up, again ensuring that the panels are
not twisted, two people may be required for this.
fig.2
Original Language Version SL1D.V2,SL2D.V2,SL4D.V2 Issue: 1 - 13/08/13
© Jack Sealey Limited
NOTE: It is our policy to continually improve products and as such we reserve the right to alter data, specifications and component parts without prior notice.
IMPORTANT: No liability is accepted for incorrect use of this product.
WARRANTY: Guaranteeis12monthsfrompurchasedate,proofofwhichwillberequiredforanyclaim.
INFORMATION:Foracopyofourlatestcatalogueandpromotionscalluson01284757525andleaveyourfullnameandaddress,includingpostcode.
01284 757500
01284 703534
sales@sealey.co.uk
Sole UK Distributor, Sealey Group,
Kempson Way, Suffolk Business
Park, Bury St. Edmunds, Suffolk,
IP327AR
www.sealey.co.uk
Web
email
Original Language Version SL1D.V2,SL2D.V2,SL4D.V2 Issue: 1 - 13/08/13
3.6. Fit the shelves into the locker following the same procedure
as for the locker top.
3.7. Placehangingbarinposition(SL1DandSL2Donly)by
pushing it into position (fig.4) and fit the mirror in its position
inside the door.
fig.3
SL1D SL2D SL4D
fig.4
3.4. Fit the door frame panel into the unit from the inside, locating
the frame with the side panels at the top (fig.3) and bottom.
Once located push fit them together until they lock into place.
3.5. Fit the locker top from the top, ensuring that the three lips
locate within the brackets at the back and sides, when they are
lined up, apply pressure and lock the top into place (fig.4).
NOTE: the shelves and top are identical.
© Jack Sealey Limited

This manual suits for next models

5

Other Sealey Tools Storage manuals

Sealey APMS01 User manual

Sealey

Sealey APMS01 User manual

Sealey AP556CSHV User manual

Sealey

Sealey AP556CSHV User manual

Sealey AP1200MW User manual

Sealey

Sealey AP1200MW User manual

Sealey PTB91508 User manual

Sealey

Sealey PTB91508 User manual

Sealey PTB66004 User manual

Sealey

Sealey PTB66004 User manual

Sealey AP28104BR User manual

Sealey

Sealey AP28104BR User manual

Sealey PTB66004SS User manual

Sealey

Sealey PTB66004SS User manual

Sealey AP1205 User manual

Sealey

Sealey AP1205 User manual

Sealey AP1200M User manual

Sealey

Sealey AP1200M User manual

Sealey AP12600.V4 User manual

Sealey

Sealey AP12600.V4 User manual

Sealey AP12600 User manual

Sealey

Sealey AP12600 User manual

Sealey PTB40506.V2 User manual

Sealey

Sealey PTB40506.V2 User manual

Sealey AP1248SS.V2 User manual

Sealey

Sealey AP1248SS.V2 User manual
Sealey AP2200BB.V2 Series User manual

Sealey

Sealey AP2200BB.V2 Series User manual
Sealey PTB141007 User manual

Sealey

Sealey PTB141007 User manual

Sealey AP6310 User manual

Sealey

Sealey AP6310 User manual

Sealey AP0615 User manual

Sealey

Sealey AP0615 User manual

Sealey AP2513B.V3 User manual

Sealey

Sealey AP2513B.V3 User manual

Sealey AP2513B.V4 User manual

Sealey

Sealey AP2513B.V4 User manual

Sealey AP4707S User manual

Sealey

Sealey AP4707S User manual
Sealey AP0618 User manual

Sealey

Sealey AP0618 User manual

Sealey SM30.V2 User manual

Sealey

Sealey SM30.V2 User manual

Sealey AP0618.V3 User manual

Sealey

Sealey AP0618.V3 User manual

Sealey PTB104008 User manual

Sealey

Sealey PTB104008 User manual

Popular Tools Storage manuals by other brands

Wolfcraft QUICK JAW 6134 owner's manual

Wolfcraft

Wolfcraft QUICK JAW 6134 owner's manual

Kreg Universal Bench Assembly instructions

Kreg

Kreg Universal Bench Assembly instructions

Westfalia 32 50 19 Assembling instructions

Westfalia

Westfalia 32 50 19 Assembling instructions

Clarke CWB2001P Assembly instructions

Clarke

Clarke CWB2001P Assembly instructions

DeWalt DWST82822 instruction manual

DeWalt

DeWalt DWST82822 instruction manual

Buffalo HJ326 Assembly instructions

Buffalo

Buffalo HJ326 Assembly instructions

Rac RAC-HP084 manual

Rac

Rac RAC-HP084 manual

Kobalt 19156 manual

Kobalt

Kobalt 19156 manual

P.Lindberg 9065225 manual

P.Lindberg

P.Lindberg 9065225 manual

brennenstuhl AMB200 Operation and safety notes

brennenstuhl

brennenstuhl AMB200 Operation and safety notes

Cassese CS 20 CART Technical  user's manual

Cassese

Cassese CS 20 CART Technical user's manual

Craftsman 706.366440 Operator's manual

Craftsman

Craftsman 706.366440 Operator's manual

Grizzly CLAMP RACK Assembly instructions

Grizzly

Grizzly CLAMP RACK Assembly instructions

Hilka HDPC106 Assembly instructions

Hilka

Hilka HDPC106 Assembly instructions

Clarke CWB1200P Assembly instructions

Clarke

Clarke CWB1200P Assembly instructions

Craftsman Side Cabinet with SS Protect-it owner's manual

Craftsman

Craftsman Side Cabinet with SS Protect-it owner's manual

myToys Werkbank Assembly instructions

myToys

myToys Werkbank Assembly instructions

Bahco Tool Holders Collection brochure

Bahco

Bahco Tool Holders Collection brochure

manuals.online logo
manuals.online logoBrands
  • About & Mission
  • Contact us
  • Privacy Policy
  • Terms and Conditions

Copyright 2025 Manuals.Online. All Rights Reserved.