manuals.online logo
Brands
  1. Home
  2. •
  3. Brands
  4. •
  5. Sealey
  6. •
  7. Tools Storage
  8. •
  9. Sealey AP2010 User manual

Sealey AP2010 User manual

Other Sealey Tools Storage manuals
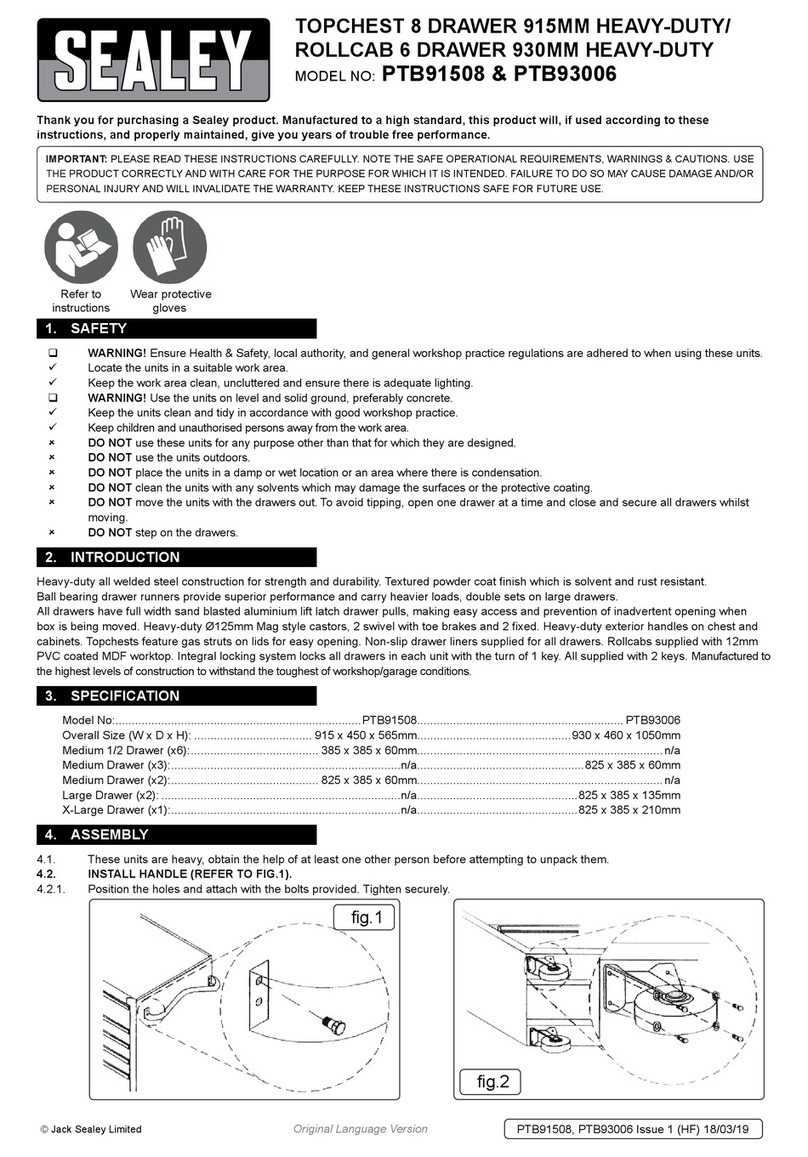
Sealey PTB143011 User manual

Sealey

Sealey PTB143011 User manual

Sealey AP12600.V4 User manual

Sealey

Sealey AP12600.V4 User manual

Sealey APMS60 User manual

Sealey

Sealey APMS60 User manual

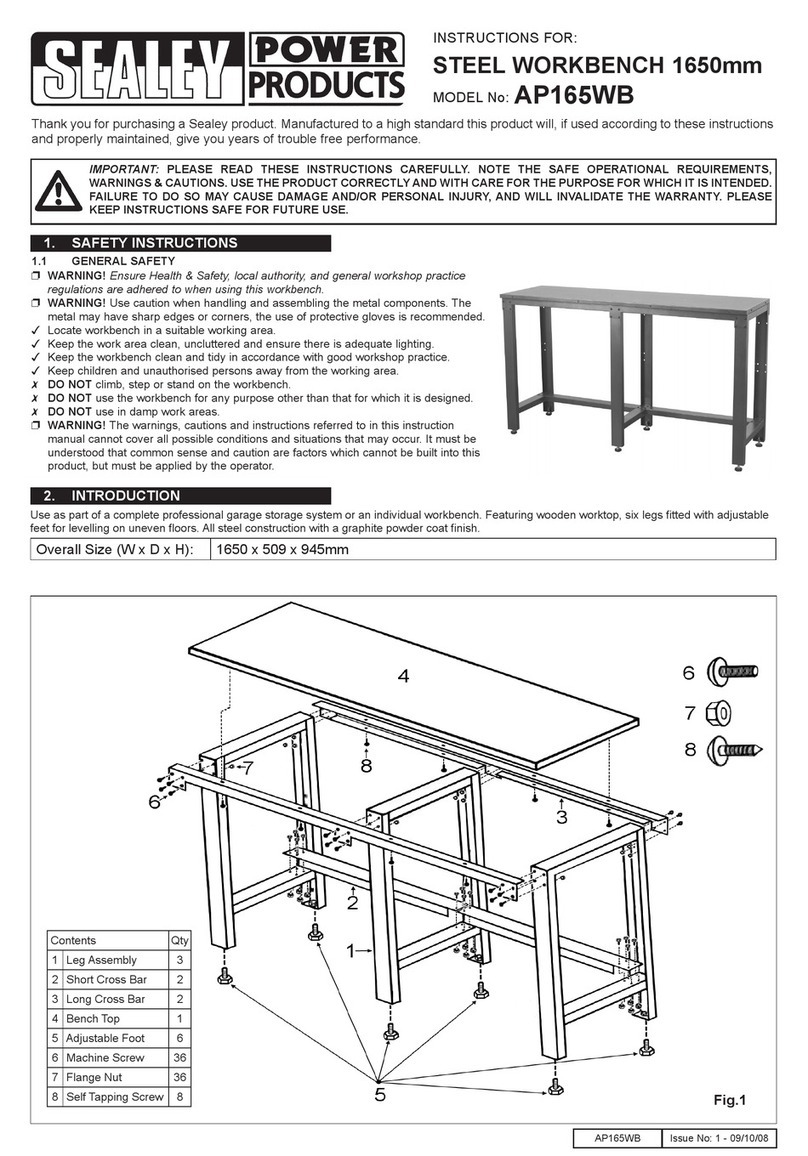
Sealey AP165WB User manual

Sealey

Sealey AP165WB User manual
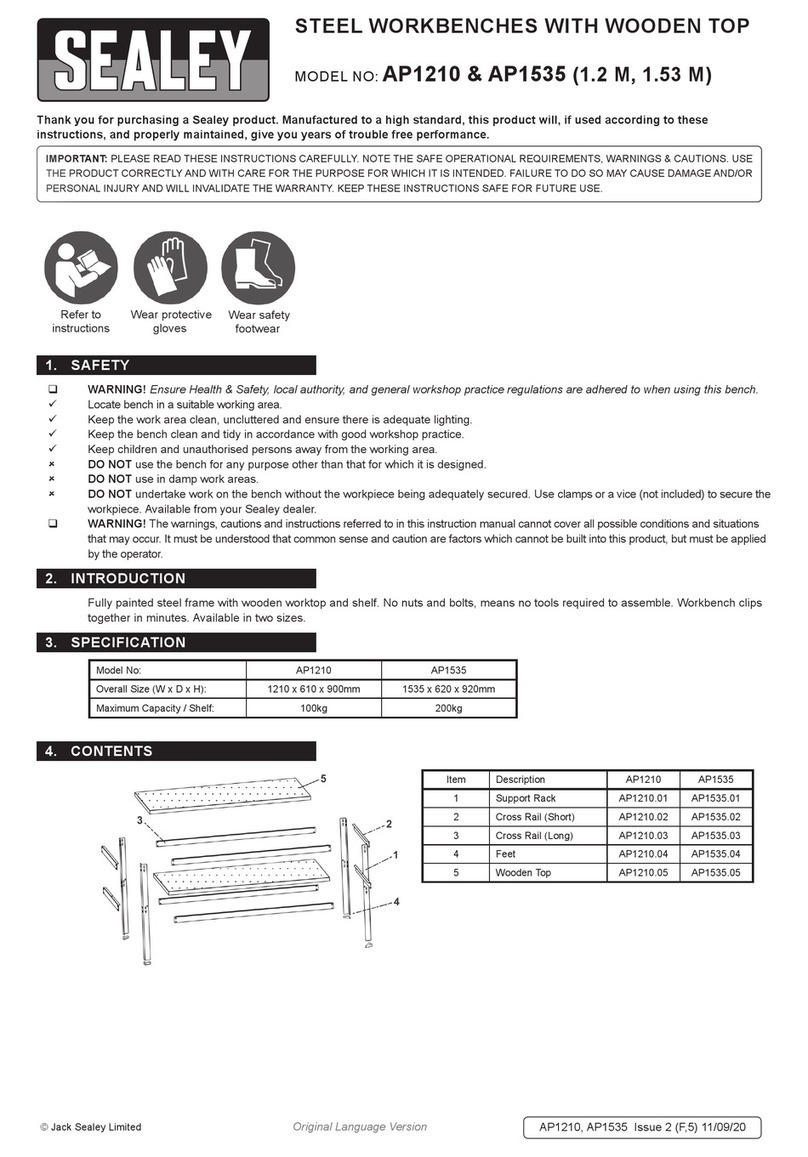
Sealey AP6310BE User manual

Sealey

Sealey AP6310BE User manual

Sealey AP26059TW User manual

Sealey

Sealey AP26059TW User manual

Sealey AP420913T User manual

Sealey

Sealey AP420913T User manual

Sealey PTB104008 User manual

Sealey

Sealey PTB104008 User manual

Sealey AP1200M User manual

Sealey

Sealey AP1200M User manual

Sealey AP26059TBRG User manual

Sealey

Sealey AP26059TBRG User manual

Sealey AP1200MW User manual

Sealey

Sealey AP1200MW User manual

Sealey AP2405 User manual

Sealey

Sealey AP2405 User manual

Sealey AP02WC User manual

Sealey

Sealey AP02WC User manual

Sealey AP1100M User manual

Sealey

Sealey AP1100M User manual

Sealey SM30.V2 User manual

Sealey

Sealey SM30.V2 User manual

Sealey API16 User manual

Sealey

Sealey API16 User manual

Sealey AP1520 User manual

Sealey

Sealey AP1520 User manual

Sealey AP2416 User manual

Sealey

Sealey AP2416 User manual

Sealey AP5MB User manual

Sealey

Sealey AP5MB User manual

Sealey Power Products API1500 User manual

Sealey

Sealey Power Products API1500 User manual

Sealey AP2020 User manual

Sealey

Sealey AP2020 User manual

Sealey AP2200BB Series User manual

Sealey

Sealey AP2200BB Series User manual

Sealey AP2050 User manual

Sealey

Sealey AP2050 User manual

Sealey APMS13 User manual

Sealey

Sealey APMS13 User manual

Popular Tools Storage manuals by other brands

Vestil WT-2424 owner's manual

Vestil

Vestil WT-2424 owner's manual

Kendall Howard ESDW-9630-1000 owner's manual

Kendall Howard

Kendall Howard ESDW-9630-1000 owner's manual

Ryobi RWB03 Original instructions

Ryobi

Ryobi RWB03 Original instructions

Husky H27CH5TR4BGK Use and care guide

Husky

Husky H27CH5TR4BGK Use and care guide

Scheppach ts 2100 Translation from original manual

Scheppach

Scheppach ts 2100 Translation from original manual

DIVERSIFIED WOODCRAFTS SHAIN GSB-6024 Assembly instruction

DIVERSIFIED WOODCRAFTS

DIVERSIFIED WOODCRAFTS SHAIN GSB-6024 Assembly instruction

Cassese CS200 CART user & parts manual

Cassese

Cassese CS200 CART user & parts manual

Cornwell Tools CTB360AKBK Assembly instructions

Cornwell Tools

Cornwell Tools CTB360AKBK Assembly instructions

Workzone 99609 Assembly instructions

Workzone

Workzone 99609 Assembly instructions

Stanley STST83800-1 instruction manual

Stanley

Stanley STST83800-1 instruction manual

Perel ROLLER SHUTTER STORAGE CABINET Assembly instructions

Perel

Perel ROLLER SHUTTER STORAGE CABINET Assembly instructions
BGS technic 4107 manual

BGS technic

BGS technic 4107 manual

Tennsco RXHS-962484 Assembly Instructions/Parts Manual

Tennsco

Tennsco RXHS-962484 Assembly Instructions/Parts Manual

Grizzly T1240 owner's manual

Grizzly

Grizzly T1240 owner's manual

Rubi 66924 manual

Rubi

Rubi 66924 manual

Draper 77020 instructions

Draper

Draper 77020 instructions

Batavia CROC LOCK COMPACT Translation of the original instructions

Batavia

Batavia CROC LOCK COMPACT Translation of the original instructions

Pinnacle GOS196 quick start guide

Pinnacle

Pinnacle GOS196 quick start guide

manuals.online logo
manuals.online logoBrands
  • About & Mission
  • Contact us
  • Privacy Policy
  • Terms and Conditions

Copyright 2025 Manuals.Online. All Rights Reserved.

INSTRUCTIONS FOR:
HARDWOOD TOP WORK BENCH
( WITH CUPBOARD ) MODEL :A
A
P
P
2
2
0
0
1
1
0
0
AP2010
The use of symbols in this document is to attract your attention to possible danger. The symbols and warnings themselves do not eliminate any danger, nor are they substitutes for proper
accident prevention measures.
Thank you for purchasing a Sealey product. Manufactured to a high standard this product will, if used according to these instructions and
properly maintained, give you years of trouble free performance.
1. SAFETY INSTRUCTIONS
IMPORTANT: PLEASE READ THESE INSTRUCTIONS CAREFULLY. NOTE THE SAFE OPERATIONAL REQUIREMENTS, WARNINGS & CAUTIONS.
USE THE PRODUCT CORRECTLY AND WITH CARE FOR THE PURPOSE FOR WHICH IT IS INTENDED. FAILURE TO DO SO MAY CAUSE
DAMAGE OR PERSONAL INJURY, AND WILL INVALIDATE THE WARRANTY. PLEASE KEEP INSTRUCTIONS SAFE FOR FUTURE USE.
2. CONTENTS
1.1 GENERAL SAFETY
pWARNING! Ensure Health & Safety, local authority, and general workshop practice regulations are adhered to when using this bench.
3Locate bench in a suitable working area.
3Keep the work area clean, uncluttered and ensure there is adequate lighting.
pWARNING! Use bench on level and solid ground, preferably concrete. Avoid tarmacadam since the bench may sink into the surface.
3Keep the bench clean and tidy in accordance with good workshop practice.
3Keep children and unauthorised persons away from the working area.
7DO NOT use the bench for any purpose other than that for which it is designed.
7DO NOT undertake work on the bench without the workpiece being adequately secured. Use clamps or a vice (not included) to secure the
workpiece. Available from your Sealey dealer.
7DO NOT use the bench outdoors.
7DO NOT get the bench wet or use in damp or wet locations or areas where there is condensation.
7DO NOT clean the bench with any solvents which may damage the paint surface or the protective coating on the wooden top.
AP2010 - 1 - 180102
01284 757500
E-mail:
sales@sealey.co.uk
01284 703534
Sole UK Distributor, Sealey Group,
Bury St. Edmunds, Suffolk.
NOTE: It is our policy to continually improve products and as such we reserve the right to alter data, specifications and component parts without prior notice.
IMPORTANT: No liability is accepted for incorrect use of product. WARRANTY: Guarantee is 12 months from purchase date, proof of which will be required
for any claim. INFORMATION: Call us for a copy of our latest catalogue on 01284 757525 and leave your full name and address including your postcode.
2.0 Carefully unpack the product and check the contents against the diagram below. Should any items be missing or damaged make
immediate contact with your Sealey dealer.
3. ASSEMBLY
AP2010 - 1 - 180102
STEP 1. Take one crossrail (B) and one
crossrail (D) and bolt them to the cabinet sides
(A) using 8 bolts (O), 8 lock washers(P), and 8
nuts (Q). Ensure that the pairs of holes that
accept the corner braces are facing
downwards. ( Refer to STEP 8.)
STEP 4. Bolt into position rear crossrail (B).
Take door (J) and drop lower hinge pin into the
hole in lower cross rail. Hold door in position
and bolt in place front crossrail (D) ensuring
that the upper hinge pin has entered the hinge
hole in underside of crossrail. You will need 12
bolts (O), 12 lock washers (P), and 12 nuts (Q).
STEP 5. Bolt the two back wall panels (F) to
the rear of the cabinet using 8 bolts (O), 8 lock
washers (P), and 8 nuts (Q).
STEP 6. Bolt the two shelf parts (H) into the left
hand compartment of the cabinet using 8 bolts
(O), 8 lock washers (P), and 8 nuts (Q).
STEP 2. Bolt centre support (C) to the rear
lower crossrail (B) and front centre support (E)
to the front lower crossrail (D) using 4 bolts (O),
4 lock washers(P), and 4 nuts (Q).
STEP 3. Bolt inner shelf supports (G) to the
centre supports and right hand side panel
using 4 bolts (O), 4 lock washers (P), and 4
nuts (Q). Leave out top bolt on rear centre
support until back panel is required in STEP 5.
AP2010 - 1 - 180102
01284 757500
E-mail:
sales@sealey.co.uk
01284 703534
Sole UK Distributor, Sealey Group,
Bury St. Edmunds, Suffolk.
STEP 7. Place the wooden top (N) face down
on a flat, clean, smooth surface. Place the
cabinet upside down on the wooden top and
align it with the four pre-drilled holes. Fix with
the four hex head screws (S). Screw into place
the four adjustable leg levelers (R).
Place the finished workbench in its final location and adjust the leg levelers so that
the bench is both level and stable in use.
STEP 10. Put shelf component (K) into place at desired
height inside cupboard.
STEP 8. Bolt the four corner braces (I) into
place using 16 bolts (O), 16 lock washers (P),
and 16 nuts (Q).
STEP 9. Bolt one shelf part (K) to the underside
of the cupboard compartment as indicated
above using 4 bolts (O), 4 lock washers (P),
and 4 nuts (Q). Tighten all fixings and turn
workbench the right way up.