manuals.online logo
Brands
  1. Home
  2. •
  3. Brands
  4. •
  5. Sealey
  6. •
  7. Tools
  8. •
  9. Sealey VS911.V2 User manual

Sealey VS911.V2 User manual

Other Sealey Tools manuals

Sealey VSE4784 User manual

Sealey

Sealey VSE4784 User manual

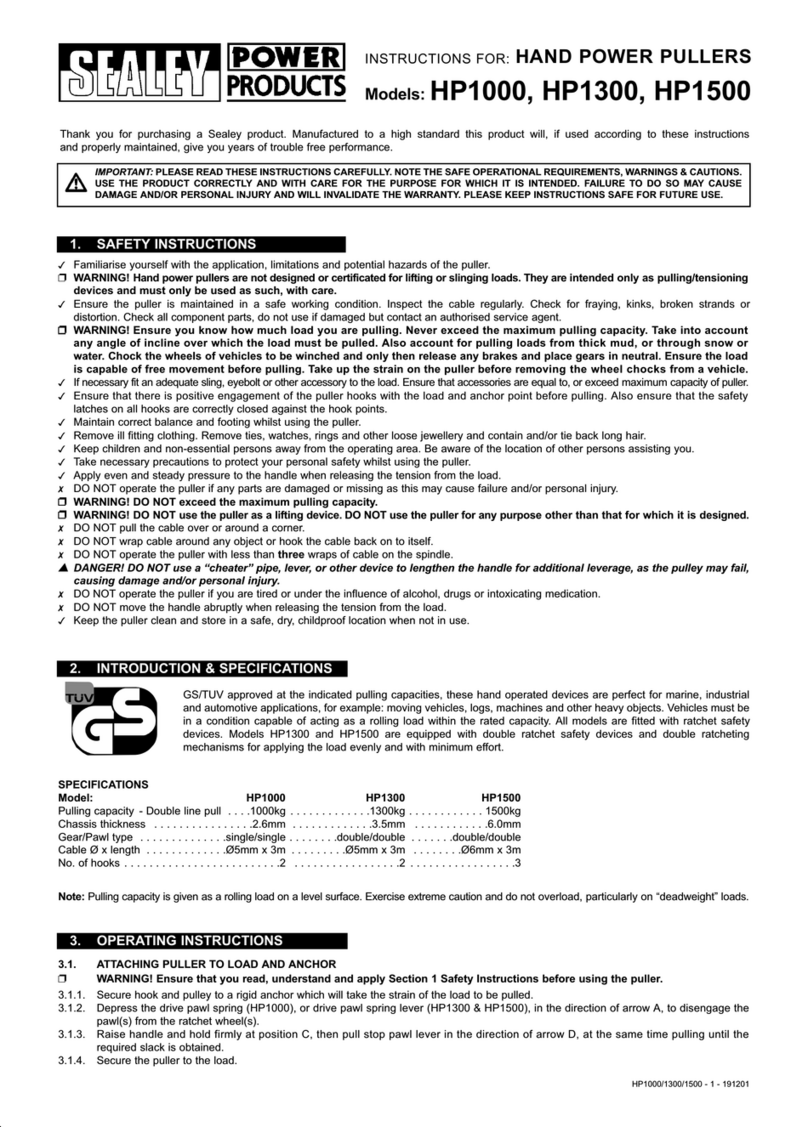
Sealey hp1000.V2 User manual

Sealey

Sealey hp1000.V2 User manual

Sealey VS7037 User manual

Sealey

Sealey VS7037 User manual

Sealey SCR02B User manual

Sealey

Sealey SCR02B User manual

Sealey VSE5312.V2 User manual

Sealey

Sealey VSE5312.V2 User manual

Sealey VS640 User manual

Sealey

Sealey VS640 User manual

Sealey VS0286 User manual

Sealey

Sealey VS0286 User manual

Sealey VS1815 User manual

Sealey

Sealey VS1815 User manual

Sealey SNA98 User manual

Sealey

Sealey SNA98 User manual

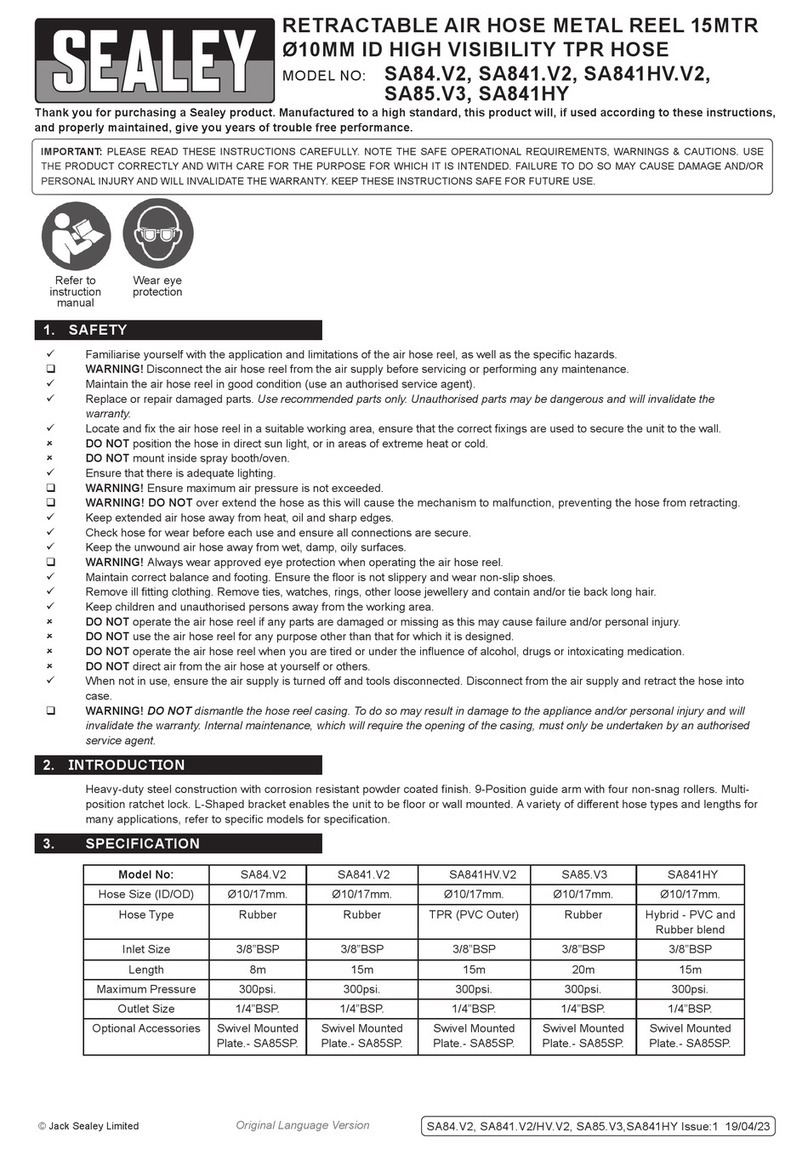
Sealey SA84 User manual

Sealey

Sealey SA84 User manual

Sealey RWH15.V3 User manual

Sealey

Sealey RWH15.V3 User manual

Sealey GH80.V2 User manual

Sealey

Sealey GH80.V2 User manual

Sealey PRK01 User manual

Sealey

Sealey PRK01 User manual

Sealey SA36 User manual

Sealey

Sealey SA36 User manual

Sealey PFT/02.V3 User manual

Sealey

Sealey PFT/02.V3 User manual

Sealey Premier SDL14 User manual

Sealey

Sealey Premier SDL14 User manual

Sealey BSL104 User manual

Sealey

Sealey BSL104 User manual

Sealey VS819900 User manual

Sealey

Sealey VS819900 User manual

Sealey AK3988 User manual

Sealey

Sealey AK3988 User manual

Sealey ES500 User manual

Sealey

Sealey ES500 User manual

Sealey SA613 User manual

Sealey

Sealey SA613 User manual

Sealey AK45X.V2 User manual

Sealey

Sealey AK45X.V2 User manual

Sealey GA42 User manual

Sealey

Sealey GA42 User manual

Sealey AK303IMP User manual

Sealey

Sealey AK303IMP User manual

Popular Tools manuals by other brands

AGI Westfield MKX16 Assembly manual

AGI

AGI Westfield MKX16 Assembly manual

GYS HAND-DUCTION 056923 Translation of the original instructions

GYS

GYS HAND-DUCTION 056923 Translation of the original instructions

Grizzly H7583 instruction manual

Grizzly

Grizzly H7583 instruction manual

Makita HR2650 instruction manual

Makita

Makita HR2650 instruction manual

Forza 1100H Series manual

Forza

Forza 1100H Series manual

Aventics EBS-PI operating instructions

Aventics

Aventics EBS-PI operating instructions

Martor SECUNORM 175 quick start guide

Martor

Martor SECUNORM 175 quick start guide

jbc N4473 instruction manual

jbc

jbc N4473 instruction manual

FEINMETALL FZWZ-SET-001 quick start guide

FEINMETALL

FEINMETALL FZWZ-SET-001 quick start guide

Worx Professional Sonicrafter WU676 Original instructions

Worx Professional

Worx Professional Sonicrafter WU676 Original instructions

Gage Bilt GB713SH Original instructions

Gage Bilt

Gage Bilt GB713SH Original instructions

Hilti DX 9-ENP Original operating instructions

Hilti

Hilti DX 9-ENP Original operating instructions

norbar NORTRONIC 34399 Operator's manual

norbar

norbar NORTRONIC 34399 Operator's manual

BGS technic 8578 manual

BGS technic

BGS technic 8578 manual

axing BWZ 5-02 Operation instructions

axing

axing BWZ 5-02 Operation instructions

Makita DHR241 instruction manual

Makita

Makita DHR241 instruction manual

Motor Guard JMB-1250 instructions

Motor Guard

Motor Guard JMB-1250 instructions

Power Adhesives 805-12 operating instructions

Power Adhesives

Power Adhesives 805-12 operating instructions

manuals.online logo
manuals.online logoBrands
  • About & Mission
  • Contact us
  • Privacy Policy
  • Terms and Conditions

Copyright 2025 Manuals.Online. All Rights Reserved.

1. SAFETY INSTRUCTIONS
3. OPERATION
Thank you for purchasing a Sealey product. Manufactured to a high standard this product will, if used according to these instructions
and properly maintained, give you years of trouble free performance.
IMPORTANT: PLEASE READ THESE INSTRUCTIONS CAREFULLY. NOTE THE SAFE OPERATIONAL
REQUIREMENTS, WARNINGS & CAUTIONS. USE THE PRODUCT CORRECTLY AND WITH CARE FOR THE
PURPOSE FOR WHICH IT IS INTENDED. FAILURE TO DO SO MAY CAUSE DAMAGE AND/OR PERSONAL
INJURY AND WILL INVALIDATE THE WARRANTY. PLEASE KEEP INSTRUCTIONS SAFE FOR FUTURE USE.
1.1. GENERAL SAFETY
 WARNING! Ensure Health & Safety, local
authority, and general workshop practice
regulations are adhered to when using this
equipment.
Familiarise yourself with the application and
limitations of the panel bag set, as well as
the potential hazards.
 Maintain the set in good condition.
Replace damaged parts.
Use genuine parts only. Unauthorised parts
may be dangerous and will invalidate the
warranty.
 Maintain correct balance and footing. Ensure
floor is not slippery and wear non-slip shoes.
Keep children and unauthorised persons
away from the working area.
 DO NOT put hands/fingers in apertures
created by bags without first inserting a
mechanical chock to prevent accidental
injury.
DO NOT use the panel bags for purposes
other than those for which they were
designed.
 DO NOT over-inflate.
 DO NOT use on doors fitted with air bags.
DO NOT use when you are tired, under the
influence of alcohol, drugs or intoxicating
medication.
Deflate bag prior to storage.
Clean, dry and store in supplied bag.
Multi-purpose durable air cushion devices with
rigid edges and fine control air valve. Suitable
for positioning panels, bonnets and boots, prior
to fitment. A 2mm bag thickness and semi-rigid
construction allows bags to be slid between
door frames and weather-stripping for improved
access for emergency vehicle opening tools.
Soft air cushion is gentle on paintwork, frame,
beadings and glass. Supplied in a vinyl pouch.
3.1. TO ADJUST BODY PANELS.
3.1.1. Place a panel air bag between the vehicle
body and panel to be fitted (bonnet, boot
etc.) at the point that needs adjusting.
3.1.2. Attach the pump to the bag valve, ensure
the pump valve is closed
(fully clock-wise).
3.1.3. Pump air into the bag by squeezing the
bulb on the pump, (taking care not to
over-inflate) moving the panel to the
required position.
3.1.4. If you need to reposition the panel in
more than one place you can disconnect
the pump from the first bag by pushing
the thumb lever on the pump adaptor and
withdrawing it from the bag valve leaving
the bag inflated, in order to insert and
inflate another bag.
2. INTRODUCTION & SPECIFICATIONS
INSTRUCTION MANUAL FOR:
Panel Bag Set 3pc
MODEL No: VS911.V2
Model .........................VS911.V2
LoadCapacity: ......................... 100kg
Bag Dimensions (W x H): . . . . . . . . . . . . Refer to fig.1
Bag1: ........................... 40x182mm
Bag2: ........................... 57x188mm
Bag3: .......................... 160x160mm
Original Language Version VS911.V2 Issue: 1 - 22/08/11
g.1
01284 757500
01284 703534
sales@sealey.co.uk
Sole UK Distributor, Sealey Group,
Kempson Way, Suffolk Business Park,
Bury St. Edmunds, Suffolk,
IP32 7AR
www.sealey.co.uk
Web
email
Original Language Version VS911.V2 Issue: 1 - 22/08/11
NOTE: It is our policy to continually improve products and as such we reserve the right to alter data, specifications and component parts without prior notice.
IMPORTANT: No liability is accepted for incorrect use of product.
WARRANTY: Guarantee is 12 months from purchase date, proof of which will be required for any claim.
INFORMATION: For a copy of our latest catalogue and promotions call us on 01284 757525 and leave your full name and address, including postcode.
4.1. When the bags are not in use ensure
they are deflated, clean and stored in the
supplied bag in a dry location.
4.2. Inspect before use to check for any sign
of damage. The bags cannot be repaired;
any sign of damage must result in the
bag being discarded.
4. MAINTENANCE
3.1.5. When the panel has been fitted, simply
deflate the panel bags by re-attaching the
pump and turning the release valve
anti-clockwise.
3.1.6. The rigid construction allows the bag to
be inserted between a window frame and
weather stripping on a vehicle door etc.
To ease this operation, first lubricate the
bag with a water-soluble lubricant such
as washing up liquid. When using the
bag to gain access through a door etc.,
ensure that a mechanical means of
chocking the door is employed before
inserting fingers or hands etc.