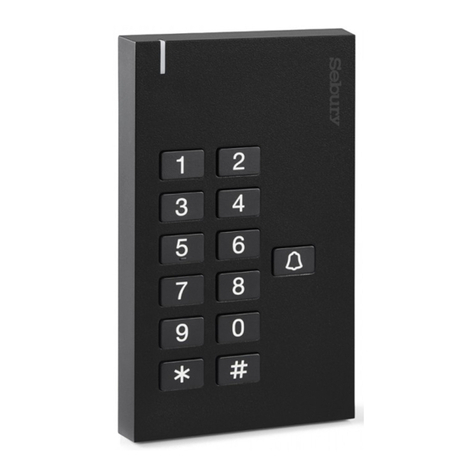
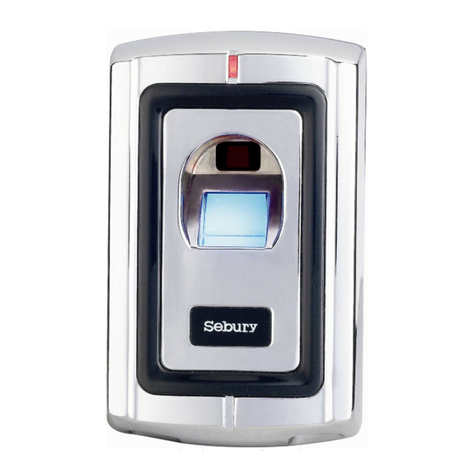
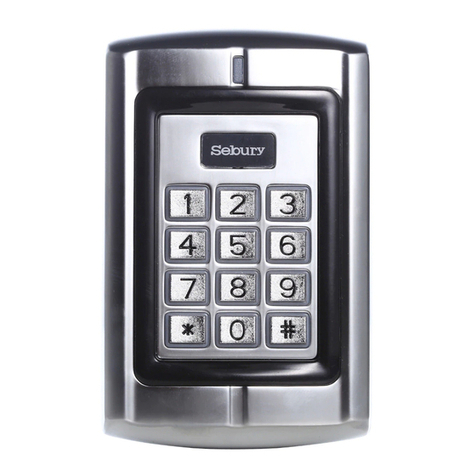
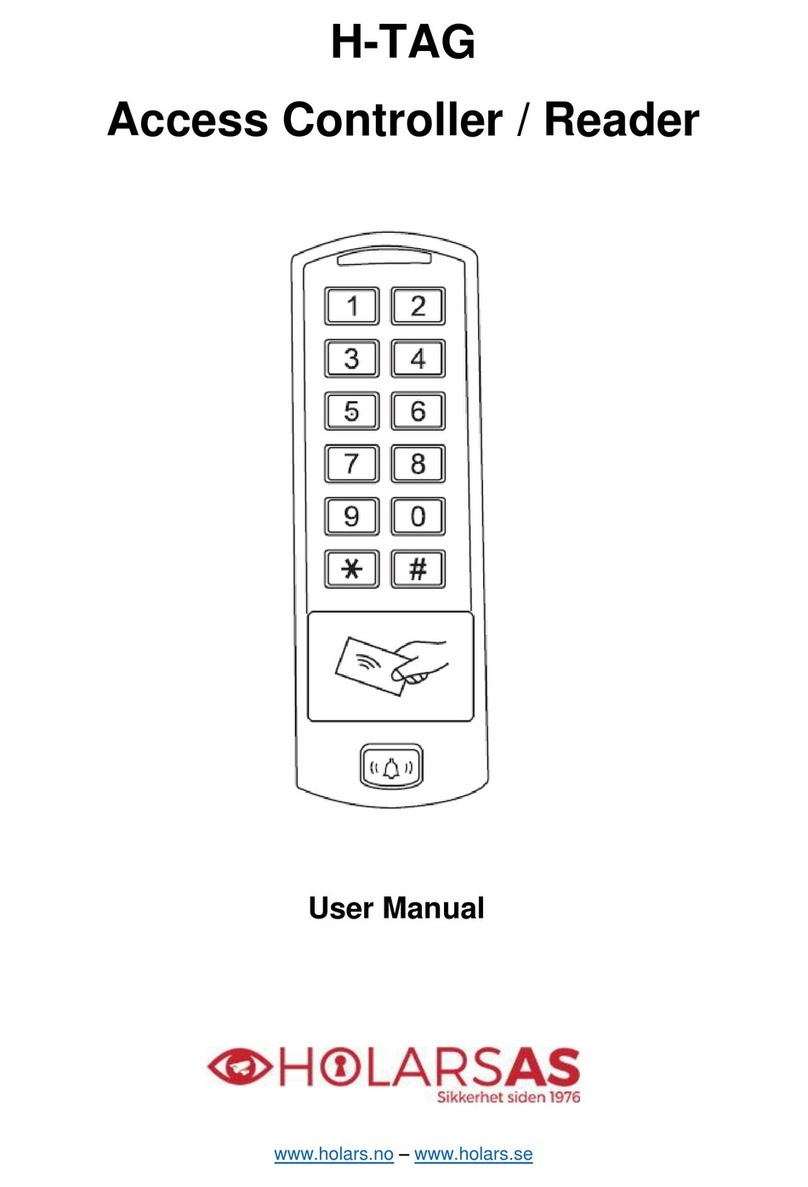
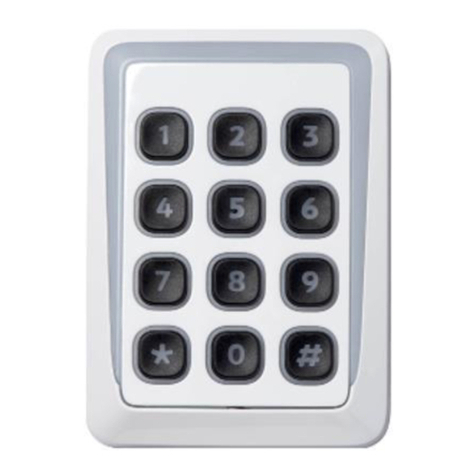
Sebury sKey2 User manual

sKey2
INSTRUCTION MANUAL

1. Introduction, Features and Specifications:
1. Introduction, Features and Specifications:
1.1 Introduction:
1.2 Features:
2.1 Package List
sKey2 adopts the shape of anti-metal shield patent technology, realize to control one door, and
can be connected with external card reader to realize the special functions such as
anti-passback through wiegand wire. It can directly drive electric lock, alarm, doorbell, and
external exit button and magnetic door switch. It can read different kinds of contactless cards
such as EM, HID, Mifare and CPU at the same time. 2000 user capacity, each user have a card
and a password. In addition, the product can also set 1 administrator password, 1 adding card,
1 delete card, 1 anti-stress card and 1 anti-stress password, easy operation and more safe for
users.
Zinc alloy structure, all-metal keypad, waterproof design , fully potted, confirm to IP65.
Adopt anti-metal shield patent technology, there is no large area non-metal card reading
window.
125Khz built-in EM&HID card reader.
13.56Mhz built-in Mifare&CPU card reader(ISO14443A).
Multi-function, including card reader, standalone access control, anti-passback and various of
working modes, suitable for various application places.
1.3 Specification:
Input Voltage:
Quiescent Current:
Reading distance of EM&HID card:
Reading distance of Mifare&CPU card:
Reading card Antenna Frequency:
Card number transmit format:
Keypad output format:
Dimension(Height x Wide x Depth):
Working Environment Temperature:
Working Environment Humidity:
DC12~24V
≤50mA)
5cm
2cm
125KHz & 13.56MHz
Wiegand 26-37(HID card output wiegand
26-37 bit automatically )
Input a 4-6 digits password, card number output,
Single Key a 4 bits output, Single Key a 8 bits
output.
170×83×26mm
-20~60° C
0~95% (non-condensing)
2. Installation and Wiring Instruction
Color box
Access controller
Instruction Manual
Punch sticker
Screw Hole Decoration piece
Expansion Rubber Bung
Self Tapping Screw
sKey2
sKey2
sKey2
sKey2
sKey2
Φ6mm×30 mm
ΦKA3mm×25 mm
1
1
1
1
1
4
4
white
Zinc plating
Product Name Model/Description QTY Remark
1/8

2.2 Installation Steps
2.3 Wiring Diagram
Read Adding card once ,read several user card continuously, finally read adding card once.
3. Administrator Card Operation
Wiring Diagram
Note:Type A Electronic lock refers to the electric unlock when power on, such as electric control
lock, electric lock.
Type B Electronic lock refers to the electric unlock when power off, such as magnetic lock,
electric bolt lock.
3.1 Add User Card
Read delete card once, read several user card continuously, finally read delete card once.
3.2 Delete User card
+ +
+
sKey2 Reader mode
sKey2 Standalone Acess Control mode
green
Card reader
White
red
Green White
Brown
Yellow Blue Purple Orange GrayRed Black Green White
Brown
Yellow BlueRed Black
black
-
- -
Access control special
power supply
Universal access controller
Magnetic switch
Class A electric lock
Class B electric lock
Exit button
Alarm
PUSH
The door opening
time of the
machine is set to 0
(50mS)
50mS
D0
D1
D-IN
OPEN
NO
COM
NC
ALARM-
+12V
GND
D0
D1
LED
BZ
PUSH
+12V
GND
NO
COM
NC
① Stick the punch sticker on the wall, drill Φ14mm hole for outlet and 4 Φ6mm installation holes
with expansion, then insert 4 expansion rubber bungs into the installation holes;
② Screw out the anti-dropping screws under the side of the product with a screwdriver, take off
the bottom shell of the product, compare the opening position of the bottom shell, and fix the
bottom shell on the wall with 4 self-tapping screws;
③ According to the selected wiring diagram, cut the lead wire to the appropriate length, and cut
off the excess wire ends, connect the system wire through the wall or in the embedded box
according to the wiring diagram one by one, taking care not to connect wrong or short circuit,
otherwise the machine may be burn out. After checking correctly, power on shortly to test
whether the indicator is normal, and whether the buzzer beep, otherwise cut off the power
supply immediately, re-check whether the wiring is correct. After checking correctly, install the
product lid on the back shell on the wall, and fix it with anti-drop screws.
④ stick decoration piece on the anti-dropping screw position.
2/8

4. User Operation
4.1 Use Card Open Door
Read valid user card once, the lock opened.
4.2 Use Card and Password Open Door
Read valid user card once, then enter 4-6 digits user’s password, press “#”, the lock opened.
4.3 Use Card or Password Open Door
Read user card once, the lock opened.
Or enter 4-6 digits user’s password, press “#”, the lock opened.
4.4 Multi-Card Open Door: the door opening mode is required to be card
mode, the number of multi-card door opening is set to 2-10
Read 2-10 times different valid user card(the interval should not exceed 5 seconds), the lock
opened.
4.5 Electric Lock Switch Mode
In normal mode, the electric lock will be closed for a period of time after being opened, which is
equal to a delay switch.
In switch mode, switch the state of electric lock once for each valid unlock operation, and keep
the state of lock all the time.
4.6 Modify User Password
Press “*”, read user card once, enter 4-6 digits old password #, enter 4-6 digits new password
#, repeat enter 4-6 digits new password#.
Or press “#”, enter 1-2000(ID) #, enter 4-6 digits old password #, enter 4-6 new password #,
repeat enter 4-6 digits new password #.
Note: password users must get their ID number and initial password from administrator, for
cardholders, modifying password must use card mode at the first time.
5. Alarm Function
6. Anti-crack Function
5.1 Anti-tamper Alarm
When turn on anti-tamper Alarm function, if the device is disassembled illegally, the built-in
buzzer and external alarm will both alarm.
5.2 Door Status Alarm
When connect with door status switch, if the door is opened illegally, the built-in buzzer and
external alarm will both alarm.
5.3 Anti-stress Alarm
When the door is forced to open by illegal elements:
Read anti-stress card, or enter anti-stress password #, the door opened, the external alarm will
alarm, but built-in buzzer don’t alarm.
5.4 Cancel the Alarm
During anti-tamper and door status alarm, read valid user card or enter administrator password
to cancel alarm, if there is no any operation, the alarm will canceled automatically beyond the
set alarm time.
To prevent malicious cracking of the card and password, try to enter an invalid administrator
password、user password、anti-stress password or read invalid card, and start corresponding
operation after 10 times errors, including three levels: unlimited number of errors, 10 times
errors locked for 10 minutes, 10 times errors alarm for 1-3 minutes.
3/8

7. Reset to Factory Default
8. Voice and Light Indication
9. Administrator Keypad Operation:
In the state of power off, press “*” and hold, the indicator light turn on orange when power on
for 1 second, press “*” within 1 second, release it until hearing two shot beep voice, then hear a
long beep voice, enter the normal operation state. Reset to factory default setting is
successfully, but don’t delete user information.
Operation Status
Standby
Keypad
Read Card
Unlock
Operation Successful
Operation Failed
Password Inputting
Read card and password
Read Multi-card to open door
1st menu
2nd menu
During Setting
Manage card Enter
Manage Card Exit
Alarm
Indicator Light Color
Red
Green
Green
Green
Slow Red Flash
Slow Red Flash
Slow Red Flash
Slow Red Flash
Slow Orange Flash
Orange
Orange
Red
Fast Red Flash
Buzzer
Short Beep
Long Beep
Long Beep
Long Beep
3 short beep
Two short beep
Long beep
Alarm Voice
Red Flash
6-8 digits administrator
password,#
Remark
Default: 888888
Function
Enter administrator Operation Status
Enter Administrator Operation
When administrator password is not entered correctly, the effective operation interval will be
more than 5 seconds, and the current operation will exit to the normal standby state; when
administrator enter correct password, the effective operation interval more than30 seconds,
and the current operation will exit to the normal standby state. During operation programme,
press “#” means confirm input number, in adding or delete cards operation, it means end the
loop of operation and return to the previous operation; Press “*” key every time to exit the
first-level operation state, and observe the indicator color to know which state exit at present.
The following operations are valid only after entering the administrator operation status.
4/8

9.2 Advanced Operation:
9.1 Basic Operation:
Red
Flash Orange
Read card
Read card
8 or 10 digits card number , #
1-2000(ID), #
0000 , #
0 , #
1 , #
2 , #
0 , #
1-99 , #
1-2000(ID), # , read card
8 or 10 digits card number① , #
Basic Operation
Function
Modify administrator password
Adding 1 card②
Rotate Operation③
Rotate Operation
Default 2
Default 5
Adding 1 user password
Delete 1 card
Delete 1 user
Delete all cards and password
Card to open door
Card and password to open door
Card or password to open door
Open time 50ms
Open time 1-99s
Remark
Red
Flash
Orange
Flash Function
0
1
2
2
3
4
6-8 digits new password , # , repeat
6-8 digits new password , #
1-2000(ID), # , 8 or 10 digits card
number , #
1-2000(ID), # , 4-6 digits user
password , #
Note:
①8 digits card number, such as 118,32319,some card omit the front number 118, written in
32319, it must read card to add the card correctly; 10-digit card number, such as 0007765567,
some cards omit the front number 000, written in 7765567, and add 0 in front to input
0007765567.
②Adding a user password 1234 with the card at the same time, this password is limited to use
modify user password, can not open the door.
③After adding 1 card, it can add another 1 card or another 1 user password continuously
without having to re-enter menu 1.
1
2
3
4
5
6
7
9Exit
automatically④
Orange
Read card
Read card
Read card
8-digit anti-stress password #
0 , #
1 , #
1-10 , #
1-2000(ID number), # ,
8 or 10 digits card number
, #,
1-2000 card quantities , #
1
0 Default 0
Default 1
Default 26
1
2
Adding serial number cards in batch③
Administrator unlock
Setting adding card
Setting delete card
Setting anti-stress card
Setting anti-stress password
Normal Unlocking
Setting switch mode①
Number of multi-card door opening②
Default 0
Default 1
Advanced Application
System Setting
6
7
0-15 , #
0 , #
1 , #
5 , #
26-37 , #
Facility address
Reader mode
Standalone access control for single door
Anti-passback mode
Card number output format
5/8

10. Various Working Modes Application
0 , #
1 , #
2 , #
0 , #
1-3 , #
4-6 digits key +facility code virtual card number output
Single Key a 4bit output
Single Key a 8bit output
Turn off Alarm⑤
Turn on Alarm for 1-3 minutes
Indicator Light Normally OFF⑥
Indicator Light Normally ON
Buzzer OFF⑦
Buzzer ON
Turn Off anti-tamper alarm
Turn On anti-tamper alarm
Unlimited Error number
10 times errors⑨locked for 10 minutes
10 times errors alarm for 1-3 minute
User Options Setting
0 , #
1 , #
0 , #
1 , #
0 , #
1 , #
0 , #
1 , #
2 , #
Note:
①For each effective unlocking operation, change the switch state once, and keep locking the
state all the time.
②Only valid under the card opening mode, open the door after reading 2-10pcs cards
continuously.
③The device will take ID number and card number as the initial data, add 1 card, then
automatically increase ID number and card number, continue to increase the next card, until the
specified number of cards have been added, but the increasing ID number can not exceed
2000, and the input ID number + card quantities-1<=2000.
④After unlocking, it enter the normal working state.
⑤When the alarm is turned off, it is invalid for the anti-tamper, anti-stress and door status
alarm.
⑥Refers to static state, operation in accordance with the normal instructions.
⑦After entering administrator password, the buzzer will sound normally.
⑧Pressing key or reading card once, the keypad light will be turned off after 30s delay.
However, when the keypad light is off, it means turn on the keypad when press the keypad at
first, without any other function.
⑨Start the corresponding operation after 10 errors continuously, including: try to enter invalid
administrator password, user password, anti-stress password or read invalid card.
There are 3 working modes about the device, such as reader mode, standalone access control
mode, anti-passback mode, default standalone access control.
The device can be connected to the external reader through Wiegand and realize various
function.The information such as card number and password are stored inside the device,
external reader is only an input device for reading card or password. The external reader can
be connected to multiple devices in parallel, but the function are the same, the operation on the
local device and external readers are different,depending on the mode setting.
6/8

10.1 Reader Mode
As a card reader, the device has the following functions:
Enter Administrator Operation
Reader Settings
Red Red Flash Function Remark
Orange Function
6-8digits administrator password # Enter administrator operation mode
Red
Flash
1
Reader mode
Standalone mode
Anti-pass back mode
0
2
3
4
1
2
4
Orange
Flash
6-8digits new passwords #,repeat
6-8 digits new passwords #
0-15, #
0, #
1,#
5,#
26-37, #
0, #
1, #
2, #
0, #
1-3, #
0, #
1, #
0, #
1, #
0, #
1, #
Modify Administrator Password
Facility code
Card number output format
4-6 digits +facility code virtual card
number output
Single Key a 4bit output
Single Key a 8bit output
Turn off Alarm
Turn on Alarm for 1-3 minutes
Indicator Light Normally OFF
Indicator Light Normally ON
Buzzer OFF
Buzzer ON
Turn off anti-tamper alarm
Turn on anti-tamper alarm
When LED level is low, indicator light will turn to Green, LED level rising, indicator light will turn to normal.
When BZ level is low, the Buzzer will beep, BZ level rising or after 30 seconds, the Buzzer will turn to normal.
Use as a card reader, card number and keypad Keypad output in wiegand format, the output data is shown
by the low level of D0 &D1 cable, list as below:
D0, low level means 0, green cable.
D1, low level means 1, white cable.
The pulse width for low voltage is 40uS, and the time internal is 2mS.
EM, Mifare card output format is wiegand 26-37, HID card does not need to be set, and automatically
wiegand 26-37 output according to card format. The output format should match the connected controller, and
the default is wiegand 26.
There are 3 formats Keypad output set as below:
Format 0: 4-6 digits facility code virtual card number output, enter 4-6 digits password, press “#”, wiegand
26-37 output, 10-bit decimal card number. Card number as follows, the 1-4 bit is the facility code, the range is 0
to 15, add “0” in the front if less than 4 digits, the 5-10 bit is 4-6 digits password, add “0” in the front if less than
6 digits. For example, facility code is 15, the password is 999999, then output card number is 0015999999, the
maximum output card number is 0015999999, that is 0xF423FF, wiegand 26 card number format output are
available, it can be seen 0015999999 shown on the device of 10-bit decimal card number, it is easy to the
management of entering password.
Format 1: Single Keypad 4bit output, it means press one Keypad, output a 4Bit data, the corresponding
relationship is listed as below:
1(0001), 2(0010), 3(0011)
4(0100), 5(0101), 6(0110)
7(0111), 8(1000) , 9(1001)
*(1010), 0(0000), #(1011)
Format 2: Single Keypad 8bit output, it means press one Keypad, output a 8bit data, the first 4 digit are the
reverse of the back 4 digits, the corresponding relationship is listed as below:
1(11100001), 2(11010010), 3(11000011)
4(10110100), 5(10100101), 6(10010110)
7(10000111), 8(01111000), 9(01101001)
*(01011010), 0(11110000), #(01001011)
7/8

10.2 Standalone Access Control Mode
10.3 Anti-passback Mode
11 Simple Troubleshooting
Under this mode:
The electric lock can be opened by reading user card or inputting user password on the
device or external card reader.
Read anti-stress card or input anti-stress password on the device or external card reader to
open the electric lock, the external alarm will sound at the same time.
The anti-passback means that it need read card not only enter room but also exit room to the
same door, it cannot read card twice continuously to enter room or exit, prevent two people from
entering and exiting with one card at the same time, under this mode:
Read anti-stress card or input anti-stress password on the device or external card reader to
open the electric lock, the anti-passback mode will not affect the device, the external alarm will
sound at the same time.
Read user card on the device or external card reader, user must read card on the device at
the first time if want to enter room, user must read card on the card reader at the second time if
want to exit room, the user must read card repeatly between the device and external card
reader, then can enter room or exit room.
In anti-passback mode, user password is invalid.
Trouble Phenomenon
Reading distance too close
User password setting error
Cannot open door after
inputting user password
Alarm under normal situation
No reaction after reading card
The Keypad light doesn’t work.
Can not enter administrator
setting
Other Phenomenon
Fault Reason
1.Card quality issue
2.Switch power supply interferences
card reading
1.The password setting does not
comply with the specification
2.Setting user password under card
reader mode
Use password 1234 to open door
When the product is installed, there is
light leakage at the bottom
The product is not at the standby
state
Keypad light mode setting incorrect
Forgetting administrator password
Not above reasons
Fault Reason&Solution
1.Please use original card
2.Power supply and standalone
access control need connect to
ground wire
1. User password can not set to
1234
2. User password only can be 4-6
digits
1234 is user password initial
data, and can not use to open
door, it must modify to other
password number
When the device is installed, the
bottom should be close to the
wall without light leakage.
Press “*” to exit, the indicator
become red, let the device
standby state
1.Please set the key light mode
to normal ON or automatic
2.In automatic mode, the
indicator light will turn off
automatically without operation
after 30S
Reset to factory default, default
administrator password
is 888888.
Use conditions and parameters
need to be reset without losing
user data
Users can’t solve the problem by
themselves, please consult our
professional after-sales service
staff
8/8

sKey2 complete manual
Table of contents
Other Sebury IP Access Controllers manuals
Sebury
Sebury F007-EM User manual
Sebury
Sebury B6-EH Plus User manual
Sebury
Sebury S Touch-s User manual
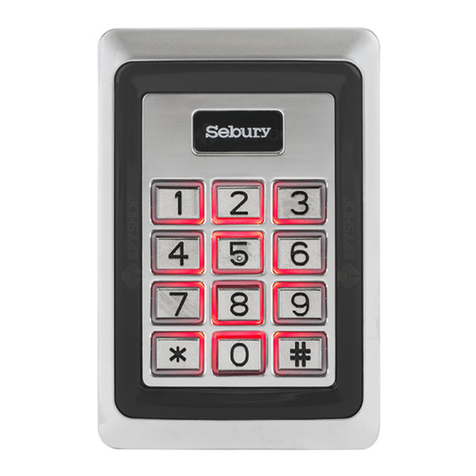
Sebury
Sebury mKey User manual
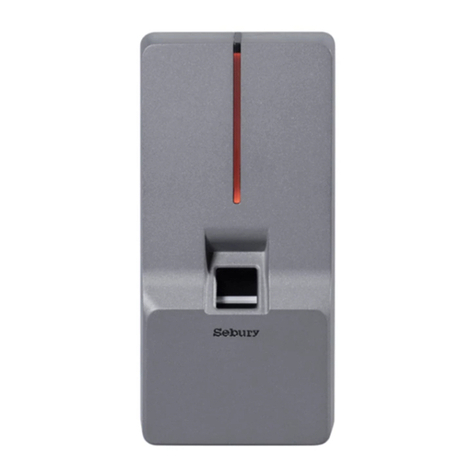
Sebury
Sebury sPress2 User manual
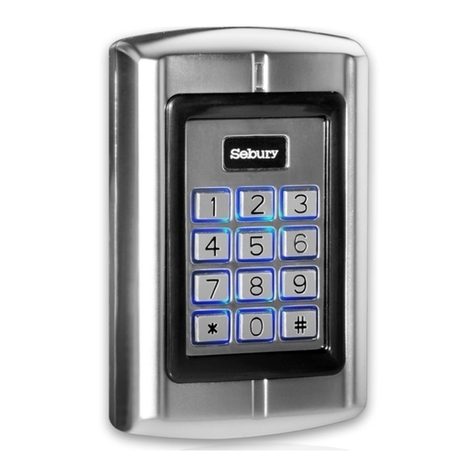
Sebury
Sebury BC2019 User manual

Sebury
Sebury mKey User manual
Sebury
Sebury K3-3 User manual
Sebury
Sebury K3-3 User manual
Sebury
Sebury sTouch2 User manual
