4EN
EU Declaration of Conformity
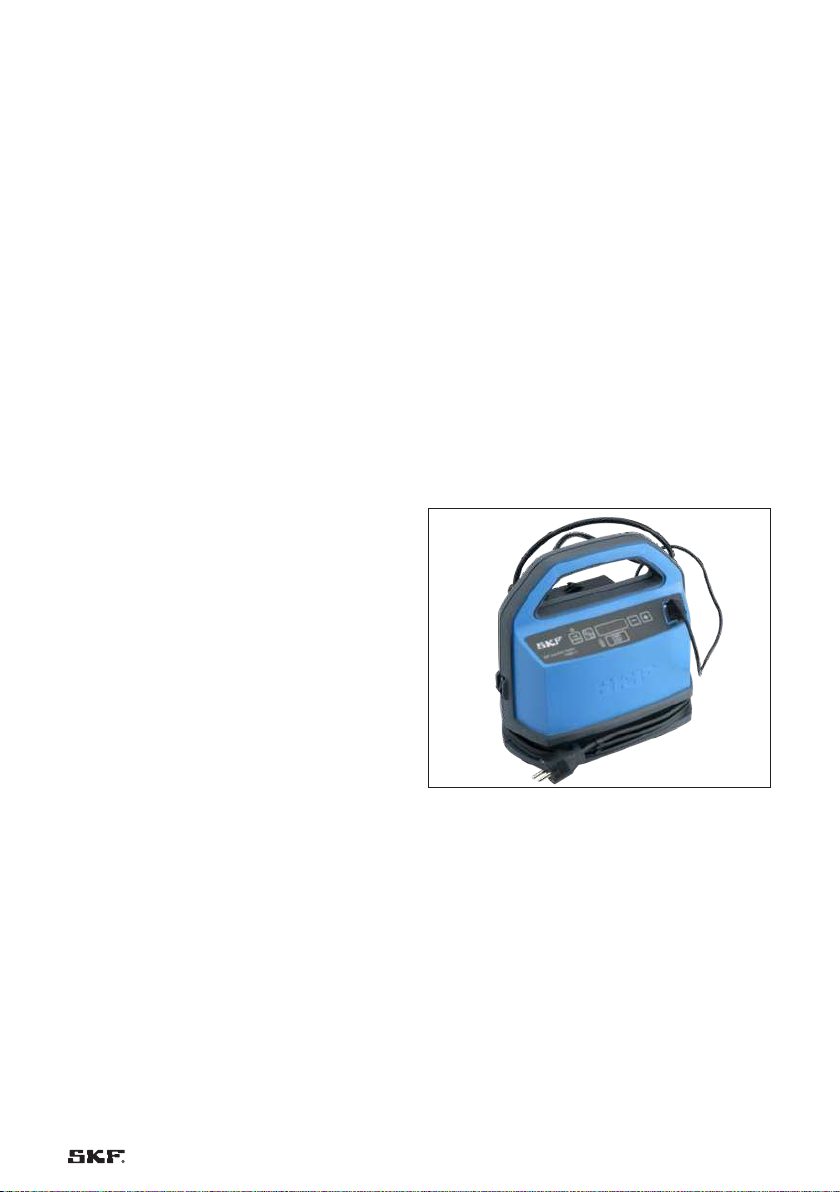
TMBH 5
We, SKF MPT, Meidoornkade 14, 3992 AE Houten,
The Netherlands herewith declare under our sole
responsibility that the products described in these
instructions for use, are in accordance with the
conditions of the following Directive(s):
EMC DIRECTIVE 2014/30/EU
EUROPEAN LOW VOLTAGE DIRECTIVE 2014/35/EU
and are in and are in conformity with the following
standards:
EN 61000-6-2 (2005) + AC (2005)
Industrial (Immunity)
CISPR16-2-3: 2010 + A1:2010 +A2:2014
Class A equipment (Emission)
EN 61000-3-2 (2014), A (Emission)
EN 61000-3-3 (2013) (Emission)
EN 61000-6-4 (2007), A1(2011),
Class A equipment (Emission)
EN 60335-1 (2012): Safety of household and
similar electrical appliances
EN 60519-1: 2020: Safety in installations for
electroheating and electromagnetic processing
RoHS DIRECTIVE (EU) 2015/863 and the
harmonized standard: EN IEC 63000:2018:
EN 50581:2012: Technical documentation for the
assessment of electrical and electronic products with
respect to the restriction of hazardous substances.
Houten, The Netherlands, April 2023
Guillaume Dubois
Manager Quality and Compliance
UK Declaration of Conformity
TMBH 5
We, SKF MPT, Meidoornkade 14, 3992 AE Houten,
The Netherlands herewith declare under our sole
responsibility that the products described in these
instructions for use, are in accordance with the
conditions of the following Directive(s):
Electromagnetic Compatibility Regulations 2016
(2016 No. 1091)
Electrical Equipment (Safety) Regulations 2016
(2016 No. 1101)
and are in and are in conformity with the following
standards:
EN 61000-6-2 (2005) + AC (2005)
Industrial (Immunity)
CISPR16-2-3: 2010 + A1:2010 +A2:2014
Class A equipment (Emission)
EN 61000-3-2 (2014), A (Emission)
EN 61000-3-3 (2013) (Emission)
EN 61000-6-4 (2007), A1(2011),
Class A equipment (Emission)
EN 60335-1 (2012): Safety of household and
similar electrical appliances
EN 60519-1: 2020: Safety in installations for
electroheating and electromagnetic processing
The Restriction of the Use of Certain Hazardous
Substances in Electrical and Electronic Equipment
Regulations 2012 (2012 No. 3032) and the
harmonized standard: EN IEC 63000:2018:
Technical documentation for the assessment of
electrical and electronic products with respect to the
restriction of hazardous substances.
The person authorised to compile the technical
documentation on behalf of the manufacturer is
SKF (U.K.) Limited, 2 Canada Close, Banbury,
Oxfordshire, OX16 2RT, GBR.
Houten, The Netherlands, April 2023
Guillaume Dubois
Manager Quality and Compliance