manuals.online logo
Brands
  1. Home
  2. •
  3. Brands
  4. •
  5. SkyLink
  6. •
  7. Remote Control
  8. •
  9. SkyLink HOUSELINK 318TR User manual

SkyLink HOUSELINK 318TR User manual

1.INTRODUCTION
Houselink®GarageDoor
RemoteControl Model 318TR
2.INSTALLATION
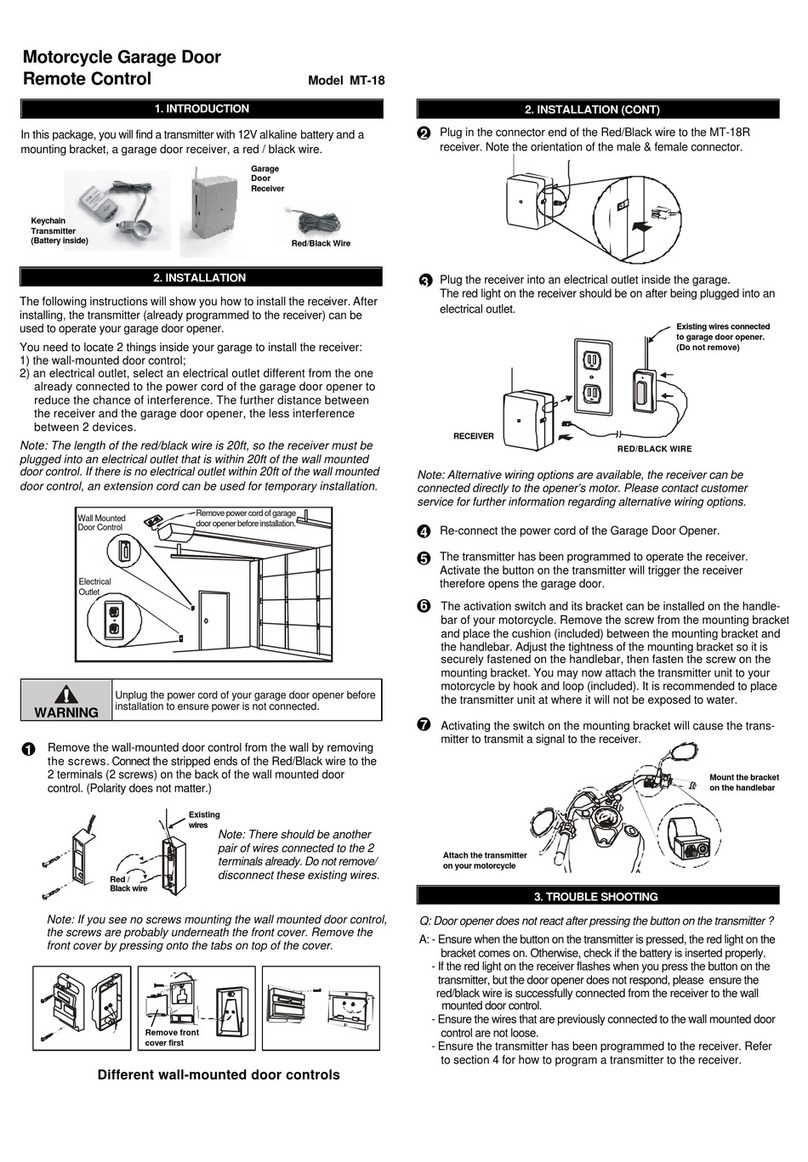
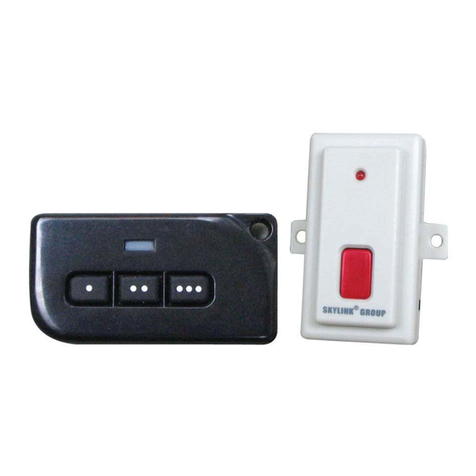
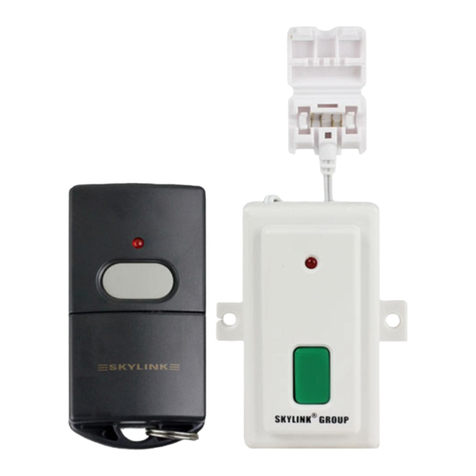
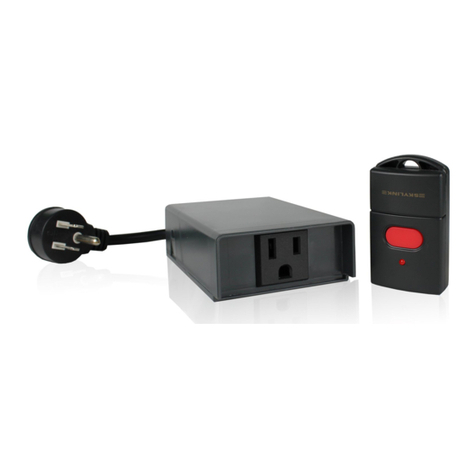
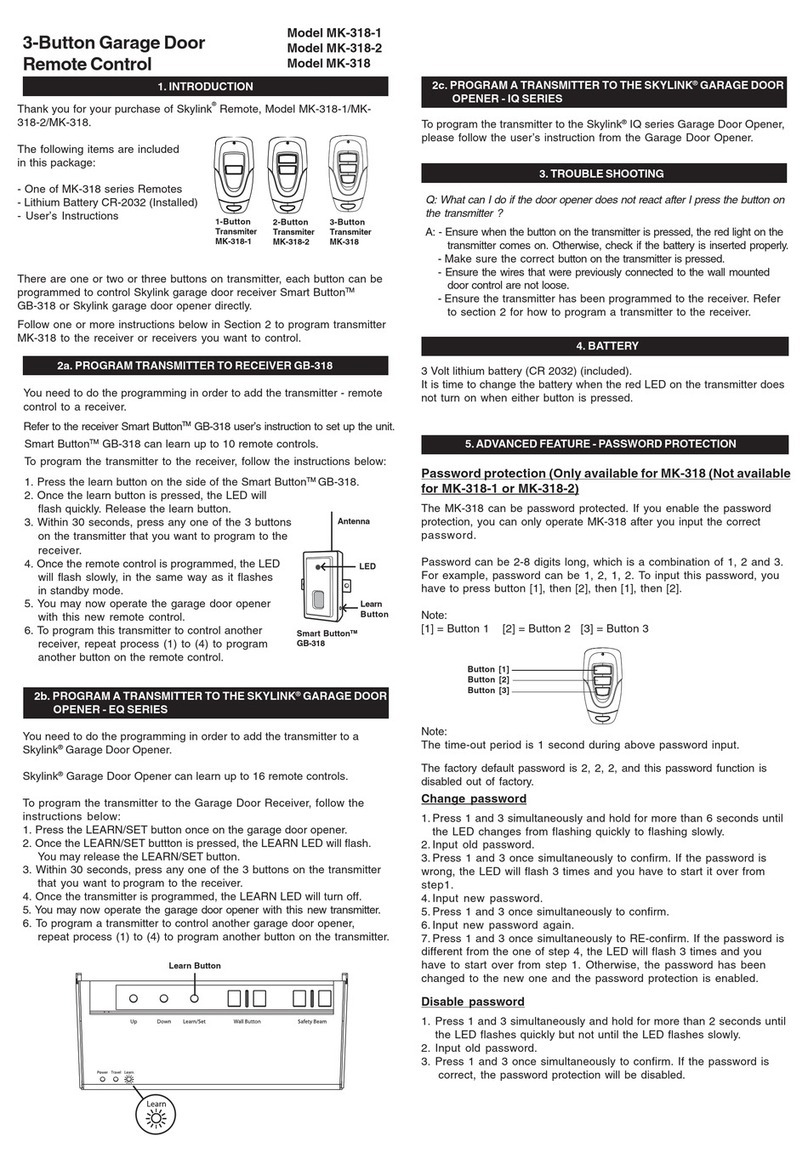
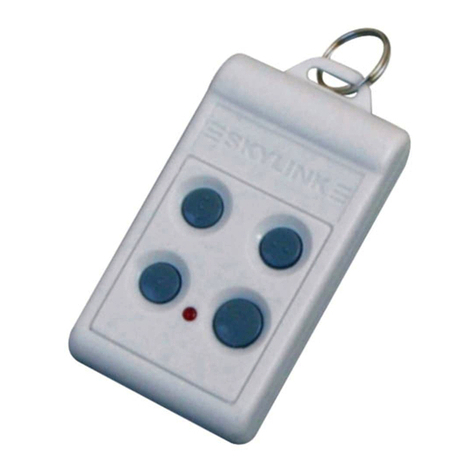
In this package, you will find a keychain transmitter with 12V alkaline
battery, a garage door receiver, a red / black wire, a mounting
bracket and a clip.
Red/Black Wire
Clip
The following instructions will show you how to install the receiver.
After installing, the keychain transmitter (already programmed to
the receiver) can be used to operate your garage door opener.
You need to locate 2 things inside your garage to install the
receiver:
1) the wall-mounted door control;
2) an electrical outlet, select an electrical outlet different from
the one already connected to the power cord of the garage
door opener to reduce the chance of interference. The
further distance between the receiver and the garage door
opener, the less interference between 2 devices.
Note: The length of the red/black wire is 15ft, so the receiver must be
pluggedinto anelectrical outletthat iswithin 15ftof thewall mounted
door control. If there is no electrical outlet within 15ft of the wall
mounteddoor control,an extensioncord canbe used for temporary
installation. Longer wire is available, please contact our customer
servicefor furtherinformation.
1Remove the wall-mounted door control from the wall by
removing the screws. Connect the stripped ends of the Red/
Black wire to the 2 terminals (2 screws) on the back of the
wall mounted door control. (Polarity does not matter.)
Unplug the power cord of your garage door opener before
installation to ensure power is not connected.
WallMounted
DoorControl
Electrical
Outlet
Plug in the connector end of the Red/Black wire to the 318TR
receiver. Note the orientation of the male & female connector.
Plug the receiver into an electrical outlet inside the garage.
The red light on the receiver should be on after being plugged
into an electrical outlet.
Re-connect the power cord of the Garage Door Opener.
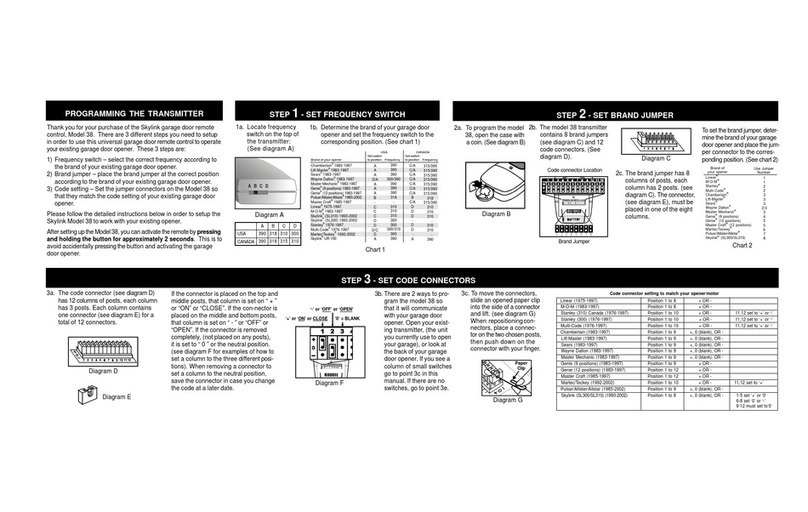
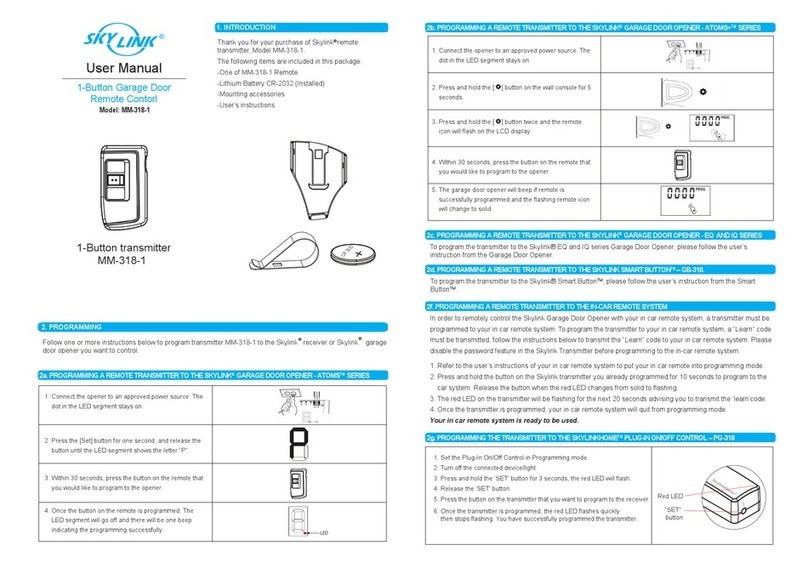
The Left button on the transmitter has been programmed to
operate the receiver. Activate this button will trigger the
receiver therefore opens the garage door.
2.INSTALLATION (CONT)
2
3
4
5
4.CHANGETHEOPERATIONCODEFOR
BOTHTRANSMITTERANDRECEIVER
It is recommended to randomly set the operation code for your
remote control to avoid interference from other devices. Follow
the instructions below to change the operation code.
Pryoff the battery
cover of the trans-
mitter with a coin,
as shown.
You will see 9 connectors labeled
from “1” to “9”, as shown. (the
connectors setting may not be the
same as shown.)
You can randomly remove some
connectors, leaving some
in place.
A connector can be removed with
the clip, as shown.
1
2
WARNING
Removepowercordofgarage
dooropenerbeforeinstallation.
Red /
Blackwire
Note:Thereshouldbe another
pairofwires connected to the2
terminalsalready.Donotremove/
disconnect these existing wires.
Note:If you see no screwsmounting the wall mounted doorcontrol,
thescrews are probablyunder-neath thefront cover. Removethe
front cover by pressing onto the tabs on top of the cover.
Remove front
cover first
3.TROUBLESHOOTING
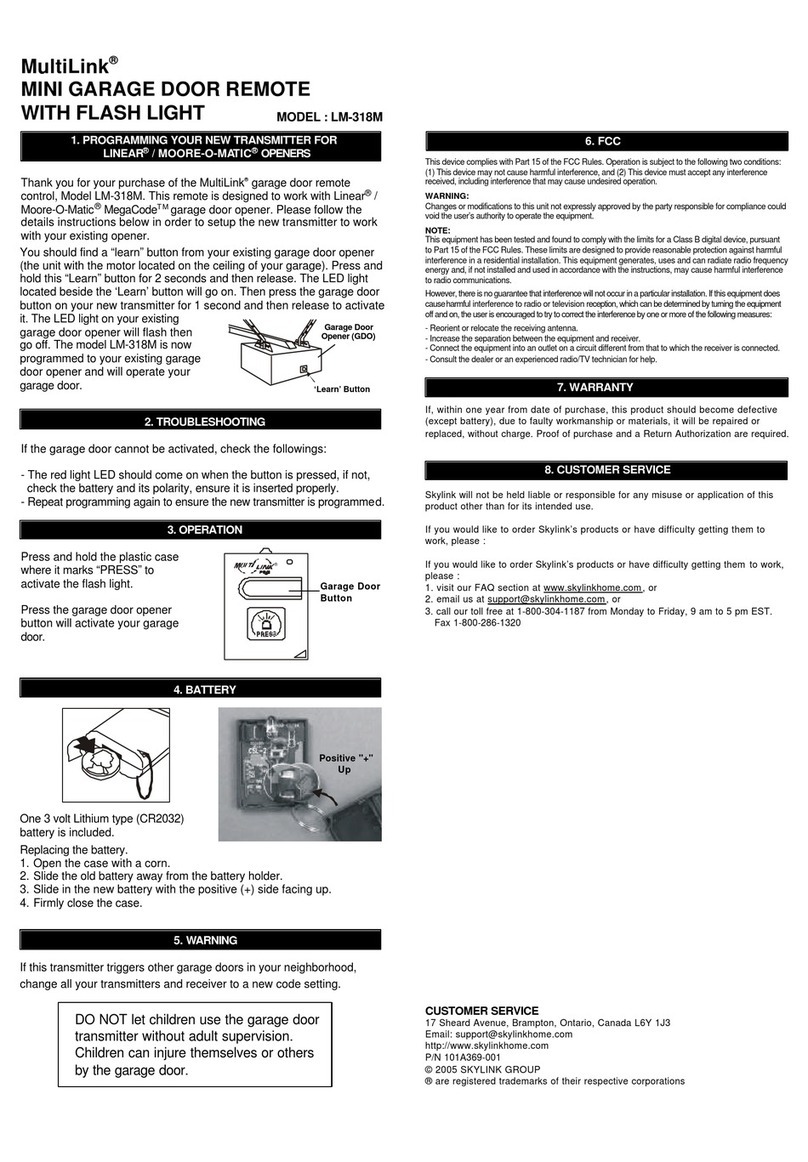
Q: Door opener does not react after pressing the button on the transmitter ?
A: - Ensure when the button on the transmitter is pressed, the red light on the trans-
mitter comes on. Otherwise, check if the battery is inserted properly.
- The left button on the transmitter should be pressed, not the right button
- If the red light on the receiver flashes when you press the left button on the
transmitter, but the door opener does not respond, please ensure the red/black
wire is successfully connected from the receiver to the wall mounted door control.
- Ensure the wires that are previously connected to the wall mounted
door control are not loose.
- Ensure the code setting on the transmitter is the same as the receiver. Refer
to section 4 to check the code setting.
Garage
Door
Receiver
Existing
wires
RED/BLACK WIRE
RECEIVER
Existingwiresconnected
to garage door opener.
(Do not remove)
Different wall-mounted door controls
Note: Alternative wiring options are available, the receiver can be
connected directly to the opener’s motor. Please contact customer
service for further information regarding alternative wiring options.
Mounting
Bracket
BATTERY
Keychain
Transmitter
(Batteryinside)
BATTERY
If, within one year from date of purchase, this product should become defective
(except battery), due to faulty workmanship or materials, it will be repaired or
replaced, without charge. Proof of purchase and a Return Authorization are required.
10.WARRANTY
If the connector is placed on the top and middle posts, that
column is set on “ + ” . If the connector is placed on the middle and
bottom posts, that column is set on “ - ”. If the connector is
removed completely, (not placed on any posts), it is set to “ 0 ”.
(see diagram for examples of how to
set a column to the three different
positions). When removing a con-
nector to set a column to “ 0 ”, save
the connector in case you change
the code at a later date.
After setting up the code connectors on the transmitter, you
are ready to set the same code on the receiver.
Remove the screw that holds
the connector cover, and remove
thecover.
You will see 10 connectors. For connectors “1” to “9”, the
settings must match with those of the transmitter.
For connector “10” on the receiver, set the connector on “+” if
you are using button “1” to control this receiver. If you are
planning to use button “2” to control this receiver, you need to
remove this connector. See diagram below.
4.CHANGETHEOPERATIONCODEFORBOTH
TRANSMITTERANDRECEIVER(CONT)
Remove the receiver from the electrical outlet before
changing the code.
Connector 10 “Removed” TRANSMITTER
Button 2- Right button
Connector 10 set to “+” TRANSMITTER
Button 1- Left Button
There are 2 buttons on your transmitter, the other button can be
used to control another Houselink®Garage Door Receiver Model
318R (sold separately) or Houselink®Wireless Switch Receiver
Model SW-318R (sold separately).
6.ADDITIONALRECEIVER
You can add as many additional transmitters as you want to
control the same receiver. Simply set the same operation
code on all transmitters with the same code setting on the
receiver. Houselink®offers Keychain Transmitter Model
318TN and Keyless Entry Transmitter Model 318K to work with
your receiver. For more information, please visit our website at
www.skylinkhome.com or contact us.
7.ADDITIONALTRANSMITTER
RISKOFELECTRICAL SHOCK.FORINDOORUSE ONLY.
CAUTION:DISCONNECTPOWERBEFORECODECHANGING.
REPLACECOVERAFTERCODECHANGING.
MaximumRating:
Input : 120VAC 60Hz 2W
8.CAUTION
9.FCC
ThisdevicecomplieswithPart15 of the FCCRules.Operationis subject to the followingtwoconditions:
(1)Thisdevicemaynotcauseharmfulinterference,and(2)Thisdevicemustacceptanyinterference
received,includinginterference that may causeundesiredoperation.
WARNING:
Changesormodificationstothis unit not expressly approved by the party responsible for compliance could
voidthe user’s authority tooperatetheequipment.
NOTE:
Thisequipmenthasbeentestedandfoundtocomplywiththelimits for a Class B digital device, pursuant
toPart15ofthe FCC Rules. Theselimitsaredesignedtoprovide reasonable protectionagainstharmful
interferenceinaresidential installation. Thisequipmentgenerates, uses andcanradiate radio frequency
energyand,ifnotinstalledand used in accordance withtheinstructions,maycause harmful interference
toradiocommunications.
However,thereisnoguaranteethatinterferencewillnot occurina particular installation.Ifthisequipmentdoes
causeharmfulinterferencetoradioortelevisionreception, which can bedeterminedbyturningtheequipment
offandon,theuserisencouraged totrytocorrecttheinterferencebyoneormore of the followingmeasures:
-Reorientor relocate the receivingantenna.
-Increasetheseparationbetweentheequipmentandreceiver.
-Connecttheequipment into an outletona circuit different fromthatto which the receiverisconnected.
-Consultthedealer or an experiencedradio/TV technician for help.
3
4
5
6
7
RECEIVER
RECEIVER
Connectors
1 to 9 are
thesame.
8Put the cover and screw back onto the receiver. Plug the
receiver into an electrical outlet.
Put the battery cover back onto the transmitter.
Press the designated button on the transmitter to operate the
garage door.
9
12 volt alkaline battery (size 23A)
(included).
It is time to change the battery
when the red LED on the trans-
mitter does not turn on when
either button is pressed.
5.BATTERY
WARNING
‘+’ ‘-’
‘0’
11.CUSTOMERSERVICE
CUSTOMER SERVICE
Email:[email protected] (Reply within 24 hrs)
http://www.skylinkhome.com
P/N.101A206-002 Rev.2
USPatent. D380895
©2003SKYLINKGROUP
If you would like to order Skylink’s products or have difficulty getting them to work,
please :
1. visit our FAQ website at www.skylinkhome.com, or
2. email us at [email protected] (reply within 24 hrs), or
3. call our toll free at 1-800-304-1187 from Monday to Friday, 9 am to 5 pm EST.
Fax +800 286-1320
10
Other SkyLink Remote Control manuals

SkyLink MultiLink CD-390M Guide User manual

SkyLink

SkyLink MultiLink CD-390M Guide User manual

SkyLink WS-100 User manual

SkyLink

SkyLink WS-100 User manual

SkyLink MK-318-1 User manual

SkyLink

SkyLink MK-318-1 User manual

SkyLink MultiLink GE-390M User manual

SkyLink

SkyLink MultiLink GE-390M User manual

SkyLink MultiLink SD-310M Guide User manual

SkyLink

SkyLink MultiLink SD-310M Guide User manual

SkyLink GBRM Guide User manual

SkyLink

SkyLink GBRM Guide User manual

SkyLink TC-318-10 User manual

SkyLink

SkyLink TC-318-10 User manual

SkyLink G6K User manual

SkyLink

SkyLink G6K User manual

SkyLink 838A User manual

SkyLink

SkyLink 838A User manual

SkyLink G6KR Guide User manual

SkyLink

SkyLink G6KR Guide User manual

SkyLink MultiLink GD-390M Guide User manual

SkyLink

SkyLink MultiLink GD-390M Guide User manual

SkyLink G6KR User manual

SkyLink

SkyLink G6KR User manual

SkyLink G6T3 User manual

SkyLink

SkyLink G6T3 User manual

SkyLink MF-1 User manual

SkyLink

SkyLink MF-1 User manual

SkyLink EM-102 User manual

SkyLink

SkyLink EM-102 User manual

SkyLink LK-318-1 User manual

SkyLink

SkyLink LK-318-1 User manual

SkyLink 39 User manual

SkyLink

SkyLink 39 User manual

SkyLink 18TR User manual

SkyLink

SkyLink 18TR User manual

SkyLink MM-318-2 User manual

SkyLink

SkyLink MM-318-2 User manual

SkyLink GS1 User manual

SkyLink

SkyLink GS1 User manual

SkyLink SkylinkHome TC-318-1 User manual

SkyLink

SkyLink SkylinkHome TC-318-1 User manual

SkyLink MK-1 Guide User manual

SkyLink

SkyLink MK-1 Guide User manual

SkyLink MT-18 User manual

SkyLink

SkyLink MT-18 User manual

SkyLink TC-318-1 User manual

SkyLink

SkyLink TC-318-1 User manual

Popular Remote Control manuals by other brands

Mitsubishi Electric PAR-F27MEA installation manual

Mitsubishi Electric

Mitsubishi Electric PAR-F27MEA installation manual

Marmitek EASYTOUCH25 owner's manual

Marmitek

Marmitek EASYTOUCH25 owner's manual

Total Control TRC-1080 owner's manual

Total Control

Total Control TRC-1080 owner's manual

Swann SwannOne SWO-KEF1PA quick start guide

Swann

Swann SwannOne SWO-KEF1PA quick start guide

Panasonic EUR511112 Quick reference guide

Panasonic

Panasonic EUR511112 Quick reference guide

Radio Shack Keychain quick guide

Radio Shack

Radio Shack Keychain quick guide

Rayrun Umi BW01-CA Quick installation guide

Rayrun

Rayrun Umi BW01-CA Quick installation guide

Apache4All XS quick start guide

Apache4All

Apache4All XS quick start guide

Bliss RW5 instruction manual

Bliss

Bliss RW5 instruction manual

Motorola URC62440 operating instructions

Motorola

Motorola URC62440 operating instructions

Nice ECCO5 user manual

Nice

Nice ECCO5 user manual

Casablanca W-52 instructions

Casablanca

Casablanca W-52 instructions

Classic IRC87056-OD User instructions

Classic

Classic IRC87056-OD User instructions

Genius SCROLLTOO 800 manual

Genius

Genius SCROLLTOO 800 manual

DIODE LED TOUCHDIAL installation guide

DIODE LED

DIODE LED TOUCHDIAL installation guide

Riello R290 user manual

Riello

Riello R290 user manual

Toshiba RBC-IR2-PE owner's manual

Toshiba

Toshiba RBC-IR2-PE owner's manual

Velbus VMB4IRT quick start guide

Velbus

Velbus VMB4IRT quick start guide

manuals.online logo
manuals.online logoBrands
  • About & Mission
  • Contact us
  • Privacy Policy
  • Terms and Conditions

Copyright 2025 Manuals.Online. All Rights Reserved.