manuals.online logo
Brands
  1. Home
  2. •
  3. Brands
  4. •
  5. SkyLink
  6. •
  7. Remote Control
  8. •
  9. SkyLink MK-318 User manual

SkyLink MK-318 User manual

1. INTRODUCTION
3 Volt lithium battery (CR 2032) (included).
It is time to change the battery when the red LED on the transmitter does
not turn on when either button is pressed.
4. BATTERY
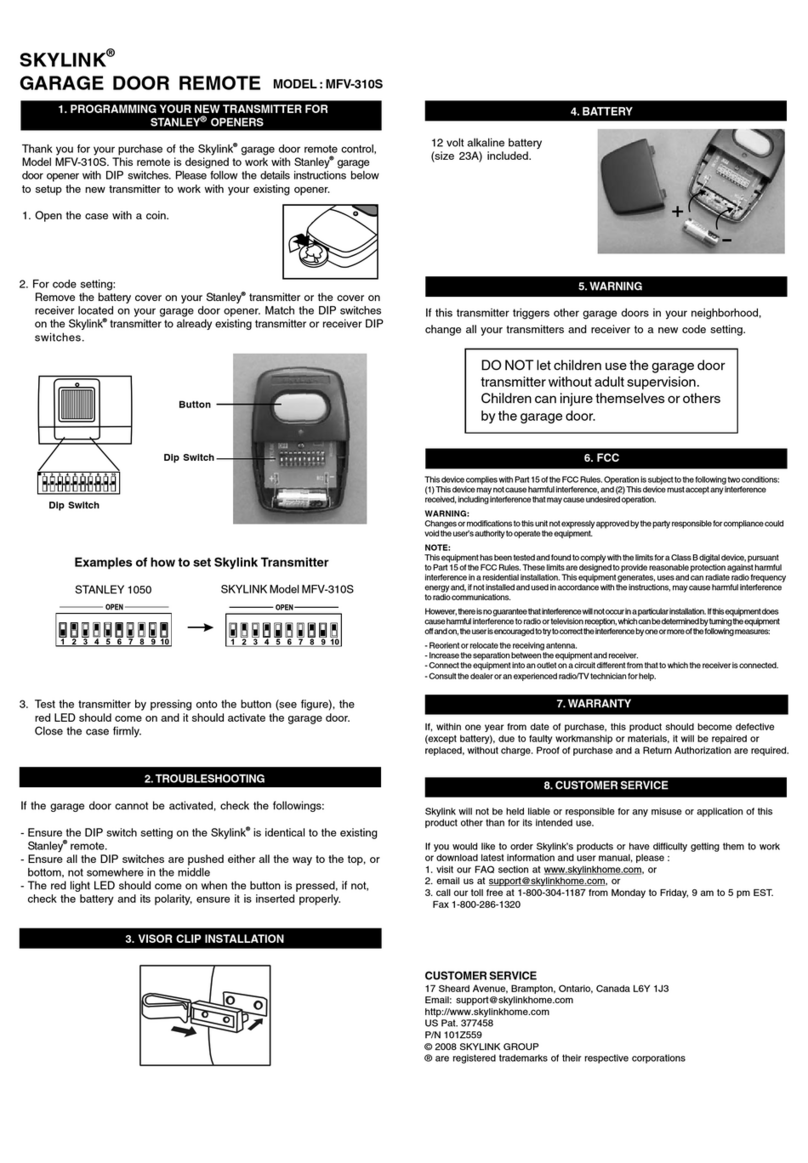
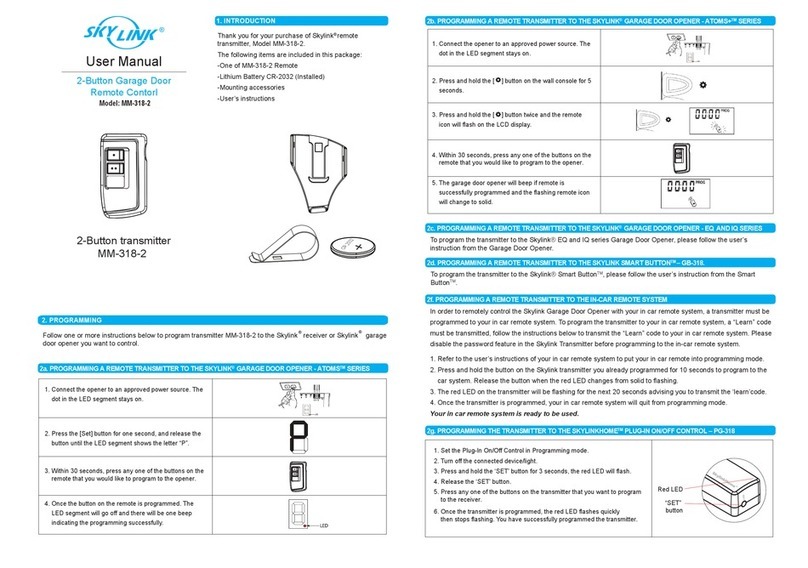
To program the transmitter to the Skylink®IQ series Garage Door Opener,
please follow the user’s instruction from the Garage Door Opener.
3. TROUBLE SHOOTING
Q: What can I do if the door opener does not react after I press the button on
the transmitter ?
A: - Ensure when the button on the transmitter is pressed, the red light on the
transmitter comes on. Otherwise, check if the battery is inserted properly.
- Make sure the correct button on the transmitter is pressed.
- Ensure the wires that were previously connected to the wall mounted
door control are not loose.
- Ensure the transmitter has been programmed to the receiver. Refer
to section 2 for how to program a transmitter to the receiver.
2c. PROGRAM A TRANSMITTER TO THE SKYLINK®GARAGE DOOR
OPENER - IQ SERIES
Model MK-318-1
Model MK-318-2
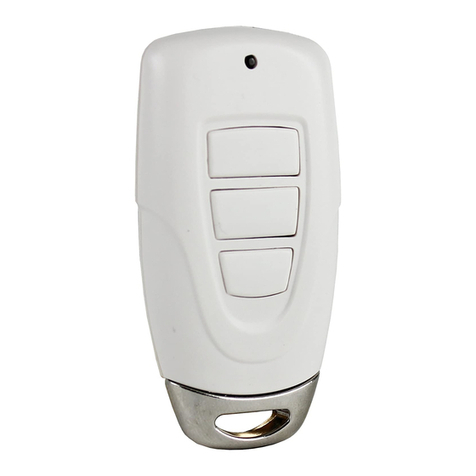
Model MK-318
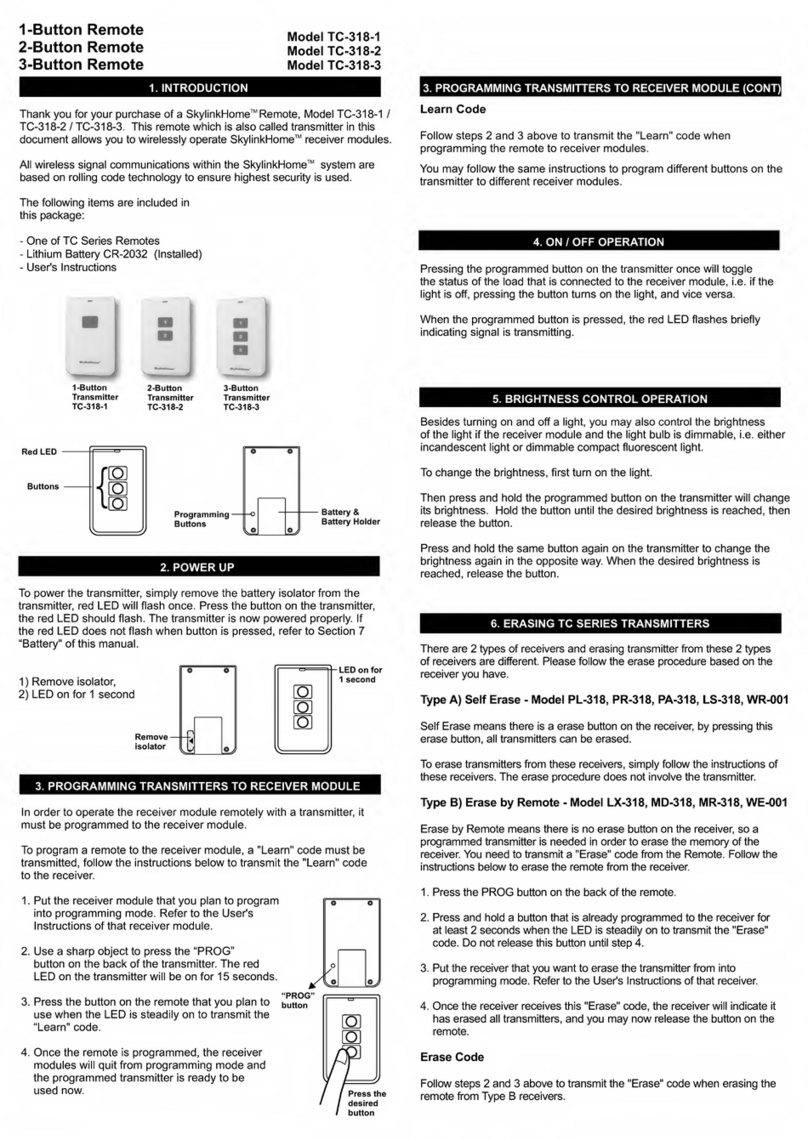
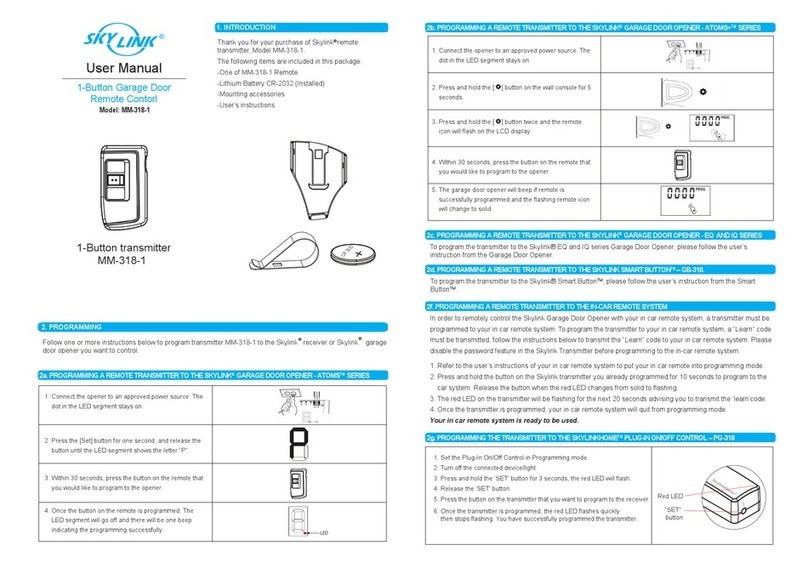
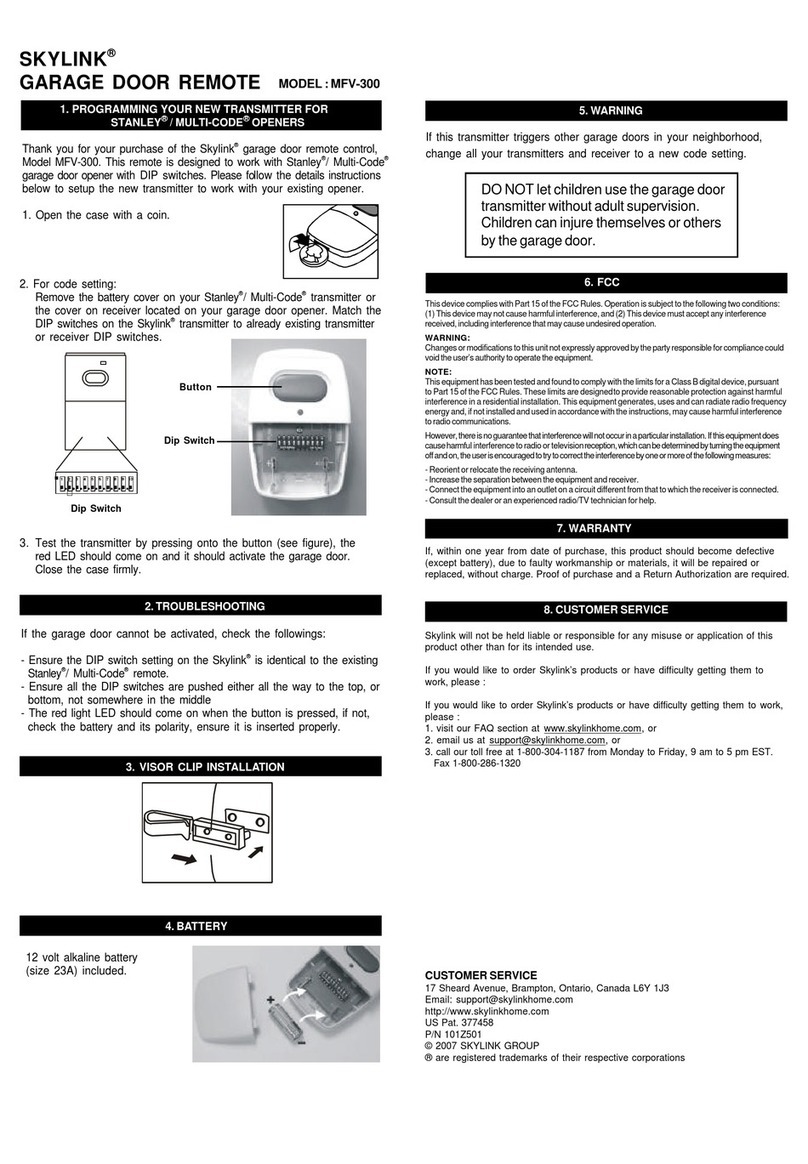
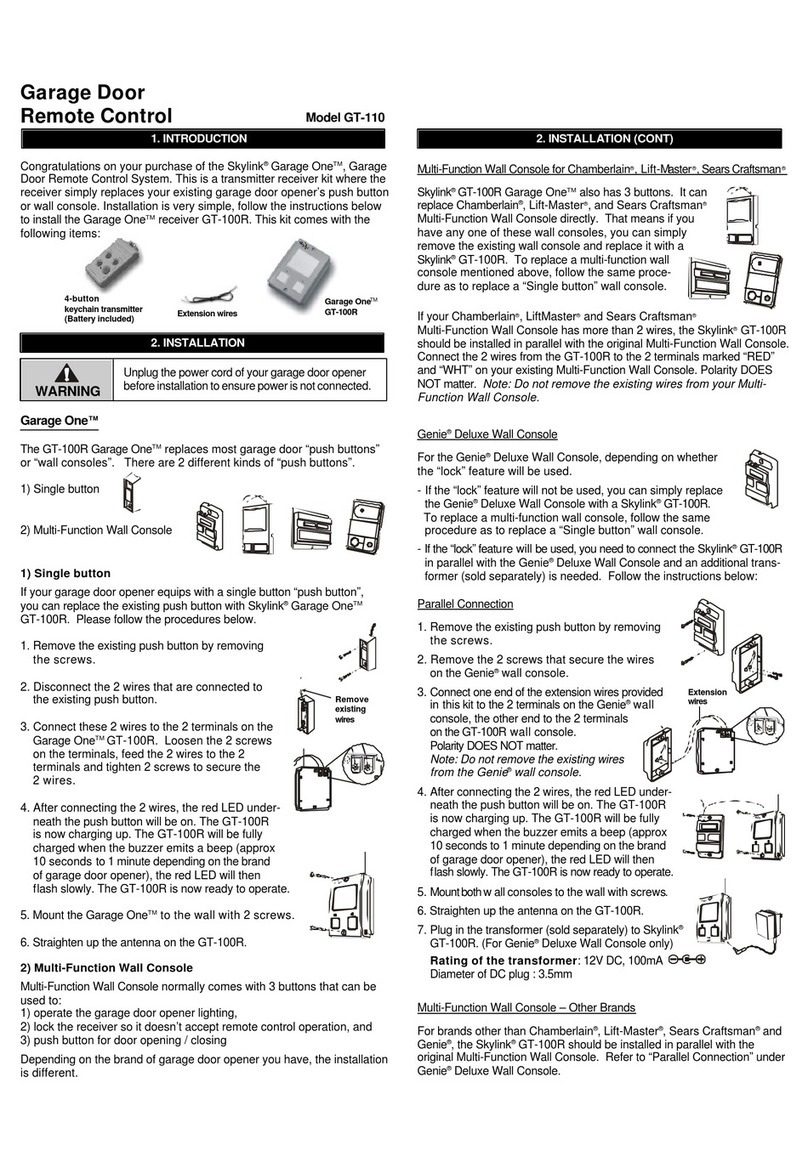
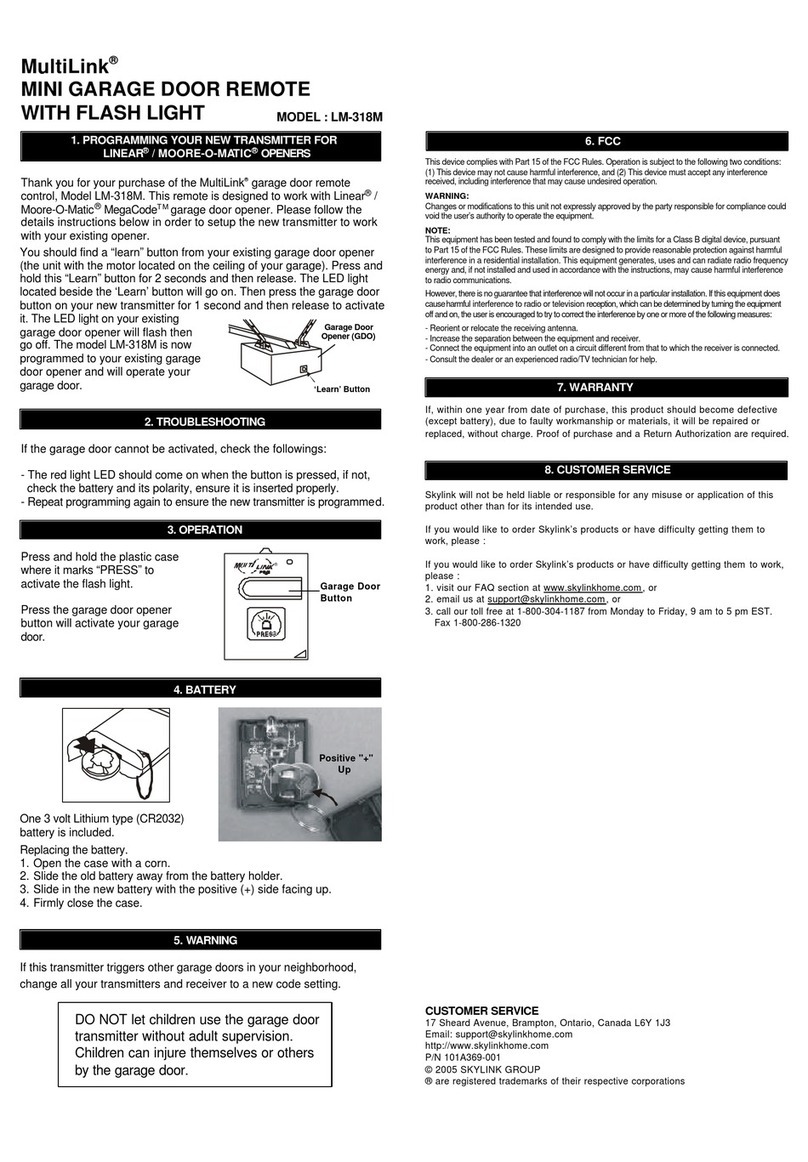
Thank you for your purchase of Skylink®Remote, Model MK-318-1/MK-
318-2/MK-318.
The following items are included
in this package:
- One of MK-318 series Remotes
- Lithium Battery CR-2032 (Installed)
- User’s Instructions 1-Button
Transmiter
MK-318-1
2-Button
Transmiter
MK-318-2
3-Button
Transmiter
MK-318
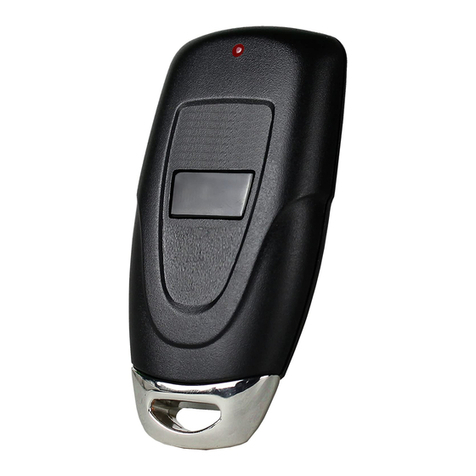
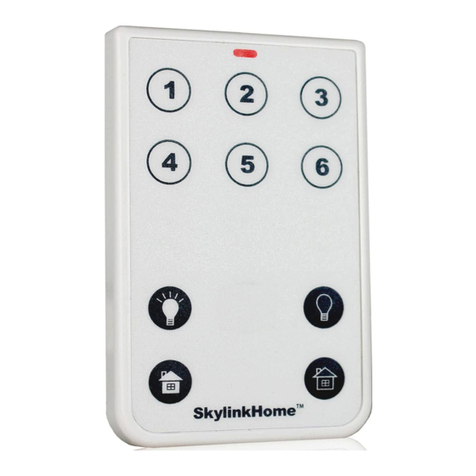
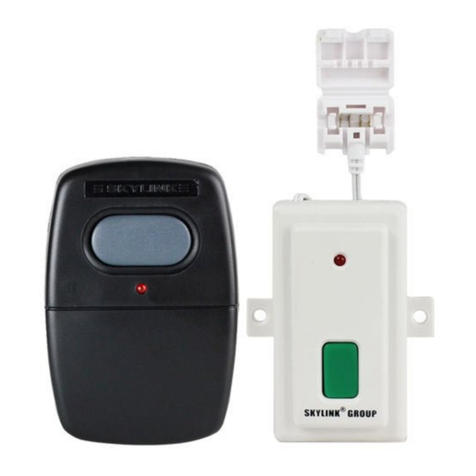
There are one or two or three buttons on transmitter, each button can be
programmed to control Skylink garage door receiver Smart ButtonTM
GB-318 or Skylink garage door opener directly.
Follow one or more instructions below in Section 2 to program transmitter
MK-318 to the receiver or receivers you want to control.
You need to do the programming in order to add the transmitter - remote
control to a receiver.
Refer to the receiver Smart ButtonTM GB-318 user’s instruction to set up the unit.
2a. PROGRAM TRANSMITTER TO RECEIVER GB-318
Smart ButtonTM GB-318 can learn up to 10 remote controls.
To program the transmitter to the receiver, follow the instructions below:
1. Press the learn button on the side of the Smart ButtonTM GB-318.
2. Once the learn button is pressed, the LED will
flash quickly. Release the learn button.
3. Within 30 seconds, press any one of the 3 buttons
on the transmitter that you want to program to the
receiver.
4. Once the remote control is programmed, the LED
will flash slowly, in the same way as it flashes
in standby mode.
5. You may now operate the garage door opener
with this new remote control.
6. To program this transmitter to control another
receiver, repeat process (1) to (4) to program
another button on the remote control.
You need to do the programming in order to add the transmitter to a
Skylink®Garage Door Opener.
Skylink®Garage Door Opener can learn up to 16 remote controls.
To program the transmitter to the Garage Door Receiver, follow the
instructions below:
1. Press the LEARN/SET button once on the garage door opener.
2. Once the LEARN/SET buttton is pressed, the LEARN LED will flash.
You may release the LEARN/SET button.
3. Within 30 seconds, press any one of the 3 buttons on the transmitter
that you want to program to the receiver.
4. Once the transmitter is programmed, the LEARN LED will turn off.
5. You may now operate the garage door opener with this new transmitter.
6. To program a transmitter to control another garage door opener,
repeat process (1) to (4) to program another button on the transmitter.
2b. PROGRAM A TRANSMITTER TO THE SKYLINK®GARAGE DOOR
OPENER - EQ SERIES
Learn Button
Learn
Button
Smart ButtonTM
GB-318
LED
Antenna
Password protection (Only available for MK-318 (Not available
for MK-318-1 or MK-318-2)
The MK-318 can be password protected. If you enable the password
protection, you can only operate MK-318 after you input the correct
password.
Password can be 2-8 digits long, which is a combination of 1, 2 and 3.
For example, password can be 1, 2, 1, 2. To input this password, you
have to press button [1], then [2], then [1], then [2].
Note:
[1] = Button 1 [2] = Button 2 [3] = Button 3
Change password
1. Press 1 and 3 simultaneously and hold for more than 6 seconds until
the LED changes from flashing quickly to flashing slowly.
2. Input old password.
3. Press 1 and 3 once simultaneously to confirm. If the password is
wrong, the LED will flash 3 times and you have to start it over from
step1.
4.Input new password.
5. Press 1 and 3 once simultaneously to confirm.
6. Input new password again.
7. Press 1 and 3 once simultaneously to RE-confirm. If the password is
different from the one of step 4, the LED will flash 3 times and you
have to start over from step 1. Otherwise, the password has been
changed to the new one and the password protection is enabled.
Disable password
1. Press 1 and 3 simultaneously and hold for more than 2 seconds until
the LED flashes quickly but not until the LED flashes slowly.
2. Input old password.
3. Press 1 and 3 once simultaneously to confirm. If the password is
correct, the password protection will be disabled.
Note:
The time-out period is 1 second during above password input.
The factory default password is 2, 2, 2, and this password function is
disabled out of factory.
Button [2]
Button [1]
Button [3]
5. ADVANCED FEATURE - PASSWORD PROTECTION
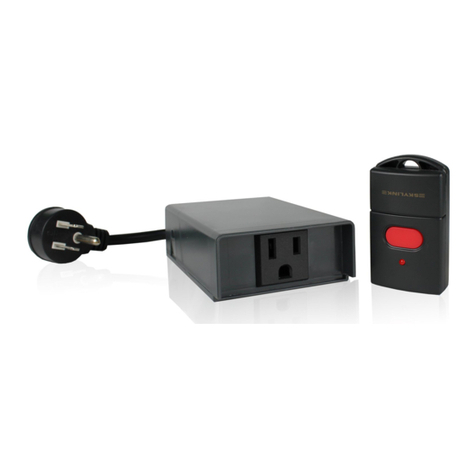
3-Button Garage Door
Remote Control
If, within one year from date of purchase, this product should become
defective (except battery), due to faulty workmanship or materials, it will
be repaired or replaced, without charge. Proof of purchase and a Return
Authorization are required.
7. WARRANTY
6. FCC
This device complies with Part 15 of the FCC Rules. Operation is subject
to the following two conditions: (1) This device may not cause harmful
interference, and (2) This device must accept any interference received,
including interference that may cause undesired operation.
WARNING:
Changes or modifications to this unit not expressly approved by the party
responsible for compliance could void the user’s authority to operate the
equipment.
NOTE:
This equipment has been tested and found to comply with the limits for a
Class B digital device, pursuant to Part 15 of the FCC Rules. These limits
are designed to provide reasonable protection against harmful
interference in a residential installation. This equipment generates, uses
and can radiate radio frequency energy and, if not installed and used in
accordance with the instructions, may cause harmful interference to
radio communications.
However, there is no guarantee that interference will not occur in a particular
installation. If this equipment does cause harmful interference to radio or
television reception, which can be determined by turning the equipment off
and on, the user is encouraged to try to correct the interference by one or
more of the following measures:
- Reorient or relocate the receiving antenna.
- Increase the separation between the equipment and receiver.
- Connect the equipment into an outlet on a circuit different from that to
which the receiver is connected.
- Consult the dealer or an experienced radio/TV technician for help.
8. CUSTOMER SERVICE
CUSTOMER SERVICE
17 Sheard Avenue, Brampton, Ontario, Canada L6Y 1J3
Email:[email protected]
http://www.skylinkhome.com
P/N : 101Z993-001
Patent Pending
©2010 SKYLINK GROUP
If you would like to
- find out the up-to-date specifications
- know more about features and applications
- download documents, i.e. user’s instructions
- order Skylink products
or if you have difficulty getting products to work, please:
1. visit our FAQ section at www.skylinkhome.com, or
2. email us at [email protected], or
3. call our toll free at 1-800-304-1187 from Monday to Friday,
9 am to 5 pm EST. Fax (800) 286-1320
Enable password
1. Press 1 and 3 simultaneously and hold for more than 2 seconds until
the LED flashes quickly but not until the LED flashes slowly.
2. Input old password.
3. Press 1 and 3 once simultaneously to confirm. If the password is
correct, the password protection will be enabled.
You can toggle the two states - password protection enabled or disabled.
Note:
The time-out period is 10 seconds during any of the above setting
operations. After 10 seconds, the LED will flash 3 times and the remote
will exit from setting.
If you forget your password and want to reset MK-318, follow
the steps below:
1. Press 1 and 2 simultaneously and hold for more than 10 seconds until
the LED flashes.
2. After you release 1 and 2, the LED will be turned off and MK-318 will
be reset. The password will be reset to factory default.
After the reset, password protection is removed but the remote can not
control any receiver until you reprogram it to receivers you want to control.
5. ADVANCED FEATURE - PASSWORD PROTECTION (CONT)

This manual suits for next models

2

Other SkyLink Remote Control manuals

SkyLink MT-18 User manual

SkyLink

SkyLink MT-18 User manual

SkyLink MultiLink CD-390M Guide User manual

SkyLink

SkyLink MultiLink CD-390M Guide User manual

SkyLink G6KR User manual

SkyLink

SkyLink G6KR User manual

SkyLink SkylinkHome TC-318-1 User manual

SkyLink

SkyLink SkylinkHome TC-318-1 User manual

SkyLink SKYLINKHOME TC-318-10 User manual

SkyLink

SkyLink SKYLINKHOME TC-318-10 User manual

SkyLink HOUSELINK 318TR User manual

SkyLink

SkyLink HOUSELINK 318TR User manual

SkyLink MultiLink SD-300M User manual

SkyLink

SkyLink MultiLink SD-300M User manual

SkyLink GT-110 User manual

SkyLink

SkyLink GT-110 User manual

SkyLink G5M User manual

SkyLink

SkyLink G5M User manual

SkyLink MK-318-2 User manual

SkyLink

SkyLink MK-318-2 User manual

SkyLink 18TR User manual

SkyLink

SkyLink 18TR User manual

SkyLink LK-318-1 User manual

SkyLink

SkyLink LK-318-1 User manual

SkyLink MultiLink GD-390M Guide User manual

SkyLink

SkyLink MultiLink GD-390M Guide User manual

SkyLink GBRV Guide User manual

SkyLink

SkyLink GBRV Guide User manual

SkyLink MultiLink CG5 Guide User manual

SkyLink

SkyLink MultiLink CG5 Guide User manual

SkyLink MFV-300 Guide User manual

SkyLink

SkyLink MFV-300 Guide User manual

SkyLink MM-318-2 User manual

SkyLink

SkyLink MM-318-2 User manual

SkyLink GBRM Guide User manual

SkyLink

SkyLink GBRM Guide User manual

SkyLink G6T3 User manual

SkyLink

SkyLink G6T3 User manual

SkyLink MM-318-1 User manual

SkyLink

SkyLink MM-318-1 User manual

SkyLink G6MR User manual

SkyLink

SkyLink G6MR User manual

SkyLink 39 User manual

SkyLink

SkyLink 39 User manual

SkyLink WS-100 User manual

SkyLink

SkyLink WS-100 User manual

SkyLink G6KR User manual

SkyLink

SkyLink G6KR User manual

Popular Remote Control manuals by other brands
Nikon ML-L3 owner's manual

Nikon

Nikon ML-L3 owner's manual

Reflexion RF401A user manual

Reflexion

Reflexion RF401A user manual

Zamel P-257/2 quick start guide

Zamel

Zamel P-257/2 quick start guide

Enabling Devices 1521 user guide

Enabling Devices

Enabling Devices 1521 user guide

zatech ZRC-22B user manual

zatech

zatech ZRC-22B user manual

Sunricher SR-ZG9001T-DIM manual

Sunricher

Sunricher SR-ZG9001T-DIM manual

Audiovox PAB-RC installation instructions

Audiovox

Audiovox PAB-RC installation instructions

Samsung MWR-WW10JN installation manual

Samsung

Samsung MWR-WW10JN installation manual

GRAUPNER Kingpad mc-edition mc-26 Programming manual

GRAUPNER

GRAUPNER Kingpad mc-edition mc-26 Programming manual

Proove TST100 user manual

Proove

Proove TST100 user manual

Swedstyle Memory S operating manual

Swedstyle

Swedstyle Memory S operating manual

Velleman HAMGSM133 user manual

Velleman

Velleman HAMGSM133 user manual

Dell Premium Remote Control user guide

Dell

Dell Premium Remote Control user guide

Kirkland Signature Remote Control 2 user guide

Kirkland Signature

Kirkland Signature Remote Control 2 user guide

RCA RCRTBL08BE1 quick start guide

RCA

RCA RCRTBL08BE1 quick start guide

Invacare G91S user manual

Invacare

Invacare G91S user manual

Philips Prestigo SRT9320 quick start guide

Philips

Philips Prestigo SRT9320 quick start guide

Sony RM-V10A Primary Service manual

Sony

Sony RM-V10A Primary Service manual

manuals.online logo
manuals.online logoBrands
  • About & Mission
  • Contact us
  • Privacy Policy
  • Terms and Conditions

Copyright 2025 Manuals.Online. All Rights Reserved.