manuals.online logo
Brands
  1. Home
  2. •
  3. Brands
  4. •
  5. SkyLink
  6. •
  7. Remote Control
  8. •
  9. SkyLink 838A User manual

SkyLink 838A User manual

Other SkyLink Remote Control manuals

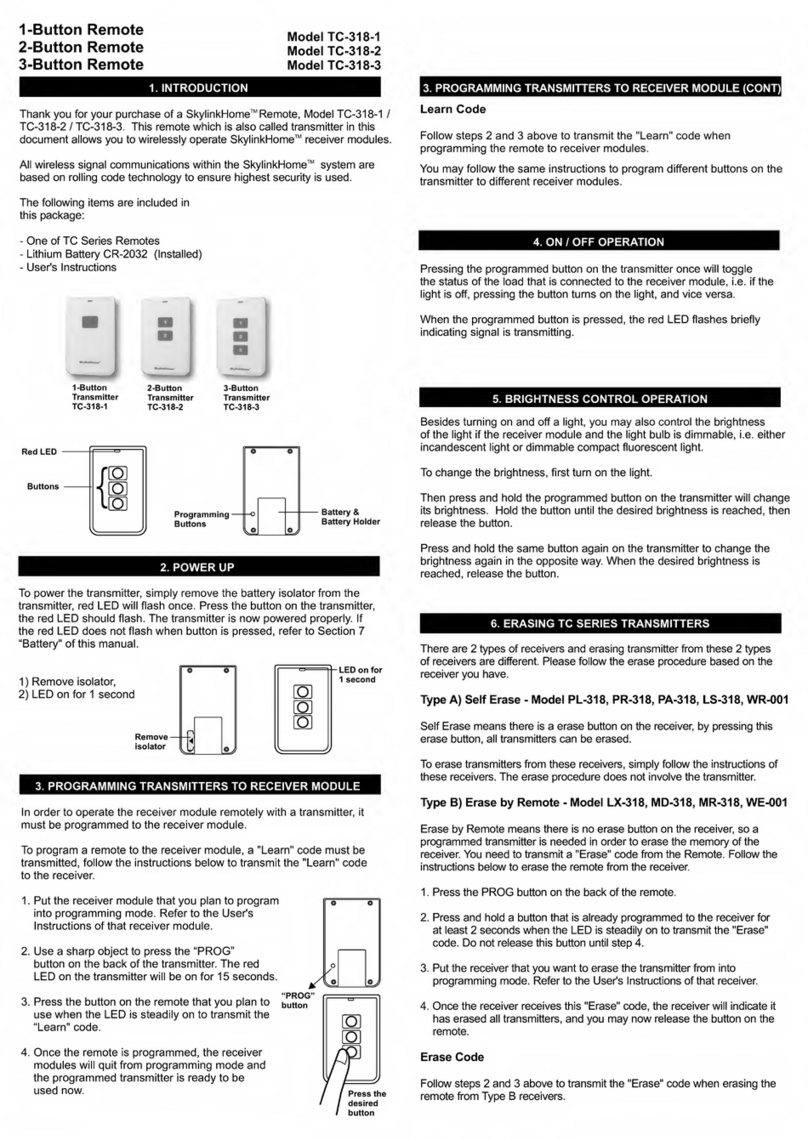
SkyLink TC-318-1 User manual

SkyLink

SkyLink TC-318-1 User manual

SkyLink TC-318-10 User manual

SkyLink

SkyLink TC-318-10 User manual

SkyLink 39 User manual

SkyLink

SkyLink 39 User manual

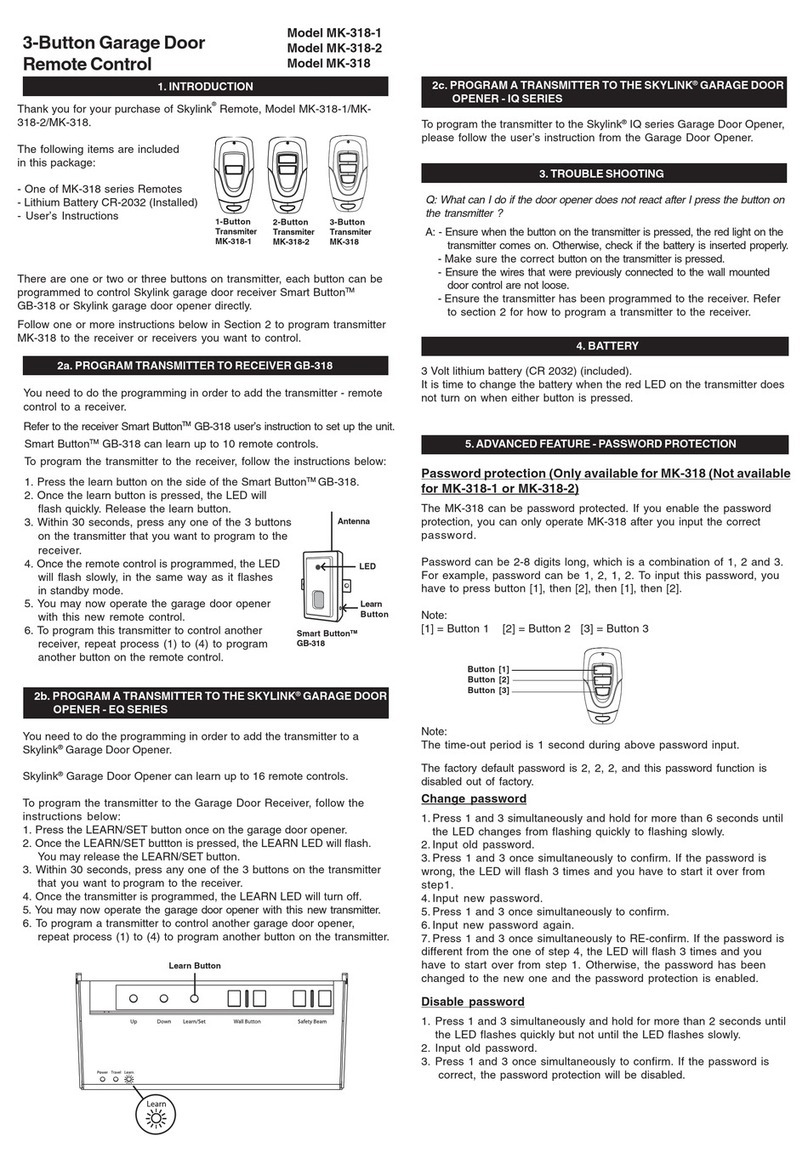
SkyLink MultiLink LM-318M Guide User manual

SkyLink

SkyLink MultiLink LM-318M Guide User manual

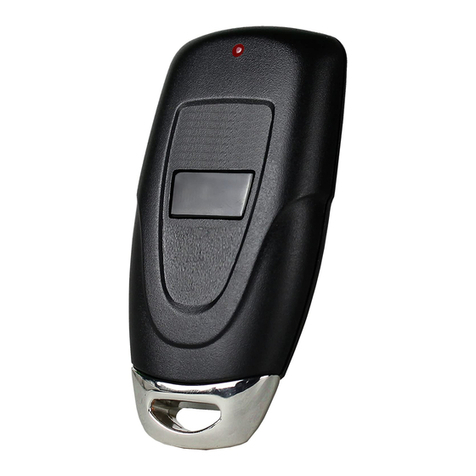
SkyLink MK-1 Guide User manual

SkyLink

SkyLink MK-1 Guide User manual

SkyLink G5M User manual

SkyLink

SkyLink G5M User manual

SkyLink SKYLINKHOME TC-318-10 User manual

SkyLink

SkyLink SKYLINKHOME TC-318-10 User manual

SkyLink GS1 User manual

SkyLink

SkyLink GS1 User manual

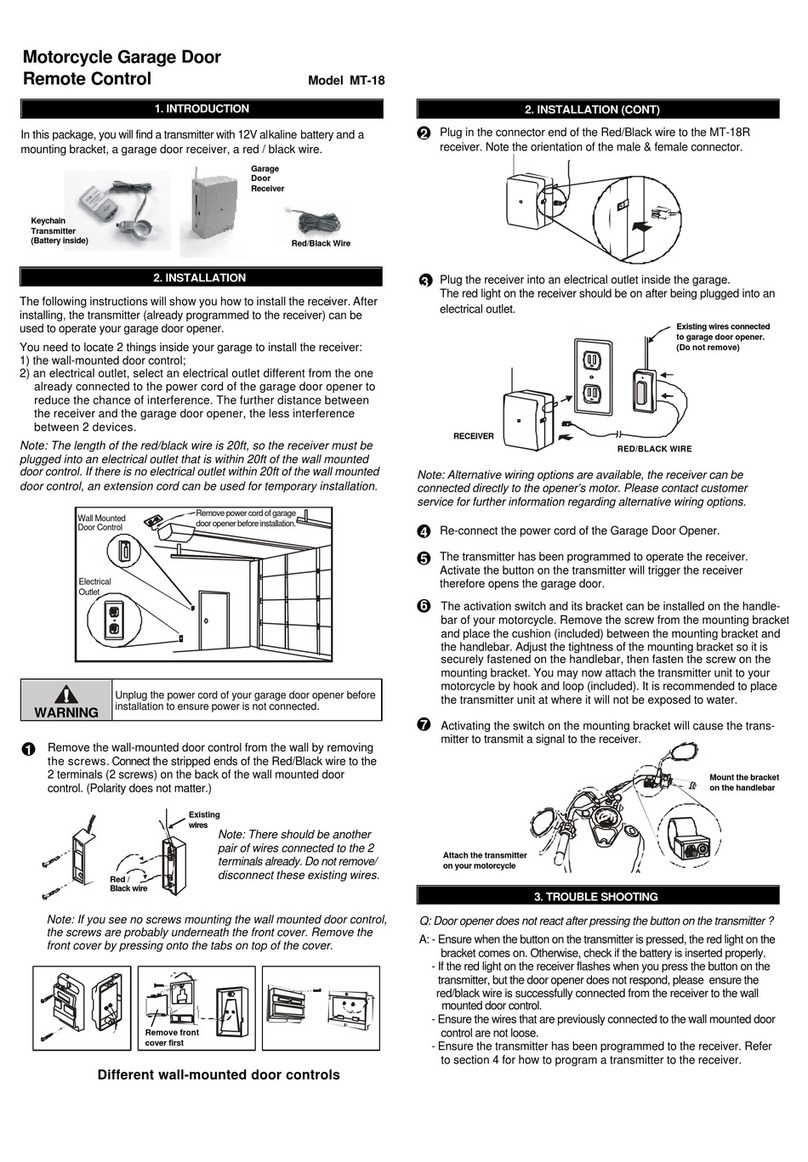
SkyLink MT-18 User manual

SkyLink

SkyLink MT-18 User manual

SkyLink 4B-101 User manual

SkyLink

SkyLink 4B-101 User manual

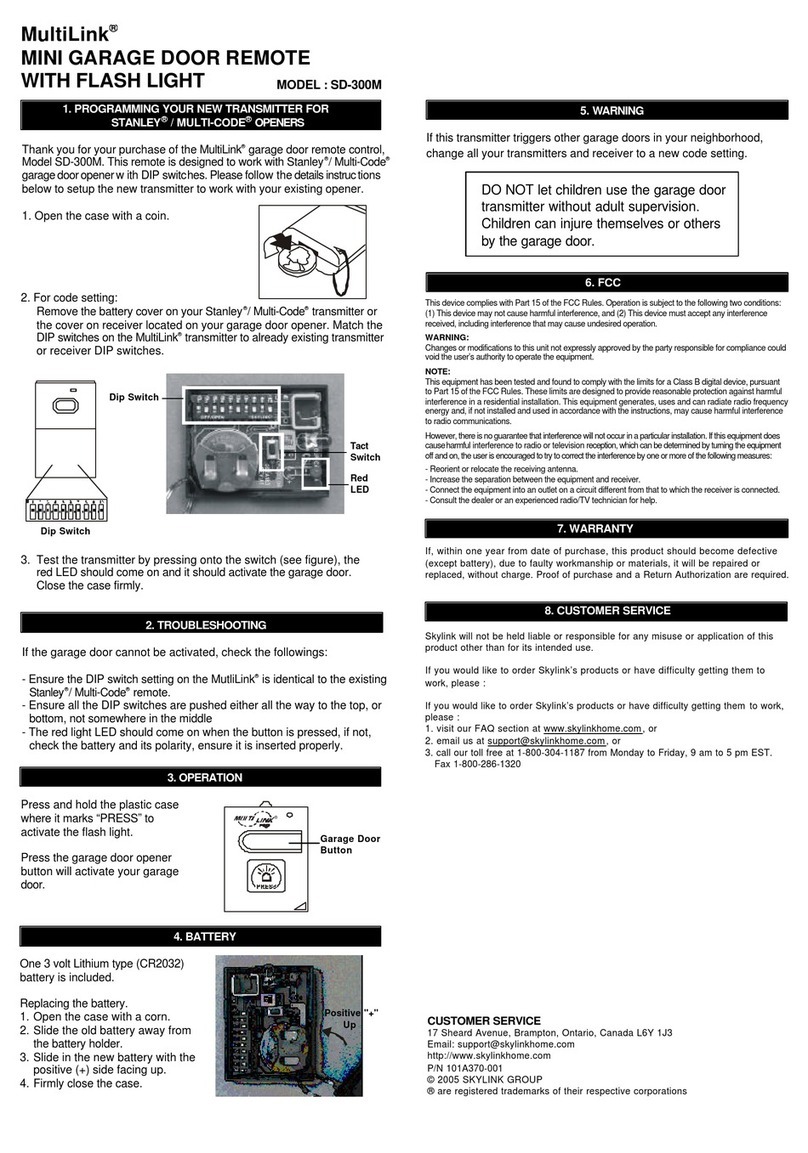
SkyLink MK-318 User manual

SkyLink

SkyLink MK-318 User manual

SkyLink MM-318-2 User manual

SkyLink

SkyLink MM-318-2 User manual

SkyLink GTR SMART BUTTON G6VR User manual

SkyLink

SkyLink GTR SMART BUTTON G6VR User manual

SkyLink MultiLink LD-310M Guide User manual

SkyLink

SkyLink MultiLink LD-310M Guide User manual

SkyLink MF-1 User manual

SkyLink

SkyLink MF-1 User manual

SkyLink G6MR User manual

SkyLink

SkyLink G6MR User manual

SkyLink Wave SoundTouch User manual

SkyLink

SkyLink Wave SoundTouch User manual

SkyLink 18TR User manual

SkyLink

SkyLink 18TR User manual

SkyLink MultiLink GE-390M User manual

SkyLink

SkyLink MultiLink GE-390M User manual

SkyLink LK-318-1 User manual

SkyLink

SkyLink LK-318-1 User manual

SkyLink MM-318-1 User manual

SkyLink

SkyLink MM-318-1 User manual

SkyLink MultiLink GD-390M Guide User manual

SkyLink

SkyLink MultiLink GD-390M Guide User manual

SkyLink MFV-300 Guide User manual

SkyLink

SkyLink MFV-300 Guide User manual

SkyLink WS-100 User manual

SkyLink

SkyLink WS-100 User manual

Popular Remote Control manuals by other brands

Bircher Reglomat RC Duo 2 user guide

Bircher Reglomat

Bircher Reglomat RC Duo 2 user guide

Emerson RCBT100 owner's manual

Emerson

Emerson RCBT100 owner's manual

BILDA Element-6 user manual

BILDA

BILDA Element-6 user manual

Absima CR7P manual

Absima

Absima CR7P manual

Mitsubishi Electric PAR-32MAAG Instruction book

Mitsubishi Electric

Mitsubishi Electric PAR-32MAAG Instruction book

RCA RCRTBL08BE1 quick start guide

RCA

RCA RCRTBL08BE1 quick start guide

US Electronics NOVARI user guide

US Electronics

US Electronics NOVARI user guide

Panasonic EUR7622KB0 Operation guide

Panasonic

Panasonic EUR7622KB0 Operation guide

Bang & Olufsen Beo4 user manual

Bang & Olufsen

Bang & Olufsen Beo4 user manual

Marantz RC101 user guide

Marantz

Marantz RC101 user guide

FUTABA 9ZAP - PART2 manual

FUTABA

FUTABA 9ZAP - PART2 manual

HR Matic HR MULTI 3 quick start guide

HR Matic

HR Matic HR MULTI 3 quick start guide

Anritsu MP1777A Operation manual

Anritsu

Anritsu MP1777A Operation manual

Niles WVC100 Installation & operating guide

Niles

Niles WVC100 Installation & operating guide

Bang & Olufsen BEO6 Getting started

Bang & Olufsen

Bang & Olufsen BEO6 Getting started

GE 94901 instruction manual

GE

GE 94901 instruction manual

FUTABA R7108SB Full manual

FUTABA

FUTABA R7108SB Full manual

Invacare G91S user manual

Invacare

Invacare G91S user manual

manuals.online logo
manuals.online logoBrands
  • About & Mission
  • Contact us
  • Privacy Policy
  • Terms and Conditions

Copyright 2025 Manuals.Online. All Rights Reserved.

registered trademark of skylink Technologies Inc.,
R
The code Scrambler
Anti-Theft Garage Door
Remote Control
Operating Instructions
( Model 838A )
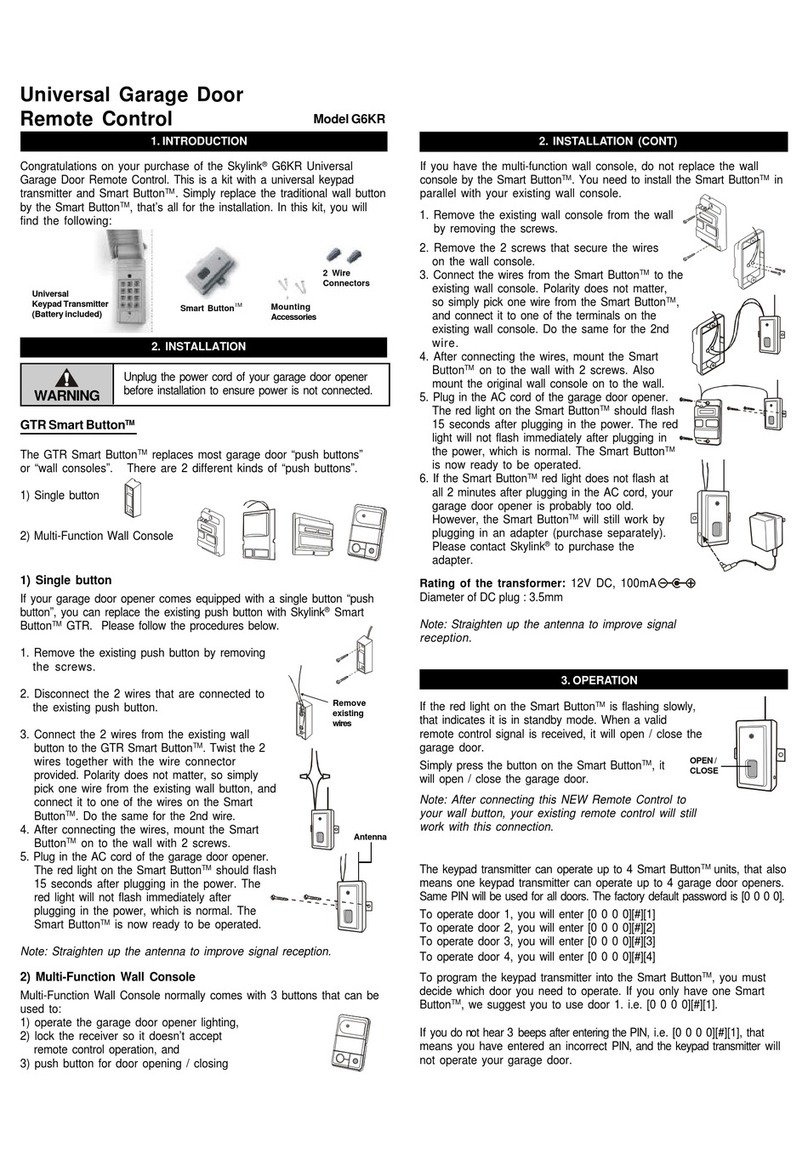
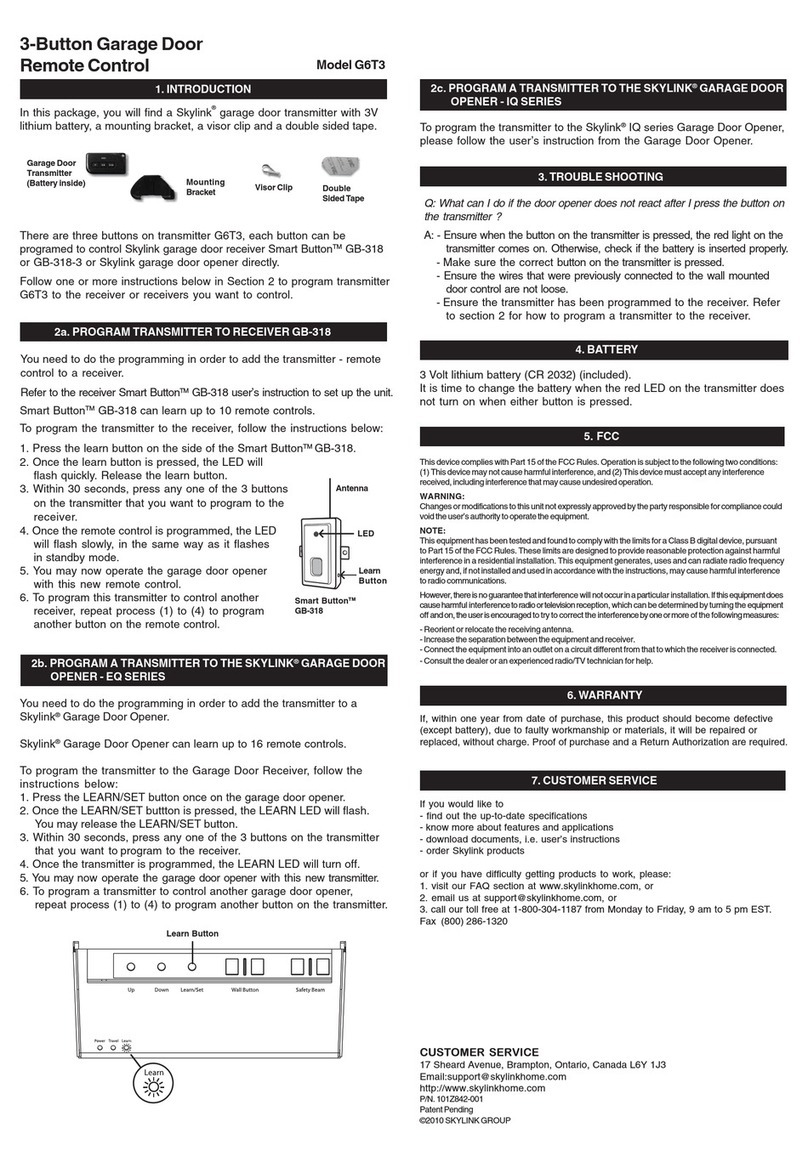
PROGRAMMING THE NEW TRANSMITTER & RECEIVER
(1) Each transmitter was assigned an
individual (never duplicated) code in the
factory. For the receiver to recognize and
respond to the transmitter, it must first
“learn” the code. With the receiver
installed in the operator, remove the front
lower cover of the receiver case, press
and hold Button 1 on the receiver, (its red
light will flash), while simultaneously
pressing and holding Button A on the
transmitter, until the receiver light stops
flashing indicating it has learned the
code.
(2) Test the new transmitter. If it does not
operate your garage door, repeat Step 1.
FCC INFORMATION
The Code Scrambler Anti-Theft Garage
Door Remote Control uses an FCC approved
transmitter and receiver, and complies with
part 15 of the FCC Rules. Its operation is
subject to the following two conditions:
1. This device may not cause harmful
interference.
2. This device must accept any interference
that may be received, including
interference that may cause undesired
operation.
TM
Warning : Changes or modifications to this
unit not expressly approved by
the party responsible of
compliance could void the user’s
authority to operate the
equipment.
(3) To program Button B to operate another
garage door, repeat Steps 1 & 2 with a
second receiver (sold separately).
(4) If you use the transmitter to operate only
one door, with either Button Aor B,
repeat Steps 1 & 2, using Button B.
CAUTION : if you press and hold the
button 1 and button 2 on the receiver and
then release the Button 2 (its red light will
flash faster), this will erase all of the
“ learned ” codes in its memory. Repeat
the “ learning ” process with each
transmitter.
Skylink will not be liable or responsible for
any misuse or application of this product
other than for its intended use.
CUSTOMER SERVICE
17 Sheard Avenue, Brampton,
Ontario, Canada L6Y 1J3
Email: [email protected]
Customer Service : (800) 304-1187
From 9am to 5pm EST (Mon-Fri)
http://www.skylinkhome.com
P/N.101A366
Patent no. D382251, D380895
2005 SKYLINK GROUP
C
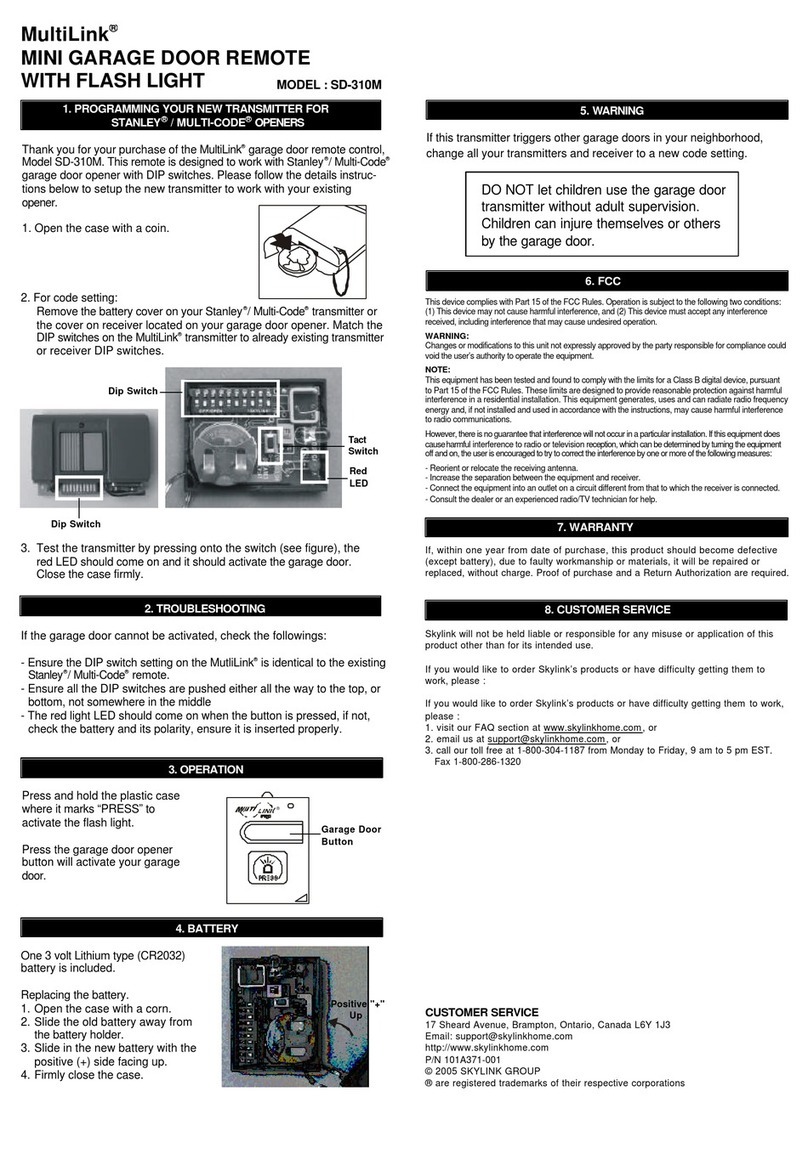
RECEIVER INSTALLATION
(1) Your receiver is an universal radio digital
receiver:
Operating voltage is from 18V to 30V
AC or DC supplied by the garage or
gate operator.
(2) Wiring connection:
White wire - connect to common.
Red wire - connect to 24V
Black Wire - relay output, connect to relay
(3) Antenna wire:
Please DO NOT remove the yellow wire,
ensure that it is in up-right position to
receive data signals from the transmitter.
TRANSMITTER INSTALLATION
(1) Operating source :
Operated by 12 Volt “ cigarette lighter ”
type (size 23A) Alkaline battery
(included)
(2) Battery replacement :
Remove the battery cover, then install a
new battery when LED dim. Then
replace the battery cover after the
installation.
Button B
Button A
BUTTON 1
Red Light
BUTTON 2
WARRANTY
If, within one year from date of purchase,
this product should become defective
(except battery), due to faulty workmanship
or materials, it will be repaired or replaced,
without charge, Proof of purchase is
required.
Warning ! Do not let children use the
garage door transmitter without adult
supervision. Children can injure
themselves or others the garage door.
RED
BLACK
WHITE
BATTERY