Skymsen PCI-22 User manual

Meat Grinder
Model:
PCI-22
09949.0 - August/99
User Guide


Summary
01 Main Precautions 2
0 2 Main Components 3
03 Technical Data 4
04 Installation 4
05 Pre Operation 5
06 Operation 5
07 Desassembling the Head 6
08 Cleaning 7
09 Problems and Soluctions 7
10 Electrical Diagram 7
11 Routine Inspection 8
12 GeneralAdvices 8
8
11 Routine Inspection
The meat grinders need a minimum of maintenance due to its continous use.
IMPORTANT: do not put your fingers between the belts.
Check the motor, belts and rotating parts of the machine when it is making a strange
noise.
Check the tension of the belts because if they are wearing you need to change the set.
Verify the security dispositives and protection to be sure it is working properly.
Always switch OFF the machine and disconnect it from the electricity supply during
inspection.
12 General Advices
Always switch the machine off before doing the cleaning and the maintenance.
Provide enough space around the machine to avoid knocking something down and
breakings.
Always keep the floor dry. Wet floors may cause slippings.
Always switch the machine off in case of electricity lack.
Never let dust or water to get into the electrical and mechanical components of the
machine.
Do not modify the original features of the machine.
Do not take out or tear off any safety oridentification adhesive.

2
2 Main Precautions
PCI-22 can be a potentially dangerous machine when used incorrectly.
Cleaning, maintenance or service must always be done by experienced operators, and with
the machine disconnected from the electricity supply.
Never use tools not belonging to the machine, to help operation.
Test the head before starting the operation: it must be secure in its right position.
Check also if all the internal components are assembled, and the tray is placed in its right
position.
Do not use loose clothes, mainly no loose sleeves.
Never introduce your fingers or any other object but the pusher, inside the feeding throat.
Keep hands off the moving parts of the machine.
Never connect the electricity with wet hands or wet clothes.
Always ground the electric grounding wire.
Never use water jets directly on the machine.
1
7
- The processed meat comes out squeezed. - It is missing one of the head
components probably because of
incorrect assemble, see picture 02
- Disc or knife without cut
- The worm stops when - There is no electricity
- There is a problemwit h the internal or
external electric circuit
- The belts are loosen
- Burn smell or smoke - Problems wit h the motor
- The worm delays to rotate - Defective motor capacitor
Problems: Soluctions:
8 Cleaning
a - Switch the machine off, and disconnect the plug from the electricity supply.
b - Remove the pusher, the tray, the head ring and all the internal components of the head
(according to item 7 ).
c - Remove the head (according to item 7).
d - Wash all the components with hot water and neutral soap, then dry them.
e - To assemble the head follow the components order indicated picture-02 .
9 Problems and Soluctions
10 DiagramElectrical
ON/OFF Switch
+
Selector Voltage Switch 110/220 Volts

3
01 - Pusher.
02 - Head.
03 - Head Ring.
04 - 110/220 Volts Selector Switch.
05 - Tray.
06 - Casing.
07 - Handle.
08 - ON/OFF Switch.
Picture - 01
2 Main Components
05
06
07
08
01
02
03
04
6
7 Desassembling the Head
IMPORTANT - Always disconnect the machine from the electricity supply before taking the
head off. After being sure the machine is disconnected from the electricity supply, use the
following procedure (The following figures are those of picture 02):
a - Take out the pusher and the tray;
b - Remove the head Ring No. 07, turning it clockwise;
c - Remove the inside head components as shown on picture 02, you do not need to take out
the head to remove the components;
d - If necessary to take the head off, proceed as follows:
loosen the handle No. 07 (picture 1) on the left side of the head, hold the head and move it left and right
pushing it towards the front side at the same time.
IMPORTANT - When assembling the head you shall be very careful to place each
component in the right position. If you do not follow the right order it will cause irreparable
damage to the grinder.
06
07
02
01
03
04
05
01. Head
02. Fiber Washer
03. Worm
04. Worm Pin
05. Knife
06. Disc
07. Head Ring
Picture - 02

54
5 Pre Operation
Check to see whether the machine is firm, no movement is allowed on the
supporting surface. Wash with hot water and soap all the parts to be in contact with food, and dry
them.
To do it proceed as follows (the below mentioned reference figures are those of
picture 01):
a - Remove the pusher No. 01 and the tray No.05, to be able to take out the head.
b - Remove the head Ring No. 03, turning it clockwise then remove the internal components
of the head, pulling them out.
c - To take the head out loosen the handle on the left side No. 07, hold the head No. 02, and
move it left and right pushing it towards the front side at the same time.
d - Proceed washing the components.
e -Assemble the components following the inverse steps.
f -Your meat grinder is now ready to operate.
IMPORTANT: when you have finished assembling the complete head, never tighten too much
the head ring. If you tighten it too much you might block or even break the internal parts.
6 Operation
Switch on the machine pressing the on/off botton. PCI-22 grinders are
very high speed machines and therefore they need a fast feeding. Put the meat lumps on the tray and
drive them with your hand to the throat.
Then using the pusher No. 01, push them into the throat where they will
be sucked in by the worm.
IMPORTANT: only use the pusher to push the meat inside the throat, never use your hands or
any other kind of instrument. The meat processed inside the head provides lubrication and
cooling for the head components therefore never let the machine to work without load, if this
happens the head will warm up and it will cause damage to the head components. Never leave
any kind of knives, metal hooks or other instruments on the tray.
3 Technical Data
4 Installation
Table - 01
110 / 220 (*)
50 ou 60 (**)
520
690
380
37
45
1,5
1,2
[V]
[Hz]
[CV]
[kW/h]
[mm]
[mm]
[mm]
[kg]
[kg]
Voltage
Rating
Frequency
Consuption
Height
Width
Depth
Net Weigth
Gross Weigth
Technical Data Units PCI-22
* The machines are provided with a voltage selector switch .
** Motors may be supplied 50 Hz or 60 Hz .
The meat grinders PCI have to be installed on a working surface possibly a table and it must
be perfectly firm.
The surface height should be about 85 cm above the floor.
In front of the head must be left a suitable space for the processed meat tray.
Check the voltage of the machine. The voltage must be the same as the electrical voltage
supply.
The machines are fitted with a voltage selector switch No. 04 (picture 1), just beside the
main on/off switch No. 08 (picture 1), put it to your own voltage.
Grounding wire must always be connected.
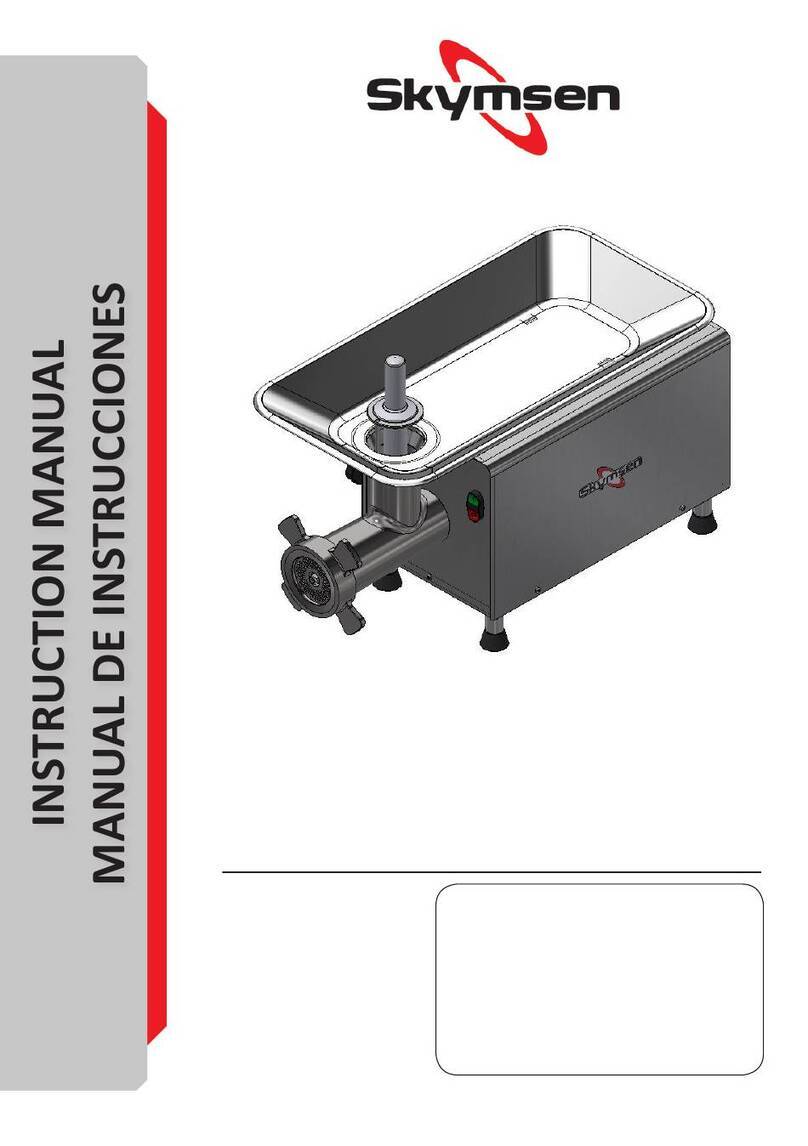
Table of contents
Other Skymsen Meat Grinder manuals

Skymsen
Skymsen PS-10 User manual

Skymsen
Skymsen PCP-98M User manual

Skymsen
Skymsen PSEE-09 User manual

Skymsen
Skymsen PCP-10L User manual

Skymsen
Skymsen PSA-15HD User manual

Skymsen
Skymsen Fleetwood PSA-05 User manual

Skymsen
Skymsen PSP-98M User manual

Skymsen
Skymsen PSEE-10-N User manual

Skymsen
Skymsen PSP-98M User manual

Skymsen
Skymsen Fleetwood TC12IHD User manual