NOTICE TO OWNERS AND OPERATORS
The PSEE-09 Meat Grinder is designed to grind meat products safely and
efficiently. Unless the operator is properly trained and supervised, however, there is
the possibility of a serious injury. It is the responsability of the owner to assure that
this machine is used properly and safely, strictly following the instructions
contained in this Manual and any requirements of local law.
1 MAIN PRECAUTIONS
The PSEE-09 can be a potentially dangerous machine when used incorrectly. Therefore read all the
following instructions carefully to avoid damages.
FOR COMMERCIAL USE ONLY by qualified operators.
BEFORE cleaning disconnect machine from power source.
NEVER use tools not belonging to machine to help operation.
NEVER feed by hand. Always use stomper.
NEVER put your fingers or any other object but the stomper inside the feed throat.
NEVER connect power source with wet hands or wet clothes.
NEVER spray water or other liquid substances directly at motor, power switch or any other electrical
components.
KEEP your working area clean and dry to prevent it from becoming sllipery.
ALWAYS install equipment in working area with adequate light and space away from CHILDREN and
visitors.
NEVER operate without all warning labels attached and owner/operator manual available to operator.
NEVER leave unattended while operating.
STOP the machine immediately if you hear abnormal noises, of fear that injuries may occur.
ALWAYS ground machine properly.
CONTACT your Distributor if you have any problems with the installation and operation of this
machine.
2 MAIN COMPONENTS
The machine consist of an electrical motor that through a gear box operates a worm. The
worm feeds the meat to the knife and hole plate. Several types of hole plates are available. The holes
on these plates have different diameter. The type of plate is chosen depending on the desired ground
meat characteristics.
Barrel No.01 and worm No.03 (Picture - 02) receive a special treatment to isolate and
facilitate the cleaning.
Knive No.05 and disc No.06 (Picture - 02) are made of hardened material to provide a long
life cutting quality.
See picture- 01 page#01
page#04
7 CLEANING
* To do the cleaning proceed as follows.
* Turn off the machine and disconnect it from power source.
* Remove stomper No.01 and tray No. 04 (Picture -01)
* Remove Locking Ring No. 07 (Picture - 02), turning it clockwise, and then remove the
internal components of the barrel, pulling them out.
NOTE: Do not try to pull plate, knife and worm out of the barrel by starting the
machine, as this may result in serious injuries to the hands.
* To remove the barrel loosen the locking handle located on the left side of the barrel, hold
the barrel with both hands and move it left and right pushing it towards the front at the same
time.
* Proceed washing the components with warm water and neutral soap.
* Wipe the body of the machine with a damp clean cloth.
*Assemble the components following the order shown on picture 02 page#3. It is
recommended that you follow the order carefully. Assembling the components in a different
order could cause serious damages to the griding device. When re-installing the knife in the
worm stud, make sure that the cutting edge is facing outwards.
* Your meat grinder is now ready to operate.
IMPORTANT
Do not tighten the locking ring too much, as an excessive pressure on the hole
plate and knife may lead to their abnormal wear.
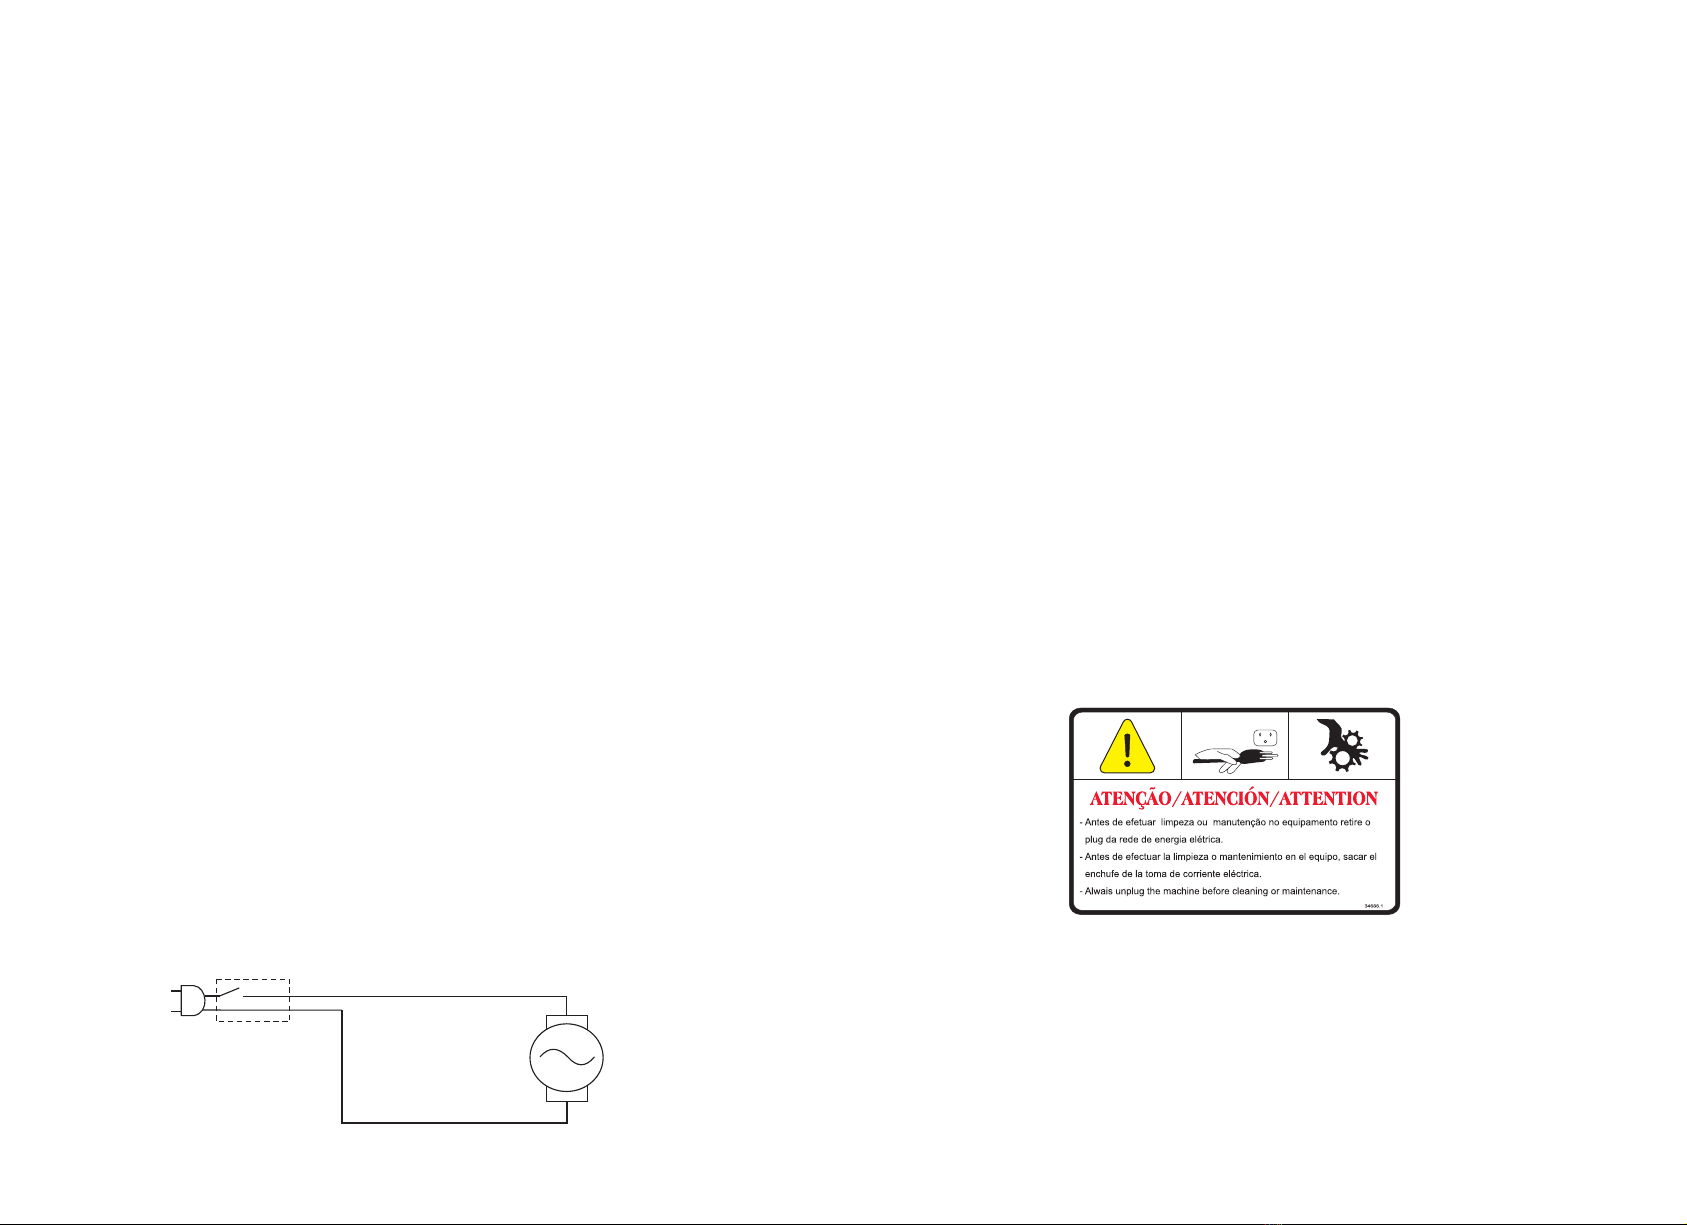
9 DIAGRAMELECTRICAL
ON/OFF Switch
8 GENERAL ADVICES
ALWAYS turn machine off before cleaning and maintenance.
PROVIDE enough space around machine to avoid breakings.
ALWAYS keep the floor dry. Wet floors may cause slippings.
ALWAYS turn machine off in case of power supply lack.
NEVER let dust or water to get into electrical and mechanical components of
the machine.
DO NOT modify original features of the machine.
DO NOT take out nor tear off any safety or identification label.