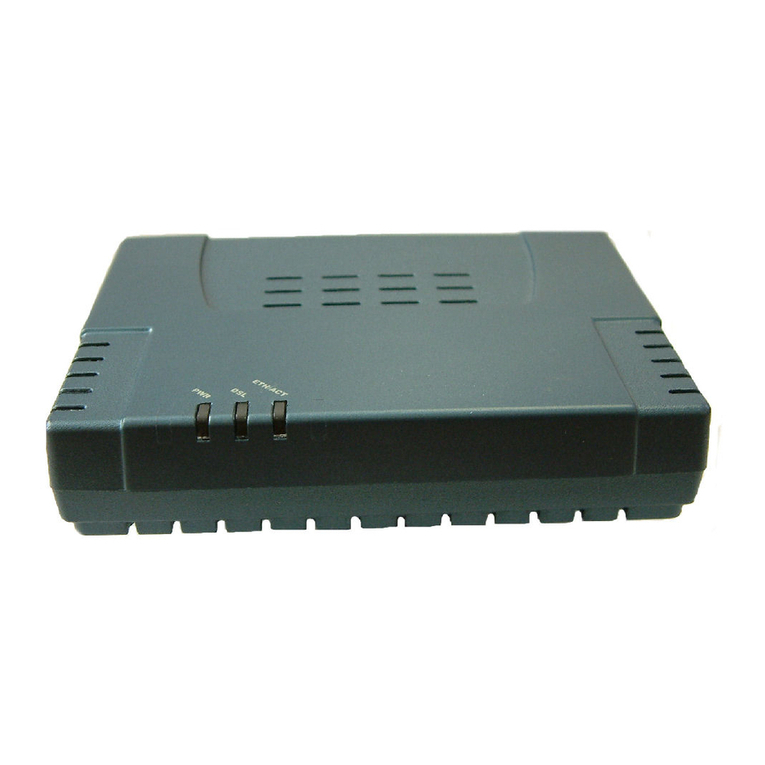
Solwise SAR-600EH Product information sheet

SAR-600EH Easy Start
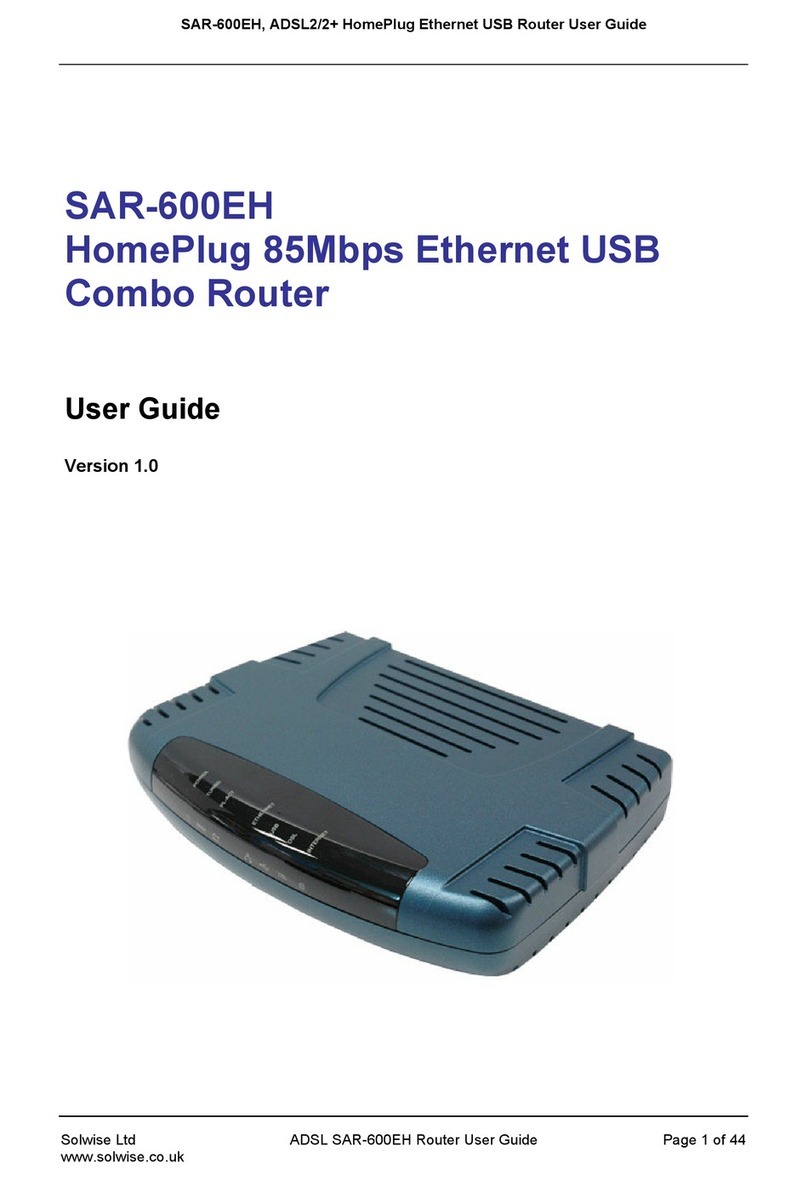
SAR-600EH
HomePlug 85Mbps Ethernet USB
Combo Router
Easy Start
Version 1.0
Easy Start Page 1 of 1

SAR-600EH Easy Start
Table of Contents
Preliminary Pages Page
Chapter 1 – Introduction ......................................................................................................5
1.1 Minimum Requirements...................................................................5
1.2 ADSL HomePlug Ethernet Router Package.....................................5
1.3 ADSL HomePlug Ethernet Router Overview ..................................7
1.3.1 Front Indicators ................................................................................7
1.3.2 Back Panel........................................................................................8
1.4 Typical ADSL HomePlug Ethernet Router Connection ..................9
Chapter 2 - Connecting the ADSL Router to Your PC / Notebook...................................10
2.1 Connecting to the Ethernet .............................................................10
2.2 Connecting to the ADSL Line........................................................11
Chapter 3 – Configuring Your Ethernet Network Card.....................................................12
3.1 Configuring Your Ethernet Network card......................................12
3.1.1 For Windows®98 Second Edition / Windows®Me.....................12
3.1.2 For Windows®2000 / Windows®XP...........................................13
Chapter 4 – Installing Your USB Driver ...........................................................................15
4.1 Installing the USB Driver for Windows®98 Second Edition ........15
4.2 Installing the USB Driver for Windows®ME................................17
4.3 Installing the USB Driver for Windows®2000..............................18
4.4 Installing the USB Driver for Windows®XP.................................19
Chapter 5 – Configuring Your Internet Browser ...............................................................21
5.1 Microsoft® Internet Explorer™
(based on IE 5.5) .............................21
5.2 Netscape Navigator ........................................................................21
Chapter 6 – Setup the Router via Basic Page.....................................................................22
Chapter 7 - Setup the HomePlug Page...............................................................................24
7.1 Local Password...............................................................................24
7.2 Remote Password ...........................................................................25
7.3 Scan Network .................................................................................25
Chapter 8 – Maintenance ...................................................................................................26
8.1 Maintenance Concepts....................................................................26
8.2 Preventive Maintenance .................................................................26
8.3 Preventive or Scheduled Maintenance (PM) Tasks........................26
Easy Start Page 2 of 2
SAR-600EH Easy Start
Safety Summary Message
WARNING!
HIGH VOLTAGE
is used in the equipment. Make sure equipment is properly grounded
BEFORE opening. Failure to observe safety precautions may result in electric
shock to user.
CAUTION!
Check voltages before connecting equipment to power supplies. Wrong
voltages applied may result in damage to equipment.
Easy Start Page 4 of 4

SAR-600EH Easy Start
Chapter 1 – Introduction
The SAR-600EH HomePlug Turbo ADSL Router is the perfect high-speed WAN bridge/router.
This full-featured product is specifically designed to connect to the Internet and directly connect
to your local area network via high speed 10/100 Mbps Ethernet. The ADSL Router has also full
NAT firewall and DMZ services to block unwanted users from accessing your network.
Together with ADSL2+ support providing up to 26Mbps bandwidth, the HomePlug Ethernet
USB Router is the ideal Residential Gateway to deliver rich multimedia content coupled with a
seamless easy to use, all in one device into homes and offices.
Targeted at the residential users, it is specially tailored to delivers speed up to 85Mbps over the
most difficult powerline communication environment and fully backward compatible with
Homeplug 1.01 Specifications.
Easy to install and use, it plugs straight in to any existing wall electrical socket while having a
low power consumption, it comes with 56 bit DES encryption ensuring that your network
communications is free from eavesdroppers and hackers. The AutoMDI/MDIX functionality of
the HomePlug Ethernet USB Router also simplifies and ensures a hassle free installation.
Minimum Requirements
1.1
1.2
Pentium®MMX 233MHz•
•
•
•
•
•
•
•
A CD-ROM Drive
Ethernet card installed with TCP/IP Protocol (required only if you are connecting
to the ETHERNET port of your DSL Router)
USB port (required by if you are connecting to the USB Port of your ADSL
Router)
Host Operating Systems support for USB:
- Windows® 98 Second Edition
- Windows® 2000
- Windows® Me
- Windows® XP
OS independent for Ethernet
Web Browser support:
- Microsoft Internet Explorer 4.0 (or later versions)
- Netscape® Navigator 3.02 (or later versions)
ADSL HomePlug Ethernet Router Package
Easy Start Page 5 of 5

SAR-600EH Easy Start
Fig 1-1 below shows the ADSL Router Package. For any missing items, please contact your
dealer immediately.
1. ADSL Router 2. Installation CD 3. Eas
y
Start 4. USB Cable
5. Telephone Cable 6. AC Power Cord 7. Ethernet Network Cable 8. POTs Splitter (optional)
Figure 1-1 : ADSL HomePlug Ethernet Router Package
Depending on your country of purchase, your package may or may not come with a POTS
Splitter. The POTS Splitter is required if you are connecting a Telephone Set to the Ethernet
Modem. Please refer to Chapter 2 (point 2.2) - Connecting to the ADSL Line for details.
POTS-Splitter can also be purchased from your dealer
Easy Start Page 6 of 6

SAR-600EH Easy Start
ADSL HomePlug Ethernet Router Overview1.3
1.3.1 Front Indicators
Fig 1-2 shows the front indicators of the ADSL HomePlug Ethernet Router.
13
5
7
2
6
4
Figure 1-2 : Front Indicators
1. Power 5. USB
Lights up when the USB device driver is
successfully installed in your Computer
/
Notebook.
6. DSL
Lights up when the ADSL connection is
established. Flashes when the router is
trying to establish a connection with the
ADSL Service Provider.
7. INTERNET
Lights up when PPP connection is
established.
Lights up when power is supplied to the router.
2. Turbo
Lights up when in Turbo (85Mbps) mode.
3. PL-ACT
Lights up when detected and connected with
another HomePlug adaptor within the network.
Flashes during data transfer.
4. ETHERNET
Lights up when the Ethernet cable is properly
connected from your ADSL Router to the
Ethernet Card. Flashes during data transfer.
Easy Start Page 7 of 7

SAR-600EH Easy Start
1.3.2 Back Panel
Fig 1-3 shows the back panel indicators of the ADSL HomePlug Ethernet Router.
4
6
5
3
2
1
Figure 1-3 : Back Panel Indicators
1. DSL
Line jack (RJ-11) to connect to your Telephone Wall Socket (ADSL line).
2. USB
USB Port to connect on your Computer / Notebook.
3. ETHERNET
10/100 Base-T Auto-MDI/MDIX (allows either cross or straight cable) Ethernet jack (RJ-45)
to connect to your Ethernet Network card or Ethernet Hub / Switch.
4. RESET
To reset your ADSL Router to factory default settings (all customised settings that you
have saved will be lost!). To reset the ADSL Router, simply press the reset button for about
10 seconds.
5. AC INPUT
To connect to the AC Power Cord that comes with your package.
6. POWER SWITCH
To power on or off the modem. Push downwards to switch ON and lift upwards to OFF.
Easy Start Page 8 of 8

SAR-600EH Easy Start
Typical ADSL HomePlug Ethernet Router Connection1.4
Fig 1-4 below shows a typical router connection.
WWW
HomePlug Ethernet USB Router
Internet
Power-point
Ethernet
HomePlug HomePlug HomePlug
Ethernet Ethernet
Power Cable
Power Cable
P
PC
Notebook
Notebook
Notebook
P
C
Turbo
C
IP-TV
Figure 1- 4 : Typical Router Connection Diagram
Note. . .
With the Auto MDI/MDIX feature, both cross and straight UTP cable can be
utilized.
Note…
If there is no connection/link among the HomePlugs with the Ethernet cable
inserted onto the HomePlugs OR the ping test among the HomePlugs are not
successful, please power off and on again for the HomePlugs.
You can also plug out the HomePlugs and then plug in again with the present of
the Ethernet cable.
Easy Start Page 9 of 9

SAR-600EH Easy Start
Chapter 2 - Connecting the ADSL Router to Your PC /
Notebook
CAUTION !
Power off your Computer/Notebook or/and any connected devices before
connecting to the ADSL Router!
2.1 Connecting to the Ethernet
Connect your computer(s)/notebook(s) to the ADSL Router as illustrated. The following
illustration shows the connection of a single computer. See Fig 1-5.
Figure 1-5 : Connecting to Ethernet
Do not be mistaken by an Ethernet Port and a Line Port. Picture A below illustrates that of an
Ethernet port, whilst Picture B shows a Line port.
B : LINE
A : ETHERNET
Easy Start Page 10 of 10

SAR-600EH Easy Start
Connecting to the ADSL Line2.2
Fig 1-6 shows the conection of the ADSL Ethernet Router to the ADSL Line.
Figure 1-6 : Connecting to the ADSL Line
Fig 1-7 shows the connection of the ADSL Line and Telephone set.
Figure 1-7 : Connection of ADSL Line & Telephone set
The POTS Splitter (with built-in Microfilter) is a device that allows you to connect both your
Telephone cable and Telephone Set to the same Telephone Wall Socket. The device at the same
time helps to eliminate background noise on the telephone line, ensuring the best possible phone
performance.
Easy Start Page 11 of 11

SAR-600EH Easy Start
Chapter 3 – Configuring Your Ethernet Network Card
3.1 Configuring Your Ethernet Network card
Note…
Proceed with this section ONLY if your computer/notebook is connected to the
Ethernet Port of your ADSL Router.
The illustrated screen shots serve only as examples. For any dissimilarities, please follow the
instructions closely as prompted on your Computer.
3.1.1 For Windows®98 Second Edition / Windows®Me
Proceed with the steps below.
1. From your Windows desktop, right-click on the Network Neighborhood icon. Select
Properties.
2. From the Configuration tab, select TCP/IP-> xxx where xxx refers to the model of your
Ethernet Card that is connected to your ADSL Router.
3. Click Properties as show below in Fig 1-8.
Click
Here
TCP/IP
Configuration
Figure 1-8 : Network settings
Easy Start Page 12 of 12

SAR-600EH Easy Start
4. Click the IP Address tab.
5. Select the option Obtain an IP address automatically and click OK to save the settings.
See Fig 1-9.
IP Address
Tab
Select This
Figure 1-9 : TCP/IP Properties
6. Ensure that your ADSL Router is powered ON.
7. Restart your system.
8. Proceed to Chapter 4.
3.1.2 For Windows®2000 / Windows®XP
Windows® 2000:
From your Windows desktop, right-click on the icon My Network Places and select
Properties.
a.
b.
a.
b.
At the Network and Dial-up Connections window, right-click on the Local Area
Connection icon and select Properties.
Windows® XP: (Instructions are based on default Start menu option)
From your Windows desktop, click Start > All Programs > Accessories >
Communications > Network Connections.
Right-click on the Local Area Connection icon that reflects the model of your
Ethernet Card that is connected to your ADSL Router and click Properties.
Easy Start Page 13 of 13

SAR-600EH Easy Start
Note. . .
This is important especially if you have more than one Local Area Connection
icons displayed at the Network and Dial-up Connections / Network Connections
window. Ensure that you have selected the correct one.)
1. Select Internet Protocol (TCP/IP) and click Properties. See Fig 1-10.
Ensure that
the model is
correct
Select This
Figure 1-10 : Local Area Connection properties
2. Select the option Obtain an IP address automatically and click OK. See Fig 1-11.
Select This
Figure 1-11 : TCP/IP Properties
3. Click OK again to close.
4. Ensure that your ADSL Router is powered ON.
5. Restart your system.
6. Proceed to Chapter 4.
Easy Start Page 14 of 14

SAR-600EH Easy Start
Chapter 4 – Installing Your USB Driver
4.1 Installing the USB Driver for Windows®98 Second Edition
Proceed with the steps below.
1. Power ON your computer to start the Windows Operating System.
2. Insert the Installation CD into your CD-ROM Drive.
3. At the prompt shown in Fig 1-12, click Next.
Figure 1-12 : Add New Hardware Wizard Prompt
4. Select Search for the best driver for your device (Recommended) option and click
Next See Fig 1-13.
Select This
Figure 1-13 : Driver Search
Easy Start Page 15 of 15

SAR-600EH Easy Start
5. Select on CD-ROM drives option and click Next. See Fig 1-14.
Click
Next
Select This
Figure 1-14: CD-ROM Selection
Note. . .
Depending on your system’s configuration, you may be prompted for your
Windows CD-ROM during installation. At the prompt, replace the Installation
CD in your CD-ROM Drive with your Windows CD-ROM and click OK. At the
Copying Files dialog box, enter the path of your Windows CD-ROM and click
OK.
6. Click Finish to complete the USB driver installation.
7. Restart your system when prompted.
8. Proceed to Chapter 5.
Easy Start Page 16 of 16

SAR-600EH Easy Start
4.2 Installing the USB Driver for Windows®ME
1. Power ON your computer to start the Windows Operating System.
2. Place the Installation CD into your CD-ROM Drive.
3. At the following prompt, select Specify the location of the driver (Advanced) option
and click Next. See Fig 1-15.
Select This Click
Next
Figure 1-15 : Specifying Driver Location
4. Click Removable Media option and click Next. See Fig 1-16.
Select This
Figure 1-16 : Driver Location
Easy Start Page 17 of 17

SAR-600EH Easy Start
5. Click Next again to proceed installation with the indicated driver.
6. Click Finish to complete the USB driver installation.
7. Restart your system when prompted.
8. Proceed to Chapter 5.
4.3 Installing the USB Driver for Windows®2000
1. Power ON your computer to start the Windows Operating System.
2. Place the Installation CD into your CD-ROM Drive.
3. At the prompt shown in Fig 1-17, click Next.
Figure 1-17 : Hardware wizard
4. Select Search for a suitable driver for my device (recommended) option and click
Next. See Fig 1-18.
Select This
Figure 1-18 : Search Driver
Easy Start Page 18 of 18

SAR-600EH Easy Start
5. Click CD-ROM drives option and click Next.
6. At the next prompt, click Next to proceed installation with the indicated driver.
7. You may be prompted with Digital Signature Not Found dialog box during installation.
(This happens when Windows detects your driver has a new version).
8. Click Yes to proceed with the installation.
9. Click Finish when prompted.
10. Proceed to Chapter 5.
Installing the USB Driver for Windows®XP
4.4
1. Power on your computer to start Windows.
2. Place the Installation CD into your CD-ROM Drive.
3. At the prompt shown below in Fig 1-19, select Install from a list or specific location
(Advanced) option and Click Next.
Select
This Click Next
Figure 1-19 : Installation from Location
Easy Start Page 19 of 19

SAR-600EH Easy Start
4. Click Search removable media option and click Next. See Fig 1-20.
Select This
Figure 1-20 : Search removable media
5. You may be prompted with Hardware Installation dialog box. (This happens when
Windows detects your driver as a new version).
6. Click Continue Anyway to proceed with the installation. See Fig 1-21
Click Here
Figure 1-21 : Driver New Version prompt
7. Click Finish when prompted.
8. Proceed to Chapter 5.
Easy Start Page 20 of 20
Other manuals for SAR-600EH
1
Table of contents
Other Solwise Network Router manuals

Solwise
Solwise SAR-600E User manual

Solwise
Solwise SAR-600 Instructions for use

Solwise
Solwise 4G-54RV User manual

Solwise
Solwise SAR110 User manual

Solwise
Solwise WLn-401 User manual

Solwise
Solwise SSR725 Manual

Solwise
Solwise PTI-840V User manual

Solwise
Solwise SAR-600EH User manual

Solwise
Solwise NET-3G-A10 User manual

Solwise
Solwise SAR715PV User manual