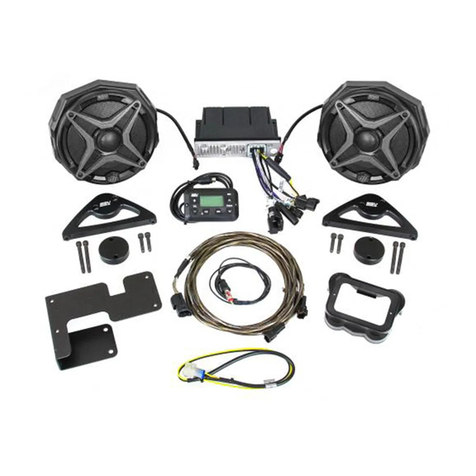
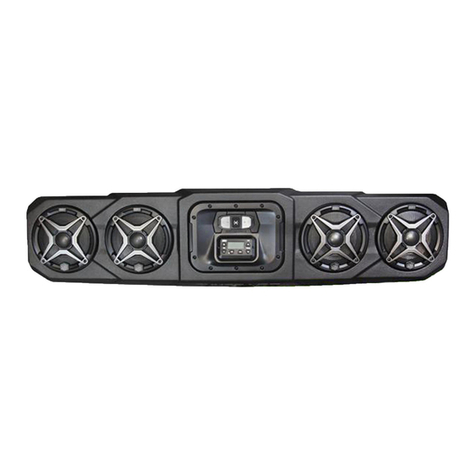
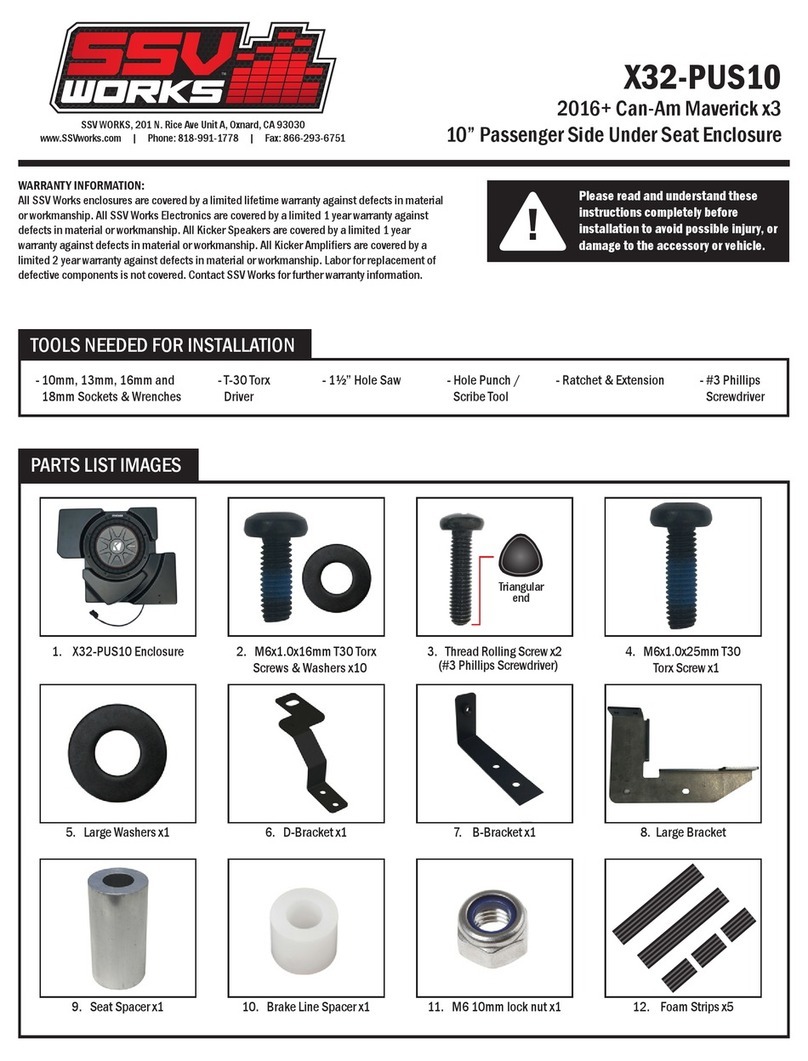
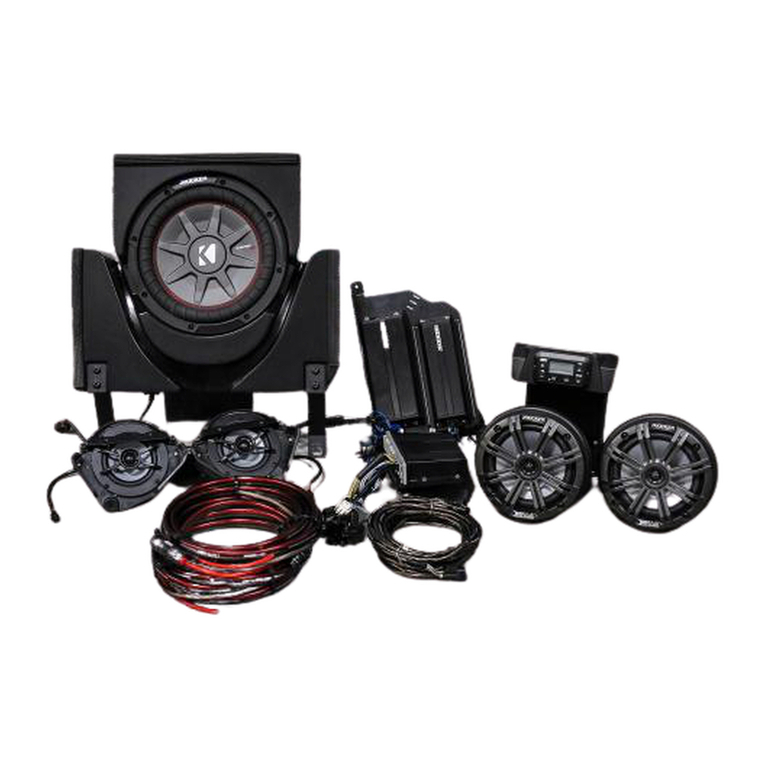
SSV Works X32-DUS10 User manual
Other SSV Works Automobile Accessories manuals
SSV Works
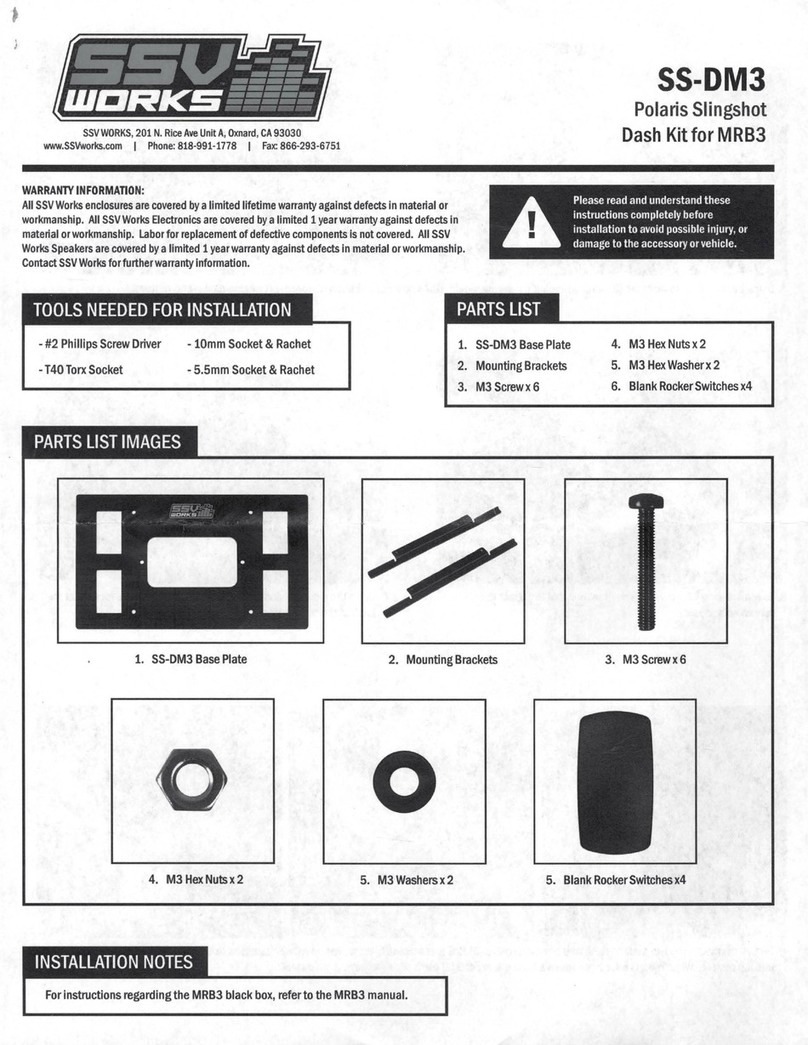
SSV Works SS-DM3 User manual
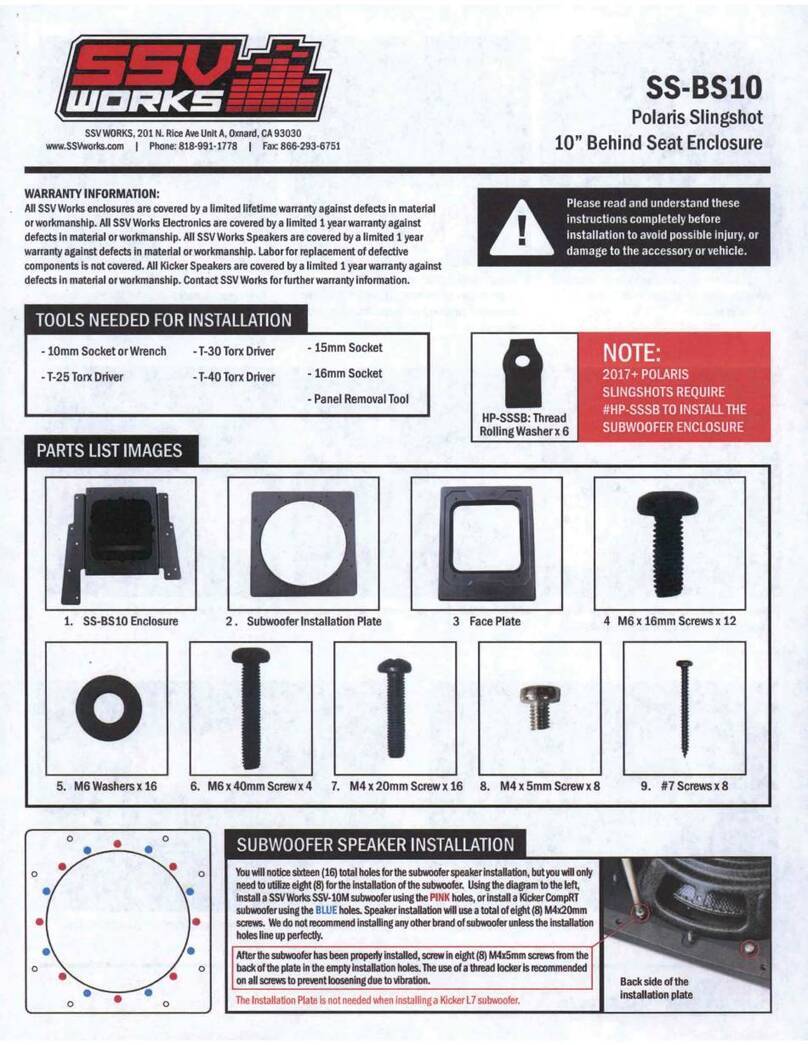
SSV Works
SSV Works SS-BS10 User manual

SSV Works
SSV Works TXF-OSP65 User manual
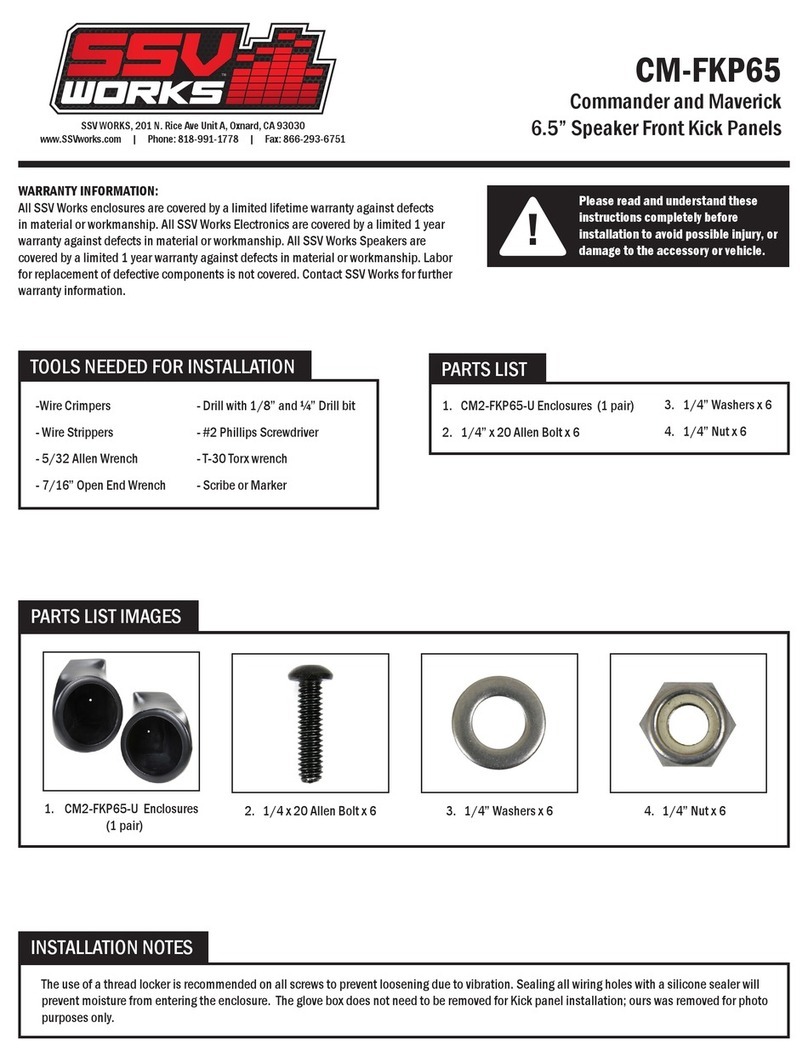
SSV Works
SSV Works CM-FKP65 User manual
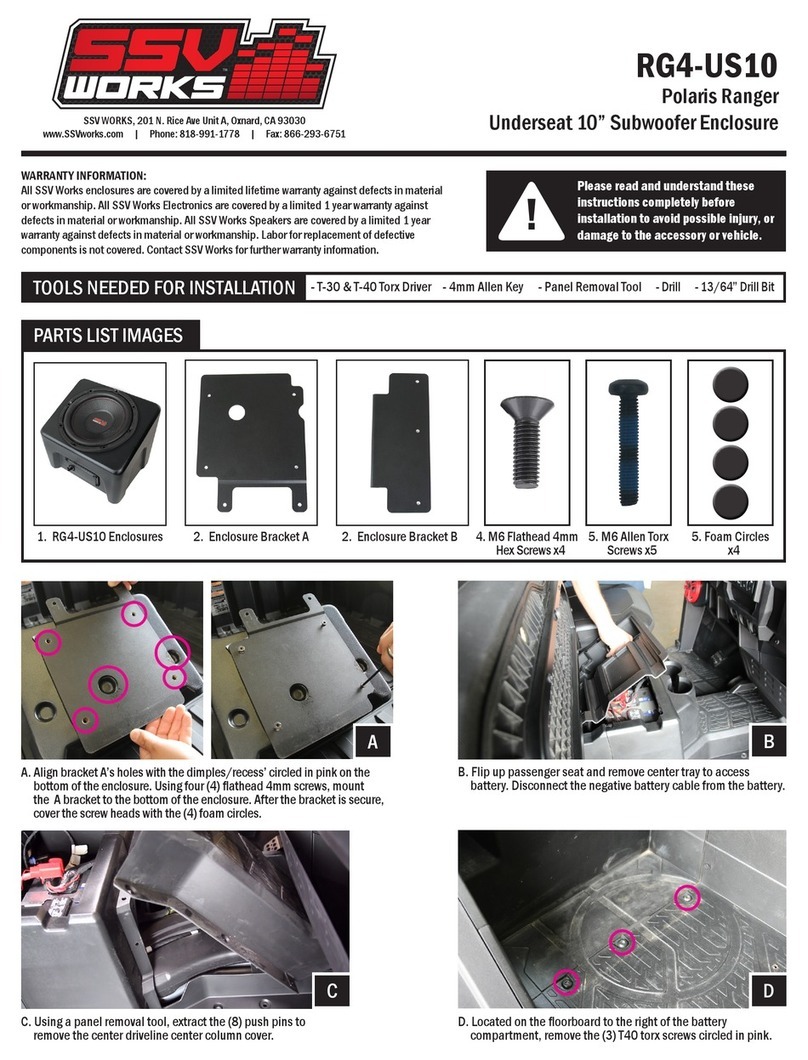
SSV Works
SSV Works RG4-US10 User manual
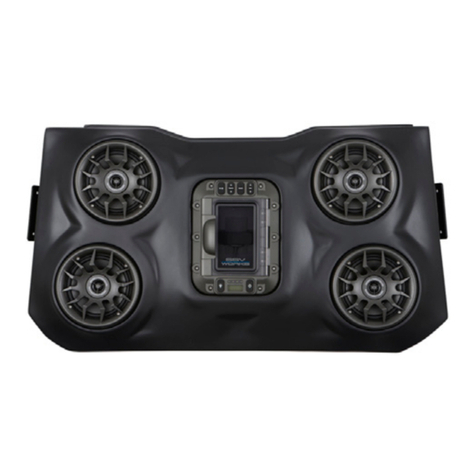
SSV Works
SSV Works WP-RZ304 User manual

SSV Works
SSV Works DF-F65 User manual
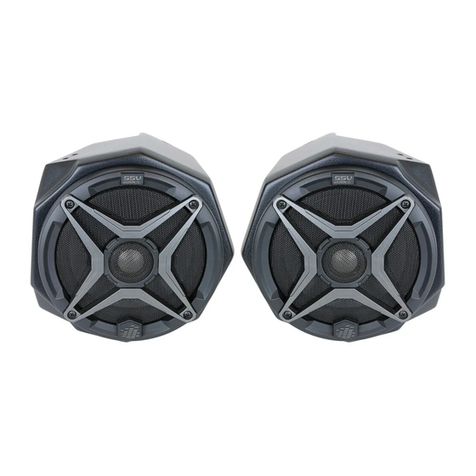
SSV Works
SSV Works MT-2A User manual
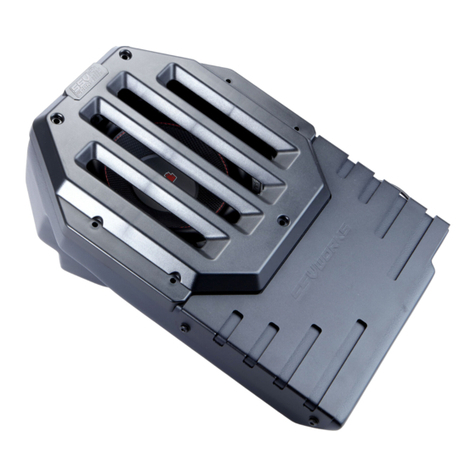
SSV Works
SSV Works JJL-DS10 User manual
SSV Works
SSV Works DF-2A User manual
Popular Automobile Accessories manuals by other brands

ULTIMATE SPEED
ULTIMATE SPEED 279746 Assembly and Safety Advice

ULTIMATE SPEED
ULTIMATE SPEED CARBON Assembly and Safety Advice

Witter
Witter F174 Fitting instructions

WeatherTech
WeatherTech No-Drill installation instructions

TAUBENREUTHER
TAUBENREUTHER 1-336050 Installation instruction
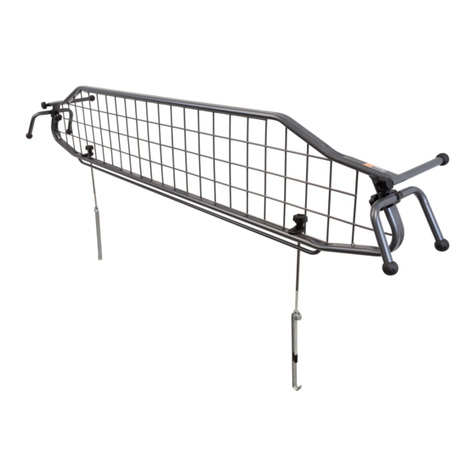
travall
travall TDG 1513 Fitting instructions
